How to Draw a Lunch Box (Easy Step by Step)
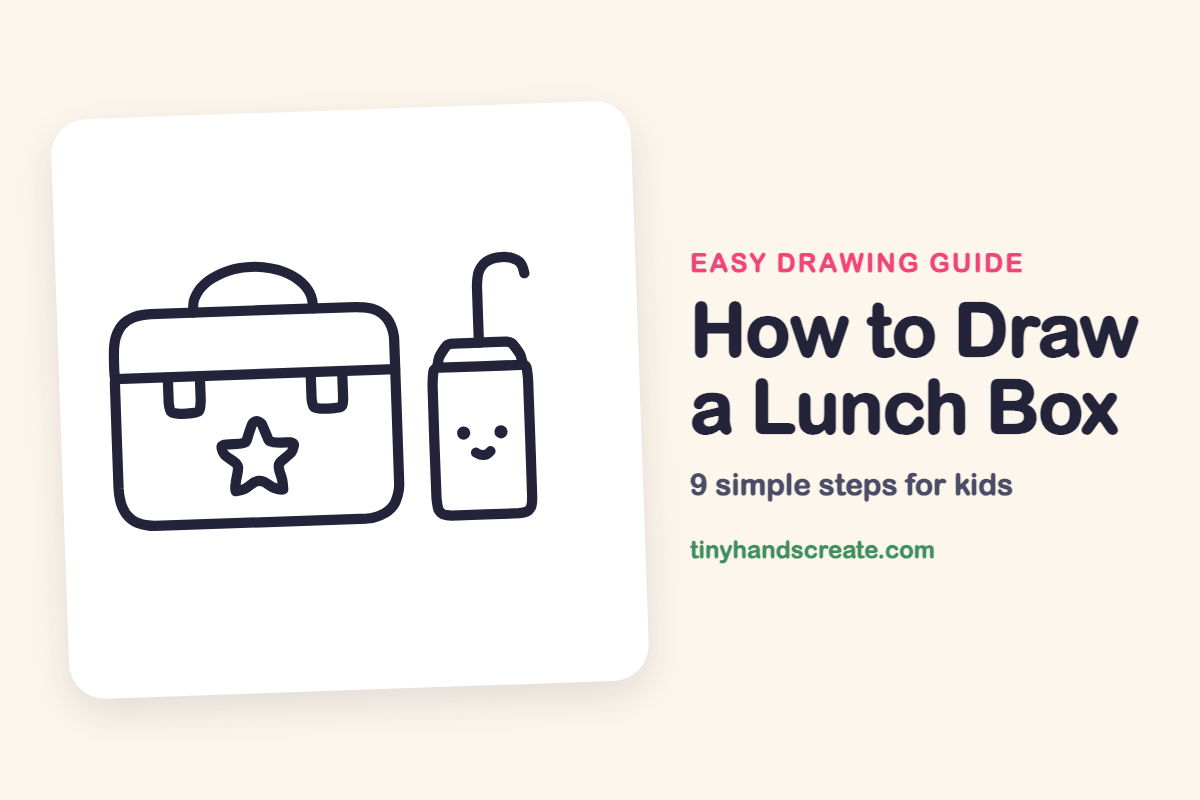
A lunch box is a fun thing to draw because it is made of simple shapes you already know. You will use rounded rectangles, a curved handle, a star, and a few little lines. Add a smiling drink bottle next to it and your lunch set is ready for school.
- Easy
- 12 minutes
- 9 steps
You need: paper, a pencil, an eraser, and crayons or markers for coloring.
Start drawingIn this article (7 sections)
How to draw a lunch box step by step
How to Draw a Lunch Box · tinyhandscreate.com
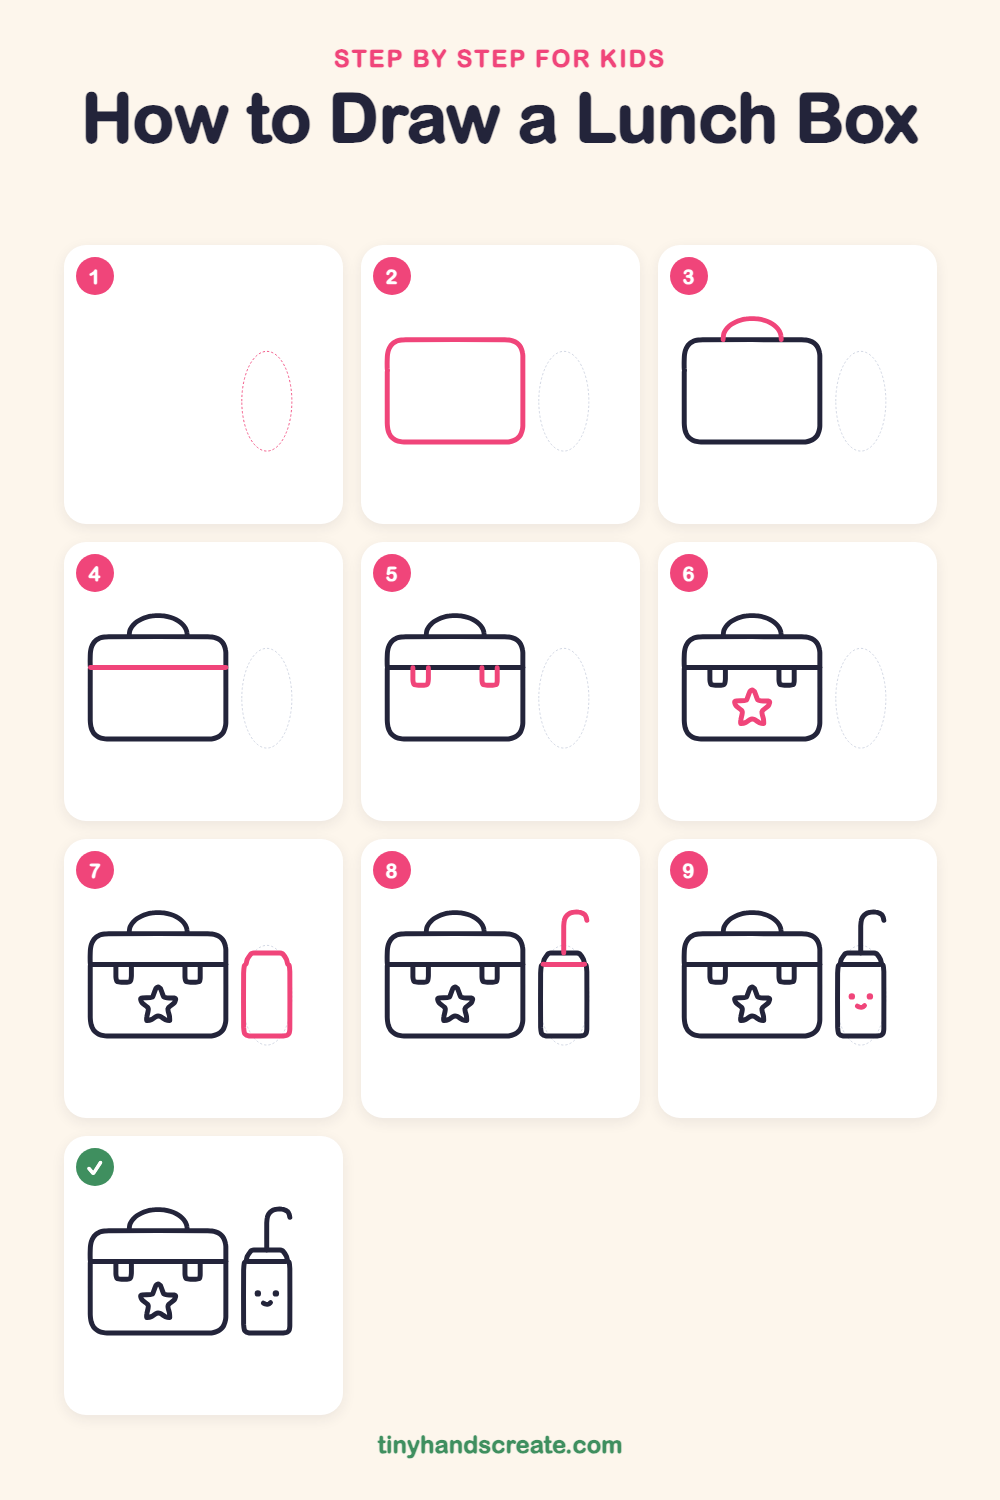
Step 1: Guide shapes
Lightly sketch this oval. It only shows where the big parts go, so press softly. You will erase it at the end.
Step 2: The lunch box body
Draw a big rectangle with soft, rounded corners. Make it wider than it is tall, like a little suitcase.
Step 3: The top handle
On top of the box, draw a curved hill shape like a rainbow. Both ends should land on the top line of the box.
Step 4: The lid line
Draw one straight line across the box from the left side to the right side, a little below the top. This shows where the lid closes.
Step 5: The two latches
Under the lid line, draw two small U shapes that hang down from it. Put one near the left and one near the right, with the open tops touching the lid line.
Step 6: The star
In the middle of the box, draw a star. Start with a point at the top and zigzag down and out to make five points.
Step 7: The drink bottle
Next to the box, draw a tall rectangle with rounded bottom corners. Make the top a little narrower, with short slanted sides and a flat top.
Step 8: The cap band and straw
Draw a short straight line across the bottle where the narrow top meets the body. Then draw a straw going up from the top and curving over to the right like a candy cane.
Step 9: The smiley face
Draw two little round dots for eyes on the bottle. Under them, add a small curved smile like a tiny bowl.
All done!
Erase the guide shapes, go over your lines, then color it in.
Finished your lunch box? Keep the pencils out and learn how to draw a schoolhouse or how to draw scissors next.
Tips for drawing a lunch box
- Draw the big rounded rectangle lightly first. Round the corners by curving your pencil as you turn, instead of making sharp points.
- Draw the star in the middle of the box so it looks centered. Start at the top point and zigzag, and do not worry if the points are not perfectly even.
- Make the two latches the same size by drawing them at the same height under the lid line. Keep them the same width, too.
Free lunch box coloring page
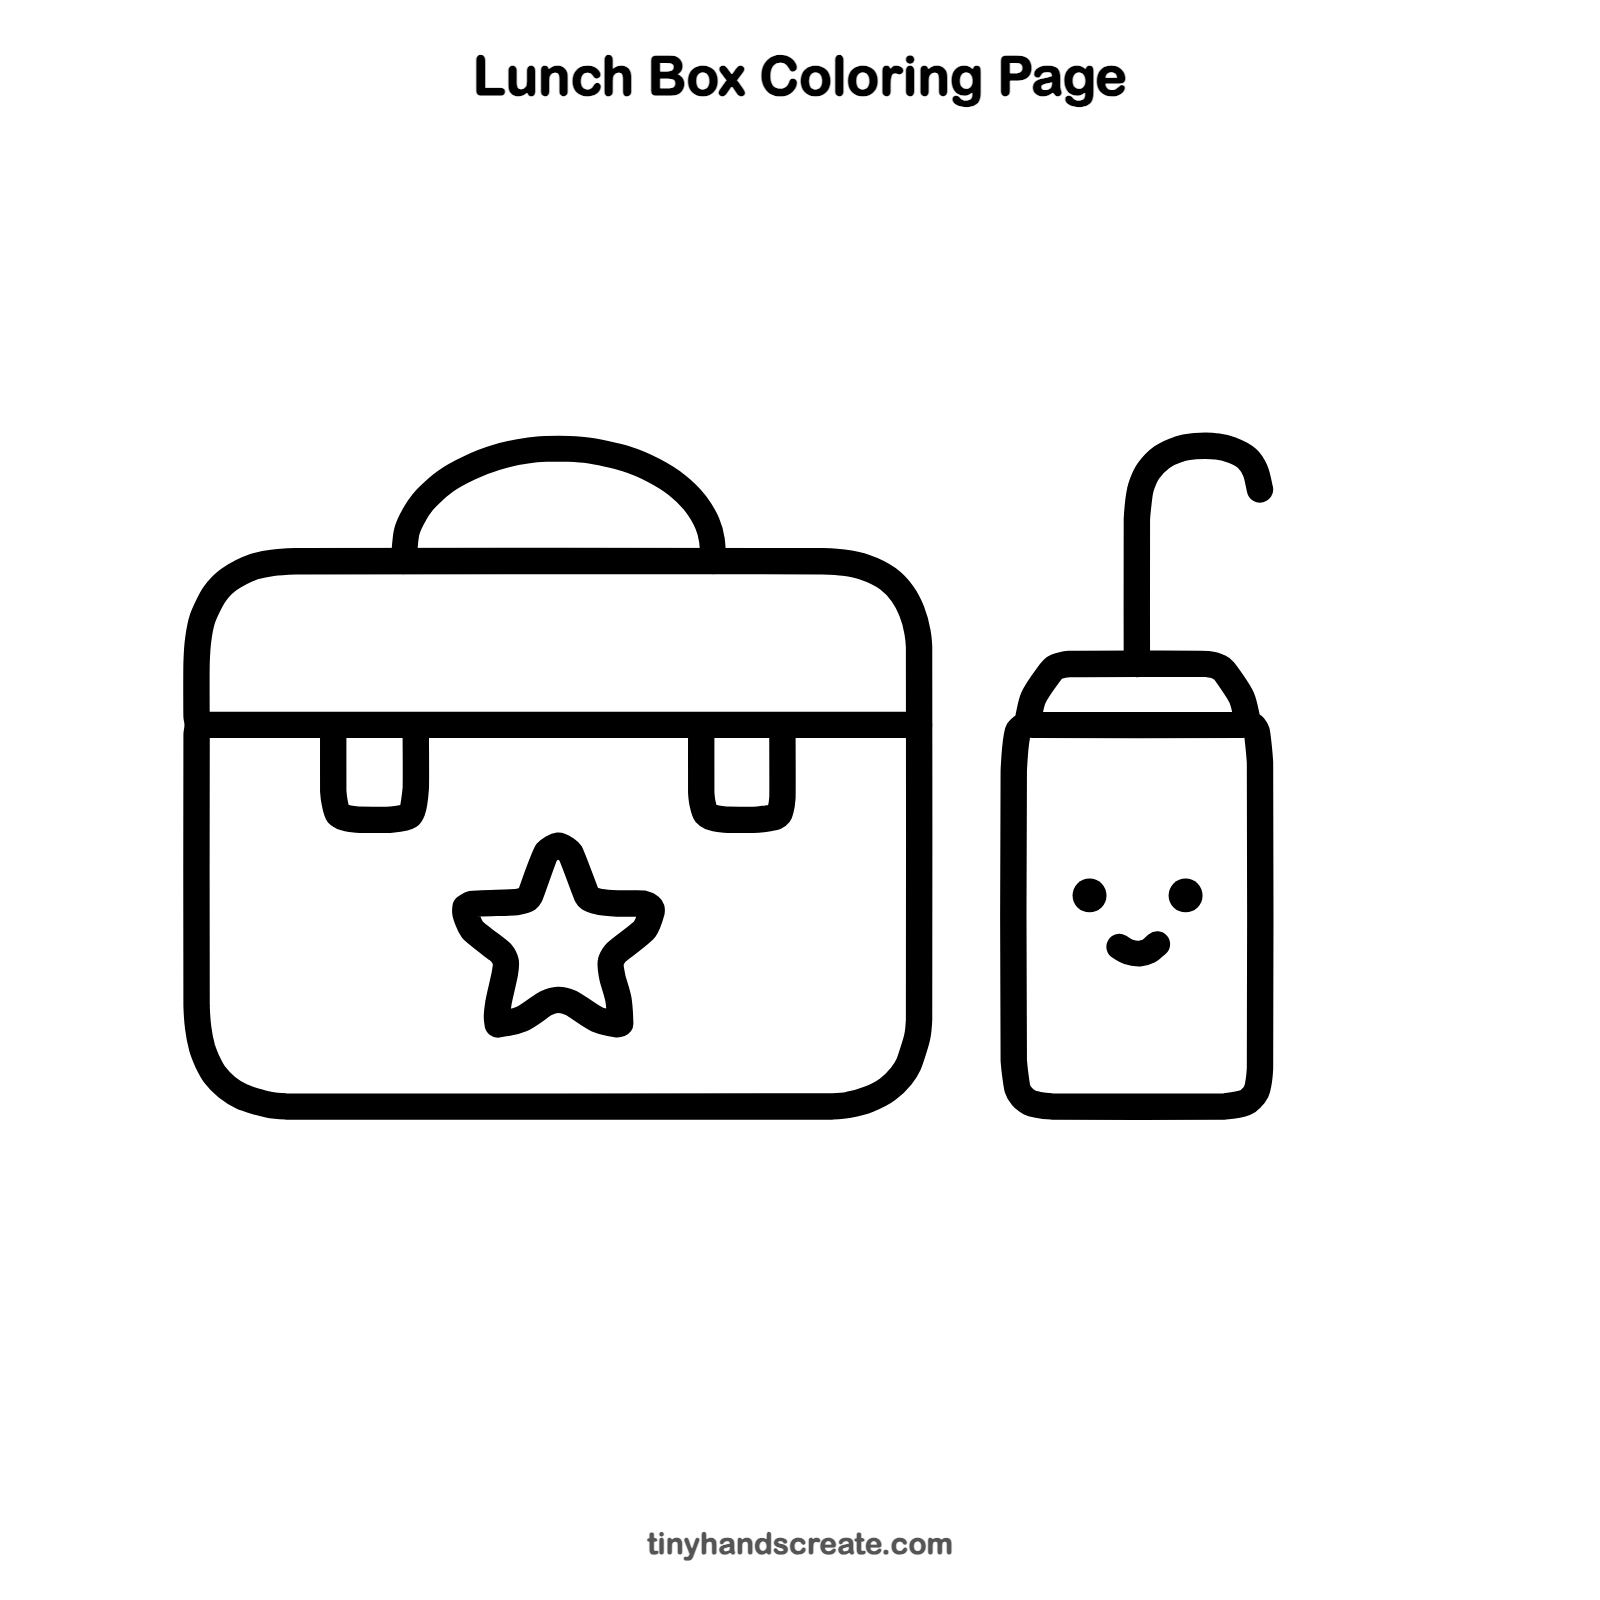
Want to go straight to coloring? Open this lunch box coloring page at full size and print it. It is the same drawing you just learned, with clean lines ready for crayons or markers.
How to color your lunch box drawing
Try a bright red or blue box with a yellow star, and a green bottle with a pink smile. For a creative twist, decorate the box with stickers, stripes, or your favorite animal.
Lunch box fun fact for kids
Metal lunch boxes with pictures of cartoon characters and TV shows became very popular in the United States in the 1950s, and many kids carried them to school.
Questions about drawing a lunch box
What shapes do I need to draw a lunch box?
You need a big rounded rectangle for the box, a half oval for the handle, two small U shapes for the latches, and a star. The bottle is a taller rounded rectangle with a narrower top.
How do I make my lunch box look cuter?
Add a smiley face like the one on the bottle, or draw hearts and stars on the front. Rounder corners also make everything look softer and friendlier.
How do I draw a straight line across the box?
Rest your hand on the table and move your pencil slowly from one side to the other. You can also use the edge of a ruler or a piece of paper as a guide.