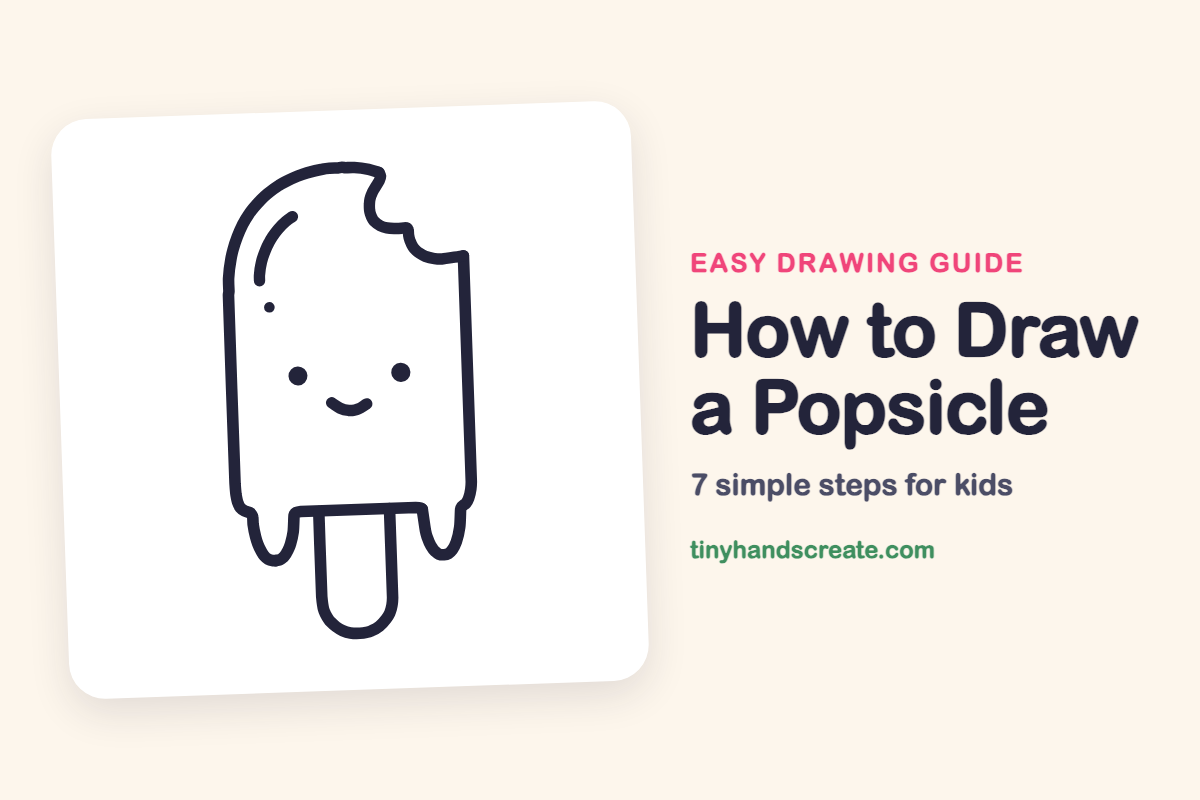
How to Draw a Popsicle (Easy Step by Step)
A popsicle is a fun first drawing because it is mostly a tall rounded rectangle with a stick underneath. You will use a long curve for the top, straight lines for the sides, and two dots and a smile for the face. A bite mark and a couple of drips make it look like it is melting in the sun.
- Easy
- 10 minutes
- 7 steps
You need: paper, a pencil, an eraser, and crayons or markers for coloring.
Start drawingIn this article (7 sections)
How to draw a popsicle step by step
How to Draw a Popsicle · tinyhandscreate.com
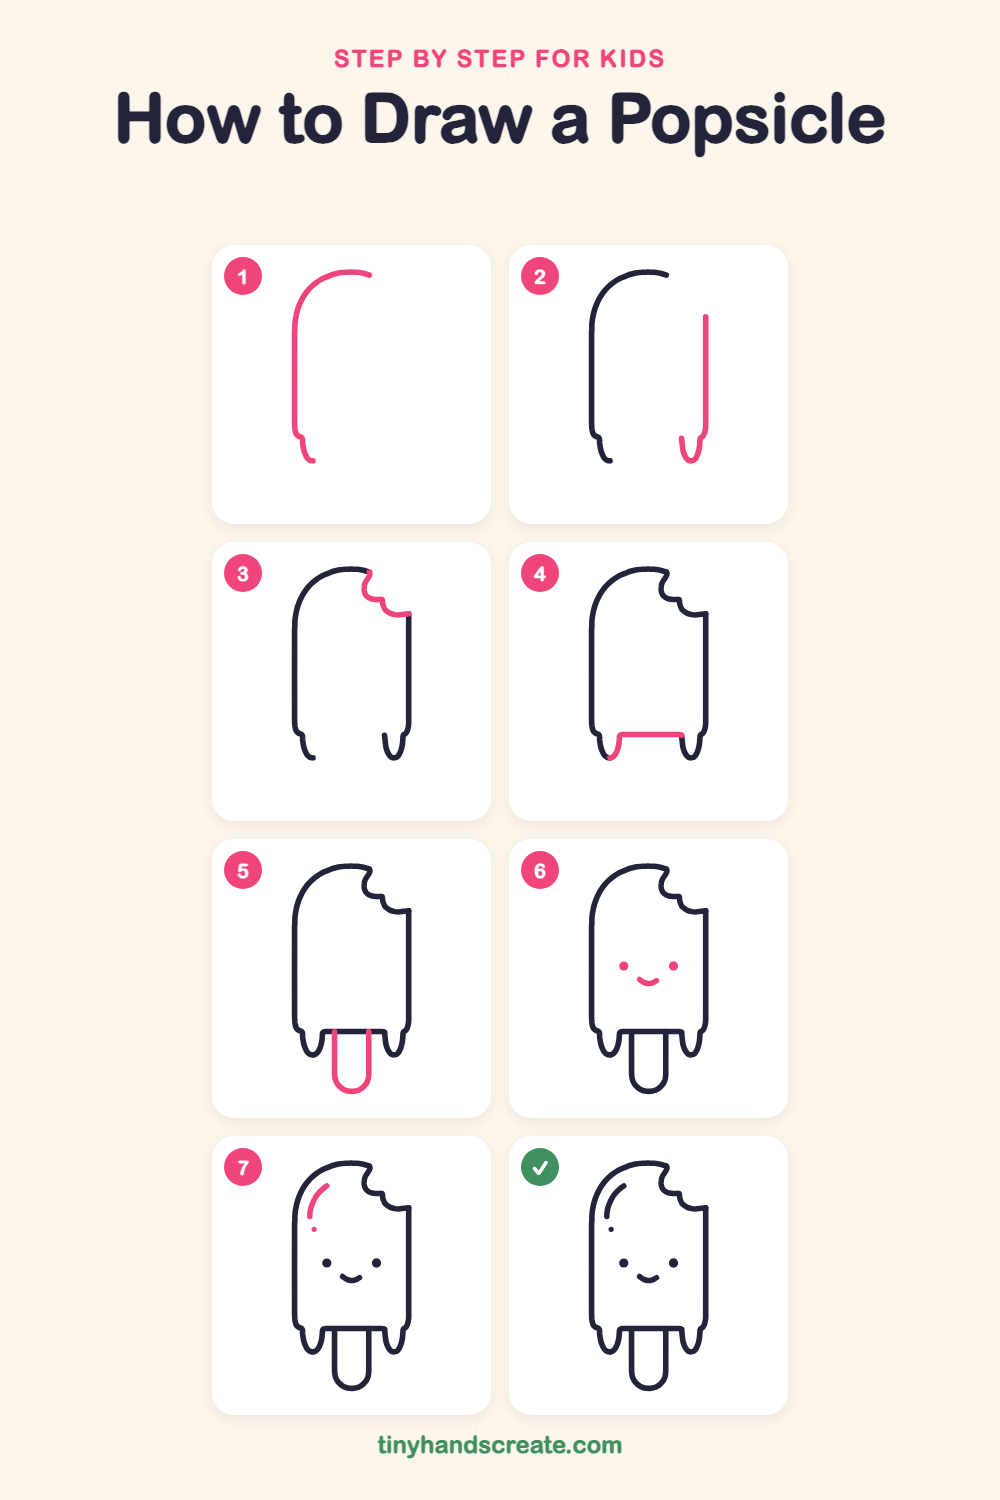
Step 1: Top and left side
Start near the top middle and draw a big curve going left and down, like the top of a gumdrop. Then bring the line straight down the left side and finish with a small curl that flicks out to the right at the bottom.
Step 2: Right side and drip
Draw a straight line down on the right side, starting a little below the top. Near the bottom, curve it in and make a small U shape, like a drip of melting ice cream.
Step 3: The bite
Draw a wavy line from the end of the top curve down to the top of the right side. Make two or three small round scallops, like a bite taken out of the corner.
Step 4: Bottom edge
Draw a flat line across the bottom of the popsicle, from the left drip over to the right drip. Start the line with a little curve at the left end.
Step 5: The stick
Under the flat bottom edge, draw two straight lines going down, side by side. Join them at the bottom with a round curve, like a long smooth U.
Step 6: Happy face
Draw two small dots for eyes, side by side in the middle of the popsicle. Add a little curved smile below and between them.
Step 7: Shiny highlight
Near the top left, inside the outline, draw a short curved line that follows the shape of the top. Add one small dot below it to make it look shiny.
All done!
Go over your lines with a marker, then color it in.
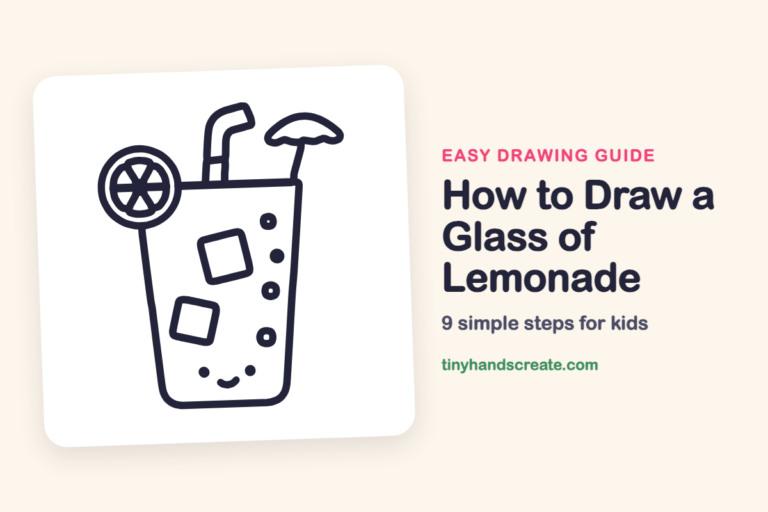
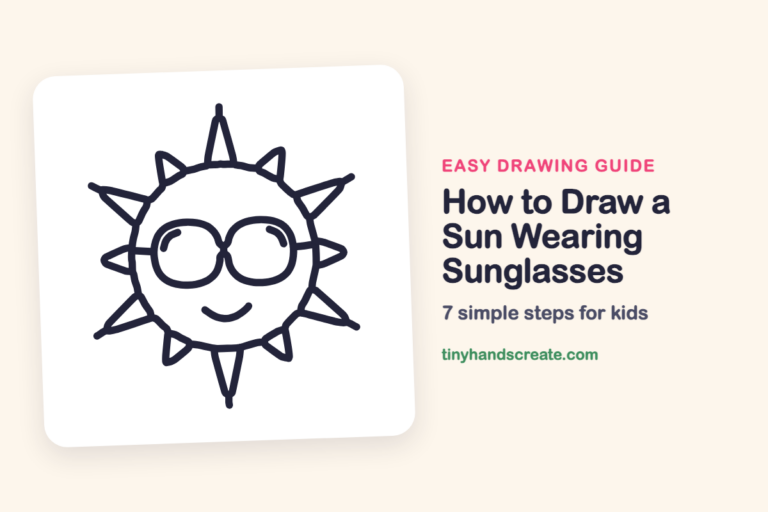
Finished your popsicle? Keep the pencils out and learn how to draw a glass of lemonade or how to draw a sun wearing sunglasses next.
Tips for drawing a popsicle
- Draw the left and right sides with the same distance between them, so the popsicle does not look wider at the bottom than at the top.
- The bite is the trickiest part. Make two or three small bumps that curve inward, like the edge of a cloud.
- Put the two eyes at the same height and give them room. The smile goes in the middle, a little lower than the eyes.
Free popsicle coloring page
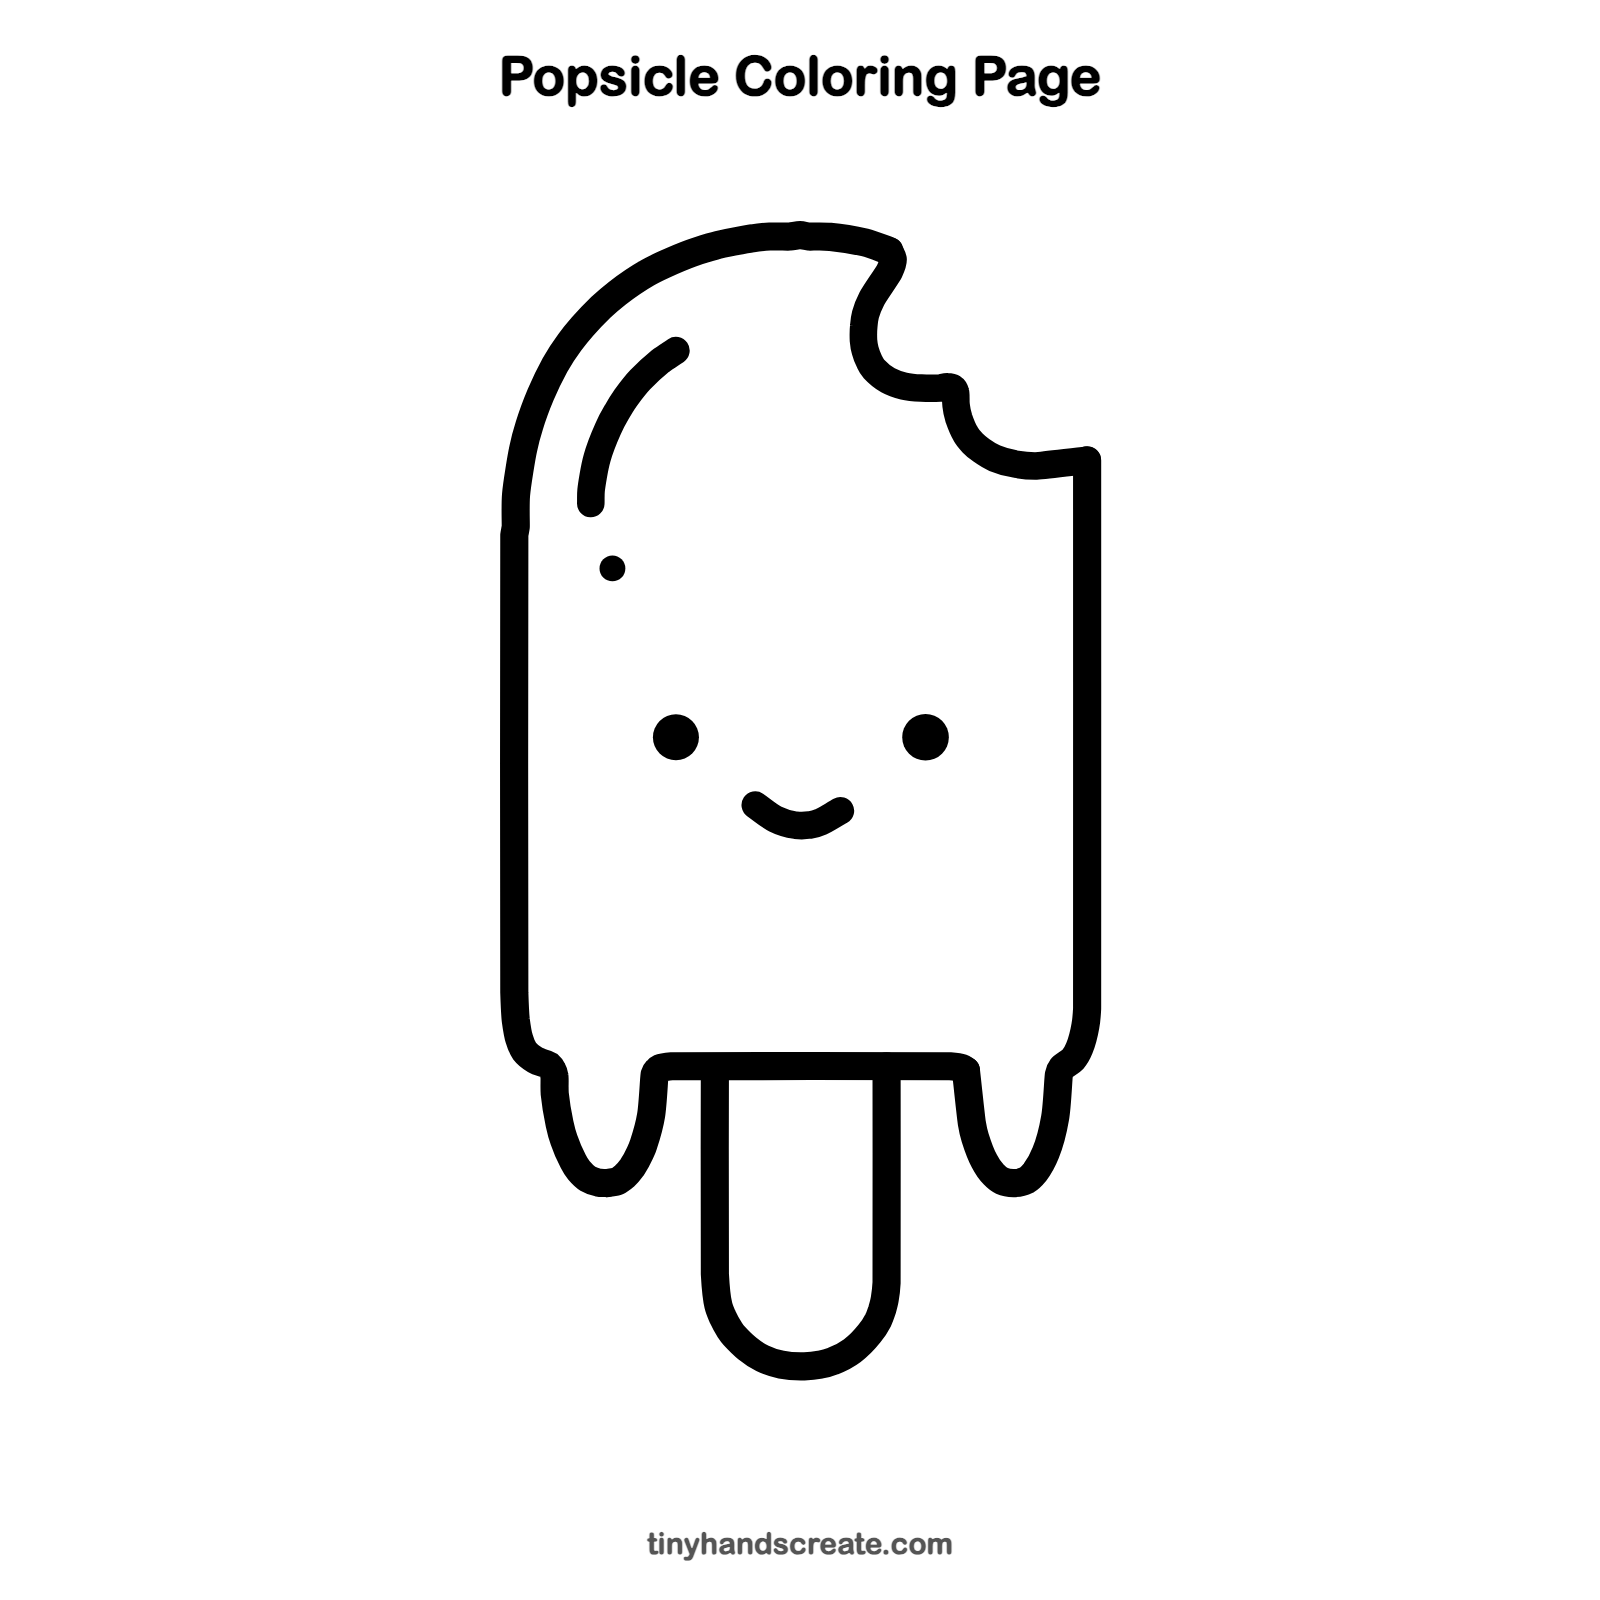
Want to go straight to coloring? Open this popsicle coloring page at full size and print it. It is the same drawing you just learned, with clean lines ready for crayons or markers.
How to color your popsicle drawing
Try bright red, orange, or purple for the popsicle and a light tan for the stick. For a fun twist, color the popsicle in stripes or rainbow layers, like a rocket pop.
Popsicle fun fact for kids
The popsicle was invented by accident in 1905, when an 11-year-old boy named Frank Epperson left a cup of soda powder, water, and a stirring stick outside on a cold night. In the morning it had frozen solid, and he had a treat on a stick.
Questions about drawing a popsicle
What shapes do I need to draw a popsicle?
You need a tall rounded rectangle for the body and a long rounded rectangle for the stick. Two small U shapes at the bottom make the drips. The face is just two dots and a curve.
How do I make my popsicle look cuter?
Give it a happy face with two dots for eyes and a small smile. Add a shiny curve near the top left and a couple of drips so it looks soft and melting.
How do I draw the bite mark on a popsicle?
Draw a wavy line from the top curve down to the right side, with two or three small round bumps. Think of the edge of a cookie that someone has nibbled.