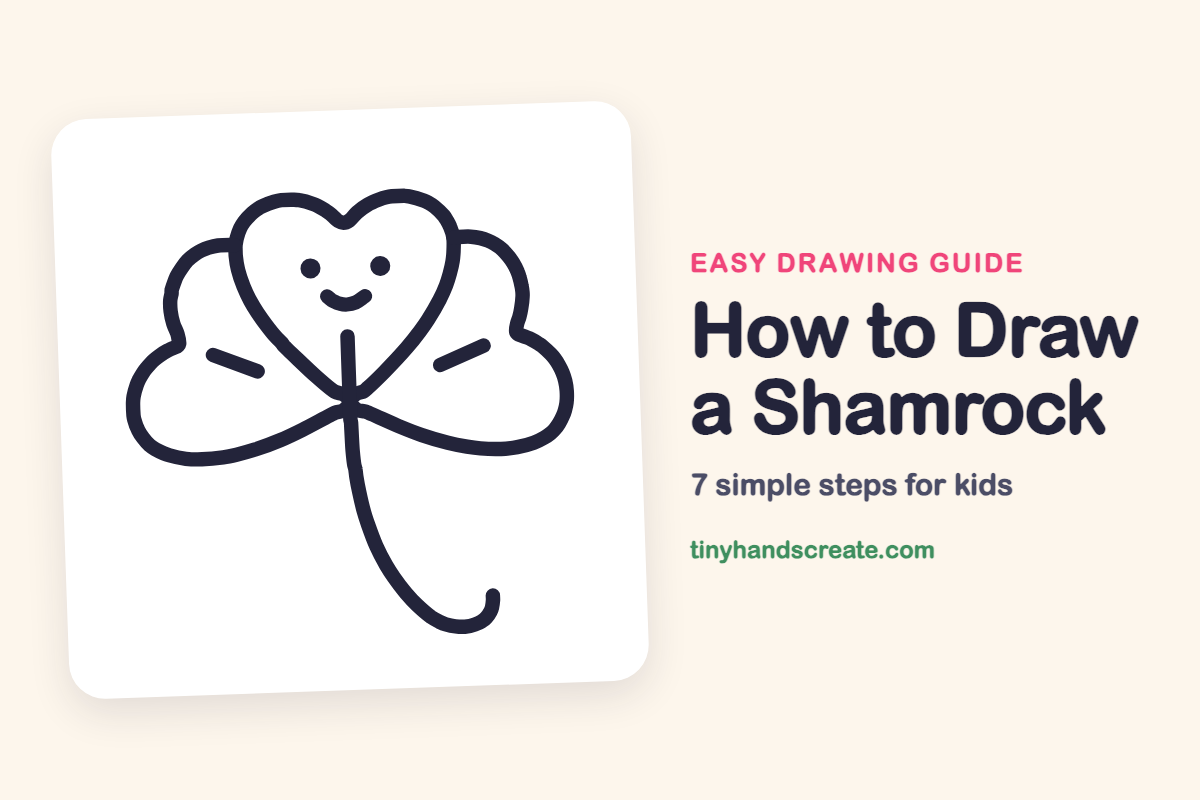
How to Draw a Shamrock (Easy Step by Step)
A shamrock is a fun first drawing because it is built from a heart and two leaves that curve out from it. You will draw a center heart, add a leaf on each side so they all meet at one point, then finish with a curly stem, a smiling face, and two little veins.
- Easy
- 10 minutes
- 7 steps
You need: paper, a pencil, an eraser, and crayons or markers for coloring.
Start drawingIn this article (7 sections)
How to draw a shamrock step by step
How to Draw a Shamrock · tinyhandscreate.com
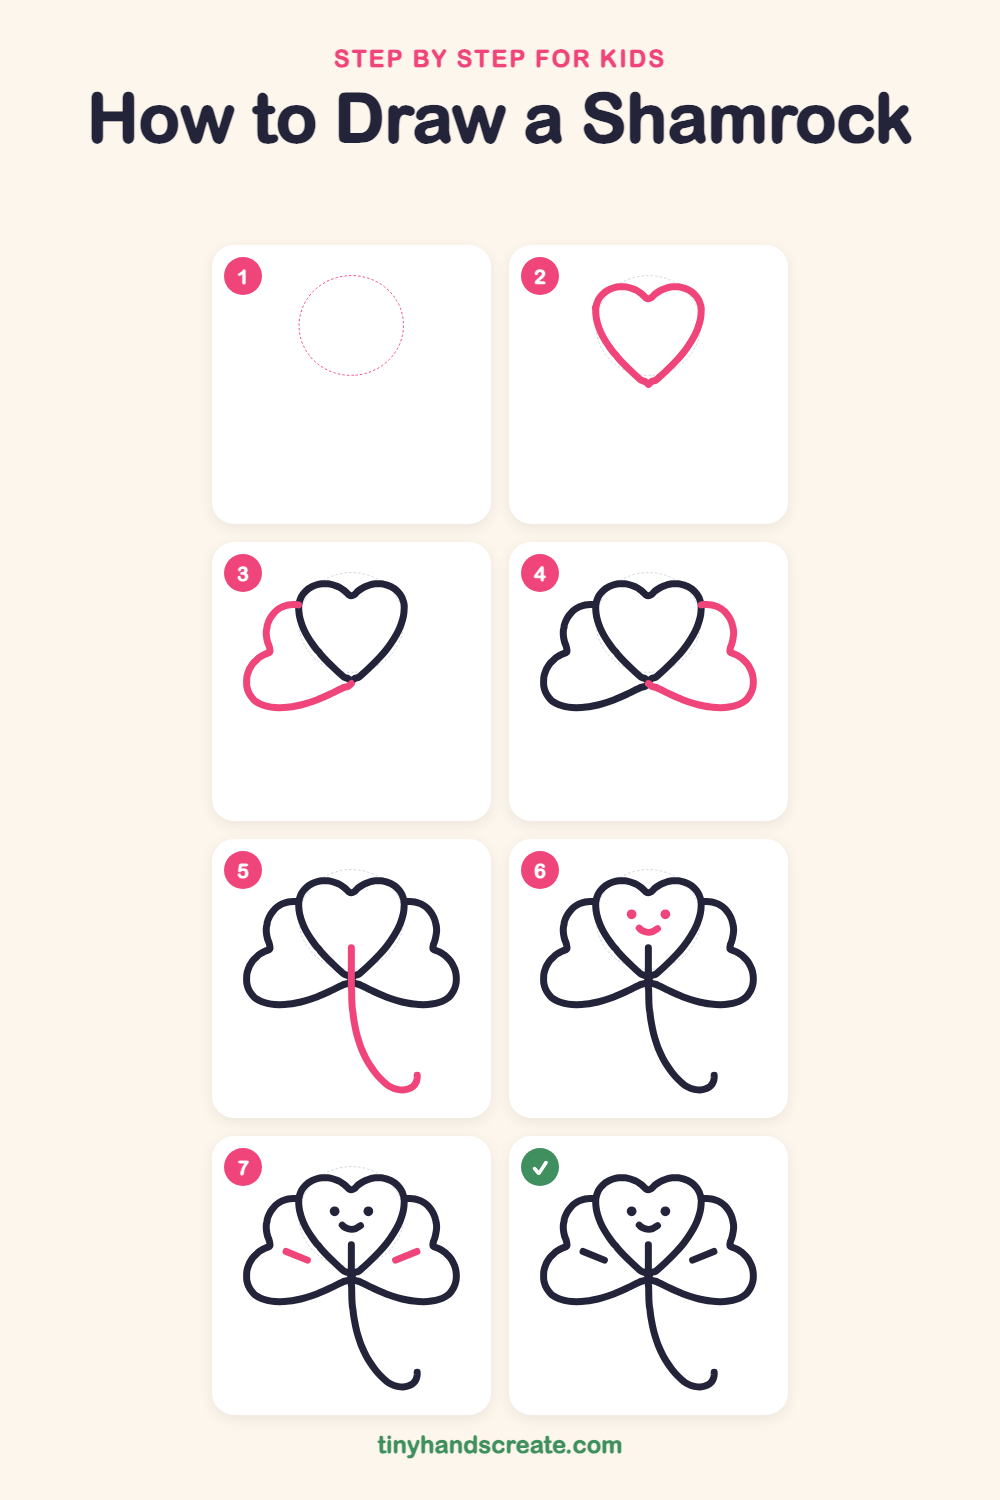
Step 1: Guide shapes
Lightly sketch this oval. It only shows where the big parts go, so press softly. You will erase it at the end.
Step 2: The center heart
Draw a big heart in the middle, with two round bumps at the top and a point at the bottom. Leave a little dip where the two bumps meet.
Step 3: The left leaf
Start on the left side of the center heart, near the top, and draw a bumpy leaf shape curving out to the left. Bring the bottom edge back in to meet the point of the center heart.
Step 4: The right leaf
Do the same on the other side. Start on the right side of the center heart, draw a matching bumpy leaf out to the right, and curve its bottom edge back to the same point.
Step 5: The curly stem
Start inside the bottom of the center heart, just above its point, and draw a long line straight down. Let it bend gently to the right and finish with a little curl at the end.
Step 6: A happy face
Add two round dots for eyes near the top of the center heart. Under them, draw a small smile shaped like a bowl.
Step 7: Leaf veins
Draw one short slanted line inside each side leaf. They should point toward the middle, like little leaf veins.
All done!
Erase the guide shapes, go over your lines, then color it in.
Finished your shamrock? Keep the pencils out and learn how to draw a leprechaun or how to draw a pot of gold next.
Tips for drawing a shamrock
- Draw the center heart first and keep it a little bigger than you think you need, so there is room for the side leaves beside it.
- Start each side leaf on the side of the center heart, curve it out and around, and end at the point at the bottom of the heart. Try to make both leaves about the same size.
- For the stem, draw it in one slow, steady line. The curl at the end makes it look playful and hides small wobbles.
Free shamrock coloring page
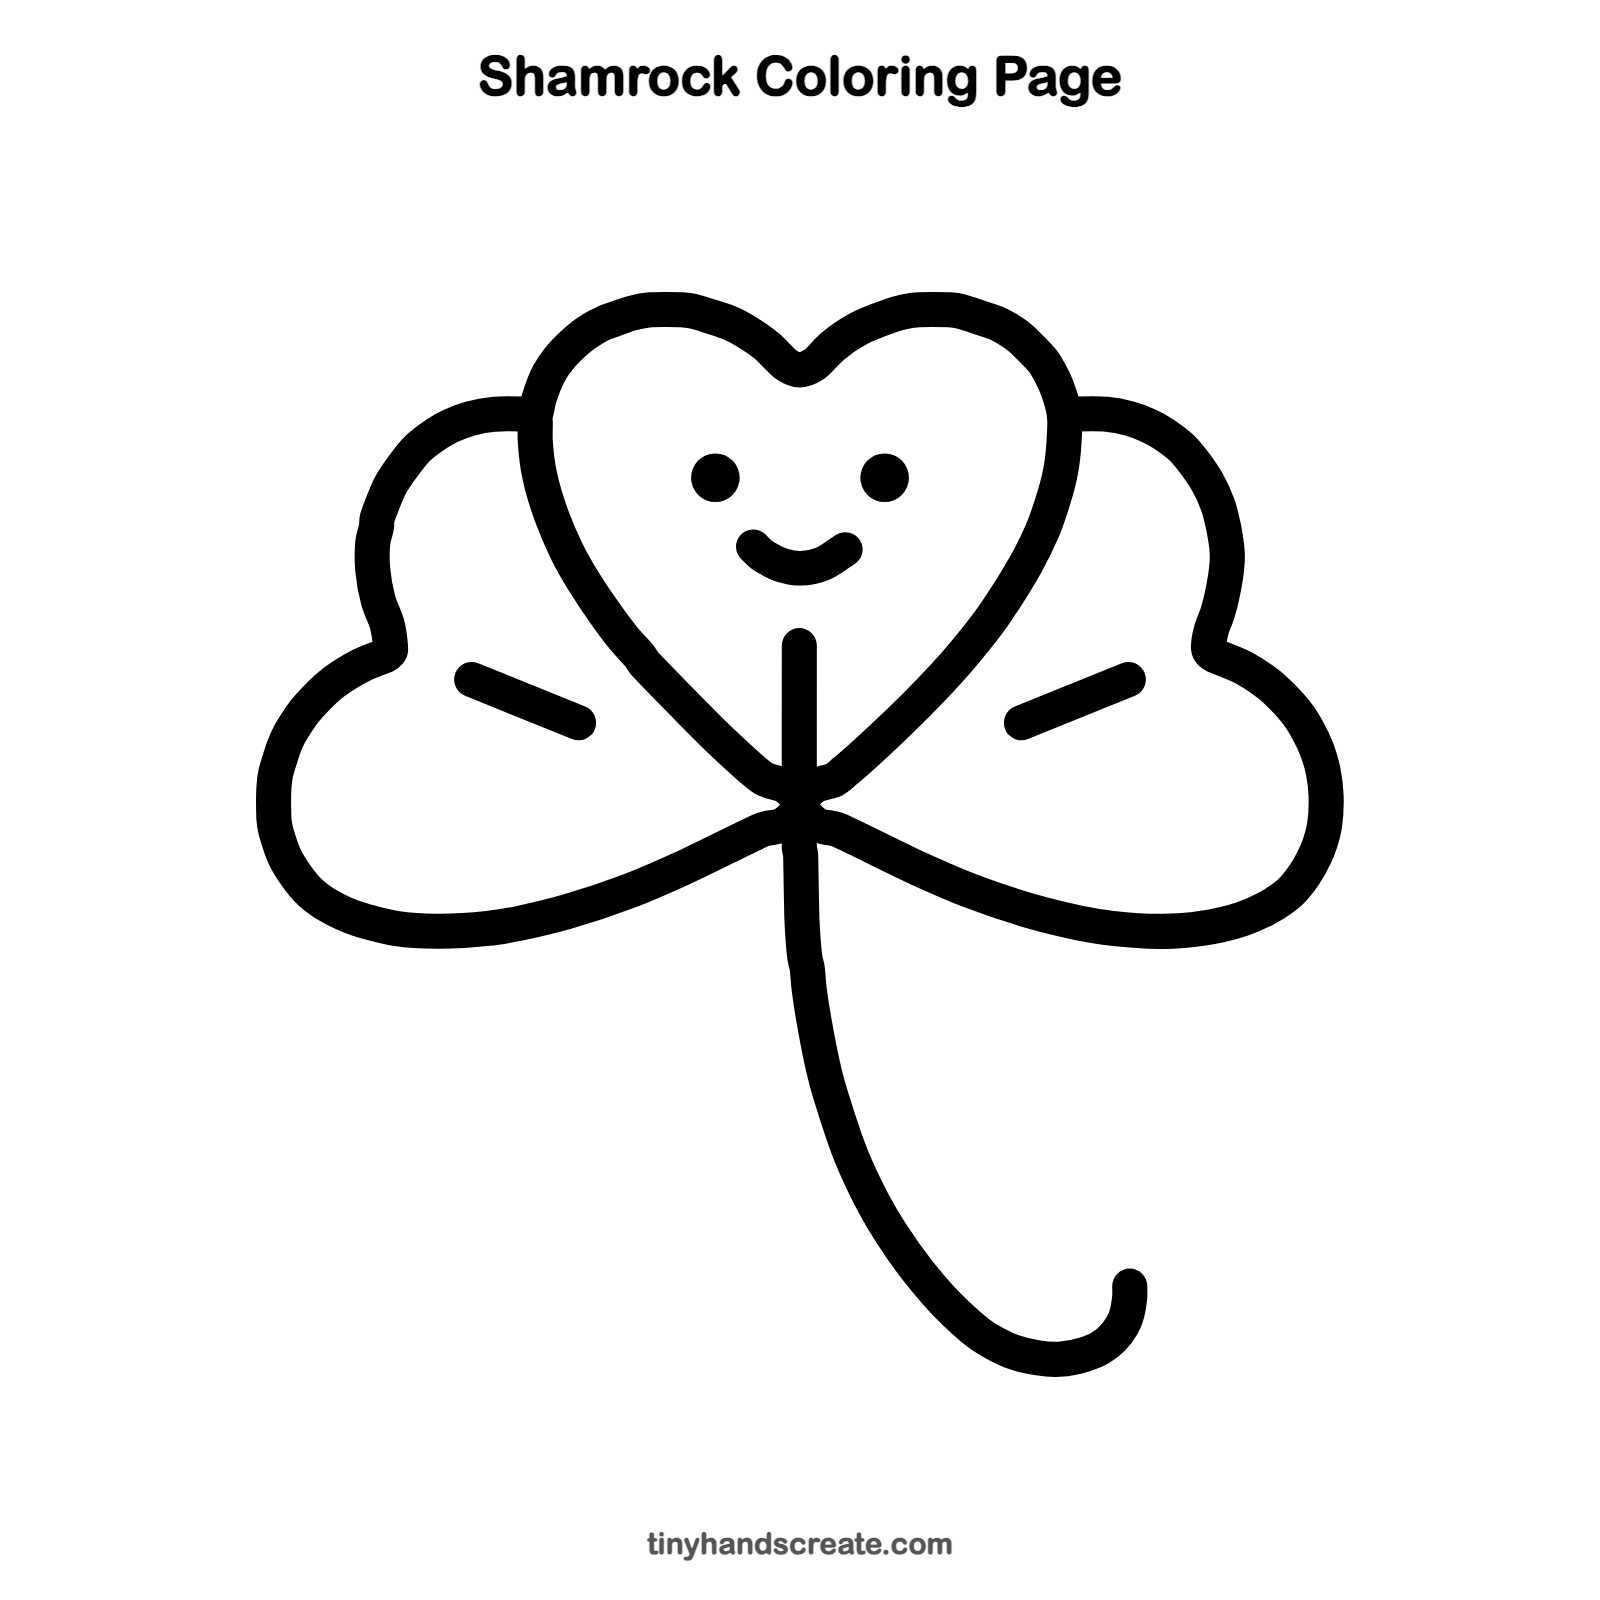
Want to go straight to coloring? Open this shamrock coloring page at full size and print it. It is the same drawing you just learned, with clean lines ready for crayons or markers.
How to color your shamrock drawing
Color the leaves in different shades of green, with lighter green on the side leaves and darker green in the center. Color the stem a darker green. For a creative twist, try rainbow stripes on the leaves.
Shamrock fun fact for kids
The word shamrock comes from the Irish word seamróg, which means "little clover." People in Ireland wear shamrocks on St. Patrick's Day, March 17.
Questions about drawing a shamrock
What shapes do I need to draw a shamrock?
You need one heart for the center, two bumpy leaf shapes for the sides, and a long curved line for the stem. Two small dots and a curve make the face, and two short lines make the veins.
How do I make my shamrock look cuter?
Give it a smiley face on the center heart, with two round dot eyes and a small smile. Keep the dots small and place them close together near the top of the heart.
How do I draw the two side leaves evenly?
Draw the center heart first, then add one leaf on each side. Make both side leaves about the same size and have them meet the center heart at the same point at the bottom.