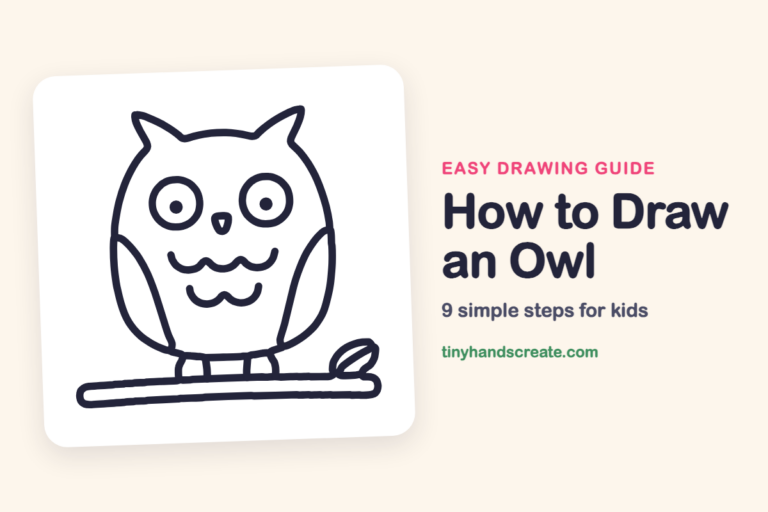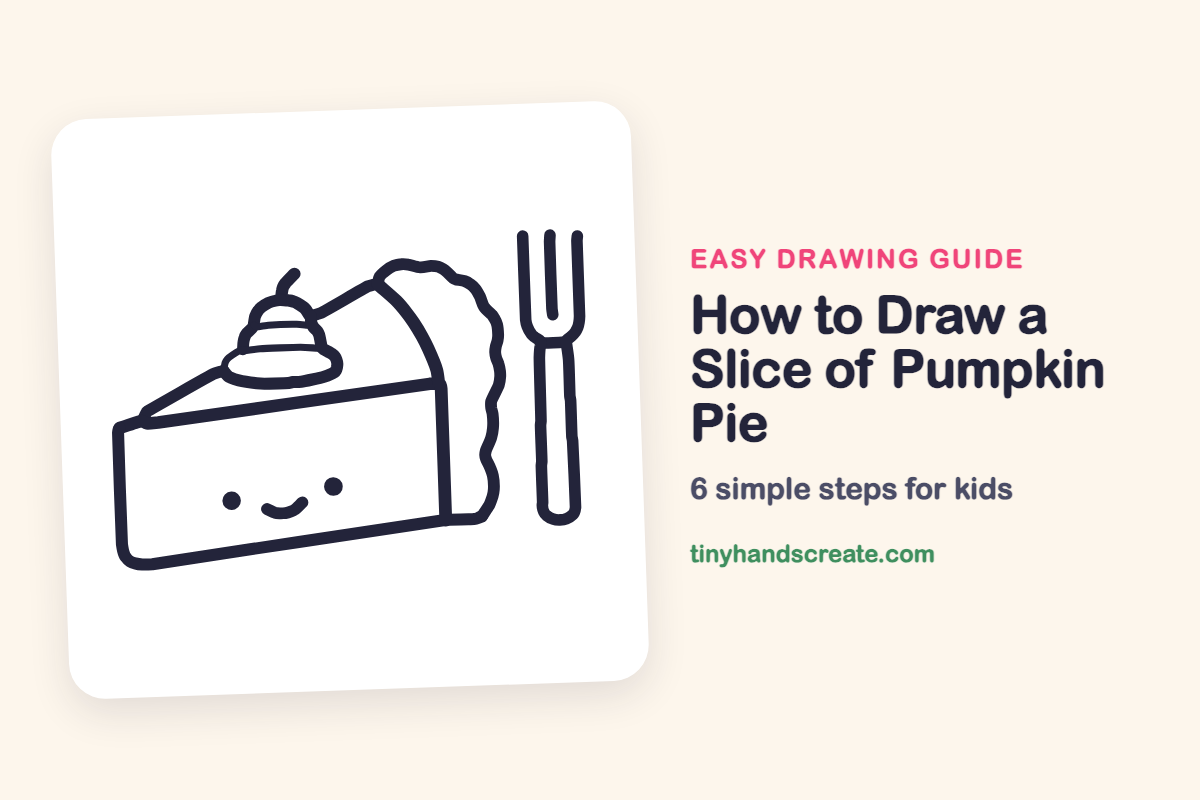
How to Draw a Slice of Pumpkin Pie (Easy Step by Step)
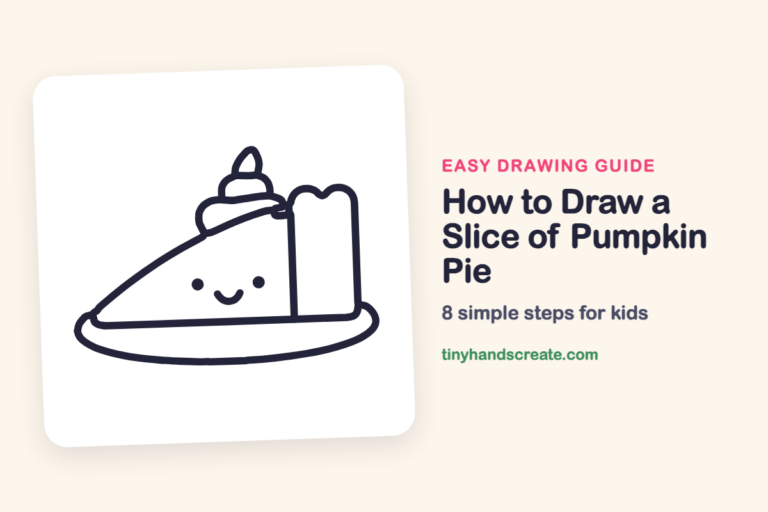
A smiling slice of pumpkin pie with a fork is a cozy fall drawing, and it is easier than it looks. It is built from a wedge shape, a bumpy crust, a stacked swirl of whipped cream, and a fork made of straight lines and a U. Add two dots and a smile and your pie has a happy personality.
- Easy
- 12 minutes
- 6 steps
You need: paper, a pencil, an eraser, and crayons or markers for coloring.
Start drawingIn this article (7 sections)
How to draw a slice of pumpkin pie step by step
How to Draw a Slice of Pumpkin Pie · tinyhandscreate.com
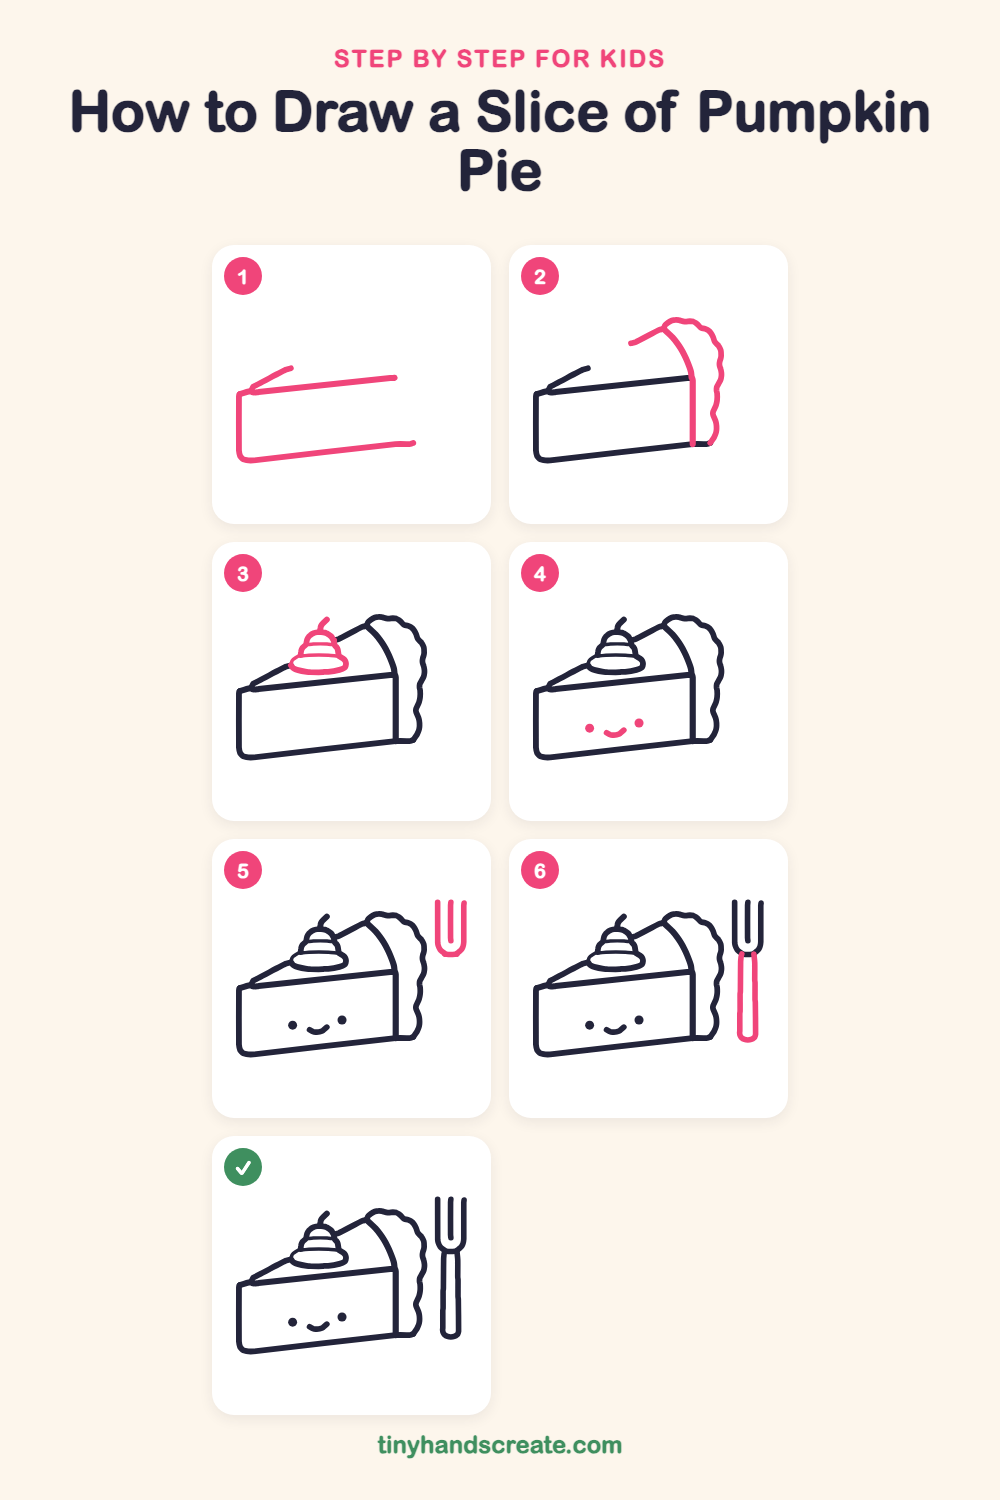
Step 1: Pie front and top
Draw a tall line on the left, curve around the bottom corner, and run a long line to the right that rises a little. Then draw a second long line from the top of the left side going right, and add a short slanted line sticking up and left from that top corner.
Step 2: Crust and top edge
At the right end, draw a straight line down from the top of the front to the bottom. Draw a slanted line going up and right from the top, and let it curve down to meet the straight line. Then draw a bumpy, cloud-like edge outside it, up and over the top and back down to the bottom corner.
Step 3: Whipped cream swirl
On top of the slice, draw a flat oval for the bottom of the swirl. Stack two smaller rounded layers on top of it, then finish with a little curl sticking up.
Step 4: Eyes and smile
On the front of the slice, draw two small round dots for eyes, spaced wide apart. Between them, a little lower, draw a small curved smile.
Step 5: The fork prongs
To the right of the pie, draw a tall, narrow U shape that is open at the top. Add a line down the middle from the top to the bottom curve so the fork has three prongs.
Step 6: The fork handle
Below the prongs, draw two long straight lines going down, close together and side by side. Close the bottom with a rounded end.
All done!
Go over your lines with a marker, then color it in.
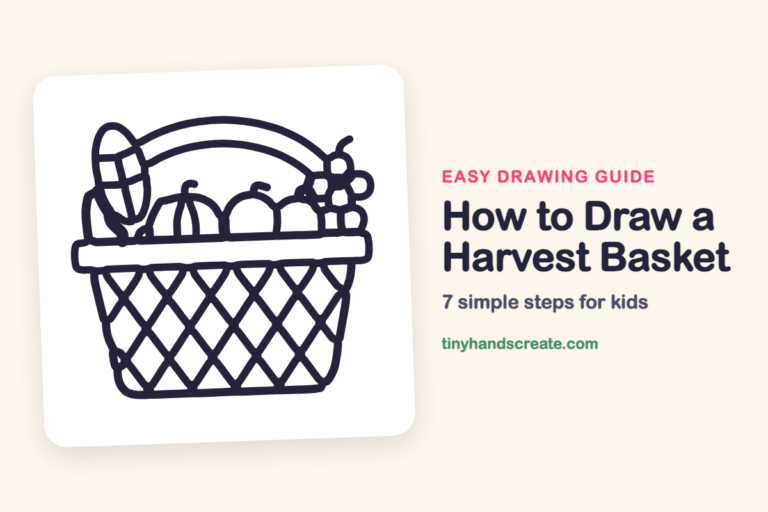
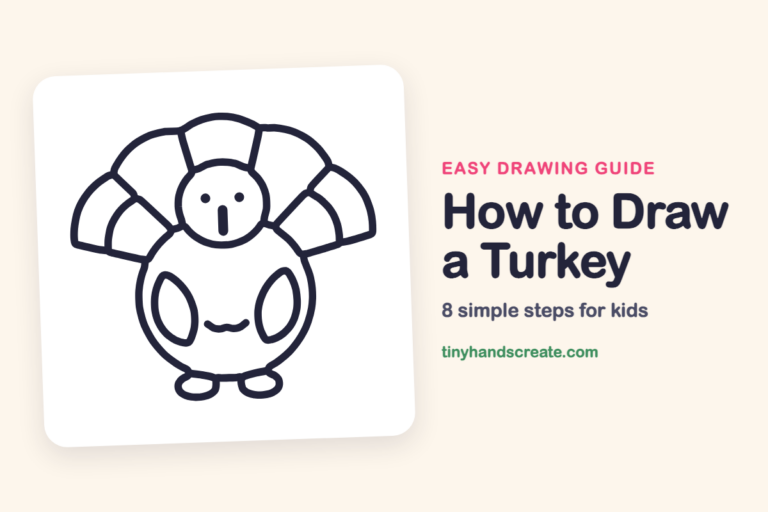
Finished your slice of pumpkin pie? Keep the pencils out and learn how to draw a harvest basket or how to draw a turkey next.
Tips for drawing a slice of pumpkin pie
- Start with the front of the slice and draw the long bottom line slowly, letting it tilt up a little toward the crust so the slice looks like it is sitting down.
- The bumpy crust is the trickiest part. Draw it as a row of little bumps, like a cloud, and do not worry if the bumps are different sizes.
- Draw the fork last and keep the three prongs about the same height, then check that the two handle lines start right under the U.
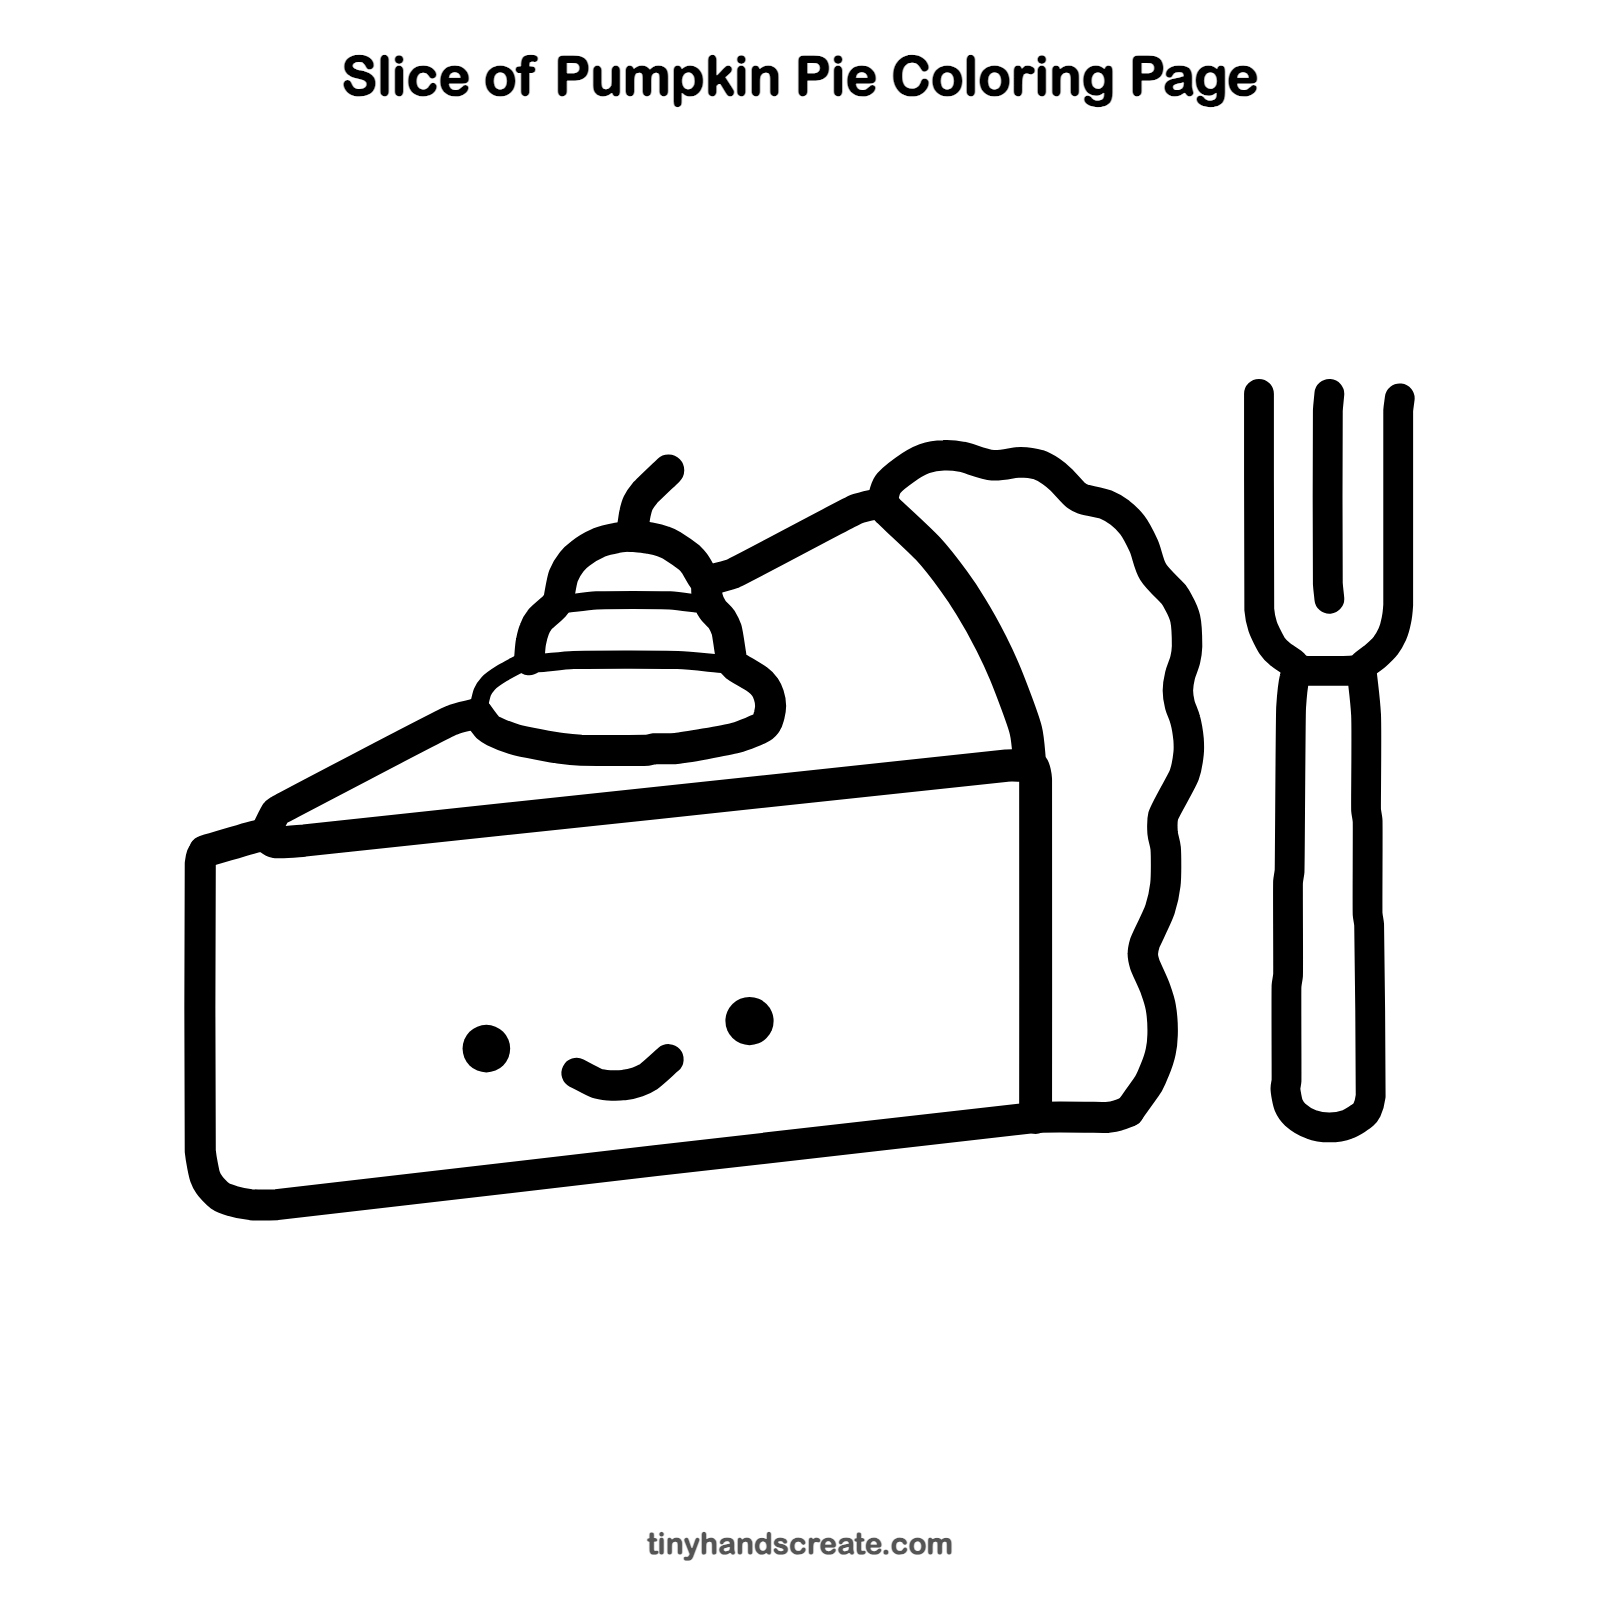
Free slice of pumpkin pie coloring page
Want to go straight to coloring? Open this slice of pumpkin pie coloring page at full size and print it. It is the same drawing you just learned, with clean lines ready for crayons or markers.
How to color your slice of pumpkin pie drawing
Color the filling a warm orange, the crust golden brown, and the whipped cream white or soft cream, with a silver or gray fork. For a creative twist, color the pie purple for a magic pumpkin pie.
Slice of pumpkin pie fun fact for kids
Pumpkin pie is a classic Thanksgiving dessert in the United States, and many families bake one every November. Pumpkins grow on vines along the ground, and the filling is made from cooked, mashed pumpkin mixed with spices.
Questions about drawing a slice of pumpkin pie
What shapes do I need to draw a pumpkin pie slice?
You need a long wedge for the slice, a flat oval with smaller layers for the whipped cream, and a bumpy cloud line for the crust. The fork uses a tall U shape with a middle line, and two long handle lines.
How do I make my pie slice look cuter?
Add two round dot eyes and a small curved smile low on the front of the slice. Placing the face a little low and wide apart makes it look extra sweet.
How do I draw the bumpy crust edge?
Draw the curved line first as a guide, then add small rounded bumps along the outside, like a cloud. Go slowly and let each bump touch the next one.