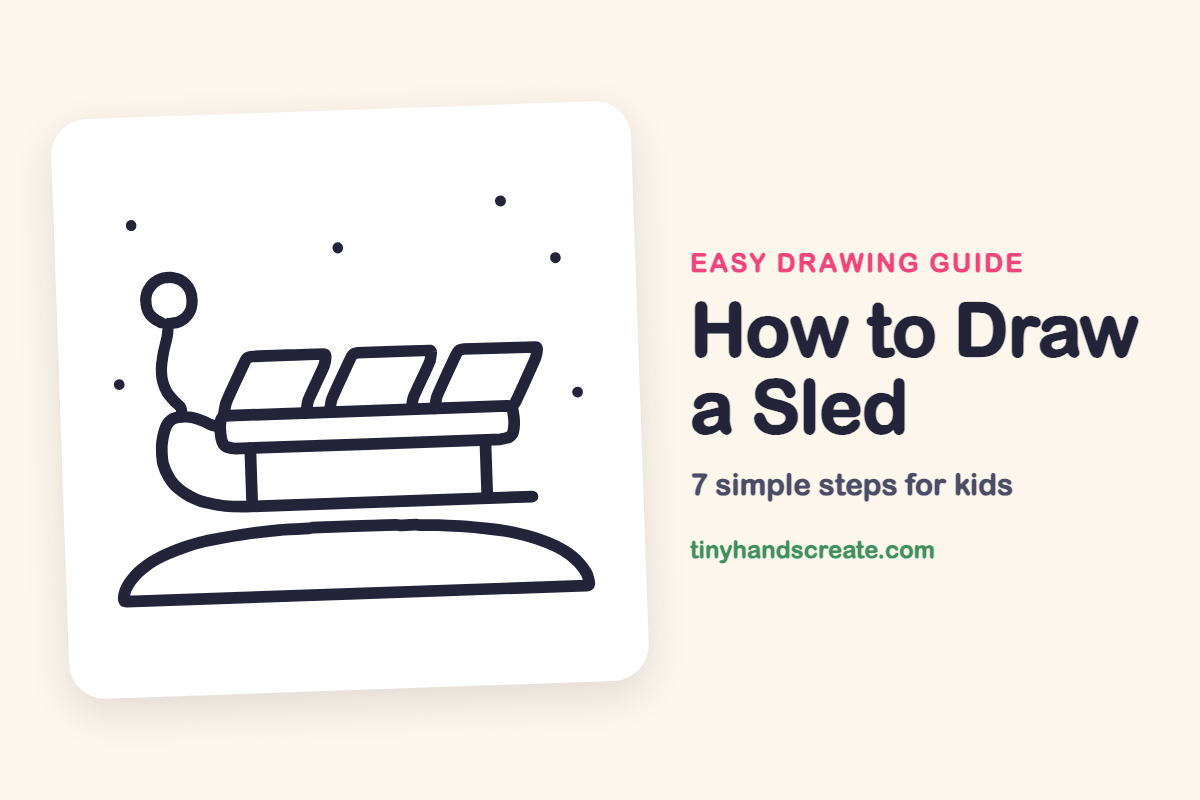
How to Draw a Sled (Easy Step by Step)
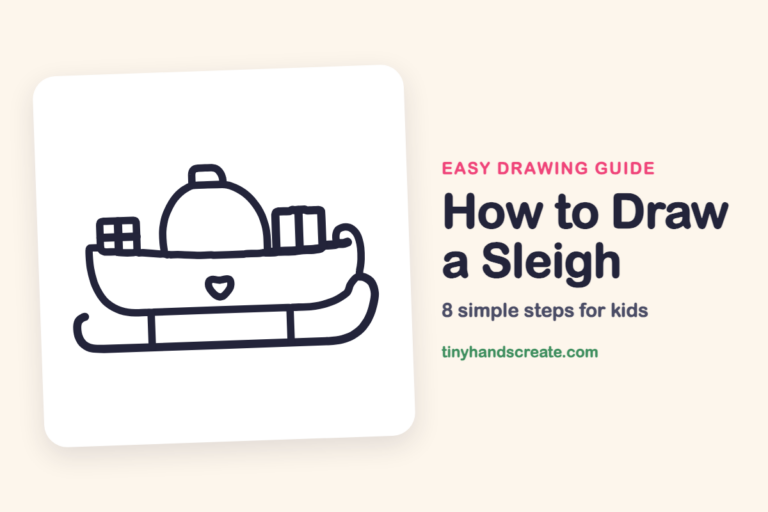
A sled is a fun first drawing because it is mostly straight lines and boxes with one curl at the front. You will build it from rectangles, a wide snowy hill, a small circle, and a few snowy dots. It looks like a winter day when you finish.
- Easy
- 12 minutes
- 7 steps
You need: paper, a pencil, an eraser, and crayons or markers for coloring.
Start drawingIn this article (7 sections)
How to draw a sled step by step
How to Draw a Sled · tinyhandscreate.com
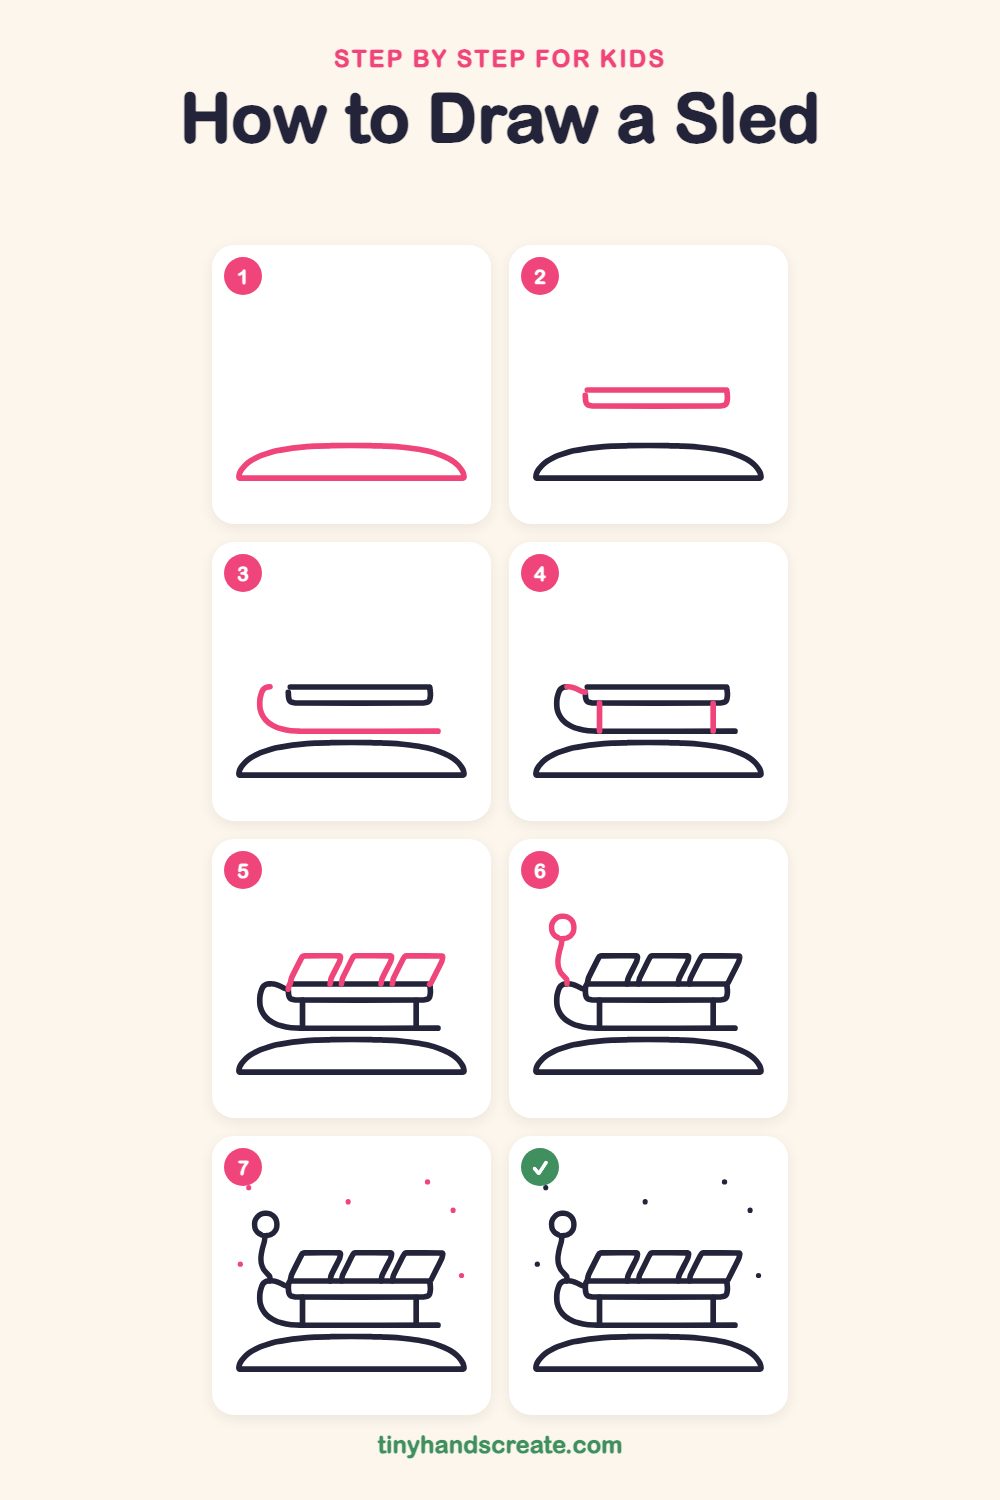
Step 1: The snowy hill
Near the bottom of the page, draw a long flat line. Then draw a wide, smooth hump above it, like a squashed half circle, that starts and ends on the ends of the flat line.
Step 2: The seat
Above the hill, draw one long, thin rectangle with rounded corners for the seat. Leave a little space between the seat and the hill.
Step 3: The curly runner
Under the seat, draw a long straight line for the runner that glides on snow. At the left end, curve it up and around into a hook that stops just before the seat.
Step 4: Legs and curl link
Draw two short straight lines going down from the bottom of the seat to the runner, one near each end. Then draw a tiny curved line that joins the top of the hook to the left corner of the seat.
Step 5: The back panels
On top of the seat, draw three slanted boxes in a row, with no line along the bottom. Each one leans to the right, and they all match in size.
Step 6: The pull rope
Start at the curl at the front of the sled and draw a wavy line going up. At the top, draw a small circle for the handle.
Step 7: Falling snowflakes
Fill the sky with little dots, some high and some low, around the sled. Press your pencil down and lift it for each one.
All done!
Go over your lines with a marker, then color it in.
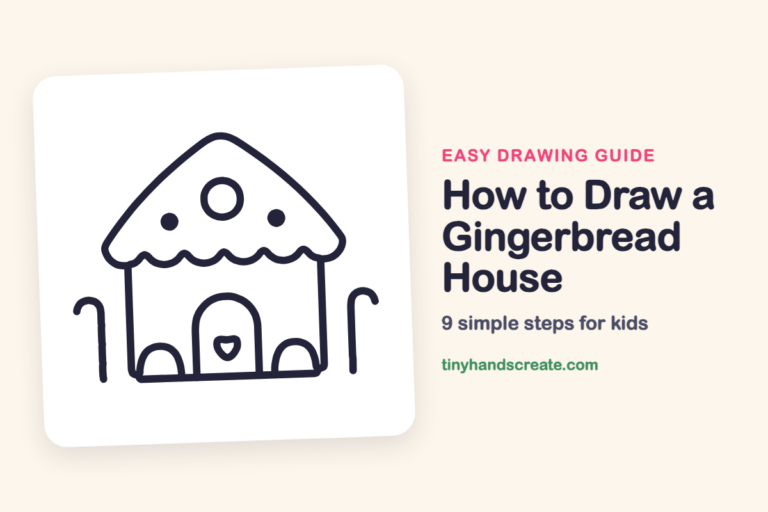
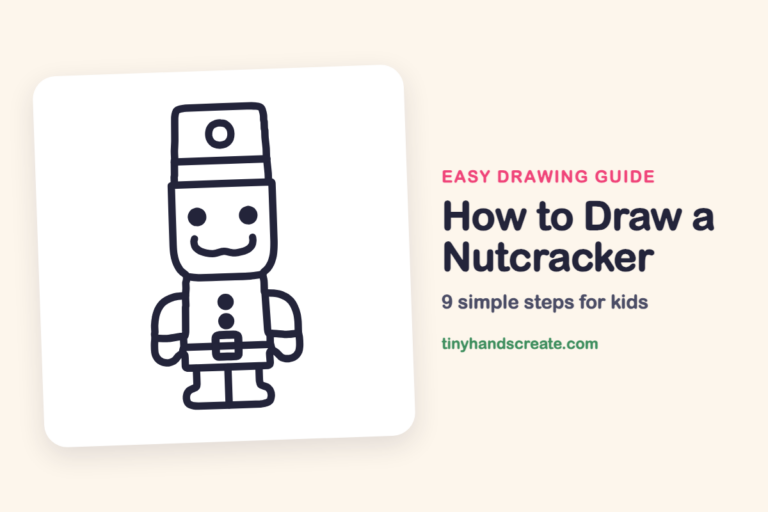
Finished your sled? Keep the pencils out and learn how to draw a gingerbread house or how to draw a nutcracker next.
Tips for drawing a sled
- The three back panels are the trickiest part. Draw the first one, then copy its slant and size for the next two so they lean the same way.
- Draw the long runner line first, then add the curl at the left end. Go slowly and let your pencil curve gently instead of making a sharp turn.
- Keep the two legs straight up and down and about the same length. Look at where the runner is so both legs touch it.
Free sled coloring page
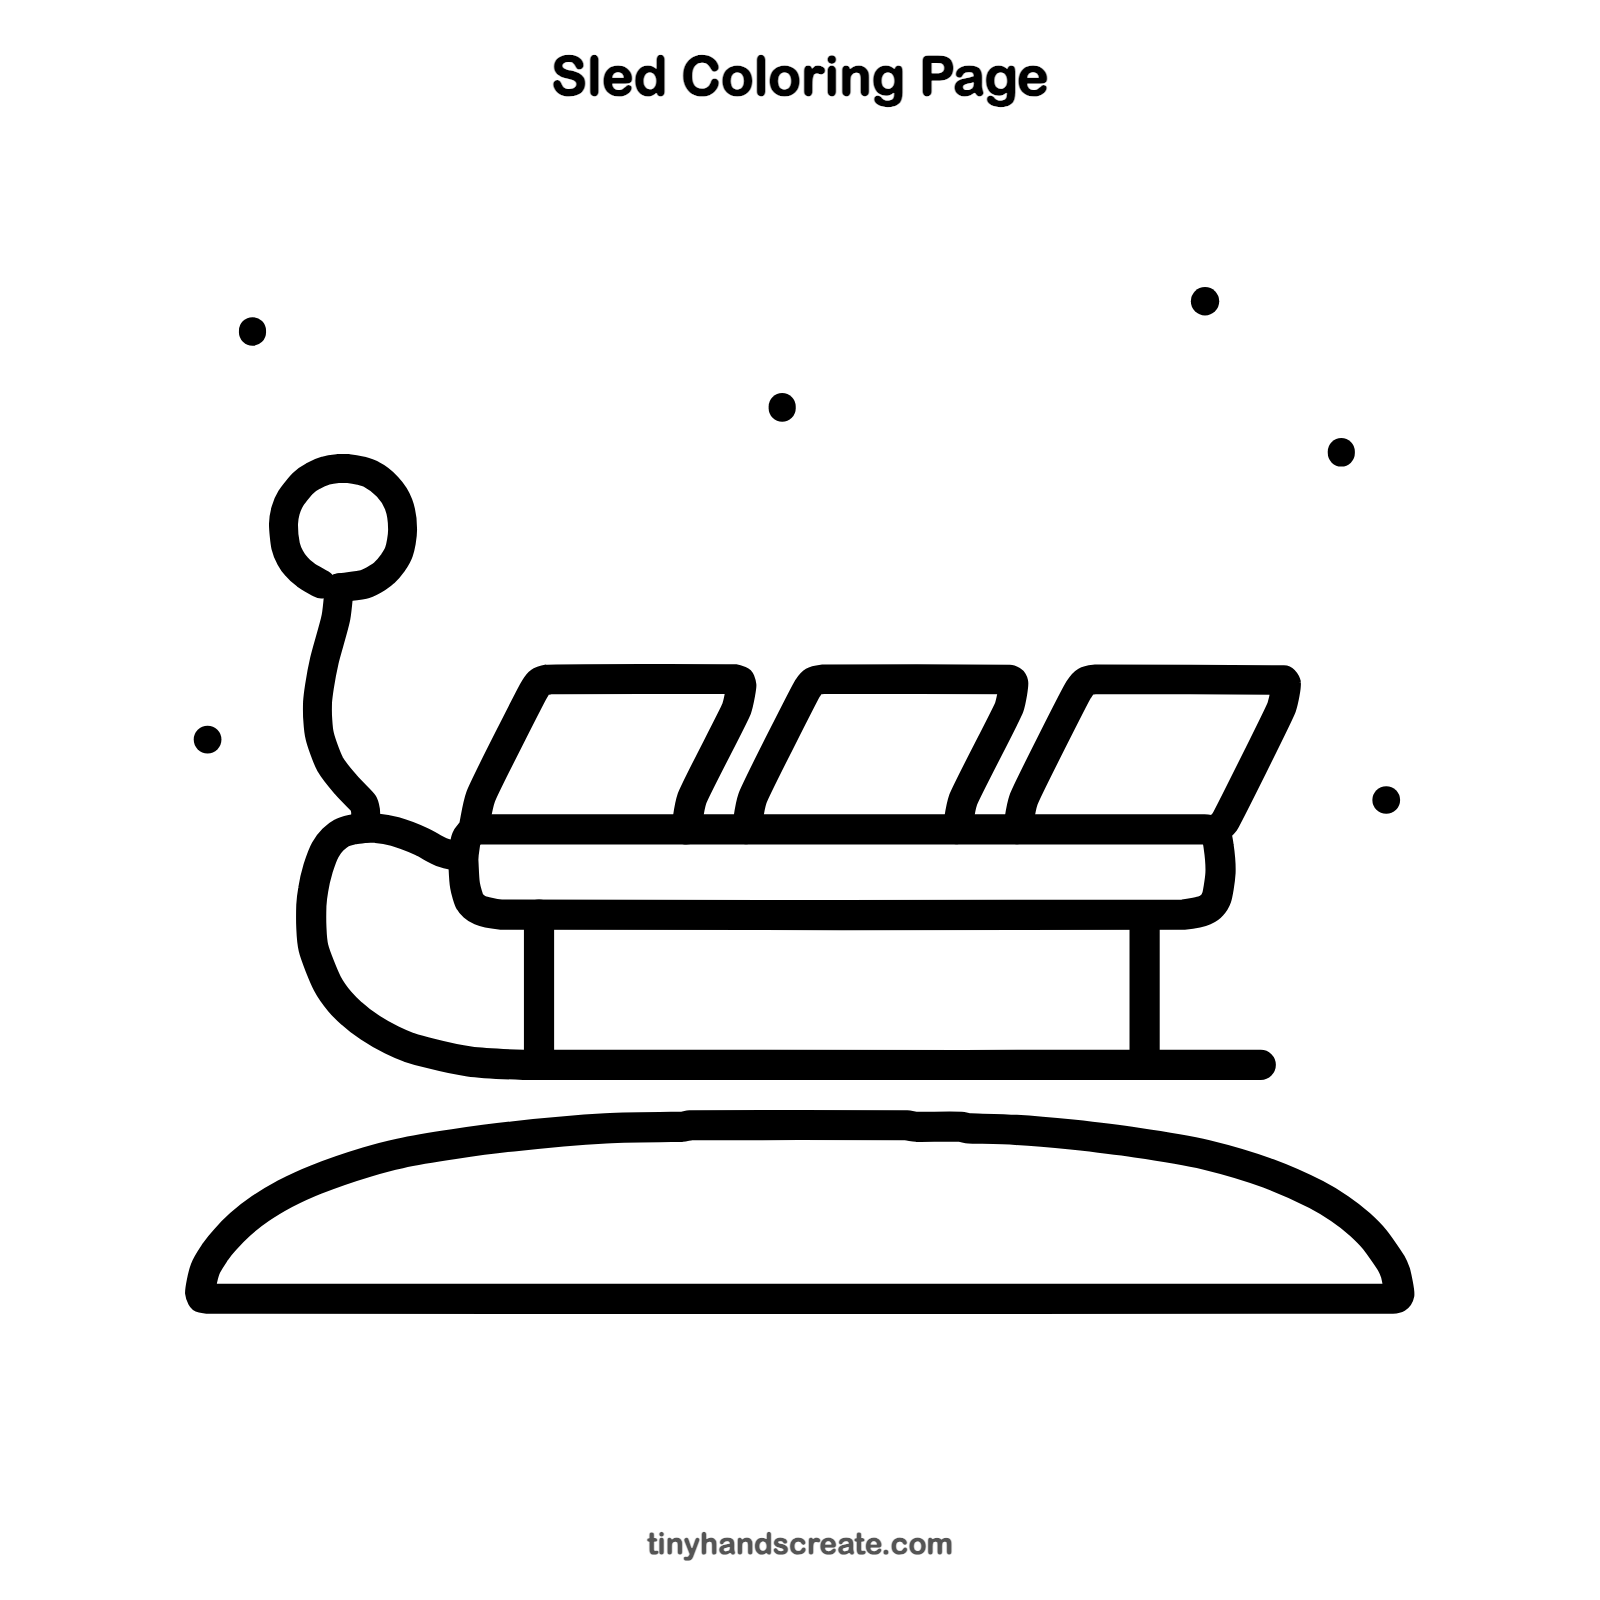
Want to go straight to coloring? Open this sled coloring page at full size and print it. It is the same drawing you just learned, with clean lines ready for crayons or markers.
How to color your sled drawing
Try a bright red or blue sled with a brown seat and white or light blue snow on the hill. For a creative twist, color each back panel a different color to make a rainbow sled.
Sled fun fact for kids
The curled front of a sled helps it ride up over bumps in the snow instead of digging in. People have used sleds for thousands of years to carry things across snow and ice.
Questions about drawing a sled
What shapes do I need to draw a sled?
You need a long rectangle for the seat, three slanted boxes for the back, a long line with a curl for the runner, two short lines for the legs, a small circle for the rope handle, and a wide hump for the hill.
How do I draw the curled front of a sled?
Start at the left end of the long runner line and curve upward in a smooth hook, ending just before the seat. Draw it lightly first, then press harder once the curve looks right.
How can I make my sled drawing look more like winter?
Add more snow dots in the sky and color the hill white or pale blue.