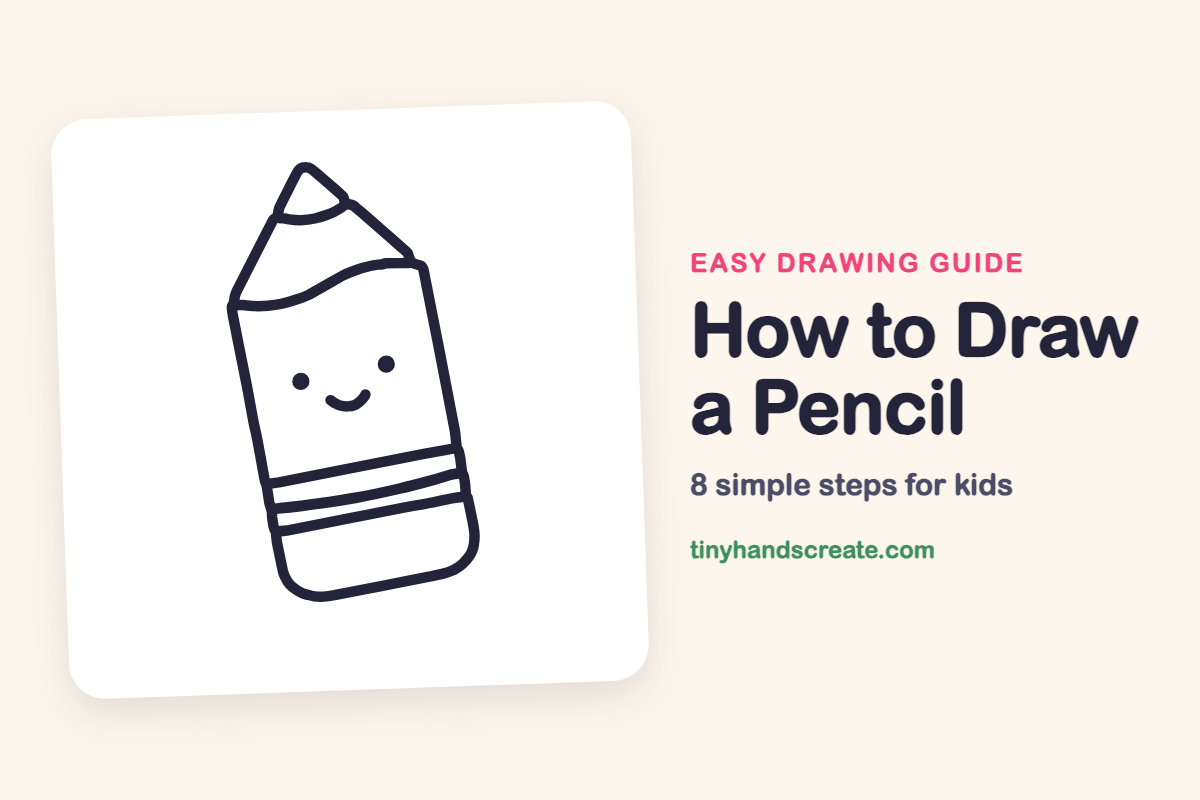
How to Draw a Pencil (Easy Step by Step)
A pencil with a smiling face is a great first drawing because it is mostly straight lines and a few curves. You will build it from a tall body with a pointed top, a wavy line, and some stripes. Adding a tiny face makes it feel like a friend.
- Easy
- 10 minutes
- 8 steps
You need: paper, a pencil, an eraser, and crayons or markers for coloring.
Start drawingIn this article (7 sections)
How to draw a pencil step by step
How to Draw a Pencil · tinyhandscreate.com
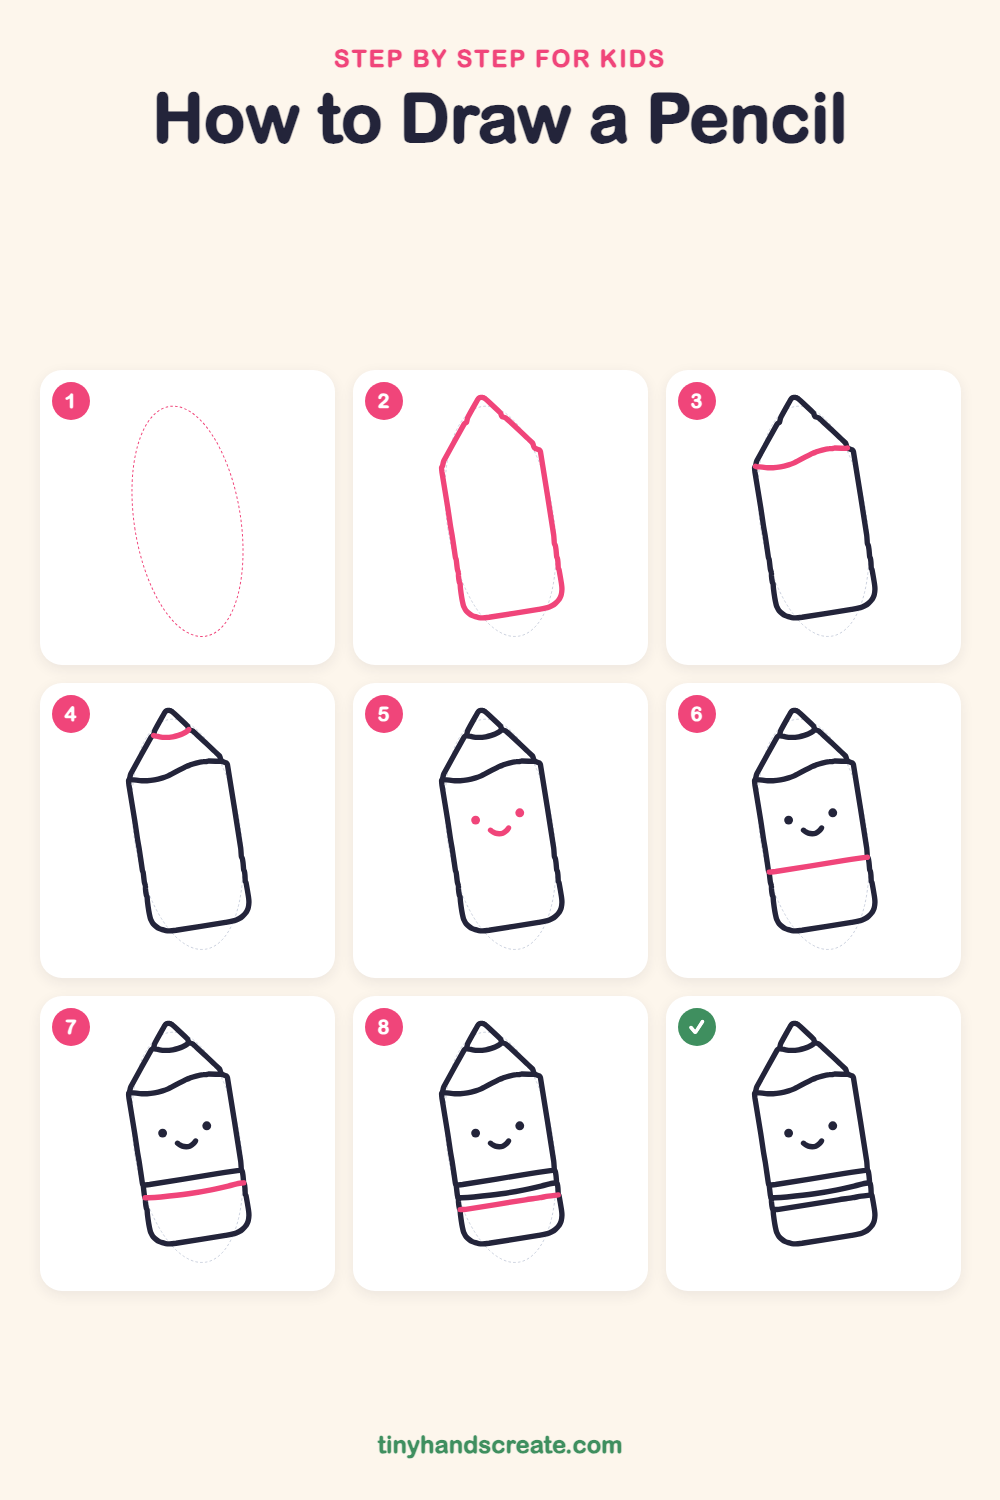
Step 1: Guide shapes
Lightly sketch this oval. It only shows where the big parts go, so press softly. You will erase it at the end.
Step 2: Pencil outline
Draw a tall, tilted shape with straight sides and a pointed top, like a house with a skinny roof. Round the two bottom corners so the bottom looks soft.
Step 3: The wavy line
Draw a gentle wavy line across the body, from the left corner where the pointed top starts to the right corner. This is where the sharpened wood meets the pencil body.
Step 4: The lead tip
Near the very top of the point, draw a small curved line from one side to the other. The little piece above it is the dark lead.
Step 5: Eyes and smile
In the middle of the body, draw two small round dots for eyes. Between and a little below them, draw a short curved smile like a letter U.
Step 6: The first stripe
Near the bottom of the body, draw a long straight line from the left side to the right side. Tilt it the same way as the pencil.
Step 7: The second stripe
Draw a second line just below the first, going all the way across. It curves up a tiny bit in the middle. Leave a narrow stripe between the two lines.
Step 8: The third stripe
Draw one more line below the second, again from side to side. The space under it is the eraser end of your pencil.
All done!
Erase the guide shapes, go over your lines, then color it in.
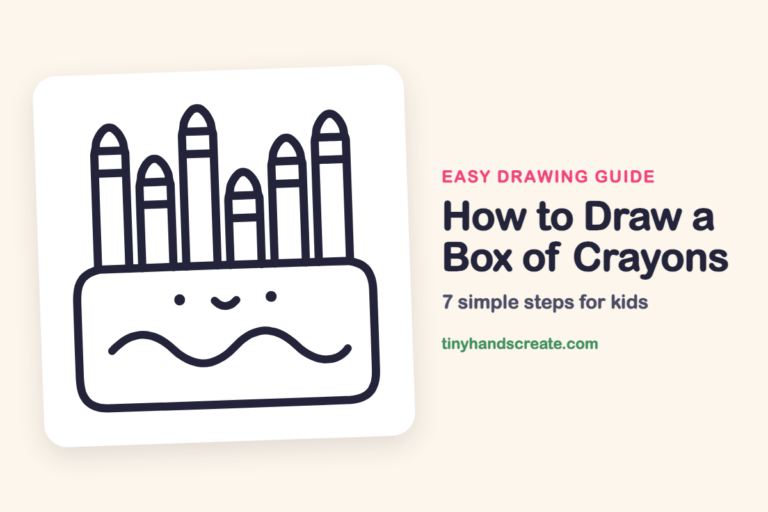
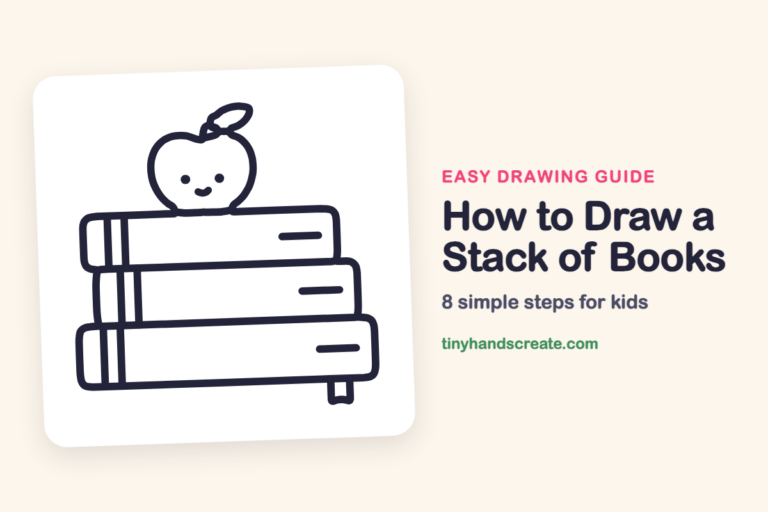
Finished your pencil? Keep the pencils out and learn how to draw a box of crayons or how to draw a stack of books next.
Tips for drawing a pencil
- Tilt the whole pencil just a little. Draw the left side first, then make the right side match so the two sides stay about parallel.
- The wavy line is the trickiest part. Go slowly and think of one soft hill and one soft valley.
- Draw the three stripes near the bottom with a ruler edge or a straight card if the lines wobble. Keep them all tilted the same way.
Free pencil coloring page
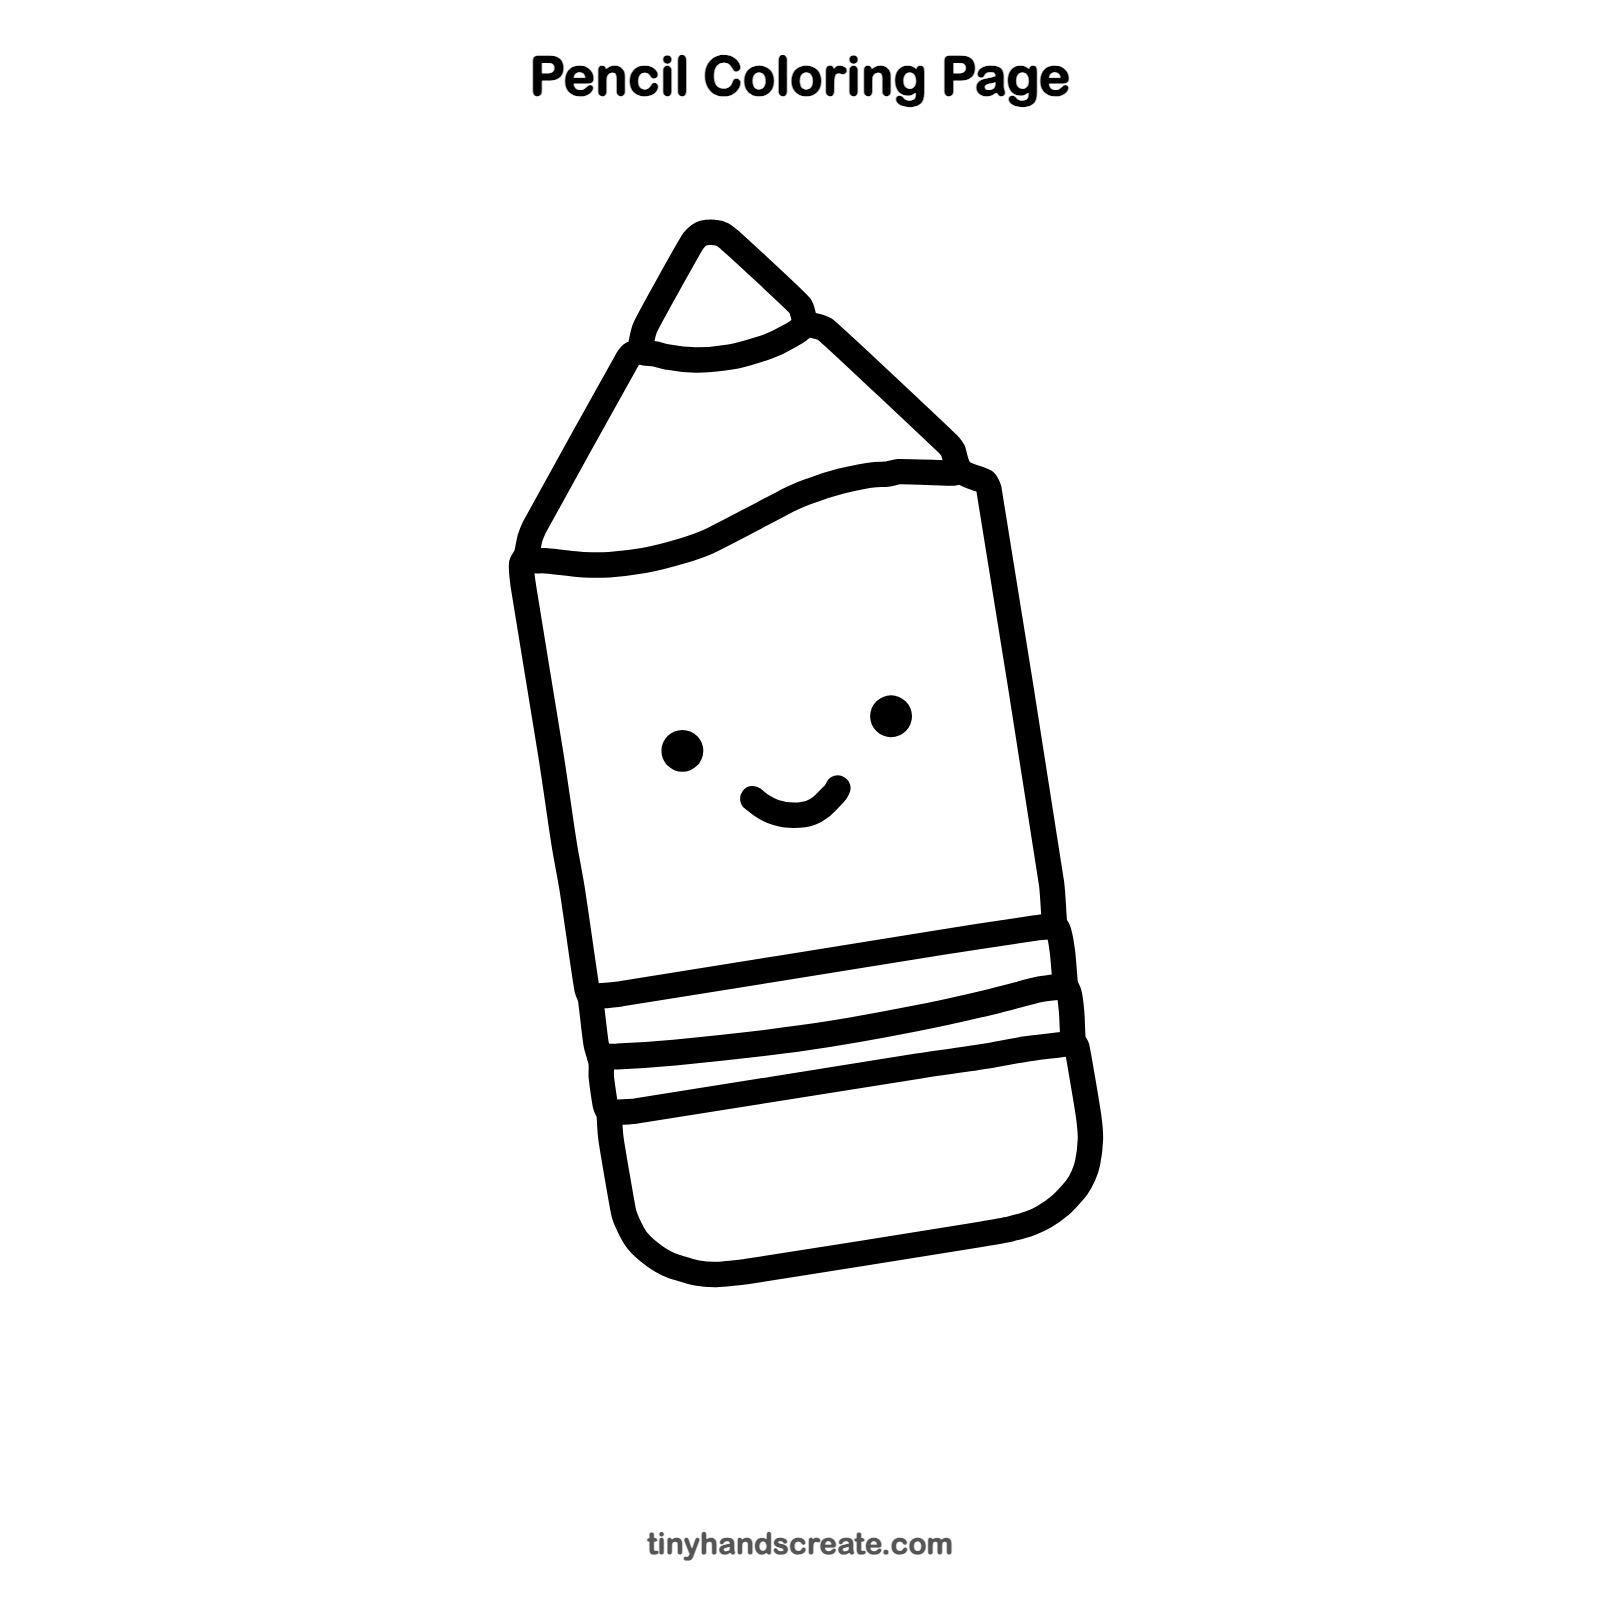
Want to go straight to coloring? Open this pencil coloring page at full size and print it. It is the same drawing you just learned, with clean lines ready for crayons or markers.
How to color your pencil drawing
Try a classic yellow body with a pink eraser, a tan tip, and a dark gray lead. For a creative twist, give each stripe a different rainbow color.
Pencil fun fact for kids
Most pencils do not contain lead at all. The dark middle is made of graphite mixed with clay, and it got the name lead long ago because people thought graphite was a kind of lead.
Questions about drawing a pencil
What shapes do I need to draw a pencil?
You need a tall body with a pointed top, a wavy line where the sharp tip begins, and a small curve for the lead. A few long lines make the stripes, and two dots and a curve make the face.
How do I make my pencil look cuter?
Add a smile and two round eyes in the middle of the body. Keep the smile small and put it just below and between the eyes.
How do I keep the lines of my pencil straight?
Look at where the line will end before you start, then draw in one smooth move. Resting the side of your hand on the paper helps too.