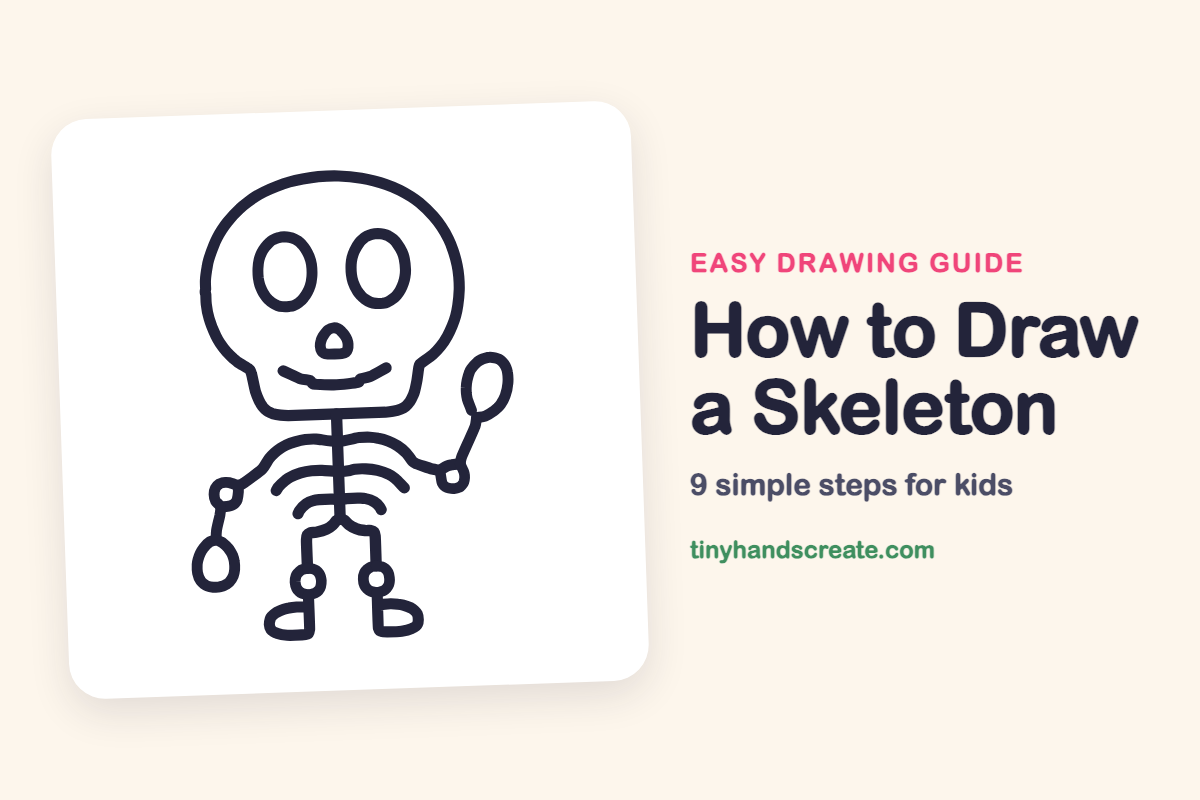
How to Draw a Skeleton (Easy Step by Step)
A friendly skeleton is a great first spooky drawing because it is built from simple shapes: a big rounded skull, ovals for eyes, curved lines for ribs and little circles for joints. One hand is raised as if it is waving hello, which makes it more cheerful than creepy.
- Medium
- 15 minutes
- 9 steps
You need: paper, a pencil, an eraser, and crayons or markers for coloring.
Start drawingIn this article (7 sections)
How to draw a skeleton step by step
How to Draw a Skeleton · tinyhandscreate.com
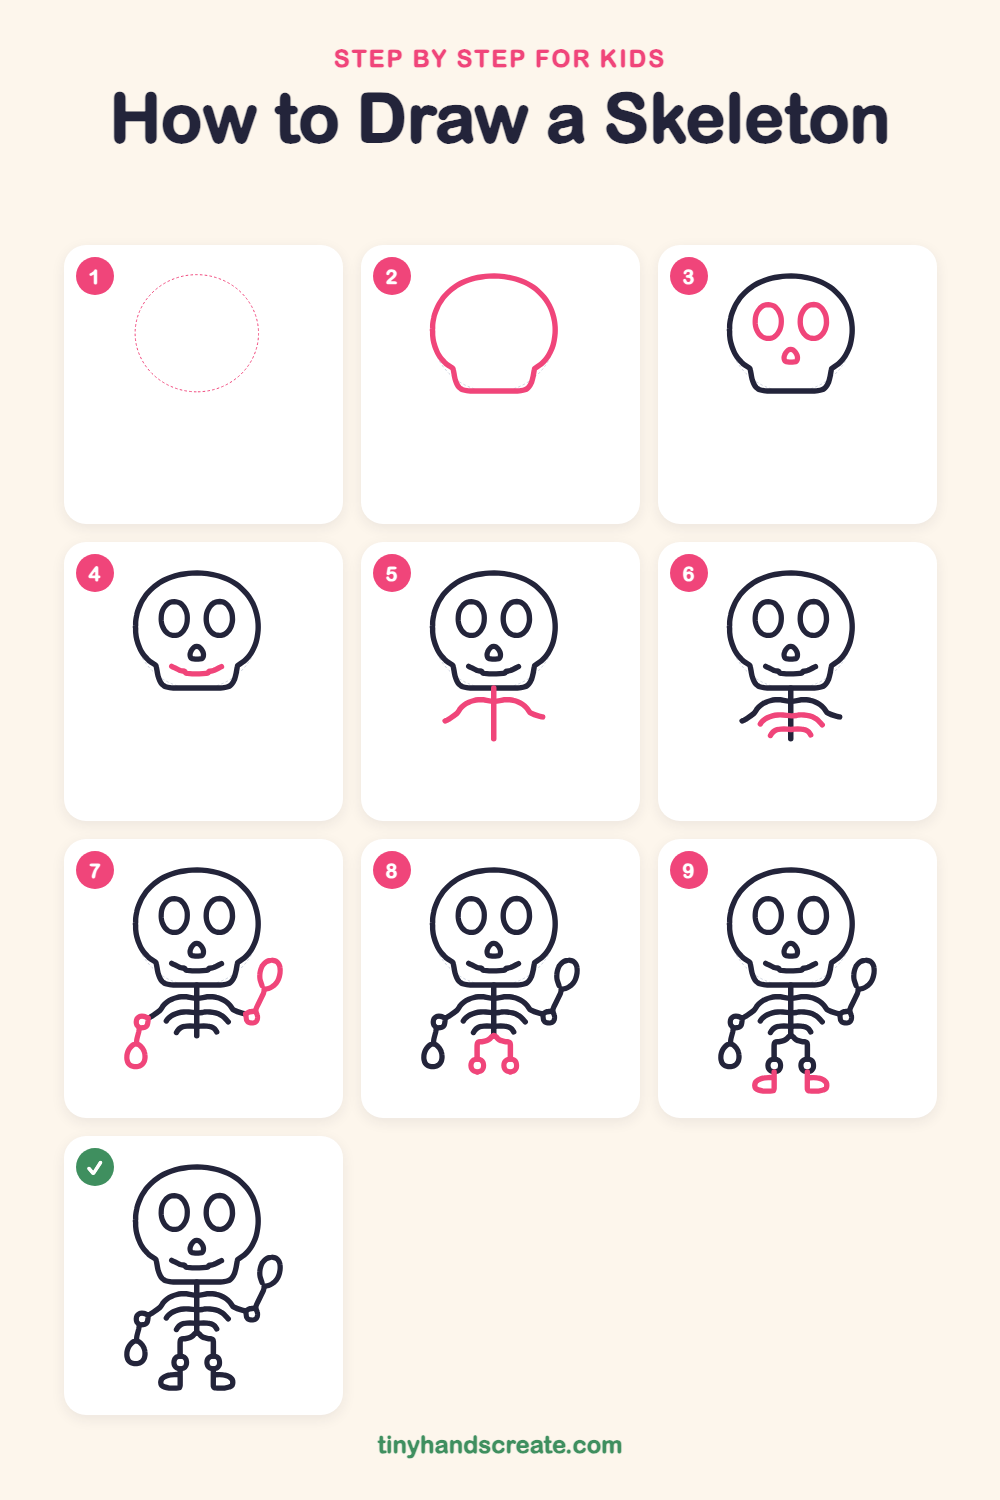
Step 1: Guide shapes
Lightly sketch this oval. It only shows where the big parts go, so press softly. You will erase it at the end.
Step 2: The skull
Draw a big rounded shape for the head, wide at the top like an egg. Give it a narrower jaw at the bottom with a flat chin and a little notch on each side where the cheeks meet the jaw.
Step 3: Eyes and nose
Inside the skull, draw two tall ovals side by side for the eye holes. Below and between them, add a small upside-down heart or rounded triangle for the nose.
Step 4: The smile
Near the bottom of the face, draw one short curved line for a smile, with its ends turning up a little.
Step 5: Spine and shoulders
Draw one straight line down from the bottom of the skull for the spine. Then draw a wavy line across it near the top for the shoulders, curving down at both ends.
Step 6: The ribs
Under the shoulders, draw two curved lines that cross the spine, like smiles that get a bit smaller as you go down. These are the ribs.
Step 7: The arms
At the end of each shoulder, draw a small circle for the elbow. From each elbow, draw a short line down to a teardrop-shaped hand. Make one hand raised up to wave and one hanging down.
Step 8: The hips and legs
At the bottom of the spine, draw a small curved bump for the hips. From each side of the bump, draw a short line straight down, and finish each with a little circle for the knee.
Step 9: The feet
Under each knee, draw a flat foot shaped like half an oval. Point the feet outwards, one to the left and one to the right.
All done!
Erase the guide shapes, go over your lines, then color it in.
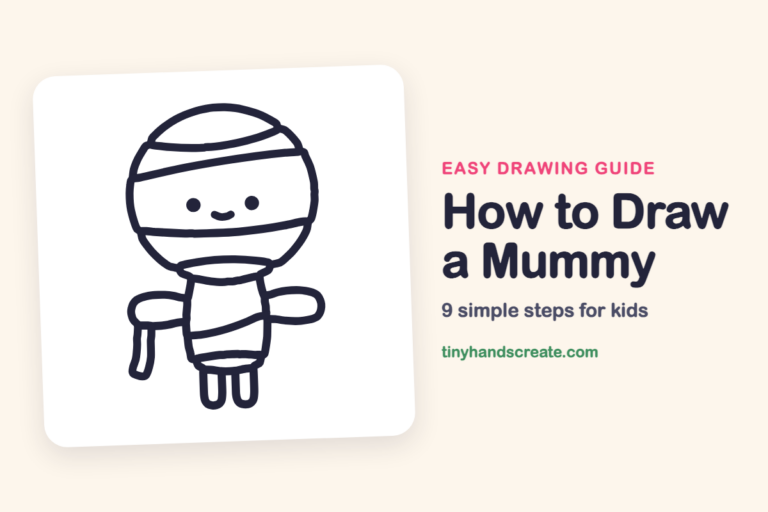
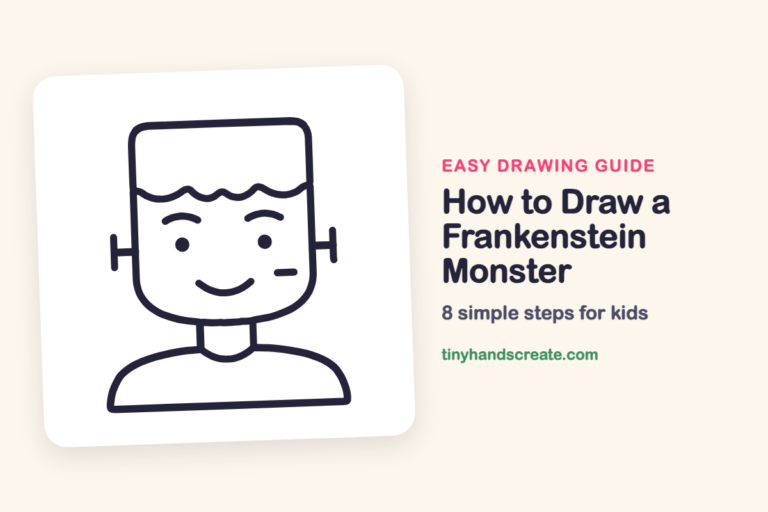
Finished your skeleton? Keep the pencils out and learn how to draw a mummy or how to draw a Frankenstein monster next.
Tips for drawing a skeleton
- The skull is the biggest shape, so draw it lightly first. Make it wide at the top and narrower at the jaw, and leave plenty of room below for the body.
- Draw the spine first and let the ribs cross over it. Matching curves on the left and right make the ribs look even, so stop and check each side as you go.
- Draw each knee and elbow circle first, then add the lines that lead to the next part. This keeps the arms and legs joined up in the right places.
Free skeleton coloring page
Want to go straight to coloring? Open this skeleton coloring page at full size and print it. It is the same drawing you just learned, with clean lines ready for crayons or markers.
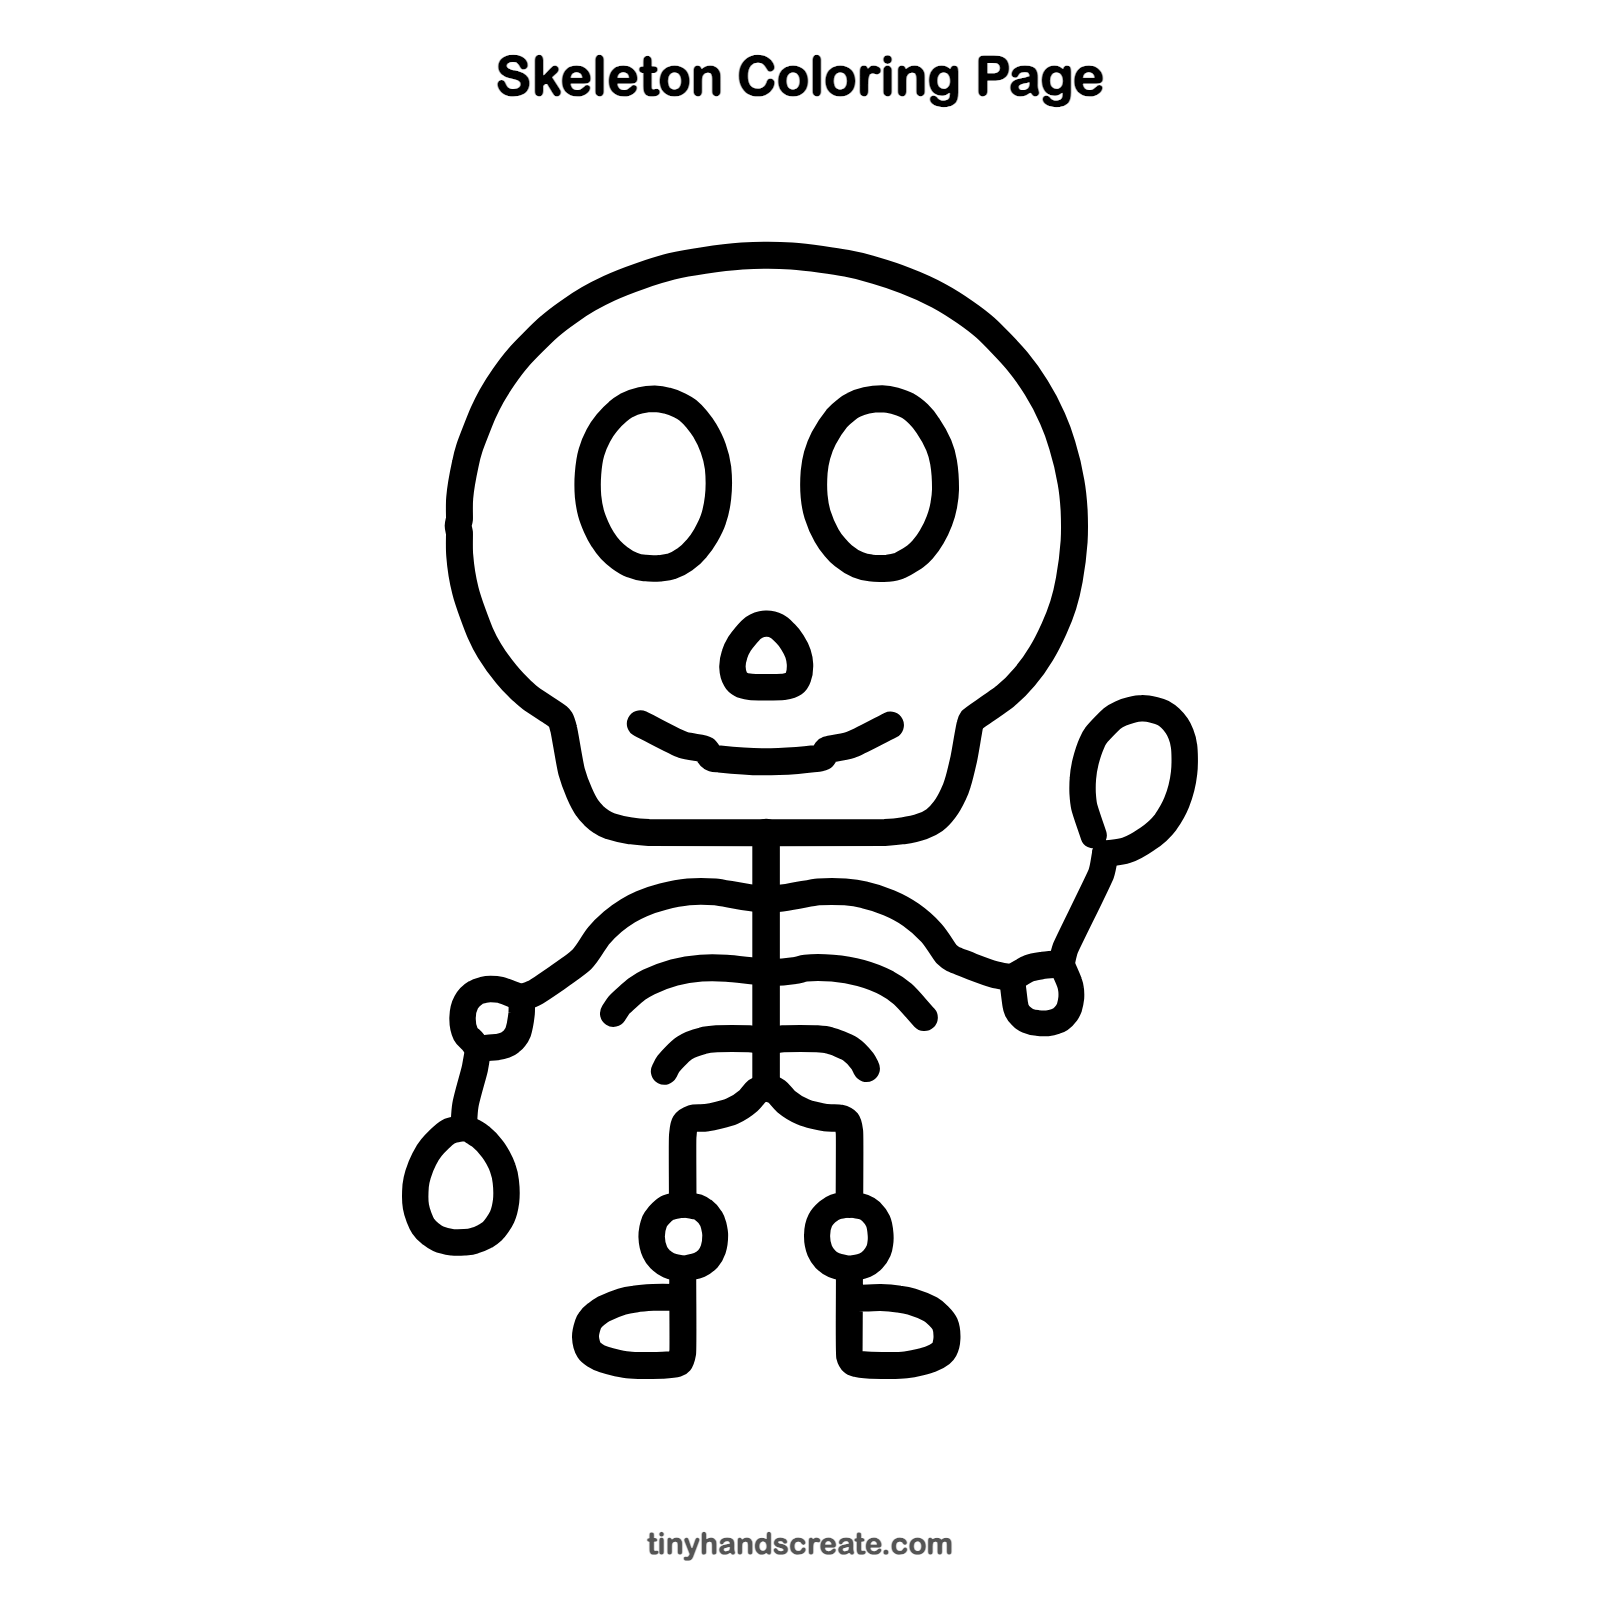
How to color your skeleton drawing
Try soft gray, cream or pale blue for the bones, with a dark purple or night-blue background. For a creative twist, give the skeleton a bright party hat or a pumpkin bucket for its waving hand.
Skeleton fun fact for kids
Adults have 206 bones, but babies are born with about 300. Some of them join together as a child grows.
Questions about drawing a skeleton
What shapes do I need to draw a skeleton?
You need a large rounded shape for the skull, two ovals for the eyes and a small rounded triangle for the nose. The rest is straight and curved lines, small circles for the joints, and teardrops and half ovals for the hands and feet.
How do I make my skeleton look friendly instead of scary?
Give it two tall oval eyes and a curved smile. Raise one arm in a wave, and keep the lines smooth and rounded instead of sharp.
How do I draw ribs that look even?
Draw the spine first, then draw each rib as one curve that passes through the spine. Make the second rib a little shorter than the first, and check that both sides end at about the same height.