How to Draw Santa’s Sleigh (Easy Step by Step)
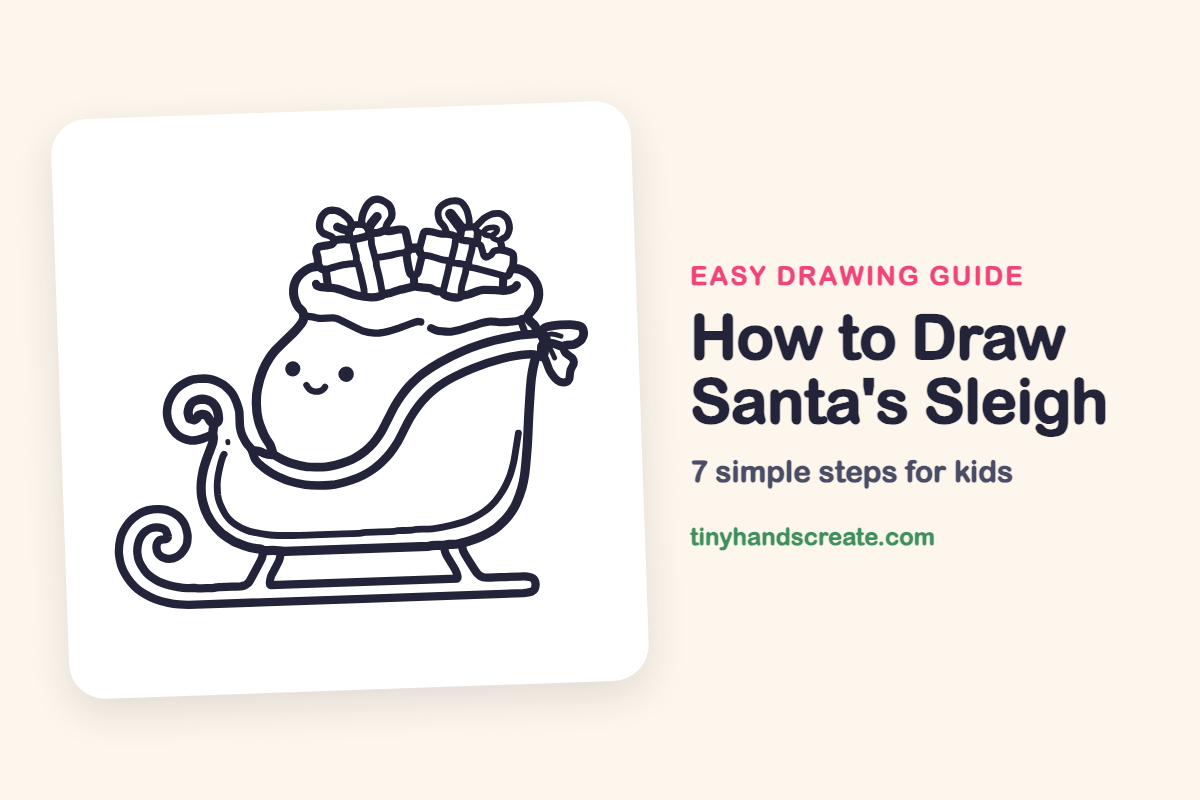
Learn how to draw Santa's cozy sleigh step by step using basic curves, swirls, and simple boxes. You will add a friendly smiling sack of presents on top to finish your festive design.
- Build the sleigh foundation using simple swooping curves and spirals
- Add a charming smiling present sack on top with basic square shapes
- Follow the guided step-by-step drawing player to practice each stroke
This post contains affiliate links. As an Amazon Associate I earn from qualifying purchases.
Santa's sleigh is a cozy drawing built from swooping curves, spirals, and a few little boxes. This one has a smiling sack of presents riding on top, which makes it extra friendly. If you can draw a curve, a swirl, and a square, you can draw it.
- Medium
- 20 minutes
- 7 steps
You need: paper, a pencil, an eraser, and crayons or markers for coloring.
Start drawing
In this article (7 sections)
How to draw Santa's sleigh step by step
How to Draw Santa's Sleigh · tinyhandscreate.com
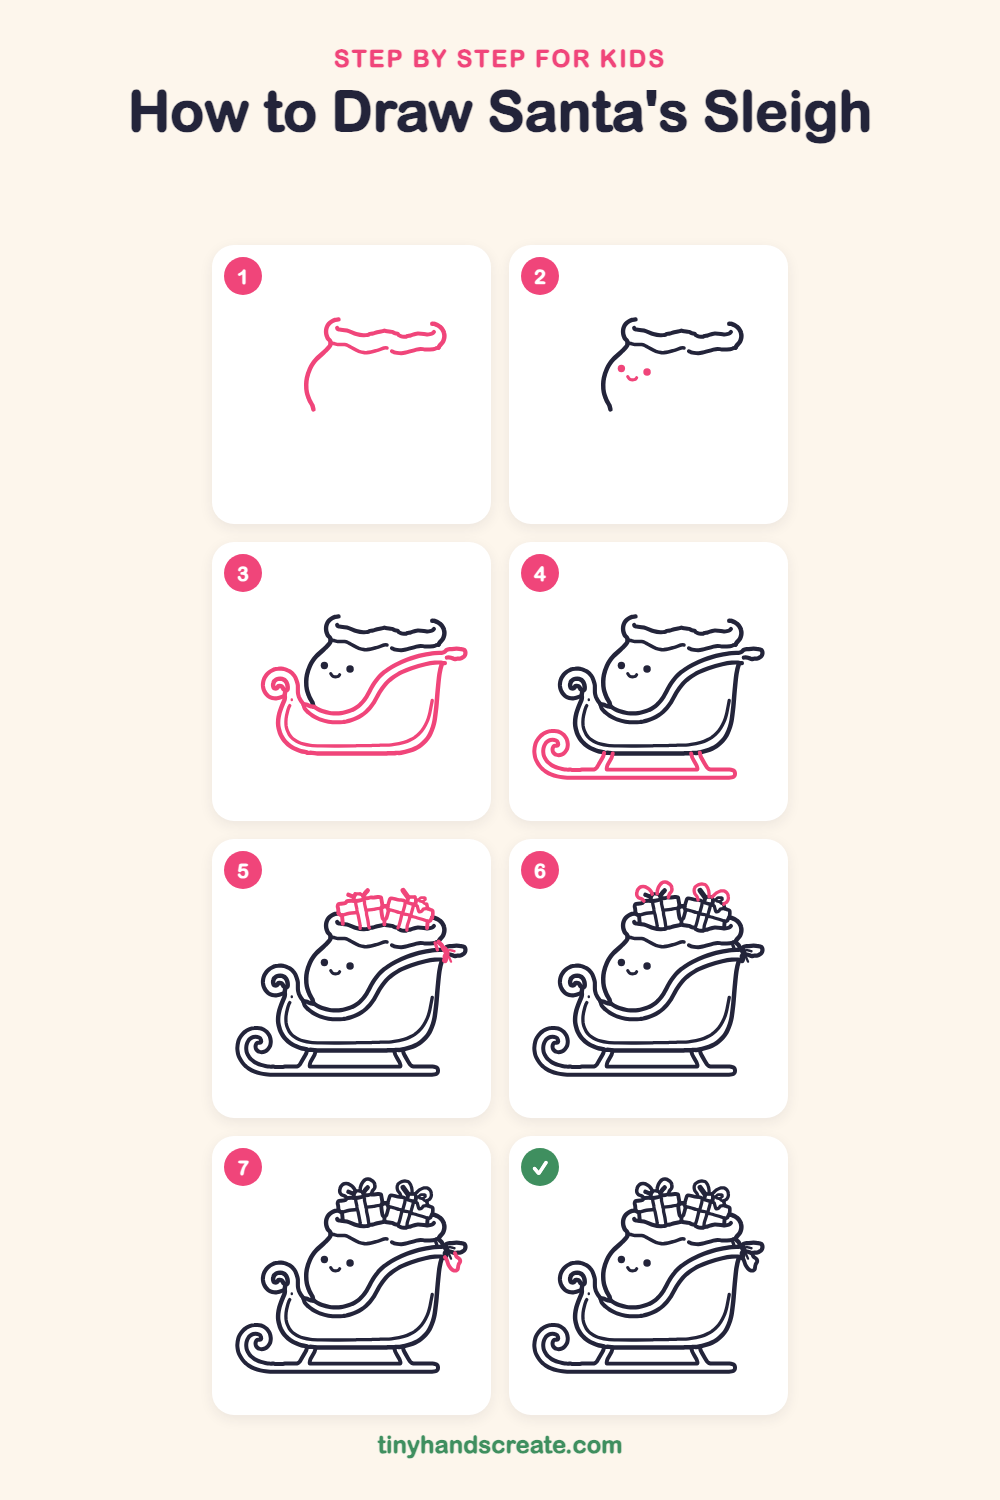
Step 1: Sack rim and side
Draw a wavy, fluffy band across the top for the rim of the sack, with a little curl at each end. Then draw a long curve swooping down from the left end of the rim, like the left side of the sack.
Step 2: The happy face
Draw two small round dots for eyes in the middle of the sack. Add a little curved smile between and below them.
Step 3: The sleigh body
Draw a big curved bowl under the sack, with a long swoop rising up to the right and a tall side on the right. Add a second curved line just inside it to make it look thick, and finish the left end with a small spiral curl.
Step 4: Runner and legs
Draw a long flat line under the sleigh for the runner, and curl its left end into a big spiral. Add two short slanted legs joining the runner to the bottom of the sleigh.
Step 5: Presents and knot
Draw two square boxes poking out above the sack's rim, one on the left and one on the right. Add ribbon lines crossing the boxes. Then draw a tiny knot where the sack meets the sleigh's right corner.
Step 6: Bows on top
On top of each present, draw two loops that look like bunny ears, with a small knot between them.
Step 7: Corner bow tails
At the right corner of the sleigh, add two little ribbon tails hanging down from the small knot.
All done!
Go over your lines with a marker, then color it in.
Finished your Santa's sleigh? Keep the pencils out and learn how to draw a menorah or how to draw a dreidel next.
Tips for drawing Santa's sleigh
- Draw the sleigh's big swoopy curve slowly and in one go. If it wobbles, that is fine, because a sleigh looks charming a bit bendy.
- For the spiral on the runner, start in the middle and circle outward. It is much easier than starting on the outside.
- Keep the presents small and draw them poking out just above the sack's wavy rim, so they look like they are tucked inside.
Free Santa's sleigh coloring page
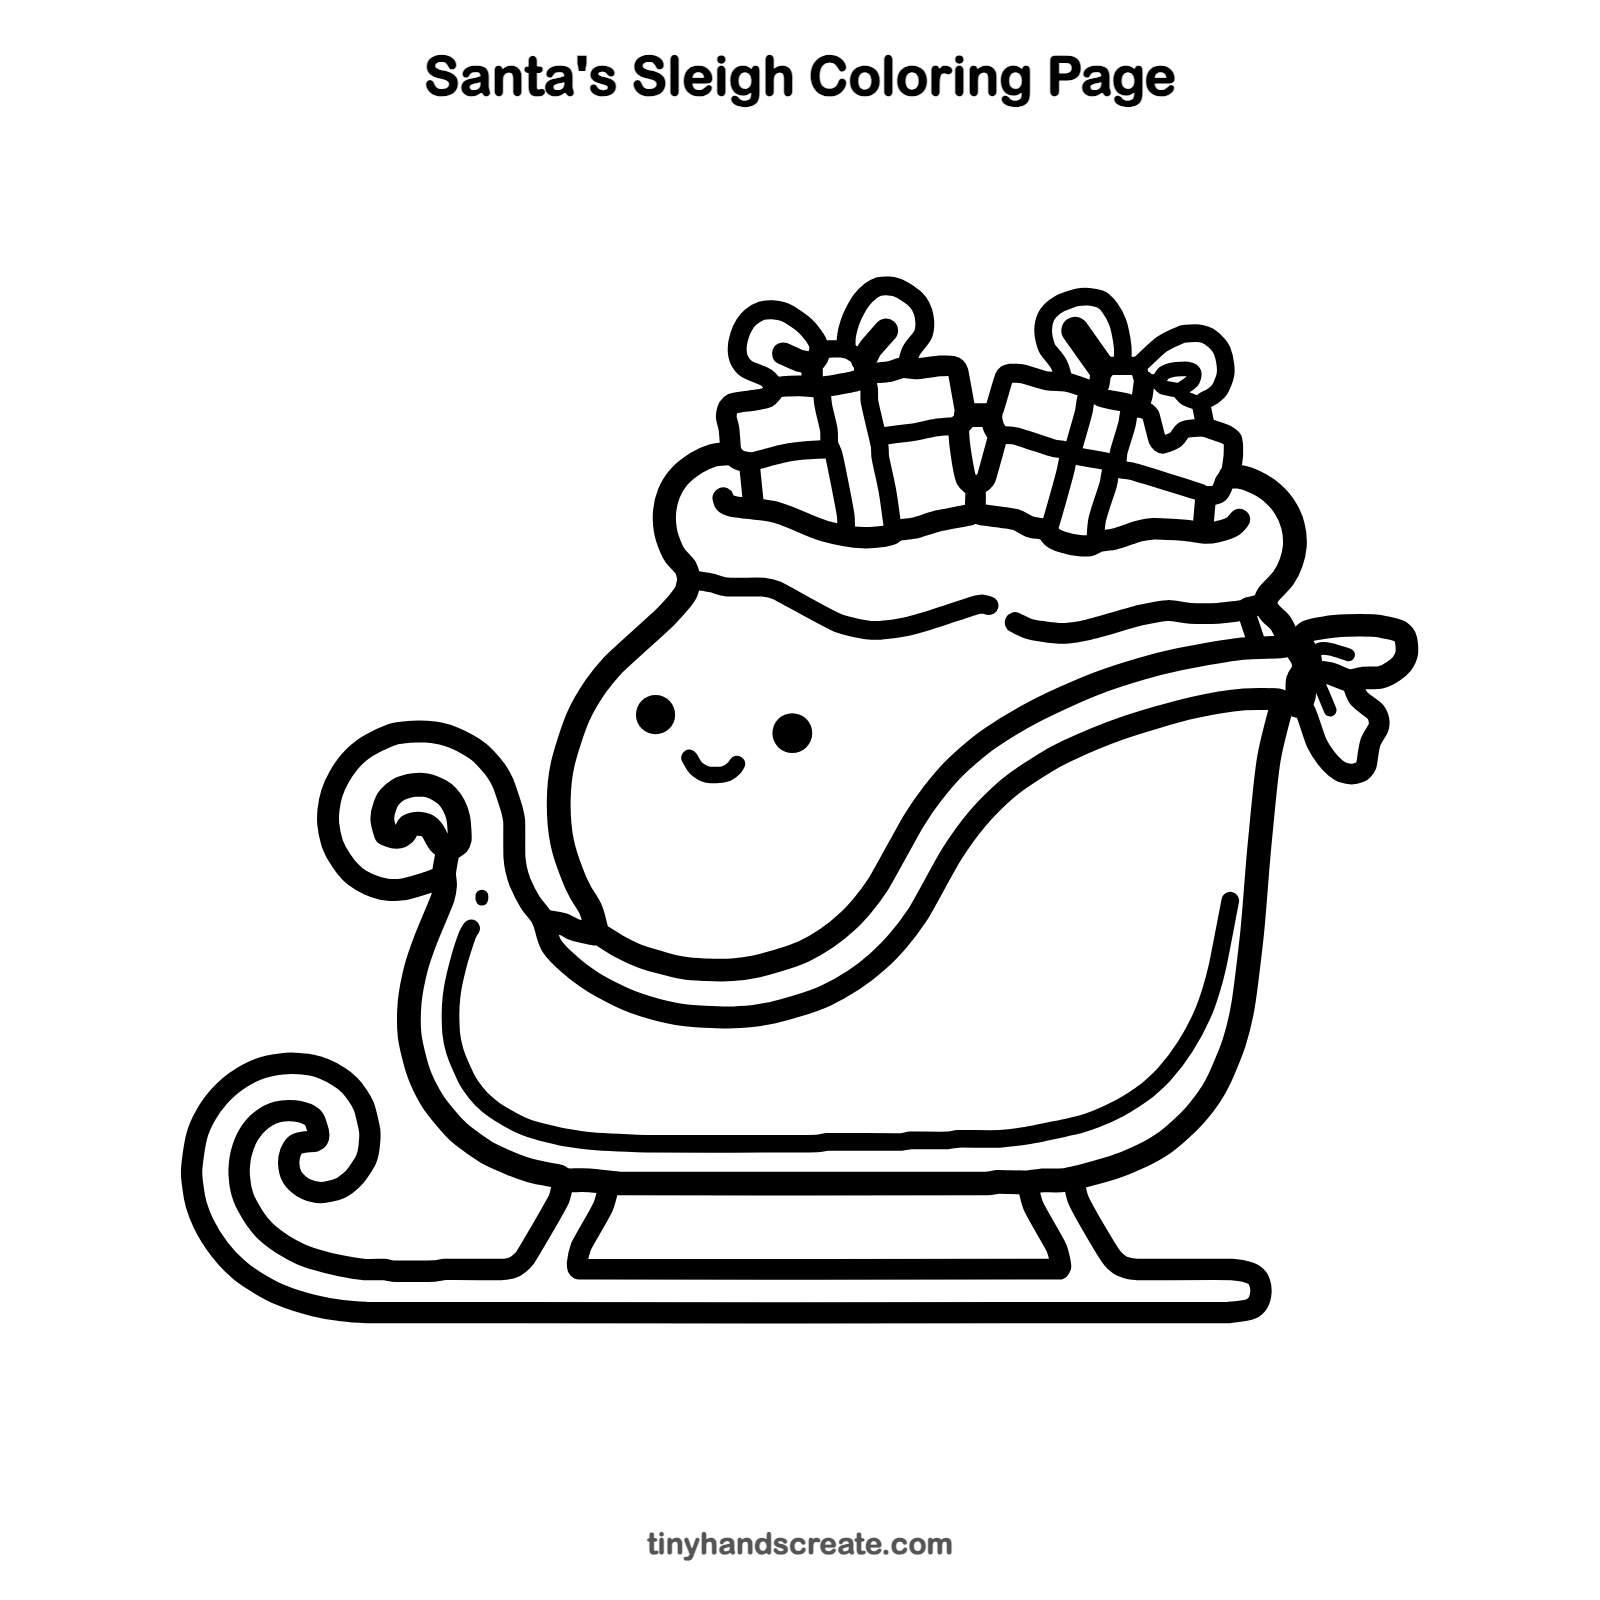
Want to go straight to coloring? Open this Santa's sleigh coloring page at full size and print it. It is the same drawing you just learned, with clean lines ready for crayons or markers.
How to color your Santa's sleigh drawing
Try a red sleigh with golden runners, a brown sack, and presents in bright mixed colors. Color the bows a different color from the boxes so they stand out.
Santa's sleigh fun fact for kids
Reindeer are the only kind of deer where both males and females grow antlers.
Questions about drawing Santa's sleigh
What shapes do I need to draw Santa's sleigh?
You need wavy and curved lines for the sack, a long curved bowl for the sleigh, small squares for the presents, and spirals for the curls. Loops make the bows.
How do I draw the curly runner?
Draw a long flat line, then curve it up at the end and keep going in a spiral. Starting the spiral from the center and winding outward is easiest.
How do I make my sleigh look cuter?
Give the sack a little smile and round eyes, and make the bows nice and puffy. Round, chunky lines look friendlier than sharp ones.