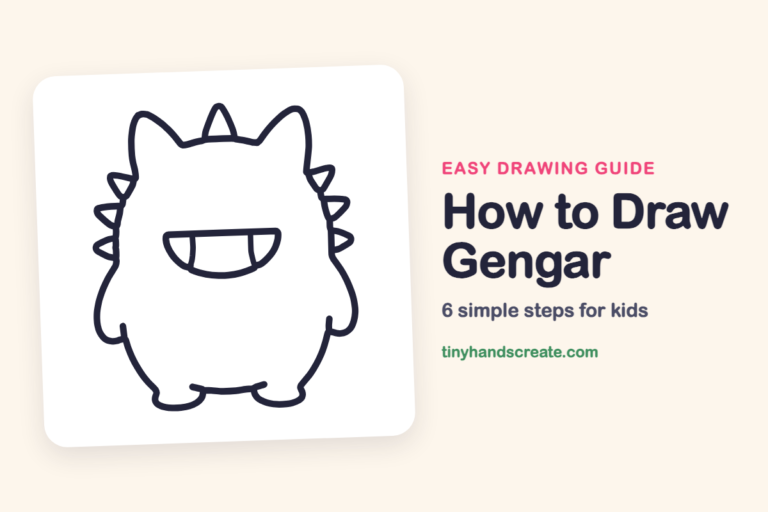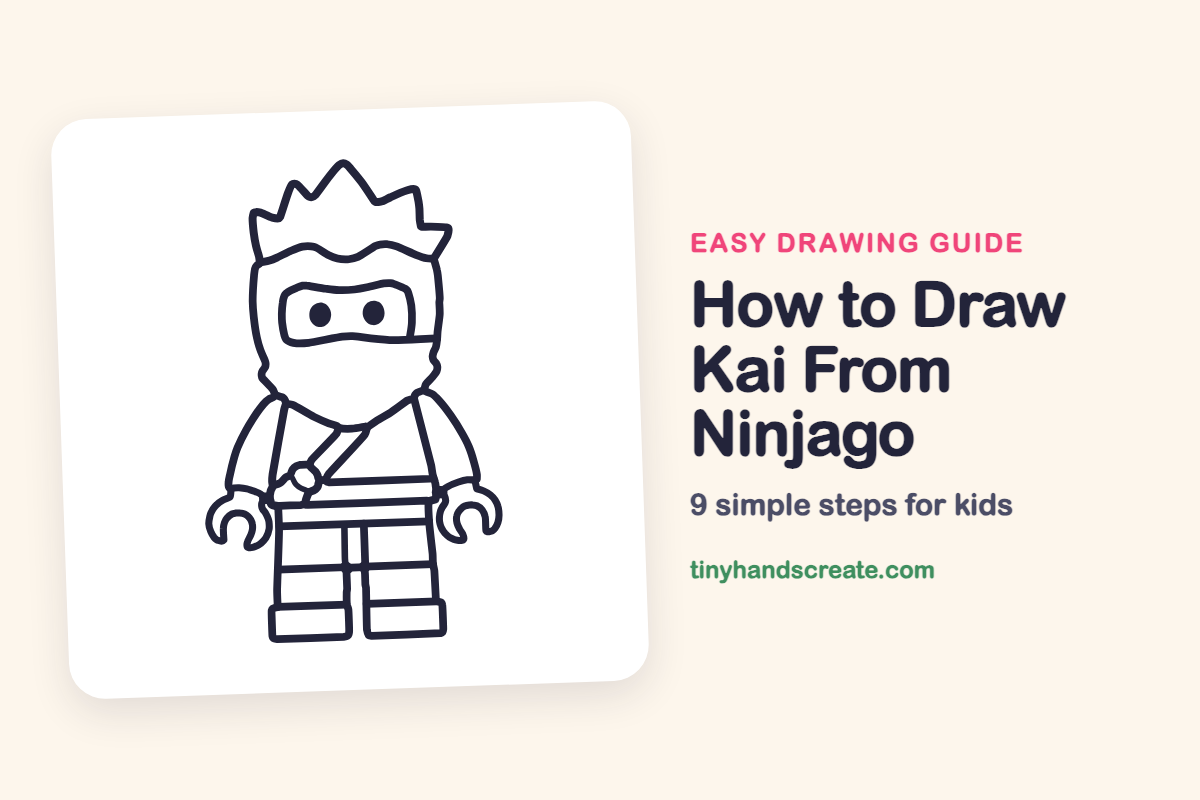
How to Draw Kai From Ninjago (Easy Step by Step)
Kai is a ninja built from simple, blocky shapes, which makes him a great first character to draw. You will use a rounded shield shape for the head, a rounded rectangle for the mask, tall boxes for the legs, and a crown of zigzag spikes for his hair. Every part is made of straight lines and gentle curves, so no step is too hard.
- Medium
- 15 minutes
- 9 steps
You need: paper, a pencil, an eraser, and crayons or markers for coloring.
Start drawingIn this article (7 sections)
How to draw Kai from Ninjago step by step
How to Draw Kai From Ninjago · tinyhandscreate.com
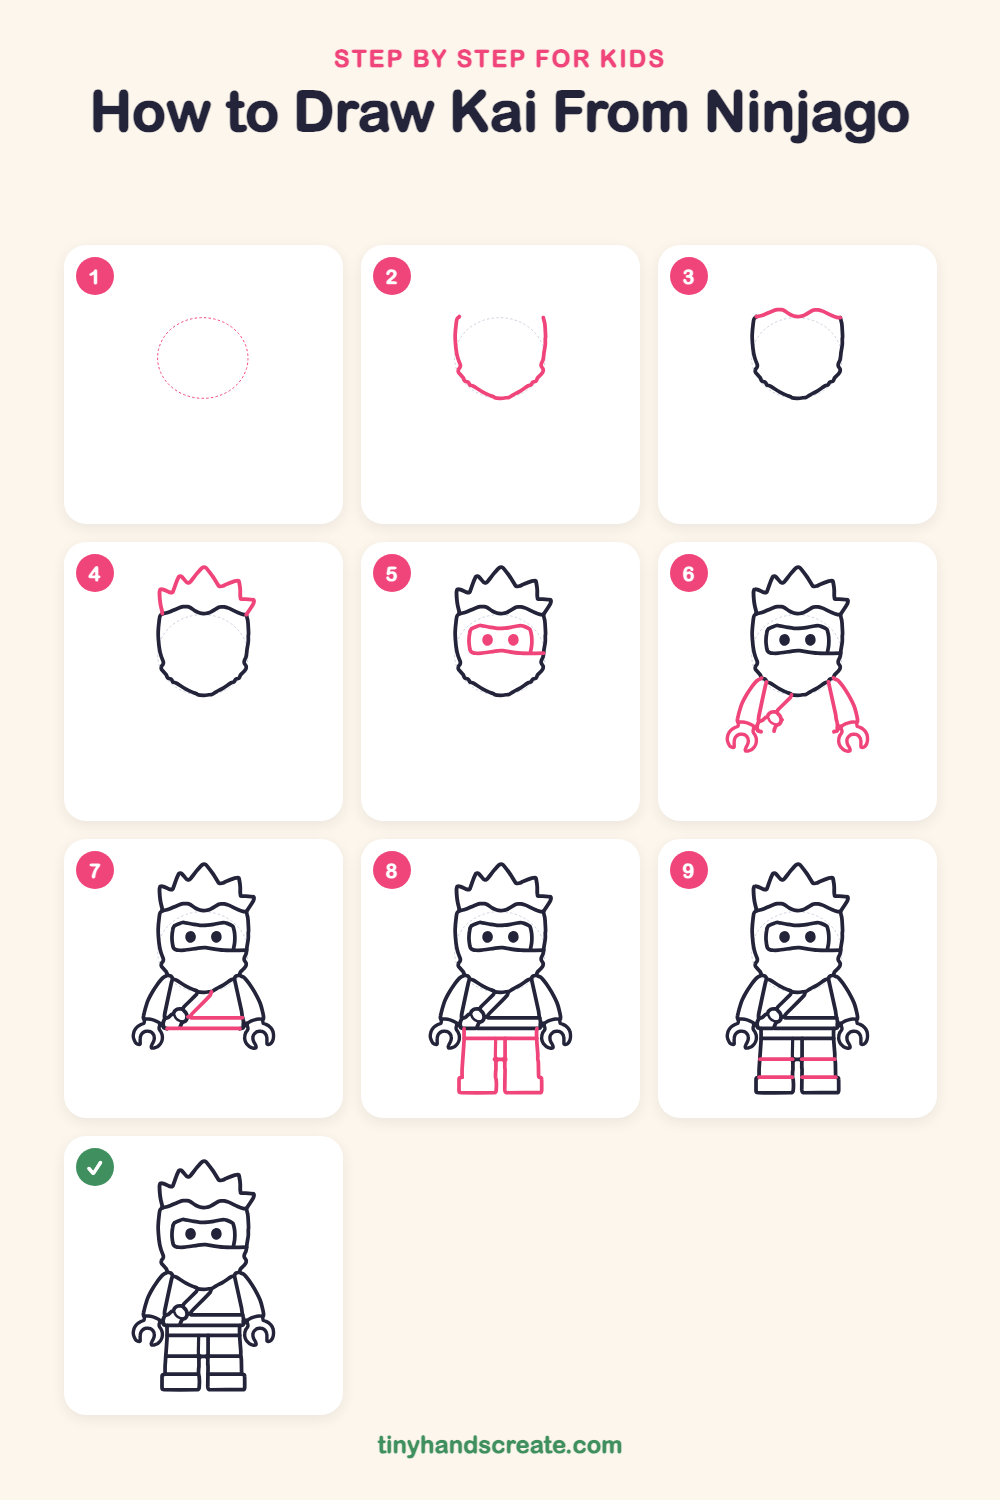
Step 1: Guide shapes
Lightly sketch this oval. It only shows where the big parts go, so press softly. You will erase it at the end.
Step 2: Head outline
Draw the sides and bottom of the head like a rounded shield. Start with two tall lines on the left and right, then curve them in toward a soft point for the chin. Leave the top open for now.
Step 3: Hood top
Draw a wavy line across the top of the head, from the top of the left side to the top of the right side. This closes the head and makes the edge of the ninja hood.
Step 4: Spiky hair
On top of the hood, draw a crown of zigzag spikes. Start at the left end of the wavy line, go up and down in pointy peaks of different heights, and finish at the right end.
Step 5: Eye mask and eyes
Draw a wide rounded rectangle across the middle of the face for the mask. Add a short line sticking out from its bottom right corner, then fill in two round dots for eyes.
Step 6: Arms, hands and strap
Draw an arm on each side that starts under the chin and slopes down and out. At the end of each arm, draw a C-shaped claw hand. Then draw a short diagonal strap from the neck on the left side with a tiny circle buckle on it.
Step 7: Belt and sash
Draw two straight lines across the middle of the body to make a belt band. Then add a short diagonal line that joins the strap to the belt.
Step 8: Legs and feet
Under the belt, draw two tall boxes side by side for the legs, with a small gap down the middle. At the bottom of each leg, draw a wider box for the foot.
Step 9: Leg stripes
Draw a straight line across each leg partway down. Then draw one more straight line across each leg just above the foot.
All done!
Erase the guide shapes, go over your lines, then color it in.
Finished your Kai from Ninjago? Keep the pencils out and learn how to draw SpongeBob SquarePants or how to draw Cinderella next.
Tips for drawing Kai from Ninjago
- The spiky hair is the trickiest part. Draw the points one at a time, going up and down like a mountain range, and make them different heights.
- Draw the eye mask as a wide rounded rectangle and leave a little space between the eyes. Two evenly spaced dots keep his face looking friendly.
- For the claw hands, draw a letter C on its side at the end of each arm.
- Use a ruler or the edge of a book for the straight lines on the belt and legs.
Free Kai from Ninjago coloring page
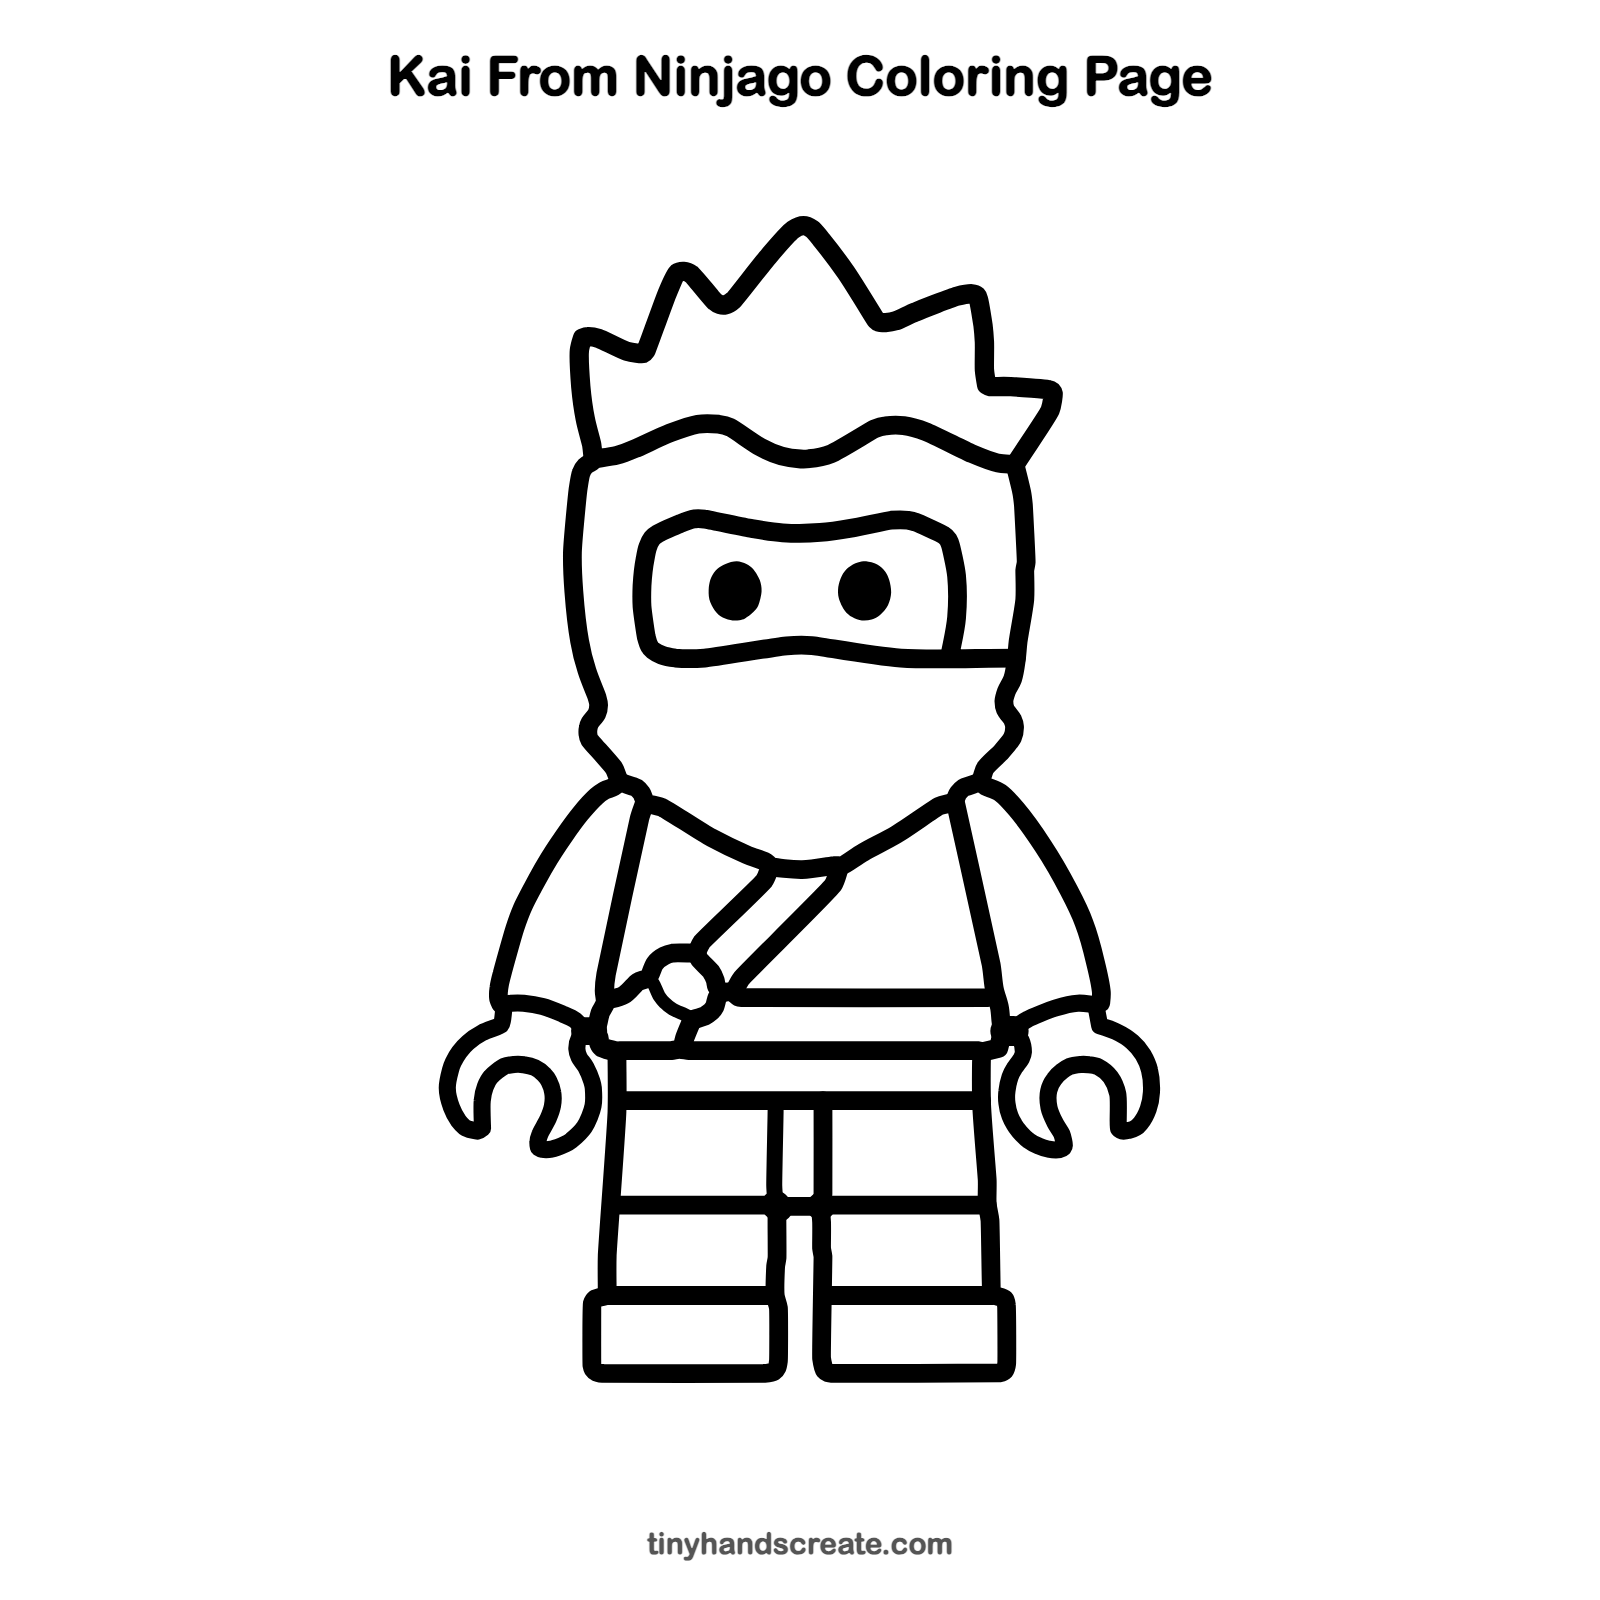
Want to go straight to coloring? Open this Kai from Ninjago coloring page at full size and print it. It is the same drawing you just learned, with clean lines ready for crayons or markers.
How to color your Kai from Ninjago drawing
Kai is the red ninja, so try a bright red for his hood and pants, with a dark gray mask. For a creative twist, give him flames curling up from his feet or draw a fiery background behind him.
Kai from Ninjago fun fact for kids
Ninjago began as a LEGO toy line in 2011, and Kai is the red ninja, the master of fire.
Questions about drawing Kai from Ninjago
What shapes do I need to draw Kai from Ninjago?
You need a rounded shield shape for the head, a wide rounded rectangle for the eye mask, and tall boxes for the legs and feet. The hair is a row of pointy spikes, and the hands are C shapes.
How do I make Kai's spiky hair look good?
Start at one end of the hood line and zigzag up and down with sharp points. Keep the spikes different heights so the hair looks lively.
How do I make my Ninjago drawing look cuter?
Make the head a little bigger and the eyes round and wide apart. Keep the lines smooth and the body blocky, like a toy figure.
More easy character drawings
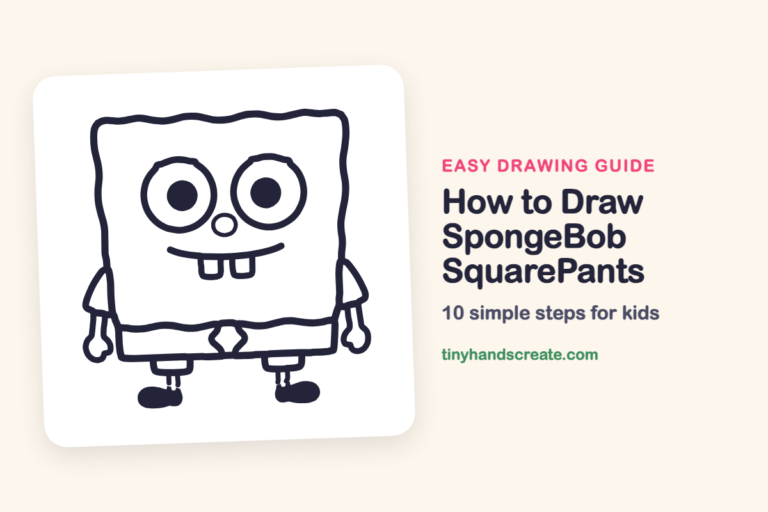 How to Draw SpongeBob SquarePants
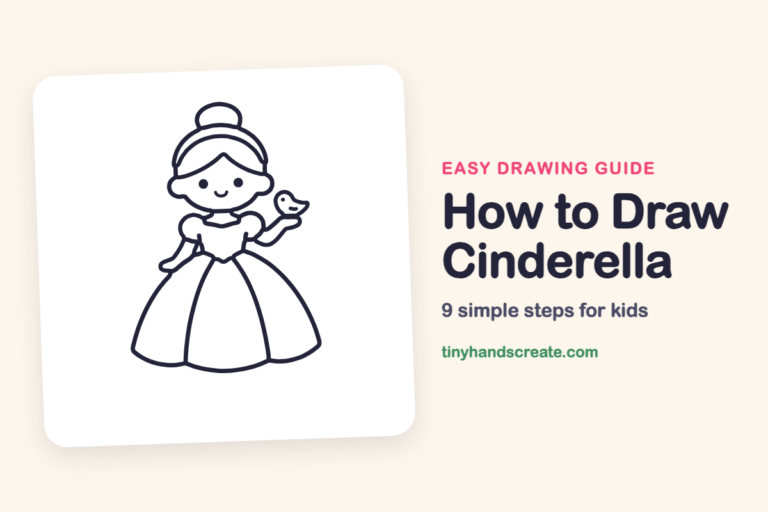 How to Draw Cinderella
 How to Draw Harry Potter
 How to Draw Grogu (Baby Yoda) From The Mandalorian
 How to Draw a Raccoon in a Trash Can
 How to Draw an Axolotl with a Backpack
See all easy character drawings or browse every easy drawing guide for kids.
This is an unofficial fan-art drawing guide. Kai from Ninjago and related names are trademarks of The LEGO Group. Tiny Hands Create is not affiliated with or endorsed by The LEGO Group.