How to Draw a Picnic on a Blanket (Easy Step by Step)
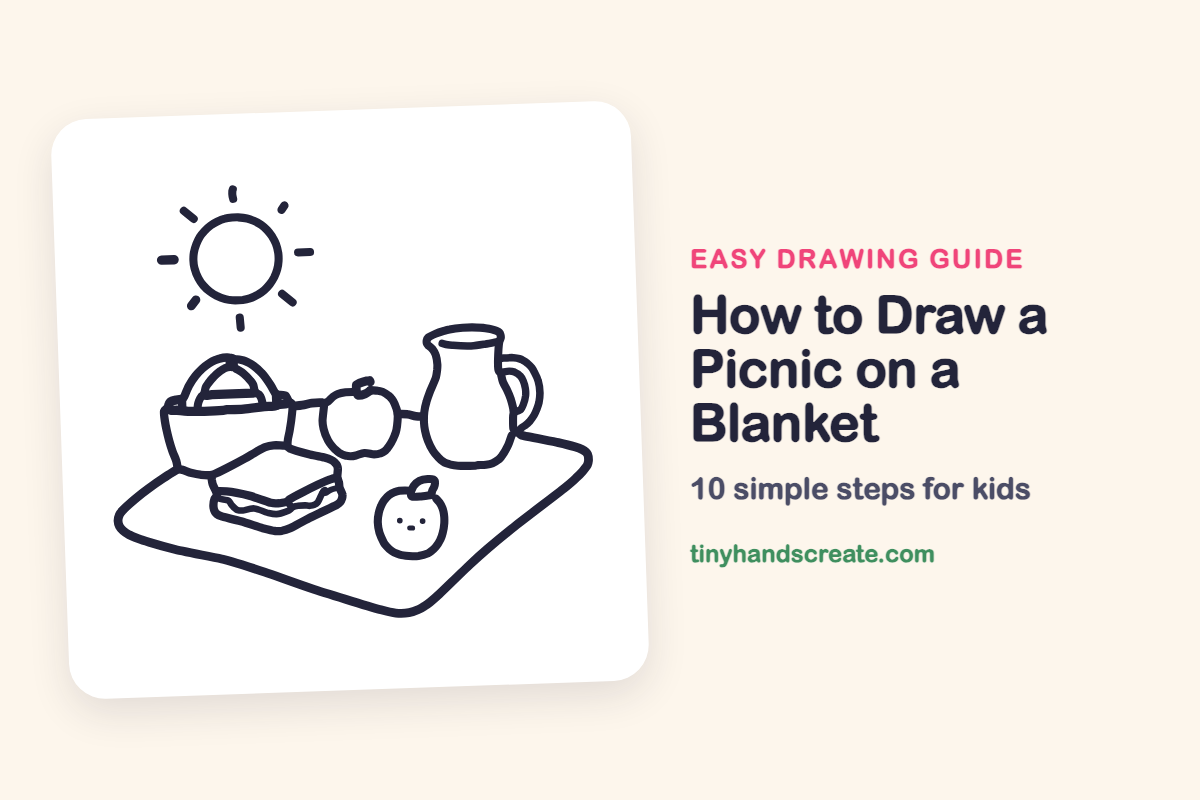
A picnic scene is fun because it gathers lots of friendly shapes into one picture. You will draw a tall jug, a bowl-shaped basket with an arch handle, two apples, a flat sandwich, and a wobbly blanket under it all. Each item gets its own simple shape, so you can add one at a time.
- Medium
- 20 minutes
- 10 steps
You need: paper, a pencil, an eraser, and crayons or markers for coloring.
Start drawing
In this article (7 sections)
How to draw a picnic on a blanket step by step
How to Draw a Picnic on a Blanket · tinyhandscreate.com
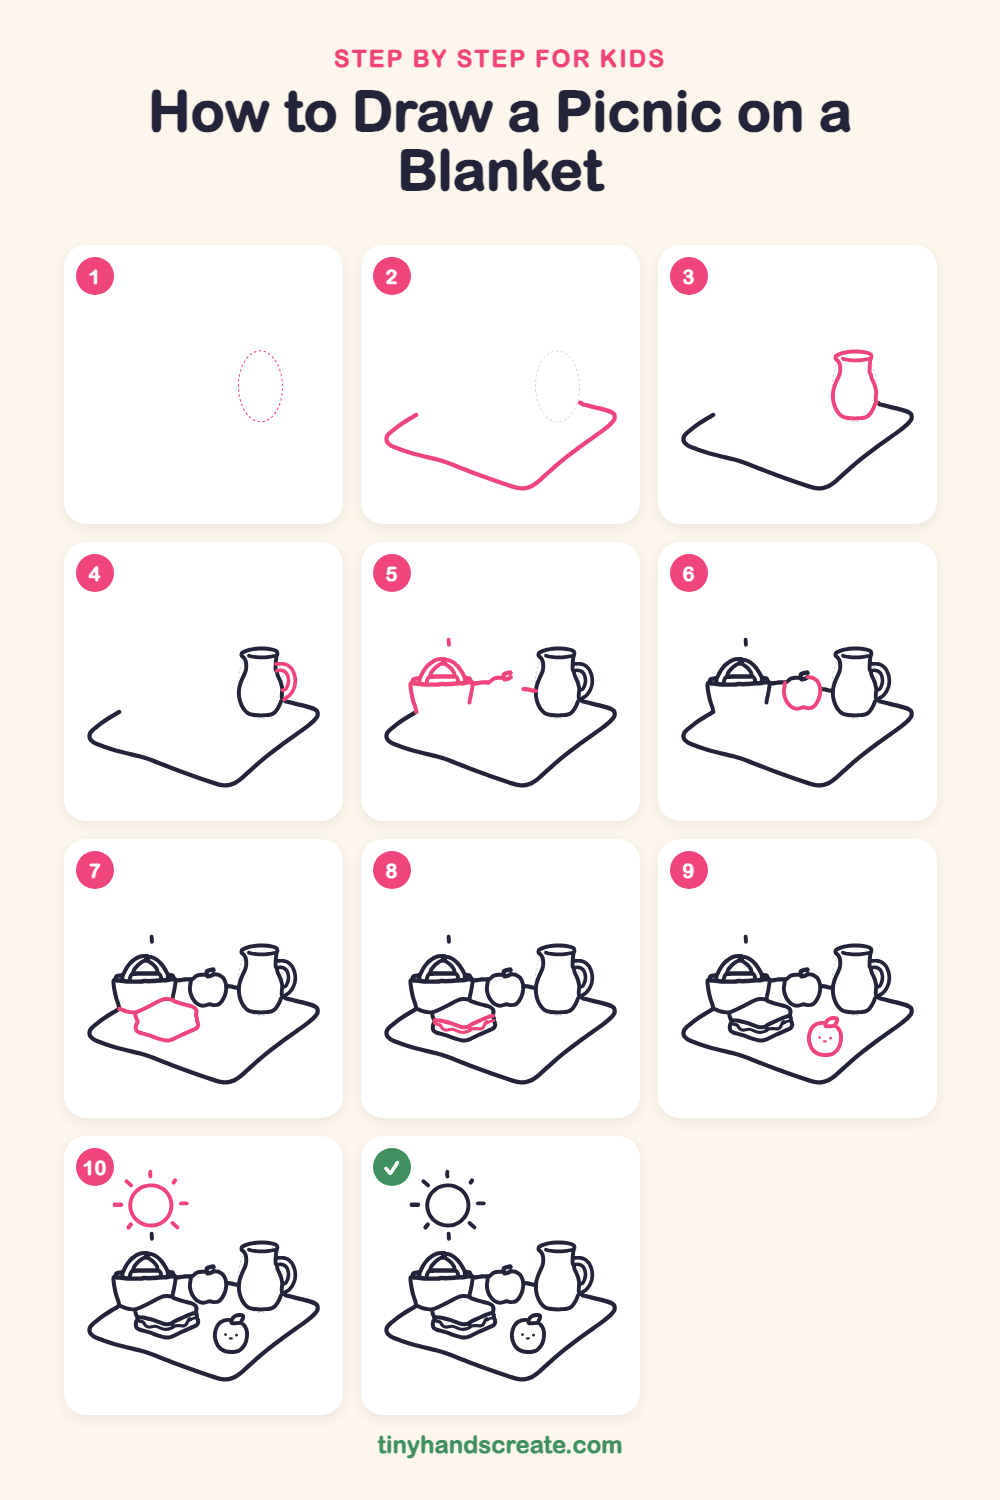
Step 1: Guide shapes
Lightly sketch this oval. It only shows where the big parts go, so press softly. You will erase it at the end.
Step 2: Blanket edge
Start at the left and draw a wobbly line that dips down to a point at the bottom, then swoops up and to the right. This is the front edge of the blanket, so leave lots of room above it for the food.
Step 3: The milk jug
Near the right side, draw a tall jug that is round at the bottom and curves in toward the neck. Add a small flat oval at the top for the opening.
Step 4: The jug handle
On the right side of the jug, draw a curved loop like a sideways D that starts near the neck and swoops back to the body. Add a smaller curve inside it to make the handle look thick.
Step 5: The picnic basket
On the left, draw a bowl shape with a wide top and a rounded bottom, and a straight line across the top for the rim. Add an arch above the rim for the handle with a smaller arch inside it, then draw a short wiggly line and a tiny dash going toward the jug.
Step 6: The big apple
Between the basket and the jug, draw a round apple with a little dip at the top. Add a tiny stem on top.
Step 7: Sandwich top
In front of the basket, draw a flat, wobbly six-sided shape that looks like the top of a sandwich lying down. Make it wide and low.
Step 8: Sandwich fillings
Below the flat top, draw a wavy line across the front for the lettuce and fillings. Add a second wavy line next to it and a short line down each side to close the sandwich.
Step 9: The smiling apple
On the right side of the blanket, draw a small round apple with a little stem and leaf on top. Add two dot eyes and a tiny smile.
Step 10: The sunshine
Up in the sky, draw a circle for the sun. Then add short lines all around it for the sunbeams.
All done!
Erase the guide shapes, go over your lines, then color it in.
Finished your picnic on a blanket? Keep the pencils out and learn how to draw boba tea or how to draw a cupcake next.
Tips for drawing a picnic on a blanket
- Draw the blanket edge first and keep it big. It gives every other item a place to sit, so you will not run out of room.
- The jug handle is the trickiest part. Draw a sideways D first, then a smaller curve inside it, so both lines stay close together.
- Take your time with the wavy lines on the sandwich. Wiggle your pencil slowly to make the lettuce.
Free picnic on a blanket coloring page
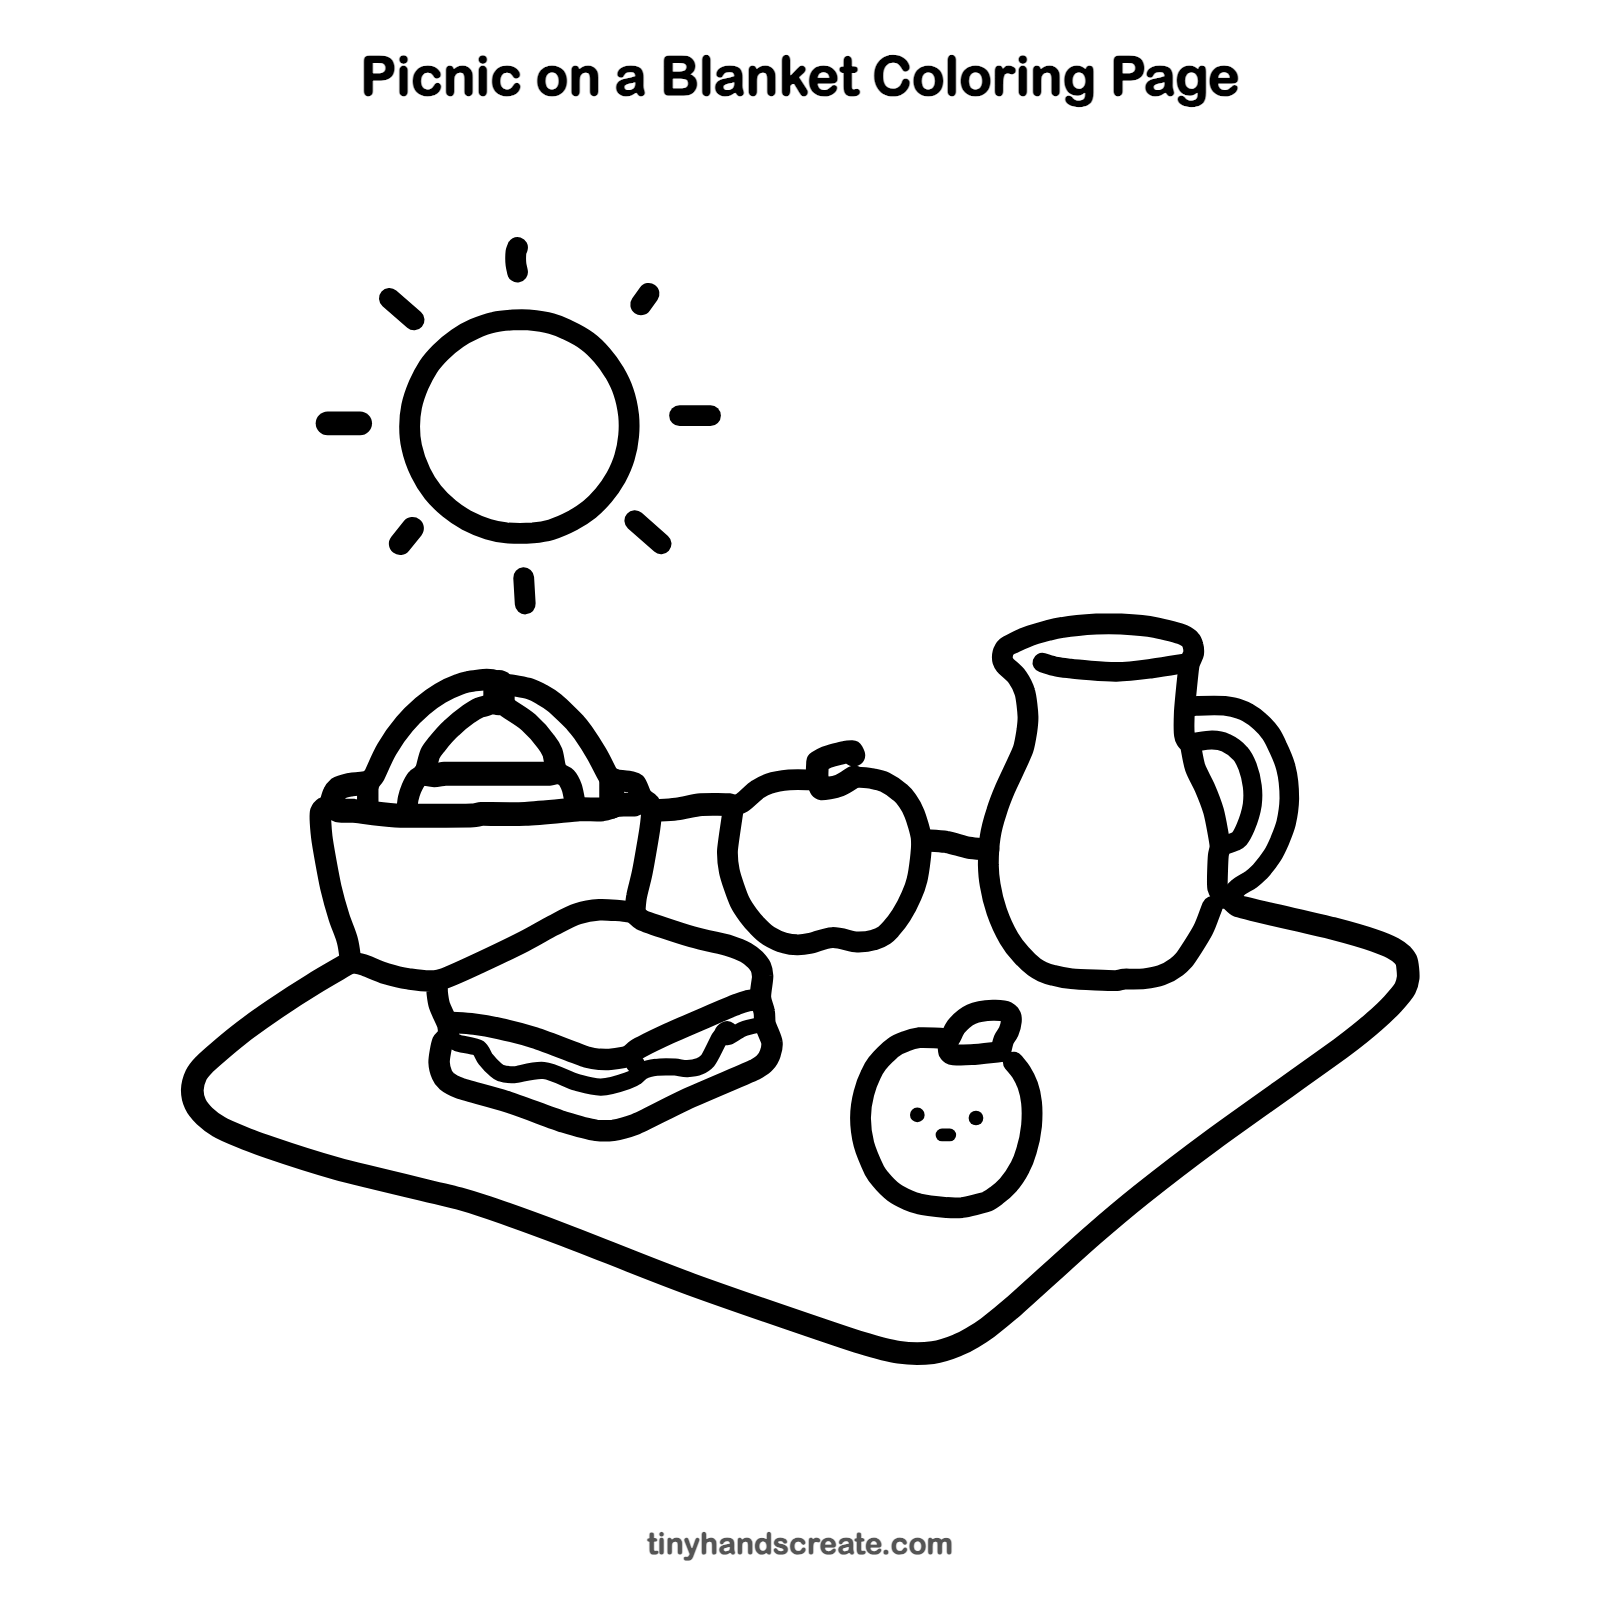
Want to go straight to coloring? Open this picnic on a blanket coloring page at full size and print it. It is the same drawing you just learned, with clean lines ready for crayons or markers.
How to color your picnic on a blanket drawing
Try a red-and-white checkered blanket, a yellow sun, and red and green apples. For a twist, color the jug in rainbow stripes or color the sandwich with green lettuce and pink ham.
Picnic on a blanket fun fact for kids
The word picnic comes from the French word 'pique-nique.'
Questions about drawing a picnic on a blanket
What shapes do I need to draw a picnic scene?
You need circles for the sun and apples, a bowl shape and an arch for the basket, a tall rounded shape for the jug, a flat six-sided shape for the sandwich, and a wobbly line for the blanket.
How do I make the little apple look cuter?
Give it two small dot eyes and a tiny smile in the middle. Keep the face low on the apple so it looks extra sweet.
What can I add to my picnic drawing?
Try adding butterflies, a bunch of grapes, cupcakes, or some flowers in the grass around the blanket.