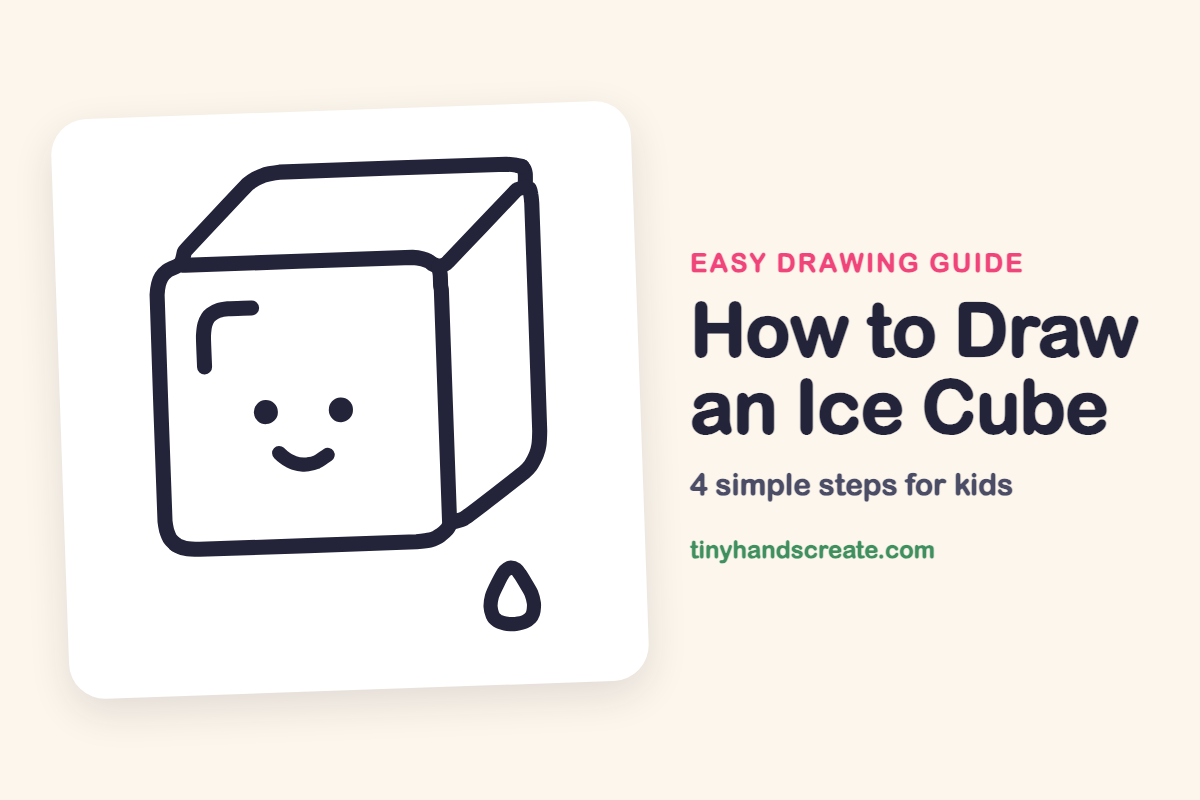
How to Draw an Ice Cube (Easy Step by Step)
An ice cube is a great first drawing because it is mostly squares and straight lines. A smiling face and a melting drip turn your cube into a friendly character.
- Easy
- 10 minutes
- 4 steps
You need: paper, a pencil, an eraser, and crayons or markers for coloring.
Start drawing


In this article (7 sections)
How to draw an ice cube step by step
How to Draw an Ice Cube · tinyhandscreate.com
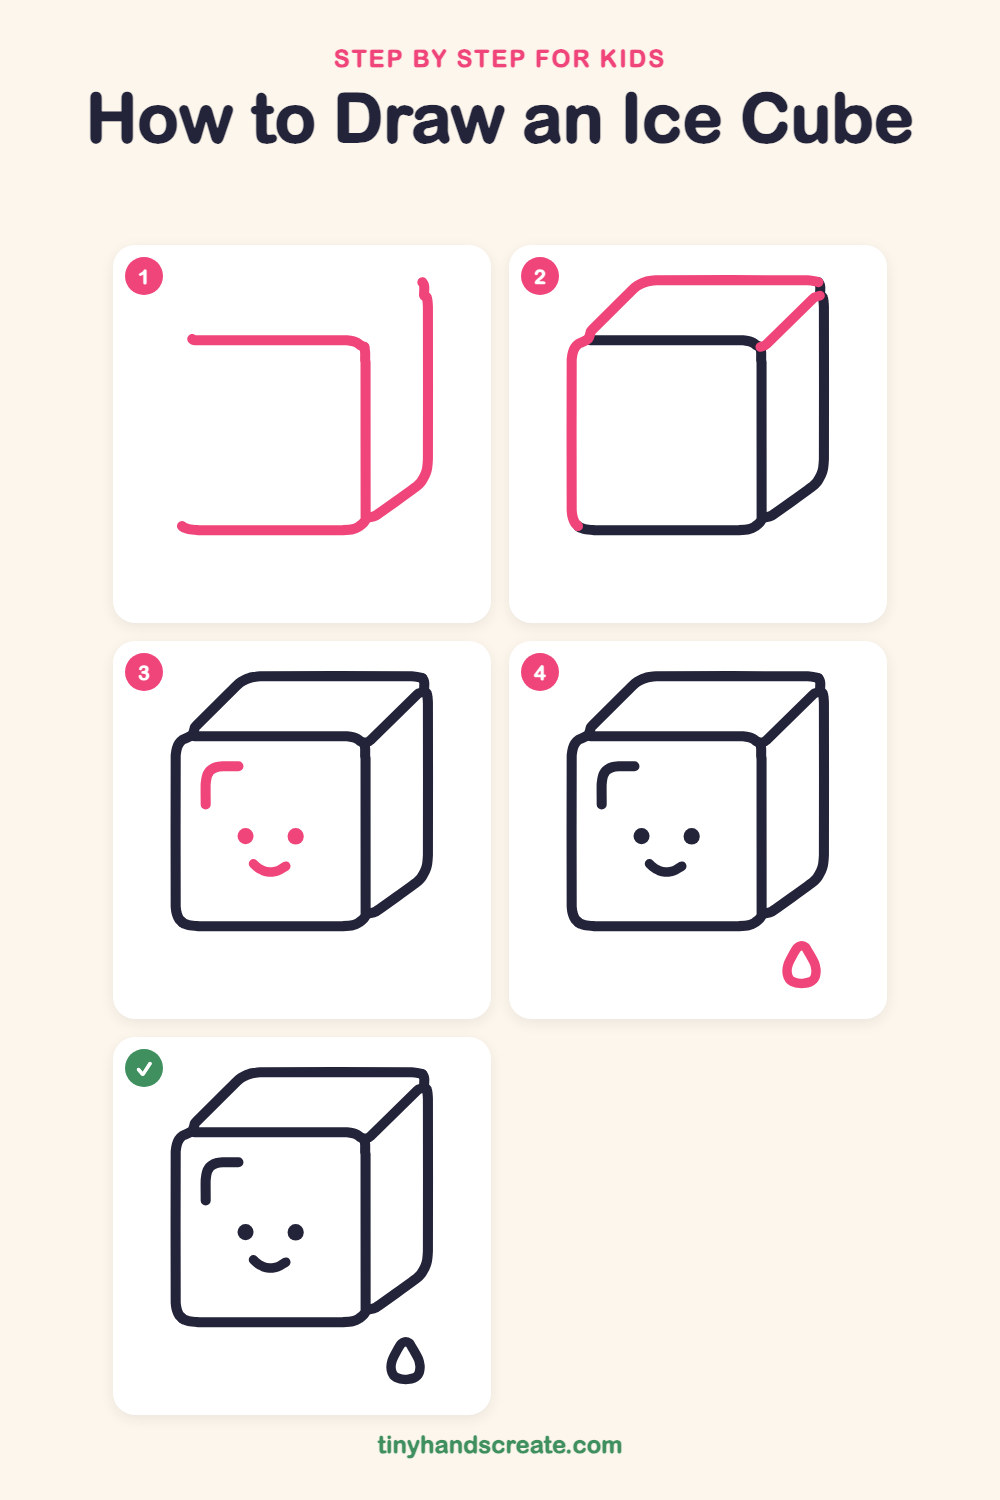
Step 1: Front and side edges
Draw a sideways square bracket: a line across, a line straight down from its right end, and a line across the bottom, all with softly rounded corners. Then draw a tall line to the right that starts near the top and curves in to meet the bottom right corner of the bracket.
Step 2: Left side and top
Draw a straight line down on the left to close the front square. Then, from its top left corner, draw a slanted line up and to the right, a straight line across, and a short slanted line down to the top right corner of the front square.
Step 3: Shine and smiling face
In the upper left of the front square, draw a small corner shape like a bent line: down a little, then a curve, then across. Then draw two small dots for eyes and a little curved smile below them.
Step 4: The drip
Below and to the right of the cube, draw a little water drop: a point at the top and a round belly at the bottom. It shows the ice starting to melt.
All done!
Go over your lines with a marker, then color it in.
Finished your ice cube? Keep the pencils out and learn how to draw a rocket or how to draw a shooting star next.
Tips for drawing an ice cube
- Draw the front square with rounded corners and keep its sides straight. The slanted lines for the top are easier once the square is in place.
- Keep the slanted lines going the same direction so the cube looks solid, not twisted.
- Make the smile small and place the eyes a bit above it. Draw the drip last, a little away from the cube.
Free ice cube coloring page
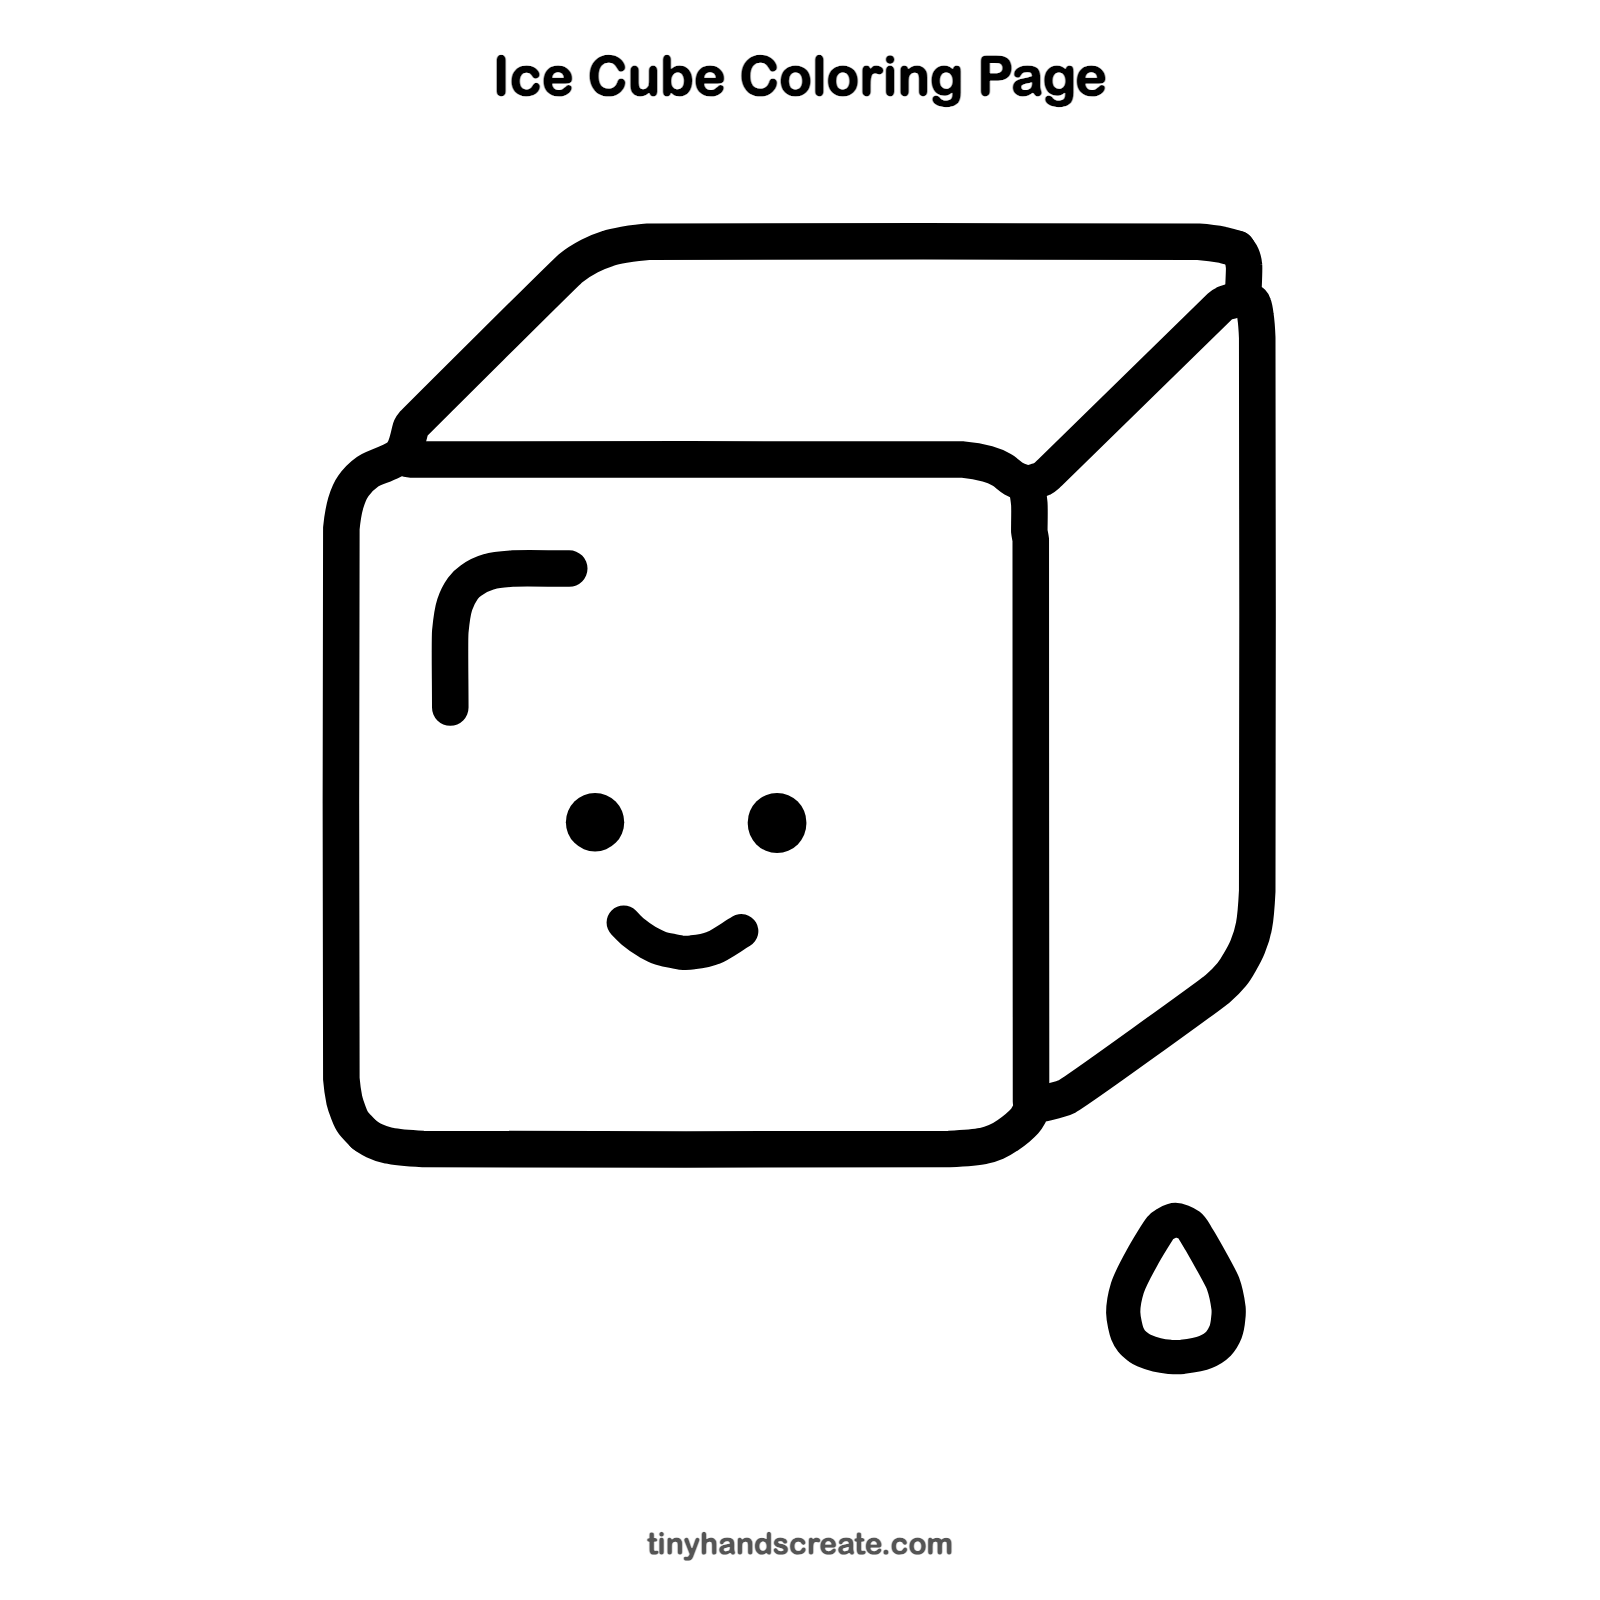
Want to go straight to coloring? Open this ice cube coloring page at full size and print it. It is the same drawing you just learned, with clean lines ready for crayons or markers.
How to color your ice cube drawing
Use light blue and pale teal for the ice, leaving some white spots for shine. For a twist, color the drip in a brighter blue.
Ice cube fun fact for kids
Water takes up about 9 percent more space when it freezes, which is why ice cubes float in your drink.
Questions about drawing an ice cube
What shapes do I need to draw an ice cube?
You need a square with rounded corners and a few slanted lines to make it look like a cube. A small water drop shape finishes it.
How do I make my ice cube look cuter?
Add two round dot eyes and a small smile on the front face. The little shine mark in the corner also helps.
How do I make the cube look 3D?
Draw a slanted line from each top corner of the front square, then join them with a line across the top. A tall edge on the right gives you the side.