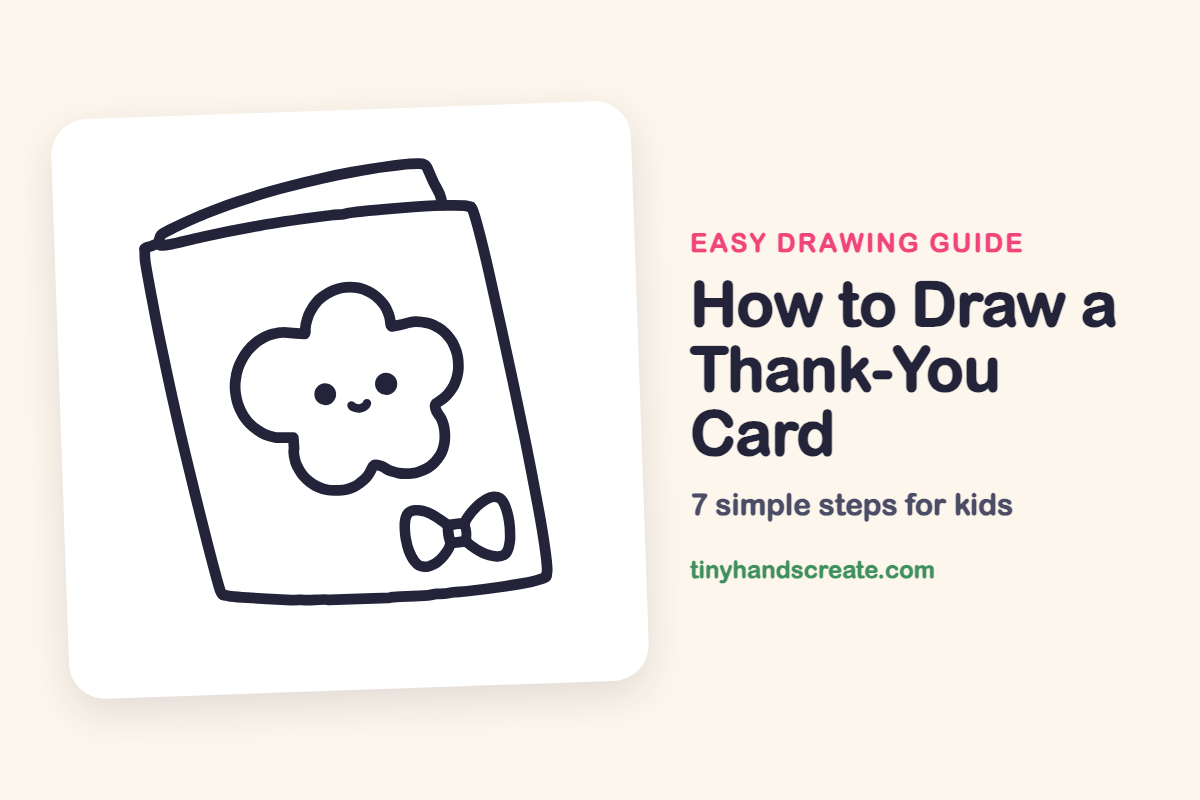
How to Draw a Thank-You Card (Easy Step by Step)
A thank-you card is a friendly drawing that you can make for someone you care about. It is built from a leaning card shape with a page peeking out behind it, a puffy flower with five bumps, and a little bow made of two loops. The smiling flower gives the card a cheerful face.
- Easy
- 10 minutes
- 7 steps
You need: paper, a pencil, an eraser, and crayons or markers for coloring.
Start drawing


In this article (7 sections)
How to draw a thank-you card step by step
How to Draw a Thank-You Card · tinyhandscreate.com
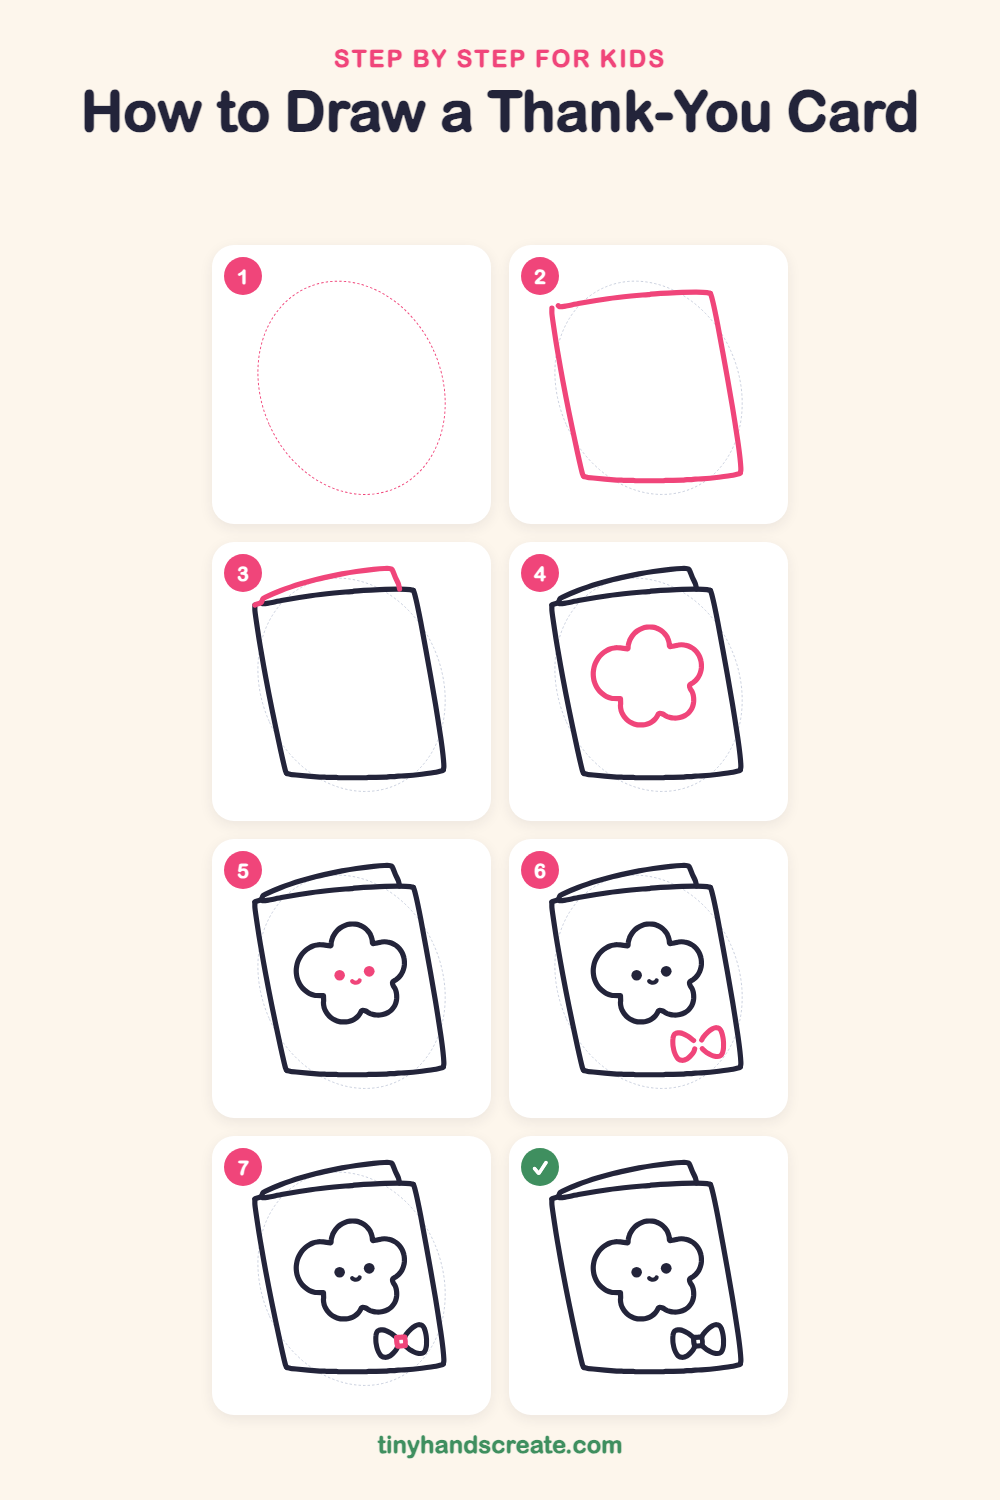
Step 1: Guide shapes
Lightly sketch this oval. It only shows where the big parts go, so press softly. You will erase it at the end.
Step 2: The card front
Draw a tall four-sided shape that leans a little to the side, like a card standing up. Keep the corners slightly rounded and the sides gently curved.
Step 3: The back page
Along the top edge, draw a long, thin curved shape that peeks out from behind the card. Start at the top left corner, curve up and across, then turn down in a short line at the right to meet the card.
Step 4: The flower shape
In the middle of the card, draw a puffy flower outline made of five round bumps, like a little cloud. Join the bumps with small dips in between.
Step 5: The happy face
Inside the flower, add two small round dots for eyes. Then draw a tiny smile, like a small curved bowl, between the eyes and a little below them.
Step 6: The bow loops
Near the bottom right corner of the card, draw two loops that look like teardrops, with their pointy ends meeting in the middle. It looks a bit like a bow tie lying on its side.
Step 7: The bow knot
Where the two loops meet, draw a tiny square for the knot. That finishes the bow.
All done!
Erase the guide shapes, go over your lines, then color it in.
Finished your thank-you card? Keep the pencils out and learn how to draw a rocket or how to draw a shooting star next.
Tips for drawing a thank-you card
- Draw the card front lightly first and lean it just a bit. The tilt is what makes the card look like it is standing up.
- For the flower, draw five bumps of about the same size. Then connect them with small dips so the shape looks puffy.
- Make the two bow loops about the same size. Draw the left loop first, then copy its size on the right side.
Free thank-you card coloring page
Want to go straight to coloring? Open this thank-you card coloring page at full size and print it. It is the same drawing you just learned, with clean lines ready for crayons or markers.
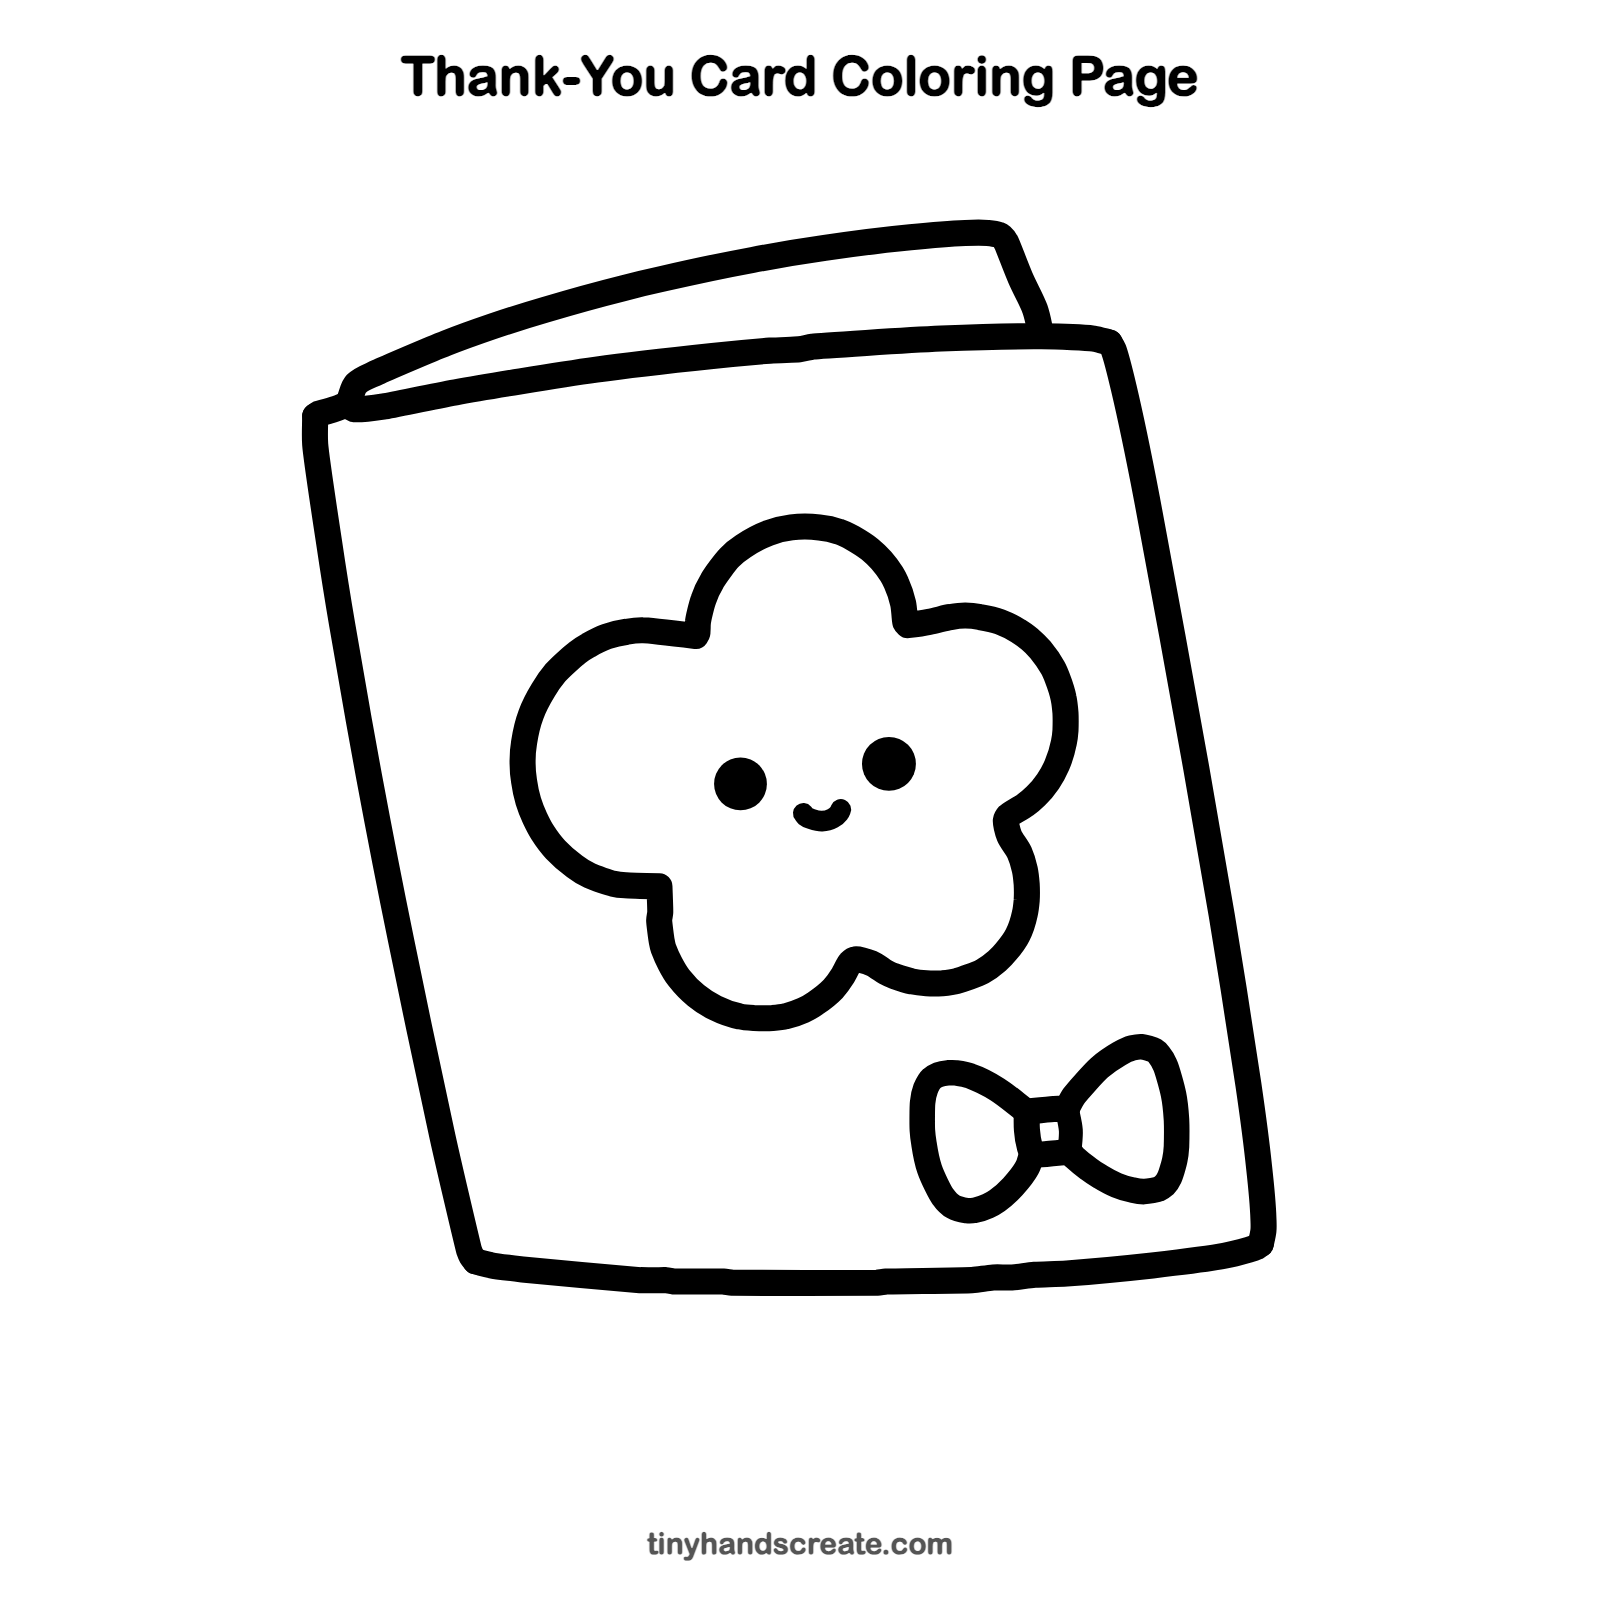
How to color your thank-you card drawing
Try a sunny yellow or soft pink flower on a pale blue card, with a bright red bow. For a creative twist, write a real thank-you message on the card and give it to someone.
Thank-you card fun fact for kids
The first commercial Christmas card was made in London in 1843 by a man named Henry Cole. It started the habit of sending printed cards to friends and family.
Questions about drawing a thank-you card
What shapes do I need to draw a thank-you card?
You need a leaning four-sided shape for the card, a long thin curve for the page behind it, and a flower with five bumps. Add two loops and a tiny square for the bow, and two dots and a curve for the face.
How do I make my card look like it is standing up?
Draw the page peeking out behind the top edge and tilt the card slightly to one side. Those two details make it look like a real folded card.
How do I make the flower look cuter?
Keep the bumps round and chubby. Two small dots for eyes and a tiny smile between them give it a happy face.