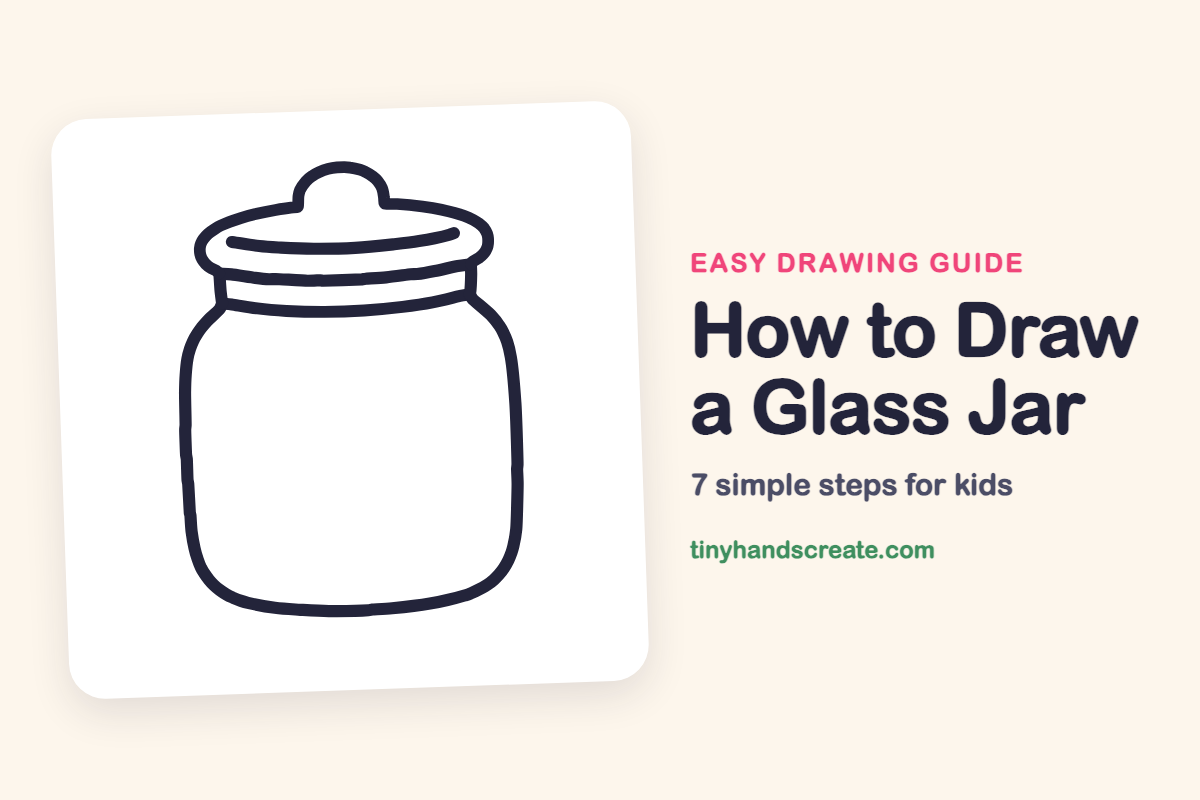
How to Draw a Glass Jar (Easy Step by Step)
A glass jar is a great first drawing because it is made from just a few simple shapes: a big rounded body, a few curved lines for the neck, and a wide lid with a little round handle on top. It is also a good way to practice drawing curves that match each other. Once you can draw this jar, you can fill it with cookies, candy, or fireflies.
- Easy
- 10 minutes
- 7 steps
You need: paper, a pencil, an eraser, and crayons or markers for coloring.
Start drawing


In this article (7 sections)
How to draw a glass jar step by step
How to Draw a Glass Jar · tinyhandscreate.com
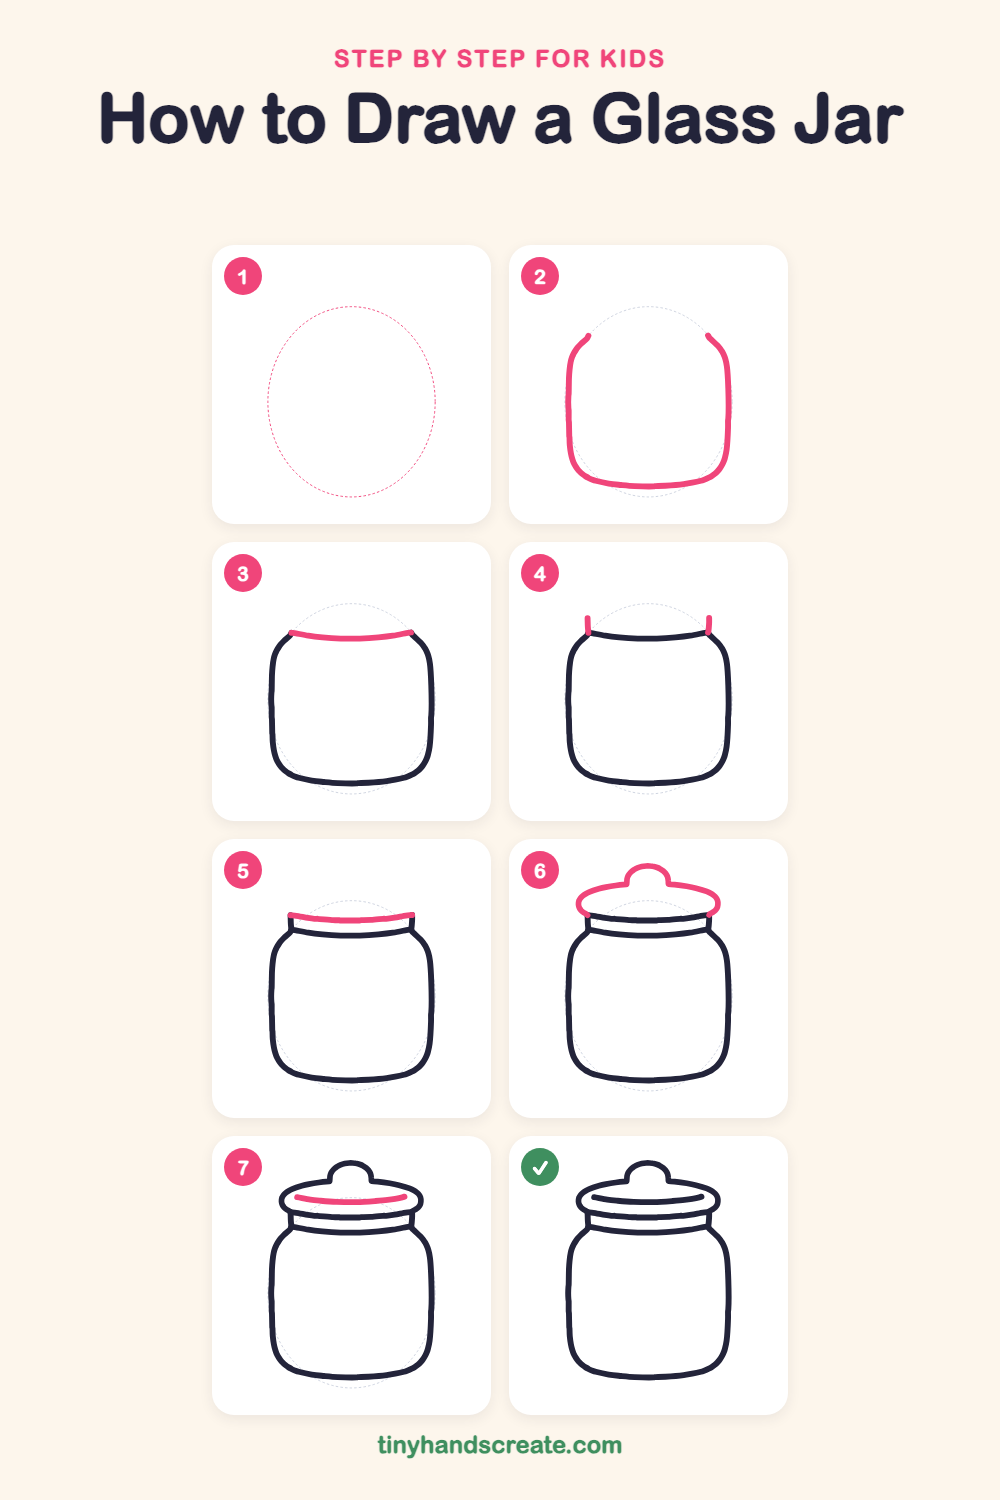
Step 1: Guide shapes
Lightly sketch this oval. It only shows where the big parts go, so press softly. You will erase it at the end.
Step 2: The jar body
Draw a big rounded shape with a flat, slightly curved bottom and straight sides. At the top, curve both corners inward like little shoulders, and leave the top open.
Step 3: The neck rim
Draw a gently curved, smile-shaped line across the open top. Start it at the end of one shoulder and finish at the end of the other.
Step 4: The neck sides
Draw a short straight line going up from each end of the curved line. Make both lines the same height.
Step 5: The neck top
Connect the tops of the two short lines with another gentle curve, just like the one below it. Now the neck looks like a little ring.
Step 6: The lid
Draw a wide lid that sits on top of the neck and sticks out a little past it on both sides. Add a small round bump in the middle of the top for the handle.
Step 7: The lid shine
Draw one long, thin curved line inside the lid, near its bottom edge. It follows the curve of the lid and shows where the light shines.
All done!
Erase the guide shapes, go over your lines, then color it in.
Finished your glass jar? Keep the pencils out and learn how to draw a rocket or how to draw a shooting star next.
Tips for drawing a glass jar
- Draw the big jar body first and leave room above it for the neck and lid.
- The curved lines on the neck are the trickiest part. Make them both bend the same way, like gentle smiles, so the jar looks round instead of flat.
- Keep the lid wider than the neck so it looks like it rests on top of the jar.
Free glass jar coloring page
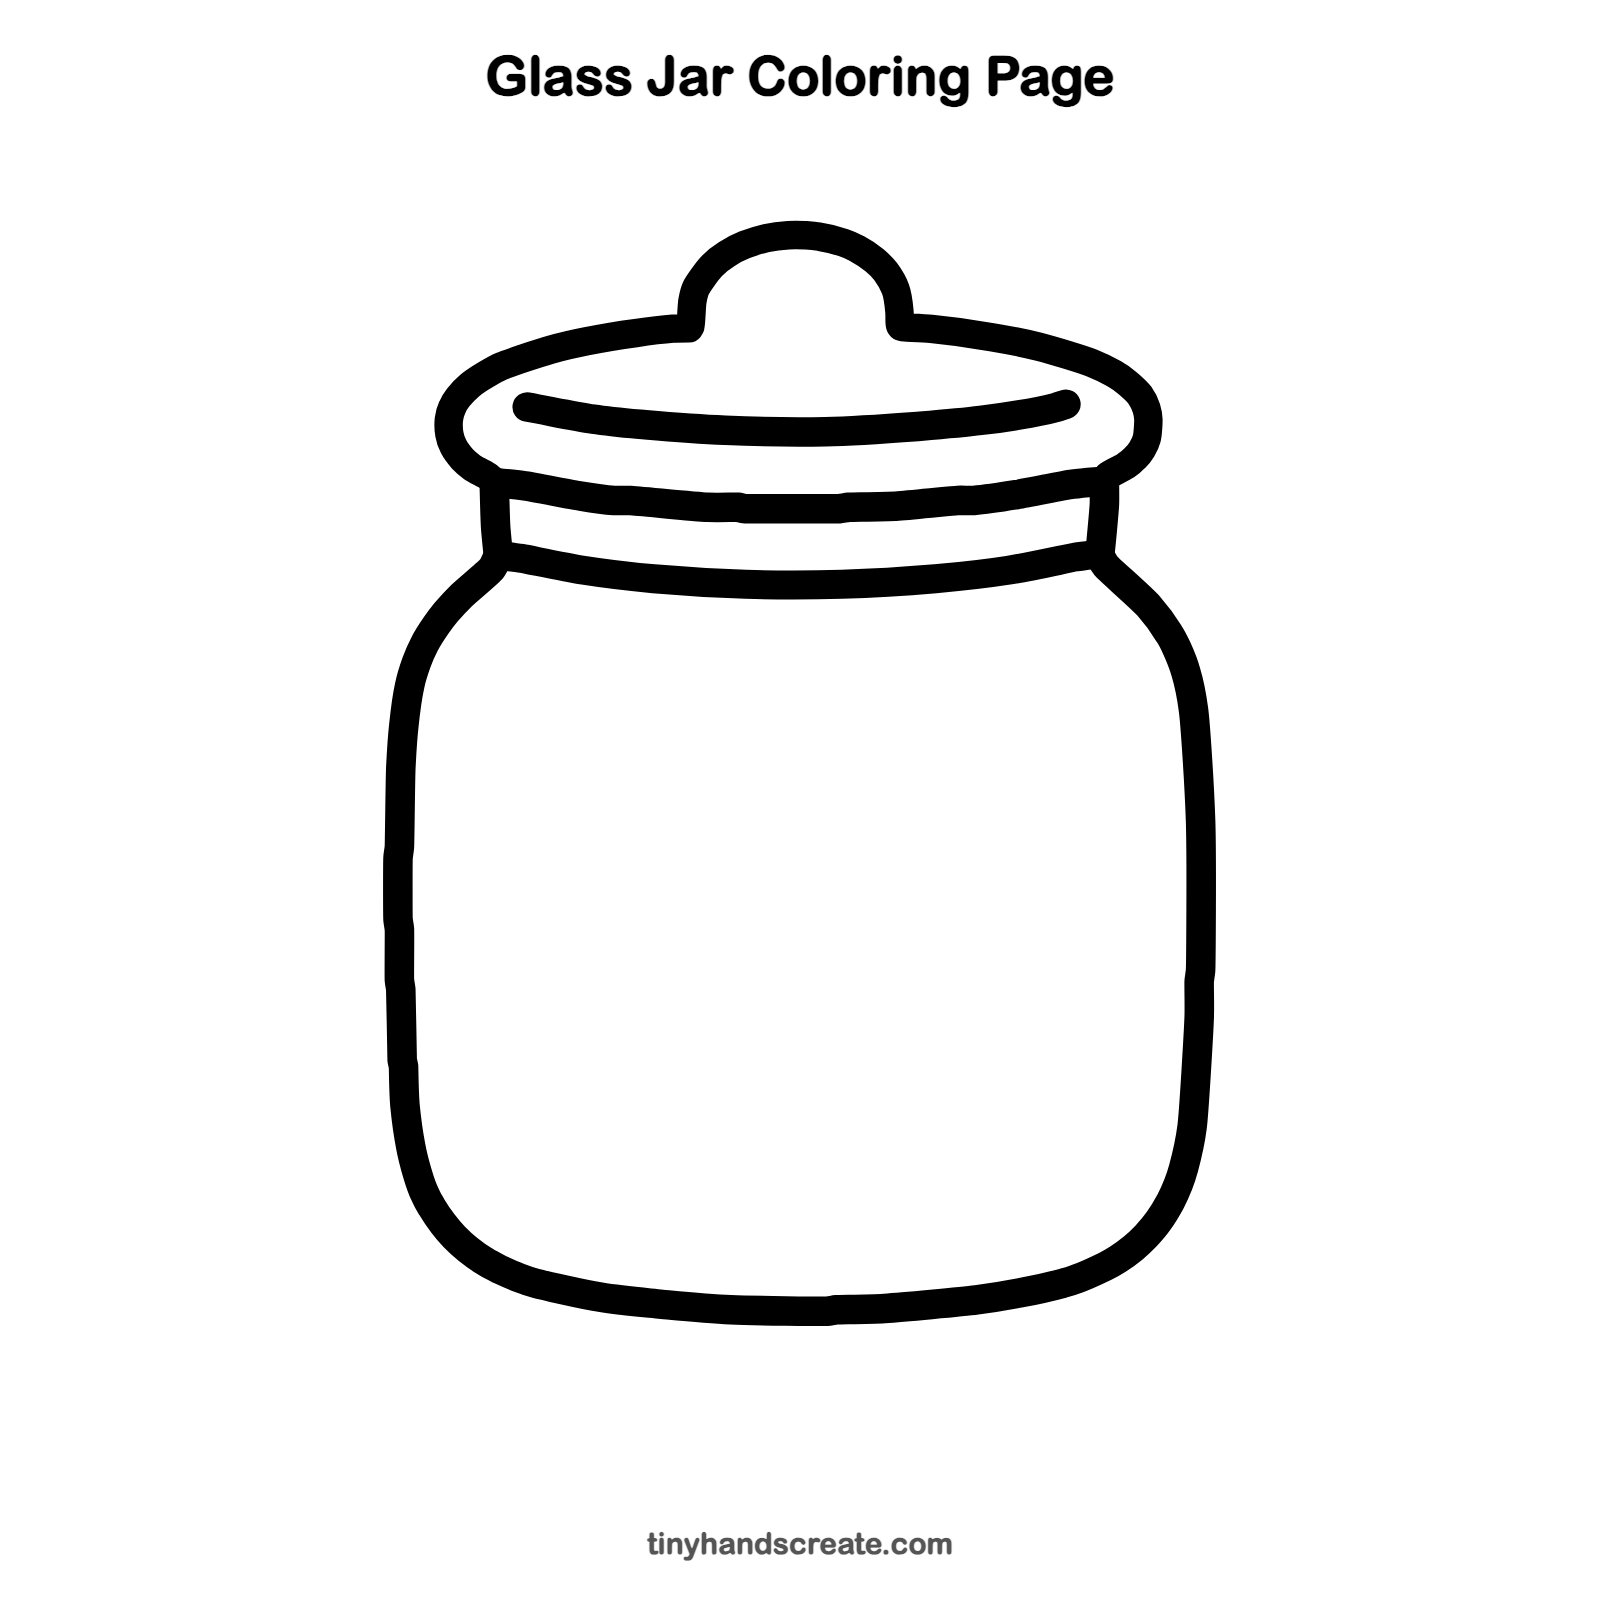
Want to go straight to coloring? Open this glass jar coloring page at full size and print it. It is the same drawing you just learned, with clean lines ready for crayons or markers.
How to color your glass jar drawing
Use very light blue or gray for the glass so you can still see what is inside, and pick a bright color for the lid, like red or yellow. For a creative twist, fill the jar with rainbow candy, buttons, or a swarm of glowing fireflies.
Glass jar fun fact for kids
Glass is made mostly from sand. When sand is heated to a very high temperature it melts into a glowing liquid, and as it cools it hardens into clear glass.
Questions about drawing a glass jar
What shapes do I need to draw a glass jar?
You need a big rounded shape for the body, a few curved lines and two short straight lines for the neck, and a wide lid with a small round bump on top for the handle.
How do I make my jar look like real glass?
Add a long thin curved shine line inside the lid. Color the jar in a very light shade so it looks see-through.
How can I make both sides of my jar match?
Draw a light line down the middle of the page first. Then check that the left and right sides are about the same distance from that line as you draw.