How to Draw a Sleeping Dog (Easy Step by Step)
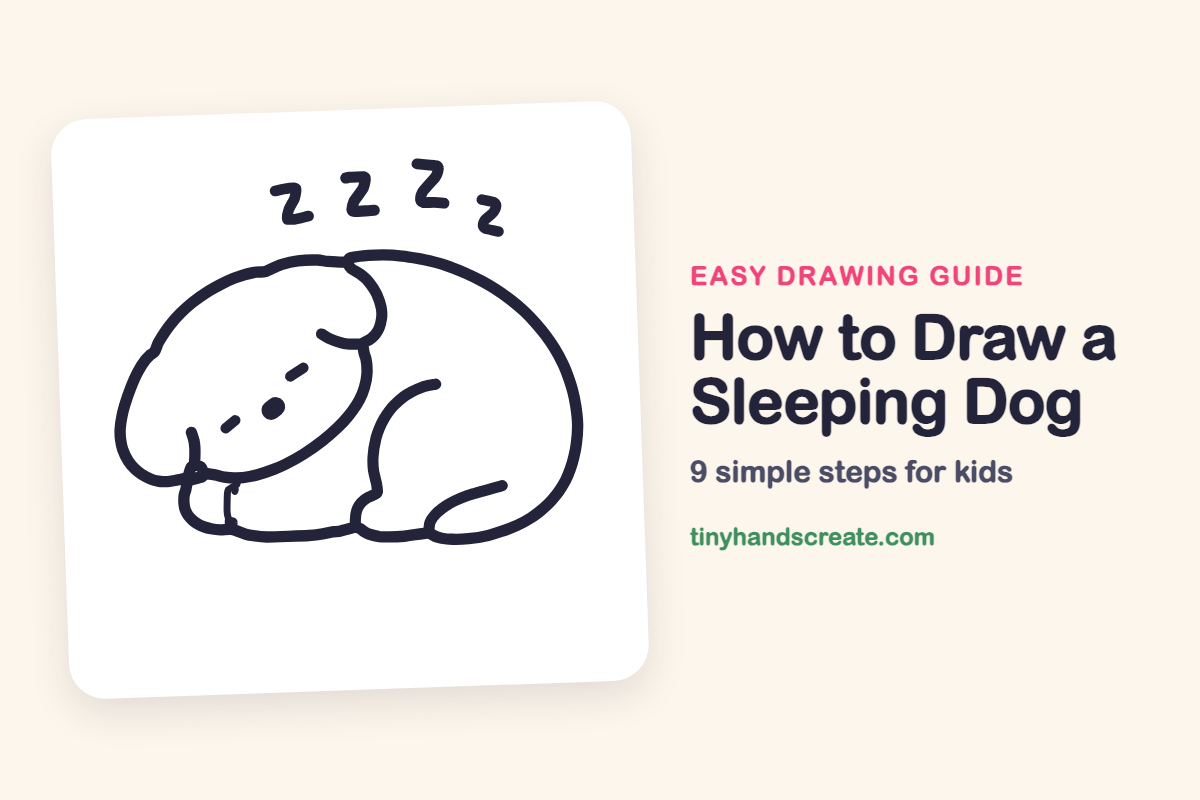
A sleeping dog is a cozy drawing made mostly of soft, round curves. You start with a big rounded outline, add a floppy ear, a front paw, a back leg and a curled tail, then finish with a few sleepy face marks and a row of Z's. There are no tricky details, so it is a good first pet drawing.
- Easy
- 10 minutes
- 9 steps
You need: paper, a pencil, an eraser, and crayons or markers for coloring.
Start drawing


In this article (7 sections)
How to draw a sleeping dog step by step
How to Draw a Sleeping Dog · tinyhandscreate.com
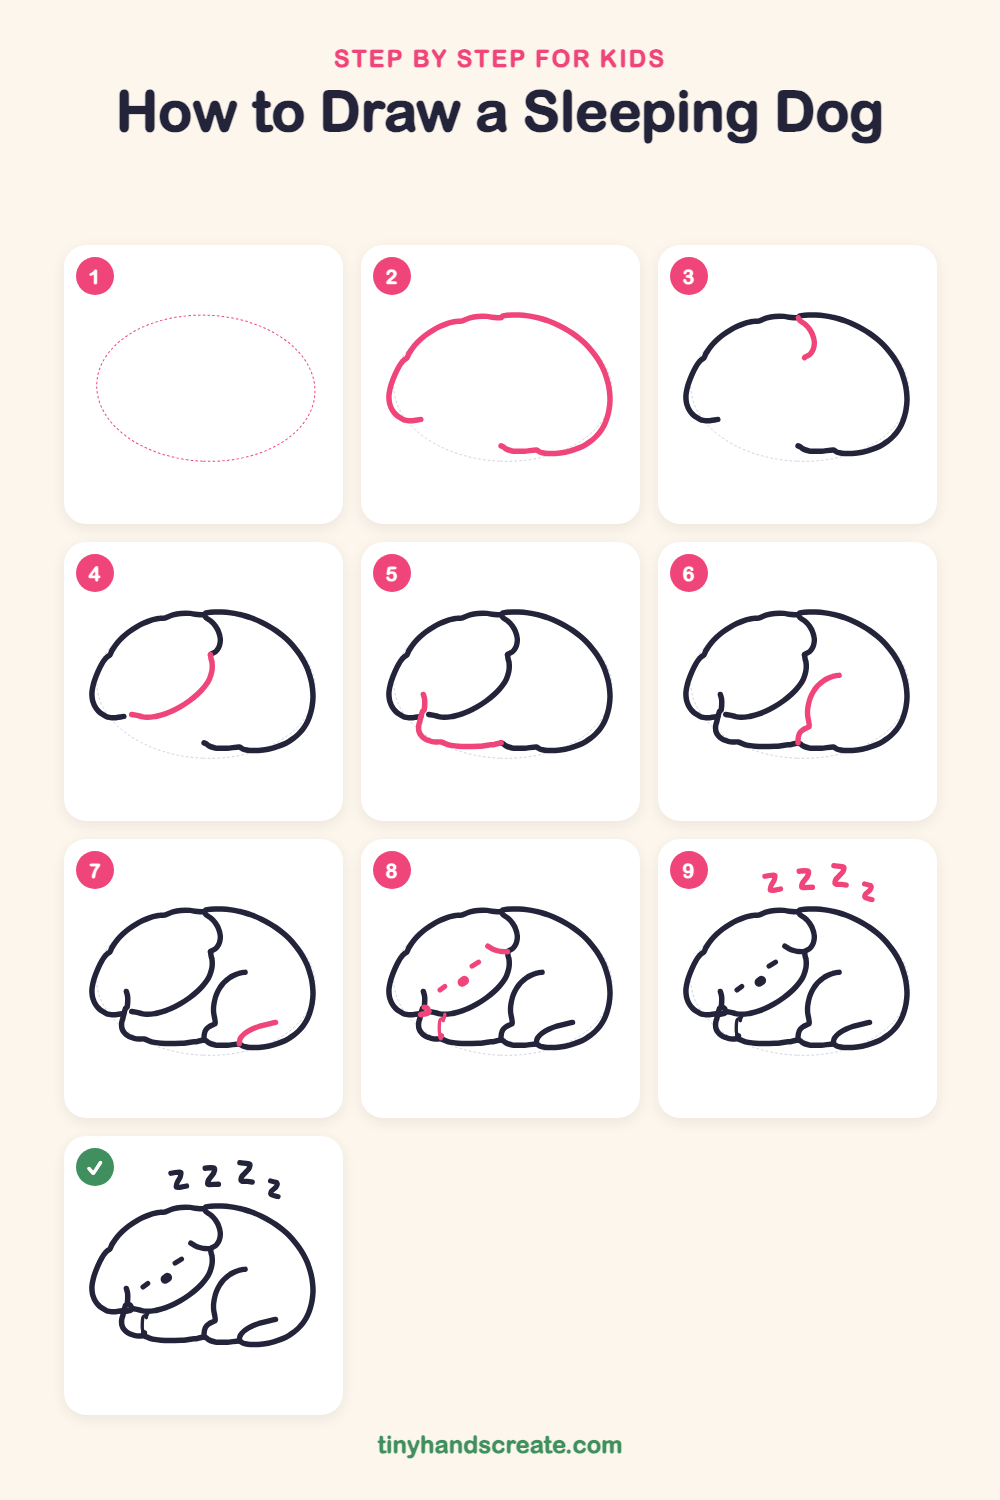
Step 1: Guide shapes
Lightly sketch this oval. It only shows where the big parts go, so press softly. You will erase it at the end.
Step 2: Rounded back outline
Draw a big rounded arch like a loaf of bread. Start at the bottom left, curve up and over the top, then sweep down the right side. Leave a gap along the bottom for now.
Step 3: Top of the ear
Near the top middle, draw a short curved line that starts on the outline and bends down and back in, like a little hook. This is the top edge of the floppy ear.
Step 4: Ear and cheek curve
Start under the ear and draw a gentle curve that swoops down and to the left. Stop near the bottom left. This makes the ear's lower edge and the cheek.
Step 5: Chin and front paw
At the bottom left, draw a short line down from under the chin. Round the corner, then run a long flat line along the ground toward the body to make the front paw.
Step 6: Back leg
On the right side of the body, draw a curved line like a backward C. Start near the middle, sweep down, and finish with a small notch at the ground to show the tucked back leg.
Step 7: Tail tip
At the bottom right, draw a short curved line that starts at the ground line and sweeps up and to the right. It shows the tail curled along the body.
Step 8: Sleepy face details
Under the ear, draw a short curved line. Then draw a slanted row of a dash, a dot, and another dash for the sleepy face. Near the paw, add a tiny dot and a short line going down.
Step 9: Zzz snores
Above the dog, draw four letter Z's in a row. Make the last Z the smallest, as if the snore is floating away.
All done!
Erase the guide shapes, go over your lines, then color it in.
Finished your sleeping dog? Keep the pencils out and learn how to draw a fox or how to draw a hedgehog next.
Tips for drawing a sleeping dog
- Start with a light, smooth outline. If the curve looks wobbly, erase it and try again before you press hard.
- The floppy ear is the trickiest part. Draw its top hook first, then the long curve below it, and keep both close to the top of the body.
- Keep the face marks small and slanted, and draw the Z's last, making the final one the smallest.
Free sleeping dog coloring page
Want to go straight to coloring? Open this sleeping dog coloring page at full size and print it. It is the same drawing you just learned, with clean lines ready for crayons or markers.
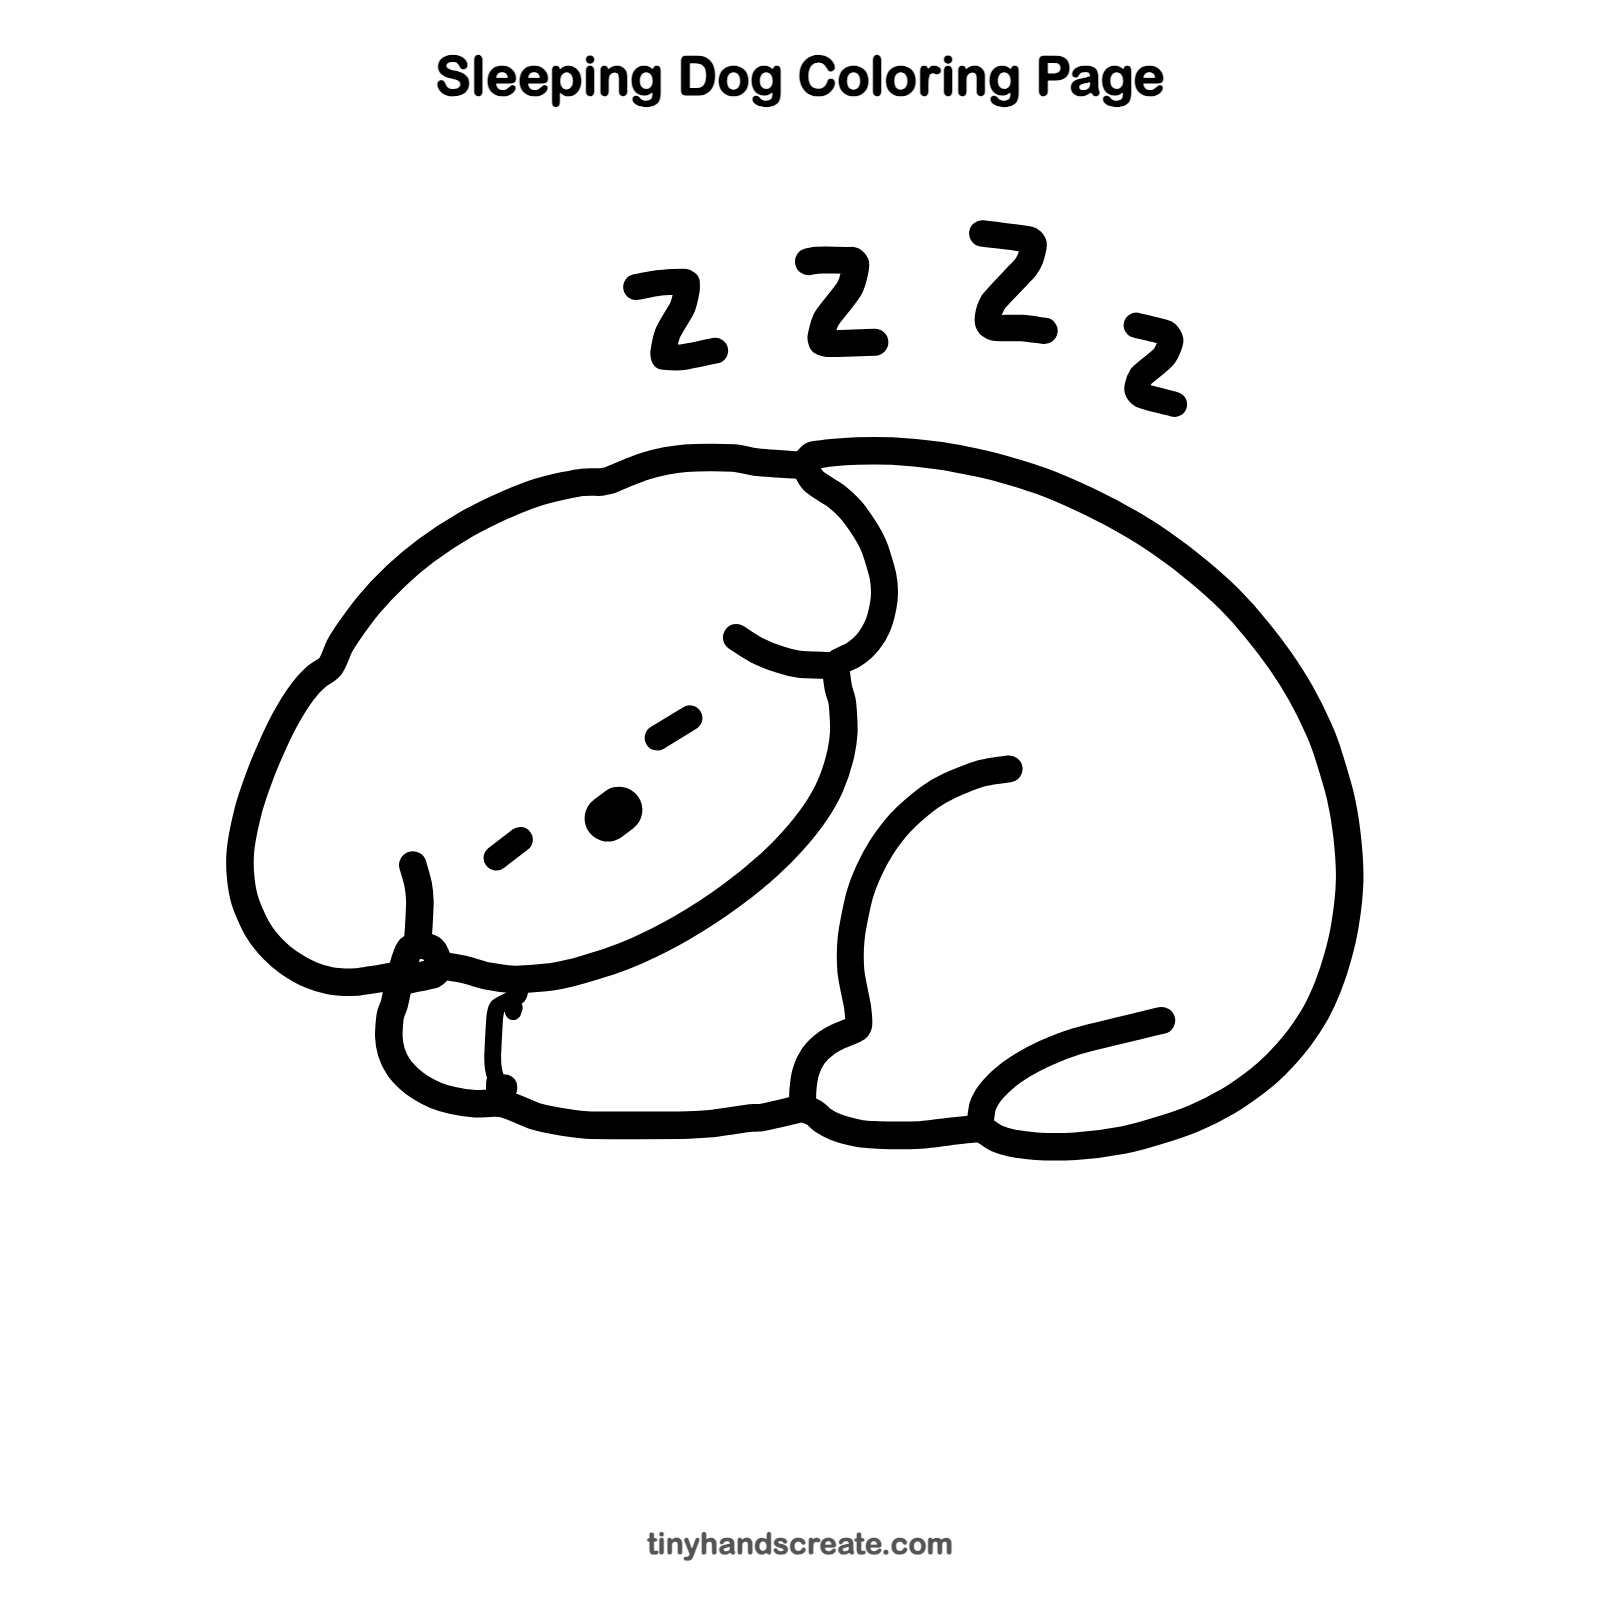
How to color your sleeping dog drawing
Try a warm tan or cream for the fur, with a darker brown for the ear and soft blue for the night sky around the Z's. For a creative twist, draw a tiny blanket or a bone near the dog's paws.
Sleeping dog fun fact for kids
Dogs dream. They go through REM sleep, the same stage of sleep when people dream, and sleeping dogs sometimes twitch their paws or make soft sounds.
Questions about drawing a sleeping dog
What shapes do I need to draw a sleeping dog?
You need a big rounded arch for the head and back, plus curved lines for the ear, front paw, back leg and tail. The Z's are just three straight lines each.
How do I make my sleeping dog look cuter?
Keep the face marks tiny and make the dot small and solid. Rounder, softer curves everywhere make the dog look sleepier and sweeter.
How do I show that the dog is asleep?
Short slanted dashes for closed eyes and a row of Z's above the dog tell the story. A curled-up body with the chin resting near the paws helps too.