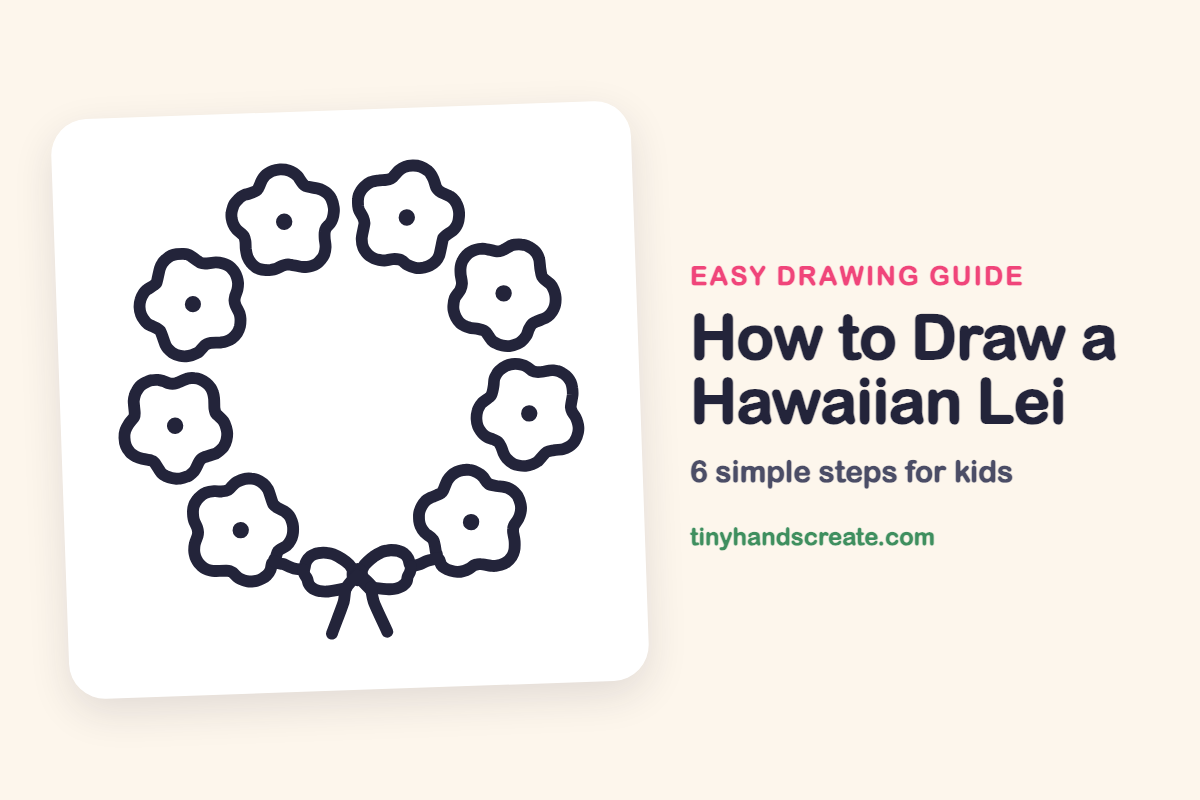
How to Draw a Hawaiian Lei (Easy Step by Step)
A Hawaiian lei is a ring of flowers worn as a gift of welcome, and it is a lovely thing to draw. Every flower is the same simple shape, a circle with five round bumps, and a little bow ties the ring together at the bottom. Once you can draw one flower, you can draw the whole lei.
- Easy
- 15 minutes
- 6 steps
You need: paper, a pencil, an eraser, and crayons or markers for coloring.
Start drawing


In this article (7 sections)
How to draw a Hawaiian lei step by step
How to Draw a Hawaiian Lei · tinyhandscreate.com
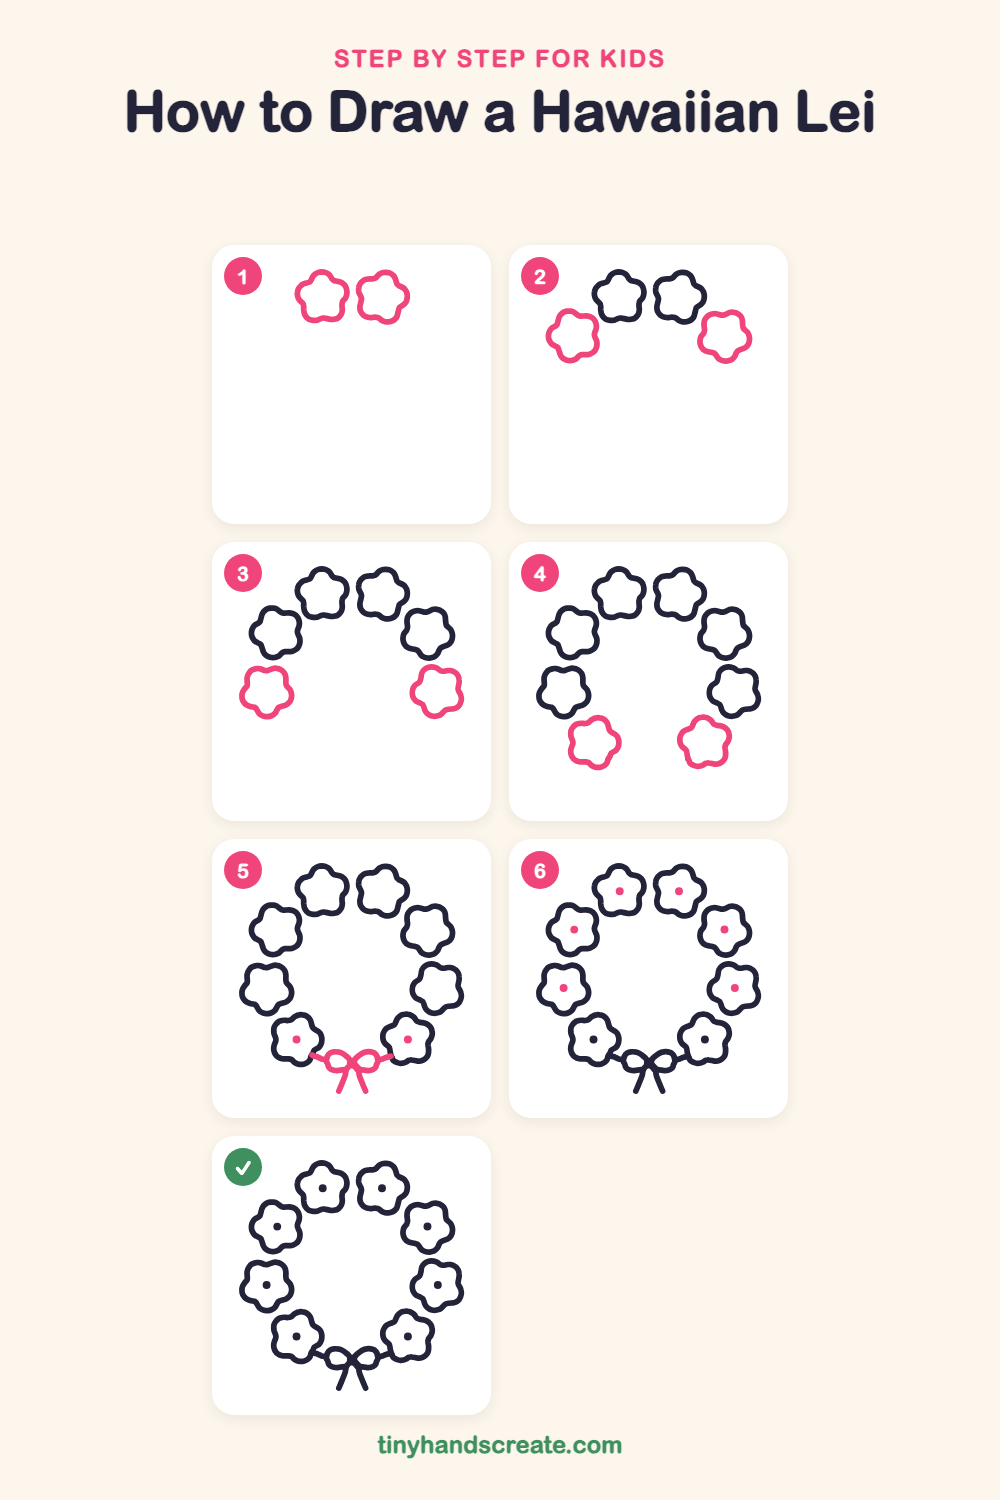
Step 1: Top two flowers
Near the top, draw two flowers side by side with a small gap between them. Make each one a wobbly circle with five soft, round bumps, like a puffy cloud.
Step 2: Upper side flowers
Now draw one flower on the left and one on the right, a little lower than the top pair. Copy the same five-bump shape, and imagine the flowers marching around a big circle.
Step 3: Middle side flowers
Draw two more flowers lower down, one on each side, facing each other across the empty middle. Keep the space between them wide and open.
Step 4: Bottom two flowers
Add one flower at the bottom left and one at the bottom right. Leave a gap between them at the very bottom, where the ribbon will go.
Step 5: Bow and first dots
In the gap at the bottom, draw two loops side by side like bunny ears, with a small knot where they meet. Add two short lines hanging down from the knot, a short line from each loop to its flower, and a small dot in the middle of each bottom flower.
Step 6: Flower center dots
Put a small solid dot in the middle of each flower that does not have one yet. Press your pencil down and fill each dot in so it stands out.
All done!
Go over your lines with a marker, then color it in.
Finished your Hawaiian lei? Keep the pencils out and learn how to draw a rocket or how to draw a shooting star next.
Tips for drawing a Hawaiian lei
- Draw each flower as a wobbly circle with five round bumps around the edge. Bumps that are all about the same size make the flower look neat.
- Space the flowers around an imaginary big circle. Draw the top ones first, then the sides, so you do not run out of room at the bottom.
- The bow is the trickiest part. Draw the two loops first, then the knot, then the two hanging tails, and keep the tails short.
Free Hawaiian lei coloring page
Want to go straight to coloring? Open this Hawaiian lei coloring page at full size and print it. It is the same drawing you just learned, with clean lines ready for crayons or markers.
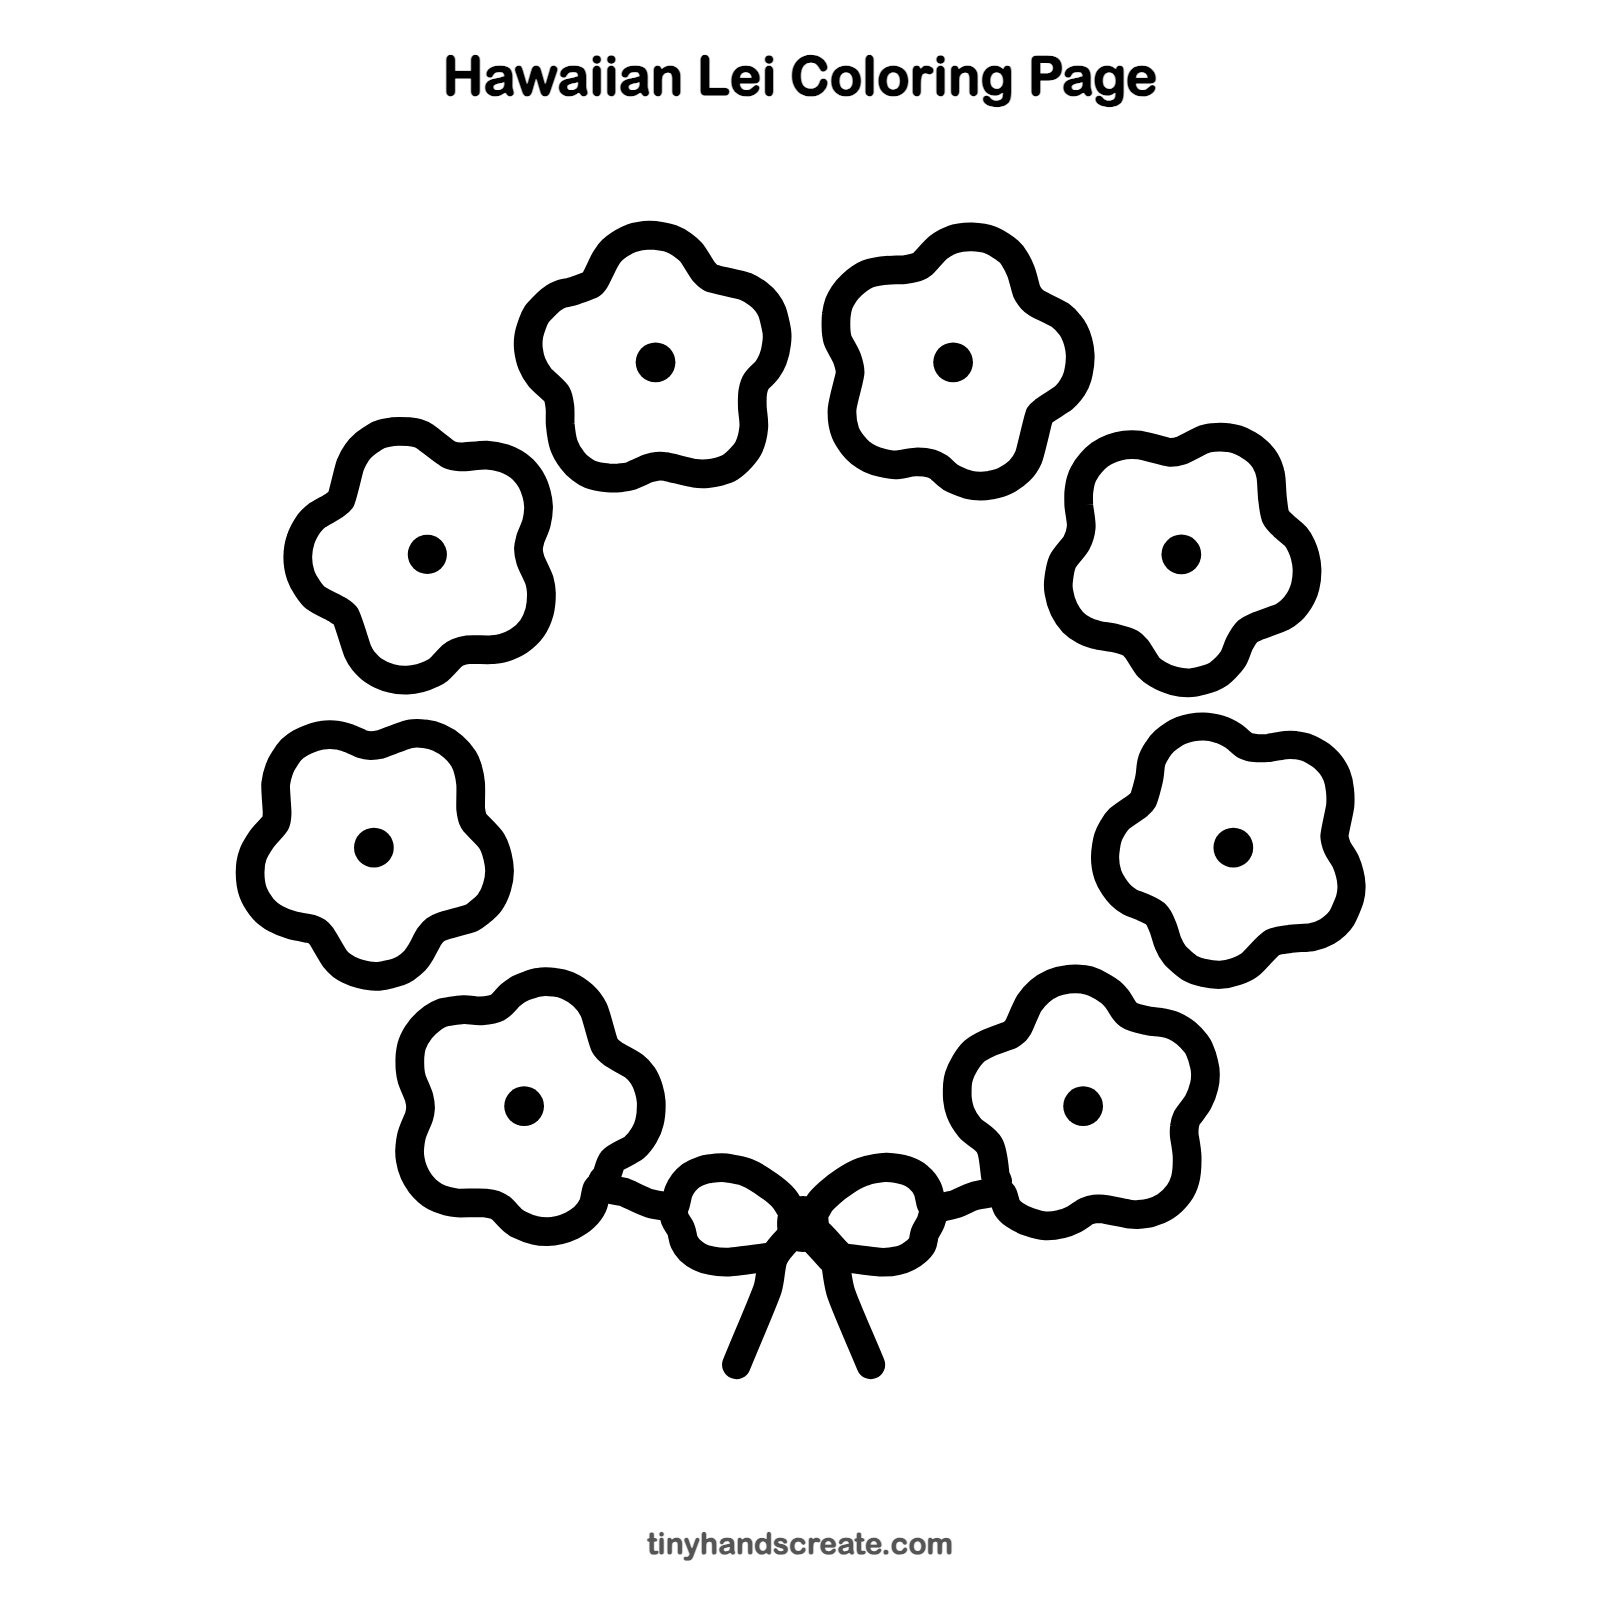
How to color your Hawaiian lei drawing
Try bright pink, yellow and orange petals with yellow or red centers, and use green for the bow. For a creative twist, make every flower a different color, like a rainbow lei.
Hawaiian lei fun fact for kids
In Hawaii, a lei is given to say hello, goodbye, congratulations or I love you. Many leis are made by stringing or tying real flowers, like plumeria and orchids, into a long loop.
Questions about drawing a Hawaiian lei
What shapes do I need to draw a Hawaiian lei?
You need a circle with five round bumps for each flower, a small dot for each center, and two loops with a knot and two tails for the bow.
How do I make my flowers look the same?
Draw each one with five bumps of equal size around the edge. Practice one flower on scrap paper, then copy it around the ring.
How do I make my lei look more colorful?
Give each flower its own bright color and a darker dot in the middle. Making the bow a different color helps it stand out.