How to Draw a Pumpkin Bat (Easy Step by Step)
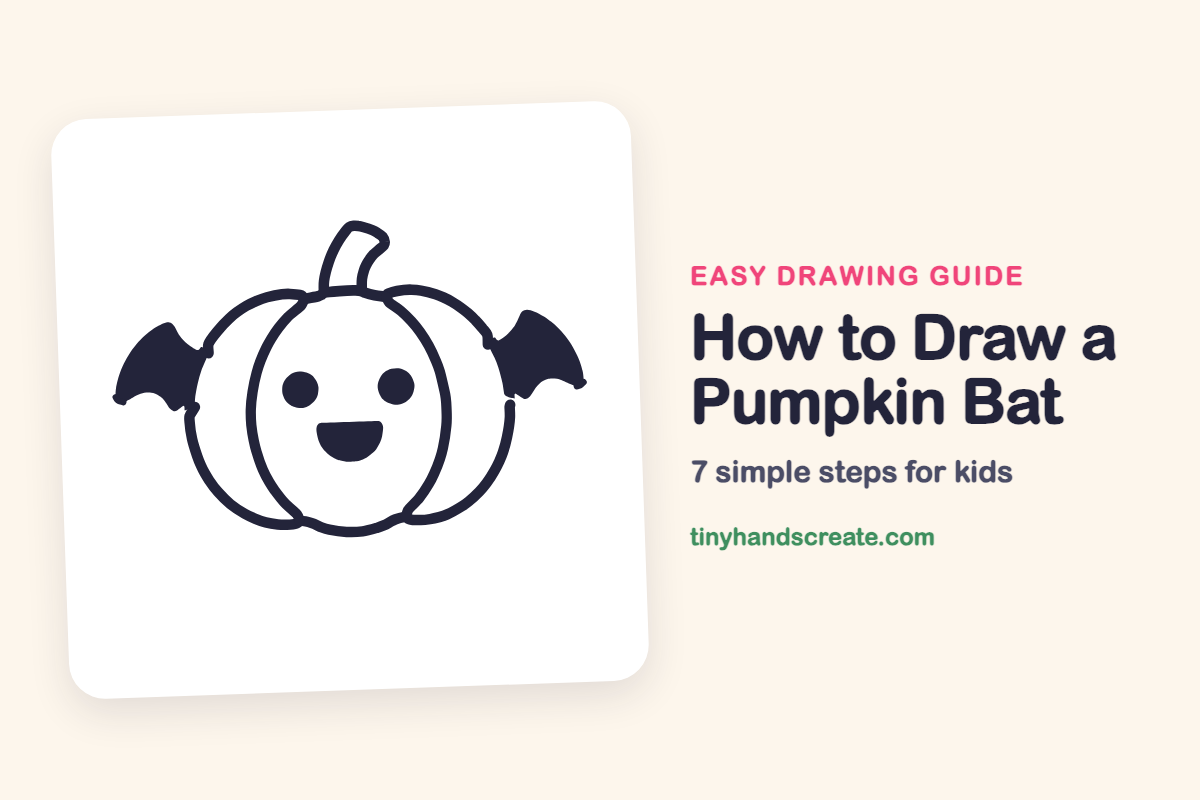
A pumpkin bat is a spooky character that turns out to be very friendly. It is built from a few simple shapes: a wide pumpkin outline, a tall oval, a curved stem, two pointy wings, two round eyes, and a half circle for the smile. It is a great one to draw for Halloween.
- Easy
- 10 minutes
- 7 steps
You need: paper, a pencil, an eraser, and crayons or markers for coloring.
Start drawing
In this article (7 sections)
How to draw a pumpkin bat step by step
How to Draw a Pumpkin Bat · tinyhandscreate.com
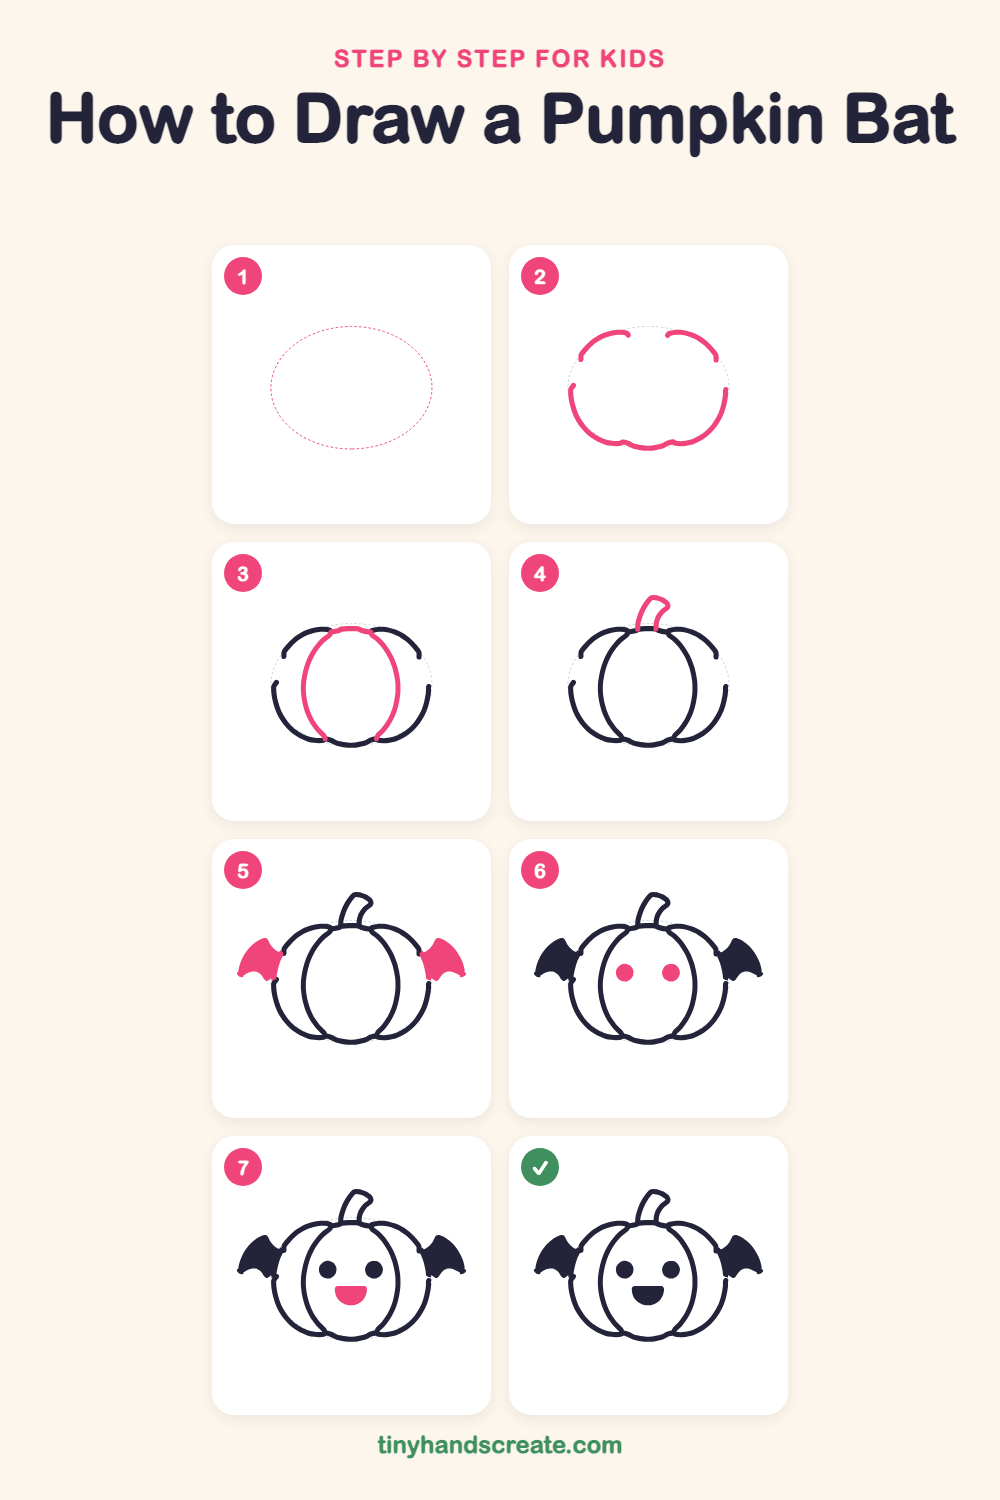
Step 1: Guide shapes
Lightly sketch this oval. It only shows where the big parts go, so press softly. You will erase it at the end.
Step 2: Pumpkin outline
Draw the outer edge of a wide pumpkin, wider than it is tall. Make two short curves across the top with a gap between them, then one long bumpy curve along the bottom that swoops up the sides. Leave small gaps at the sides and top.
Step 3: The middle section
Inside the pumpkin, draw a tall oval that starts at the top gap and curves down to the bottom middle. Its sides sit inside the outline and make the pumpkin look like it has ridges.
Step 4: The curved stem
On top of the pumpkin, draw a short stem that leans a little to the right. Make two curved lines that go up from the top of the middle oval, then join them with a small bend at the end.
Step 5: Bat wings
On each side of the pumpkin, draw a wing with a pointy top tip that sticks out from the side. Make the bottom edge with a few little points, then color the wing in solid.
Step 6: Two round eyes
Inside the middle oval, draw two small solid circles side by side, at the same height.
Step 7: A happy smile
Below the eyes, draw a half circle with the flat side on top, like a big open smile. Fill it in solid.
All done!
Erase the guide shapes, go over your lines, then color it in.
Finished your pumpkin bat? Keep the pencils out and learn how to draw a menorah or how to draw a dreidel next.
Tips for drawing a pumpkin bat
- Draw the wide pumpkin outline first and the tall middle oval second. If the middle oval reaches the top and bottom of the outline, the pumpkin looks neat and balanced.
- Wings are the trickiest part. Start with the pointy top tip, then make three or four small points along the bottom edge.
- Keep the eyes the same size and at the same height. Then put the smile below them, centered between the eyes, and the face will look cute.
Free pumpkin bat coloring page
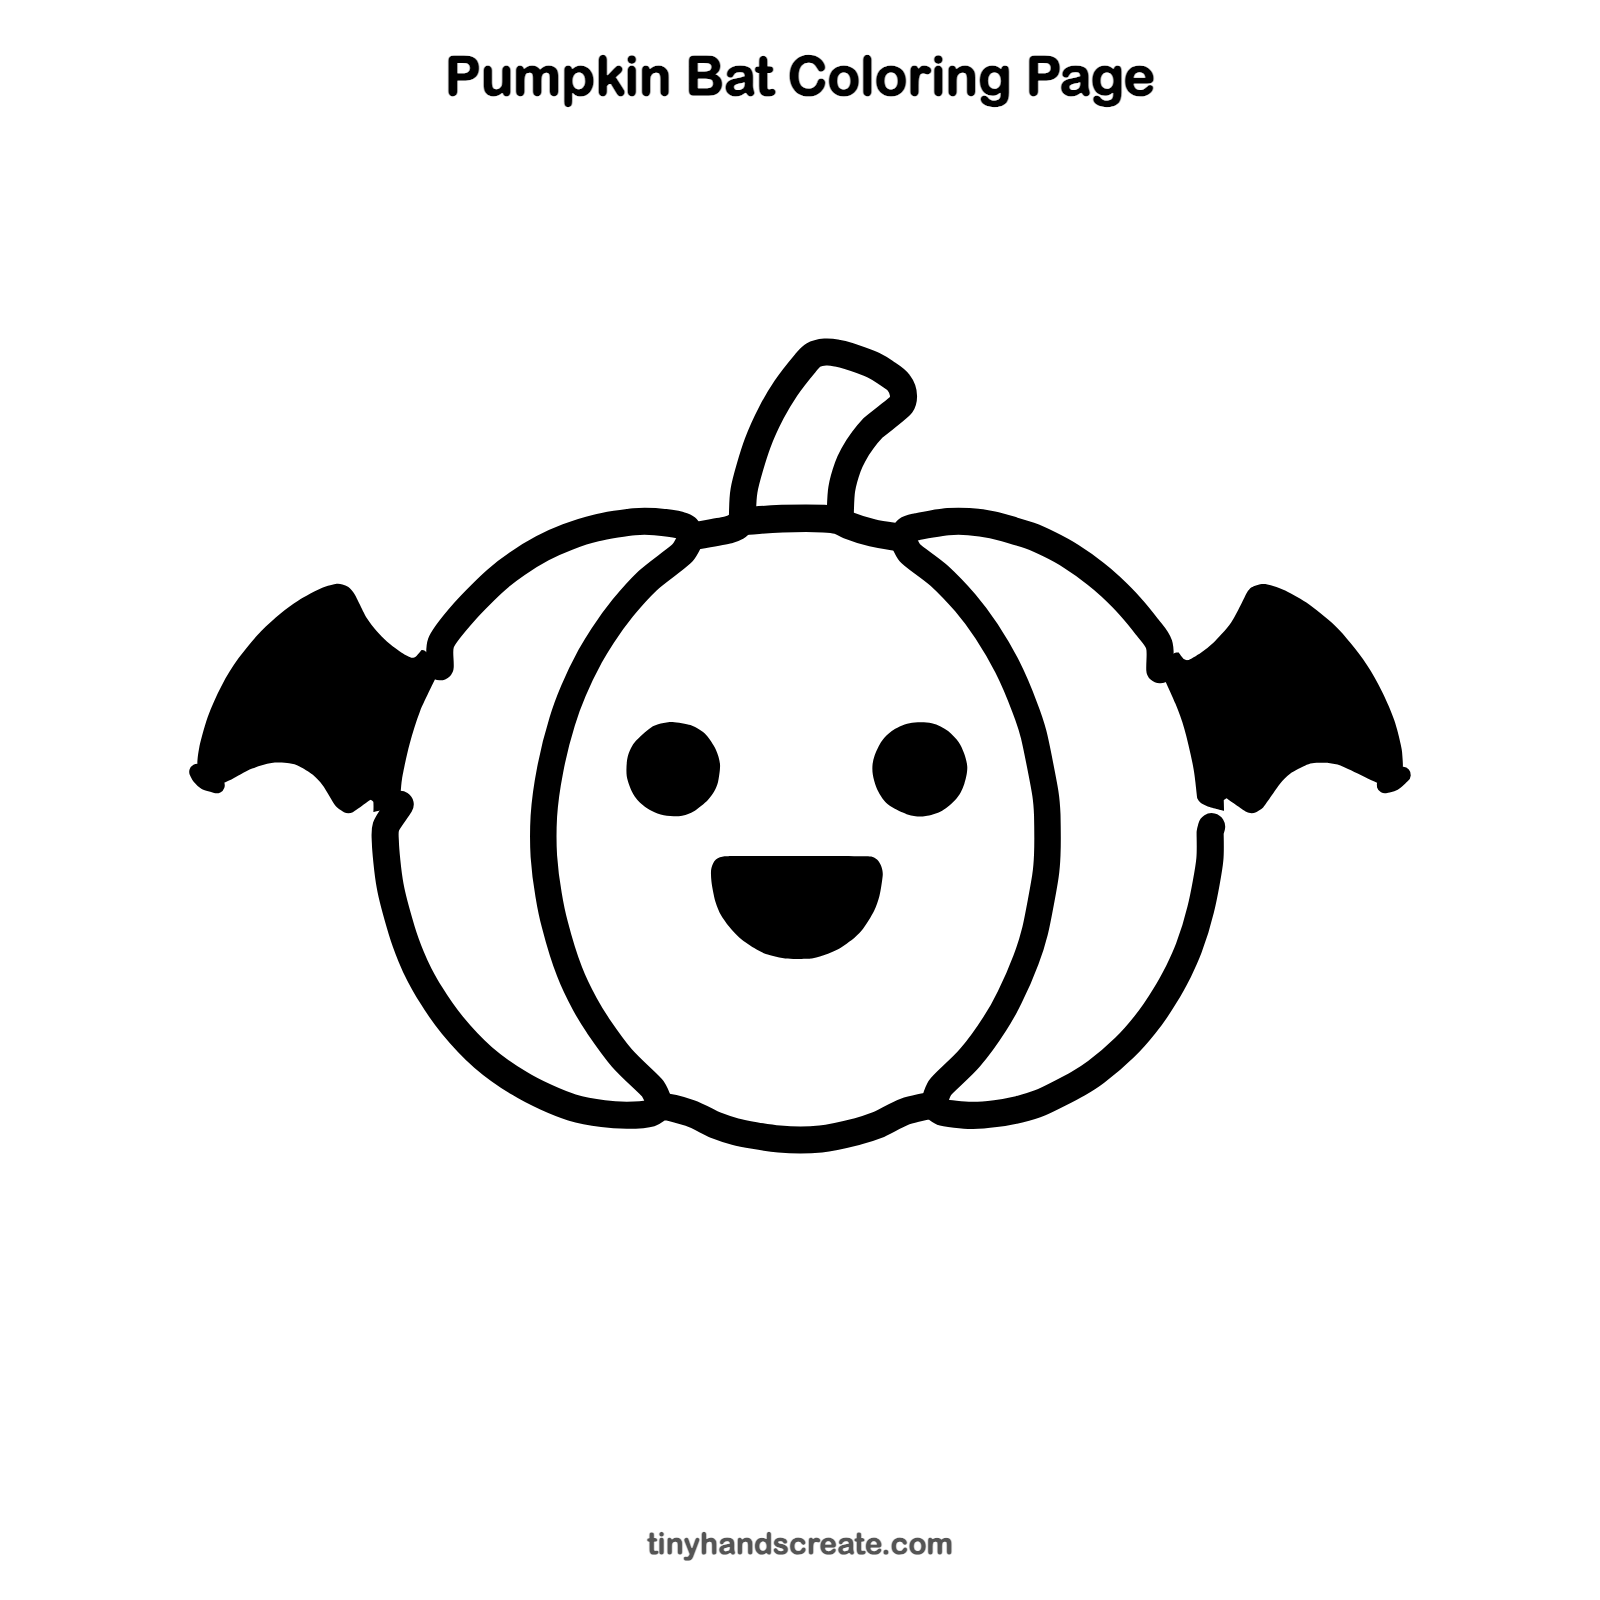
Want to go straight to coloring? Open this pumpkin bat coloring page at full size and print it. It is the same drawing you just learned, with clean lines ready for crayons or markers.
How to color your pumpkin bat drawing
Color the pumpkin bright orange and the stem green. The wings, eyes, and smile are drawn solid, so make them dark purple or black, or pick another dark color. For a creative twist, draw a night sky with a full moon behind the bat.
Pumpkin bat fun fact for kids
Bats are the only mammals that can truly fly.
Questions about drawing a pumpkin bat
What shapes do I need to draw a pumpkin bat?
You need a wide pumpkin outline, a tall oval for the middle, a curved stem, two pointy wings, two small circles for the eyes, and a half circle for the smile.
How do I make my pumpkin bat look cuter?
Make the eyes round and place them a little wide apart. A big open smile and small wings make the pumpkin look extra friendly.
How do I draw the bat wings so they look the same?
Draw one wing first, then copy its height and size on the other side. Make sure both wings start at the same spot on the pumpkin and point up and out.