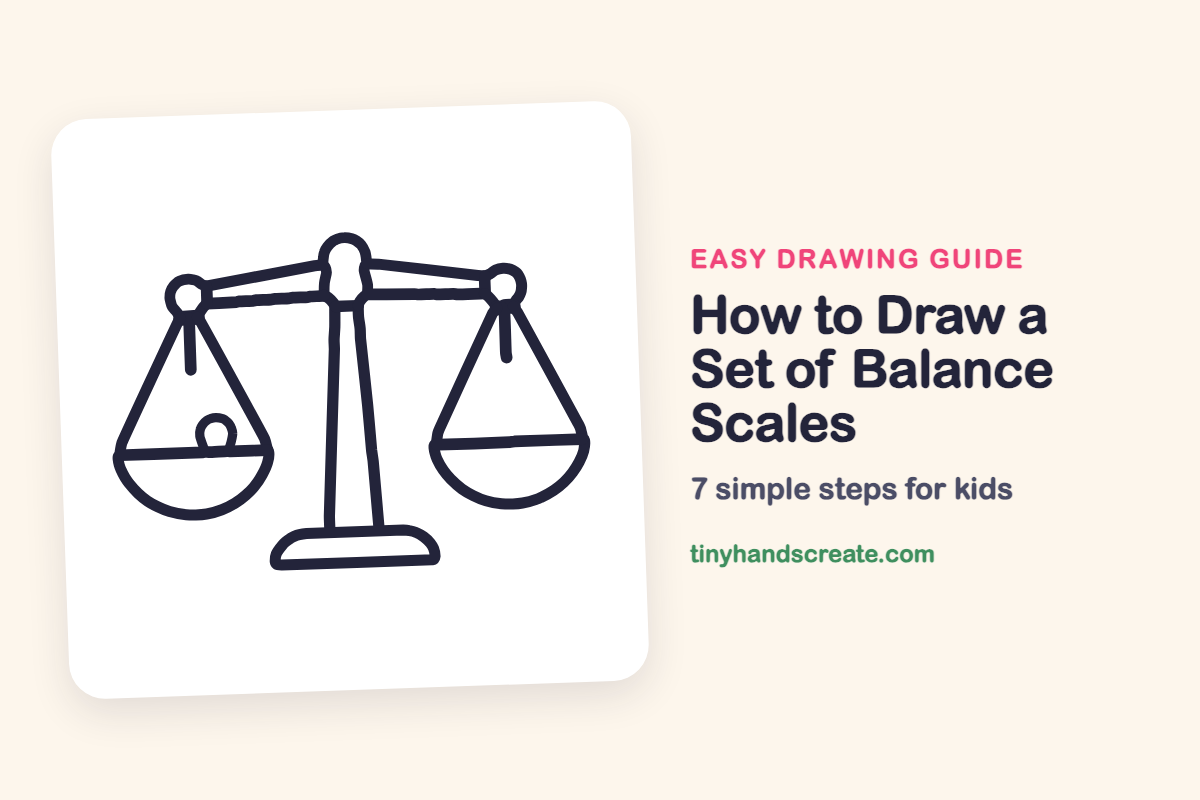
How to Draw a Set of Balance Scales (Easy Step by Step)
You'll learn to easily draw balance scales using simple shapes like circles, straight lines, and bowls. This step-by-step guide helps you create a balanced design, starting from the center tower.
- Learn to use basic shapes like circles, lines, and bowls.
- Start by drawing the center tower, then build outwards.
- Practice making both sides of your scales match for balance.
- Discover how simple it is to draw a seemingly complex object.
This post contains affiliate links. As an Amazon Associate I earn from qualifying purchases.
Balance scales look fancy, but they are built from circles, straight lines, and two bowl shapes. Kids get to practice making both sides match, which is the whole idea of a balance. Once the center tower is drawn, the rest builds outward from it.
- Medium
- 15 minutes
- 7 steps
You need: paper, a pencil, an eraser, and crayons or markers for coloring.
Start drawing


In this article (7 sections)
How to draw a set of balance scales step by step
How to Draw a Set of Balance Scales · tinyhandscreate.com
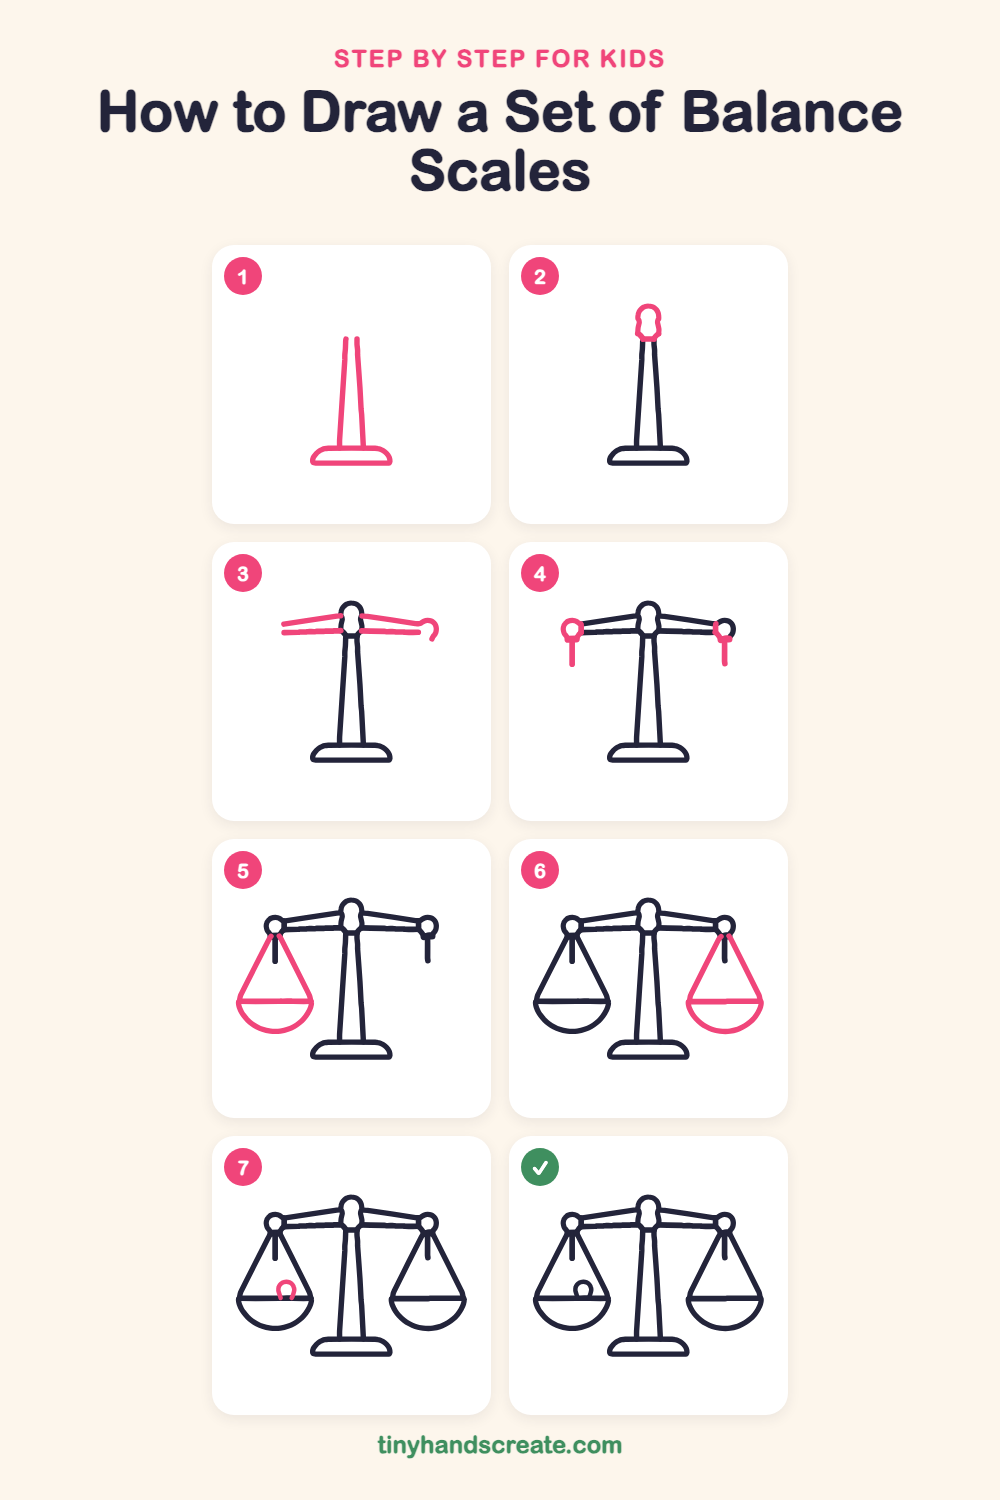
Step 1: Post and base
Draw two tall lines that lean in a little toward the top, like a skinny tower. Then draw a flat bar at the bottom with a rounded top, like a low hill, and join the tower to it.
Step 2: The top knob
At the top of the tower, draw a small rounded knob, a bit like a tiny snowman head. Its bottom sits right on top of the two tower lines.
Step 3: The balance beam
From the knob, draw two long, thin bars going out to the left and right, each made of two nearly straight lines. Each bar slants slightly down away from the knob.
Step 4: Rings and hanger rods
At the outer end of each bar, draw a small circle. Under each circle, draw a short straight line pointing down, like a little rod.
Step 5: The left pan
From the left ring, draw two long lines that spread apart like a triangle. Draw a straight line across the bottom, then add a deep curve beneath it like a bowl.
Step 6: The right pan
Do the same on the right side. Draw two lines spreading out from the ring, a straight line across, and a round bowl underneath. Try to match the left pan.
Step 7: The little ball
Inside the left pan, sitting on the straight line, draw a small circle. This is the ball being weighed.
All done!
Go over your lines with a marker, then color it in.
Finished your set of balance scales? Keep the pencils out and learn how to draw a rocket or how to draw a shooting star next.
Tips for drawing a set of balance scales
- Draw the tall post first and keep it centered on the page. Everything else hangs from it, so a wobbly start makes the whole drawing lean.
- The two pans are the trickiest part. Make the left pan, then glance across to the right and copy its width and depth.
- Draw the straight line across each pan, then the curved bowl below it. It is easier to curve a line when it has two end points to meet.
Free set of balance scales coloring page
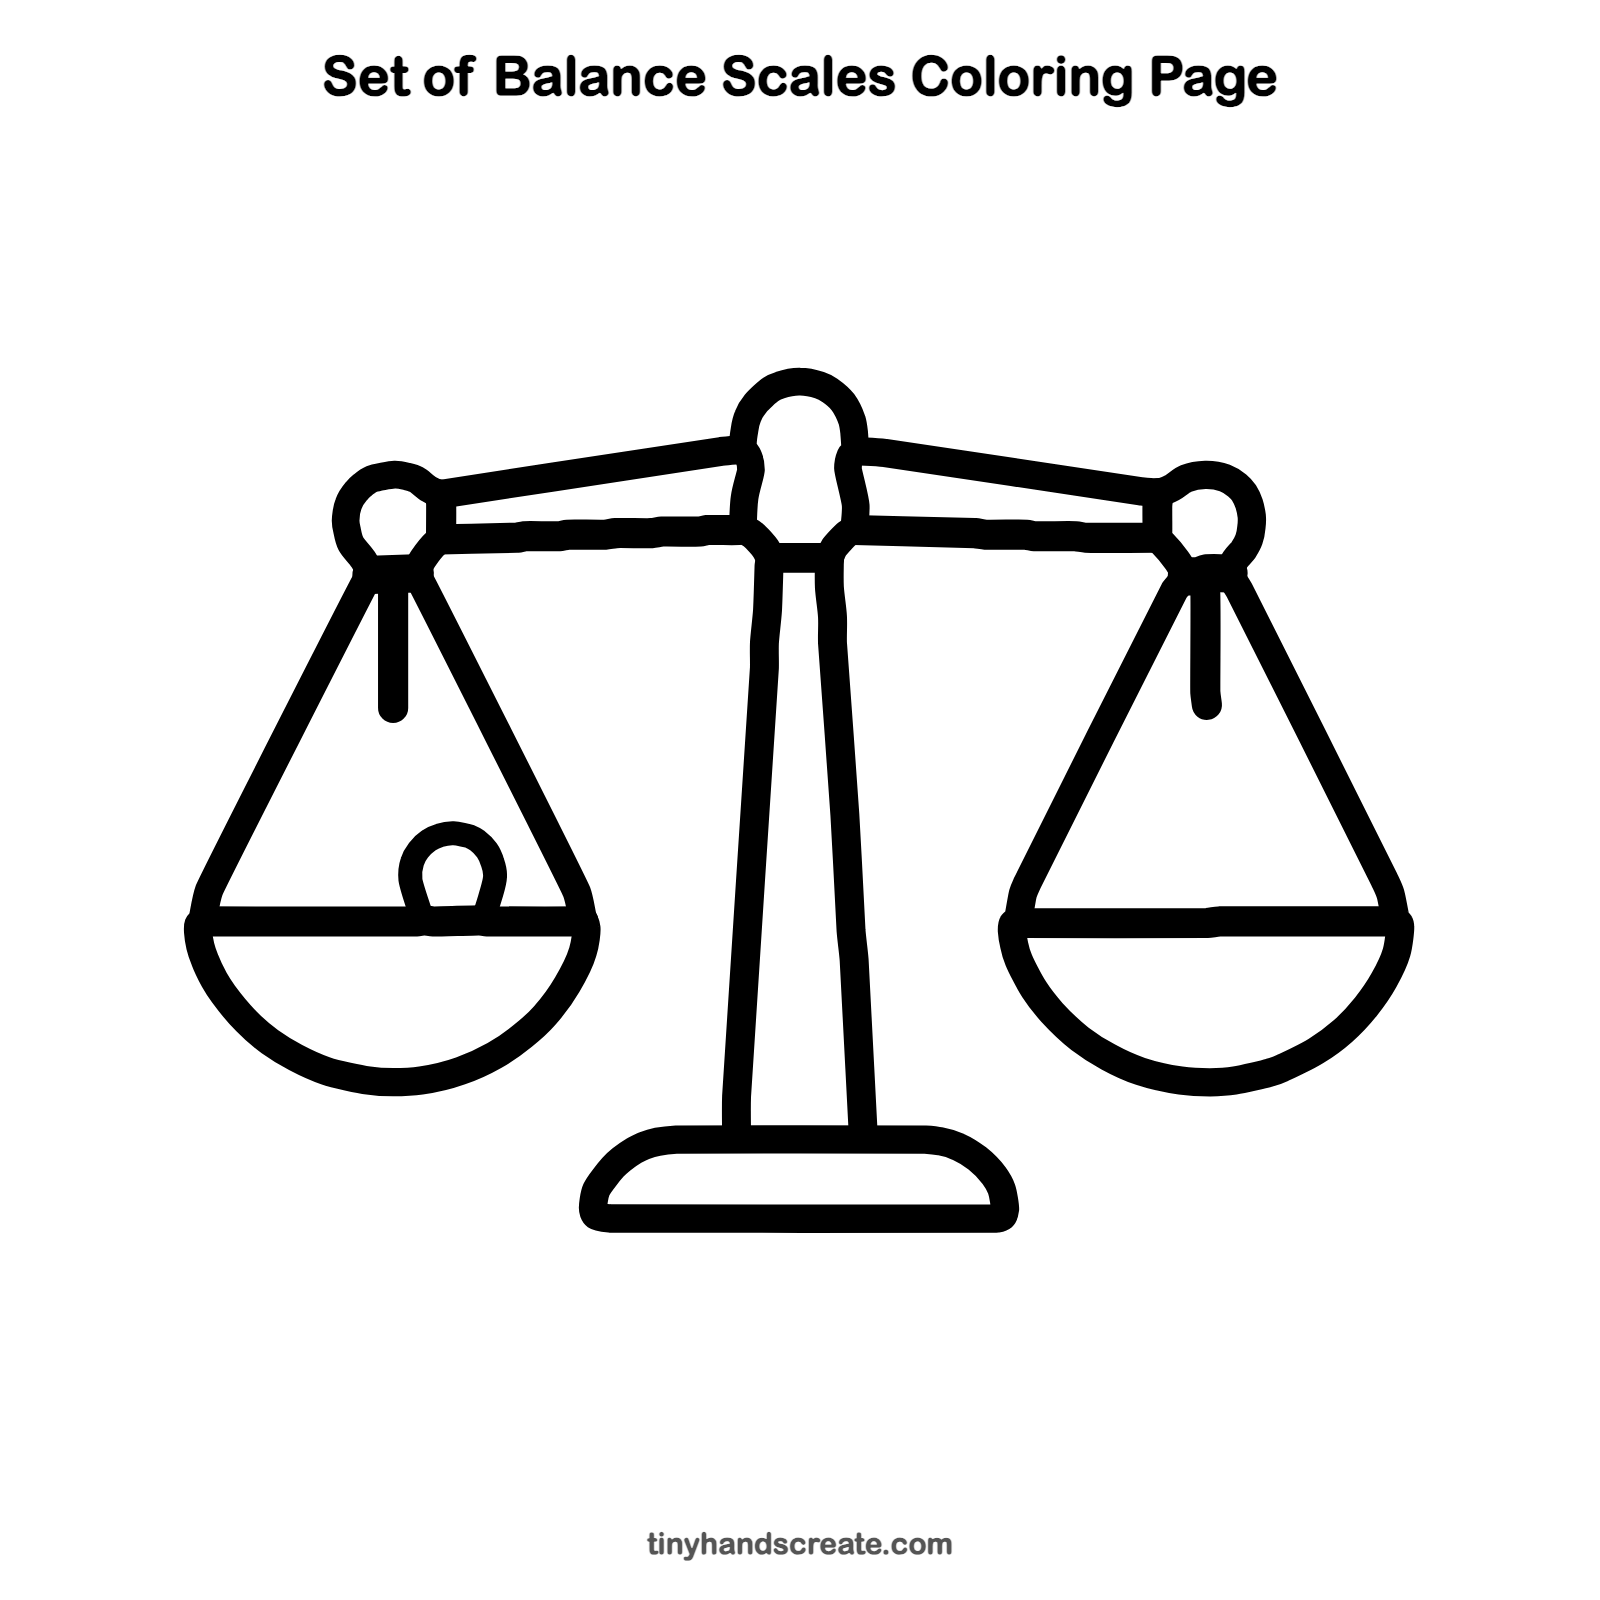
Want to go straight to coloring? Open this set of balance scales coloring page at full size and print it. It is the same drawing you just learned, with clean lines ready for crayons or markers.
How to color your set of balance scales drawing
Try shiny gold for the beam and post, with silver or blue pans. For a fun twist, color the ball orange like a fruit.
Set of balance scales fun fact for kids
Balance scales are one of the oldest measuring tools. People in ancient Egypt used them more than 4,000 years ago to weigh things like gold and grain.
Questions about drawing a set of balance scales
What shapes do I need to draw balance scales?
You need circles for the knob, rings, and ball, and straight lines for the beam, post, and rods. Each pan is a triangle with a bowl curve under it, and a flat rounded bar makes the base.
How do I make both sides of the scales match?
Draw the left pan first, then hold your pencil up to compare its width and height as you draw the right one.
Why is there a ball in only one pan?
The ball is the thing being weighed. You can draw a second one in the other pan if you want the scales to look balanced.