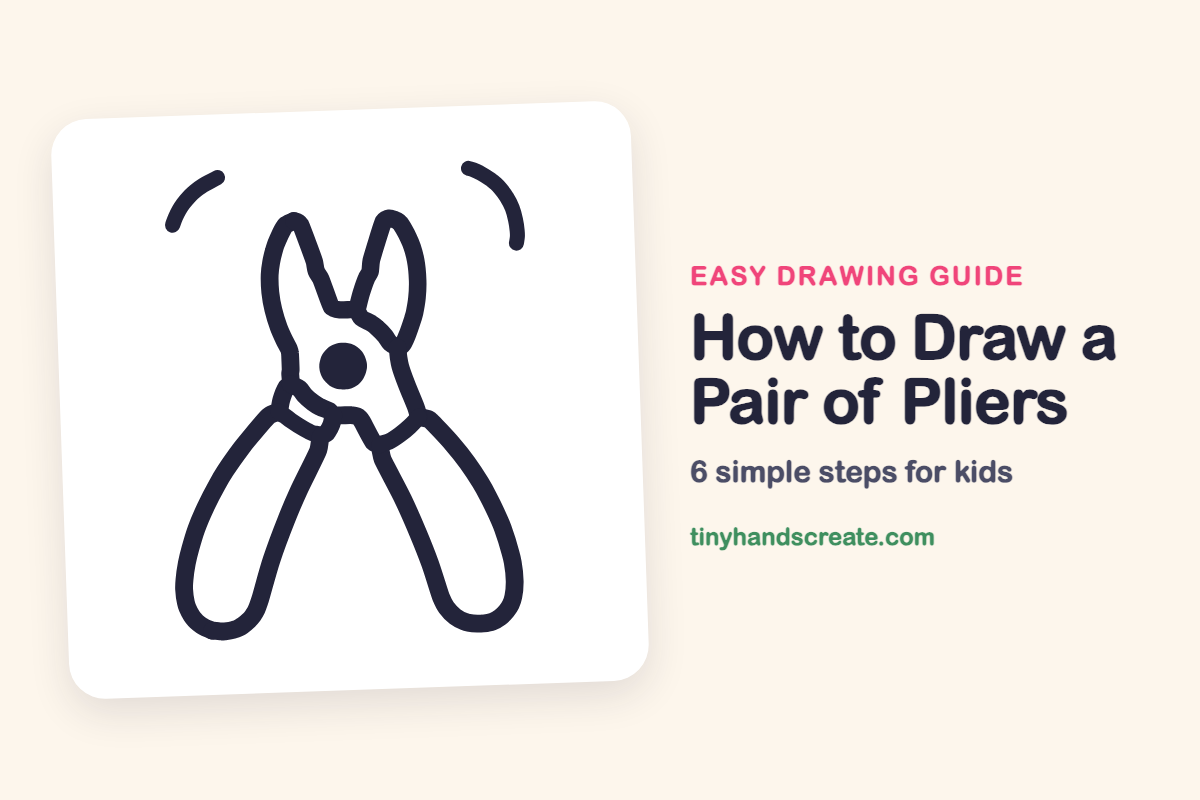
How to Draw a Pair of Pliers (Easy Step by Step)
Learn to draw a pair of pliers easily with this step-by-step guide. You'll practice smooth, matching shapes by constructing them from rounded handles, pointy jaws, and a central bolt.
- Start by drawing pliers as an easy first tool.
- Construct the pliers using two rounded handles.
- Add a pair of pointy jaws to complete the tool.
- Connect the parts with a small bolt in the middle.
- Practice smooth, matching shapes as you draw.
This post contains affiliate links. As an Amazon Associate I earn from qualifying purchases.
Pliers are a good first tool to draw because they are mostly long curves with one small dot. You will build them from two rounded handles, a pair of pointy jaws, and a bolt in the middle. It is a fun way to practice smooth, matching shapes.
- Easy
- 10 minutes
- 6 steps
You need: paper, a pencil, an eraser, and crayons or markers for coloring.
Start drawing


In this article (7 sections)
How to draw a pair of pliers step by step
How to Draw a Pair of Pliers · tinyhandscreate.com
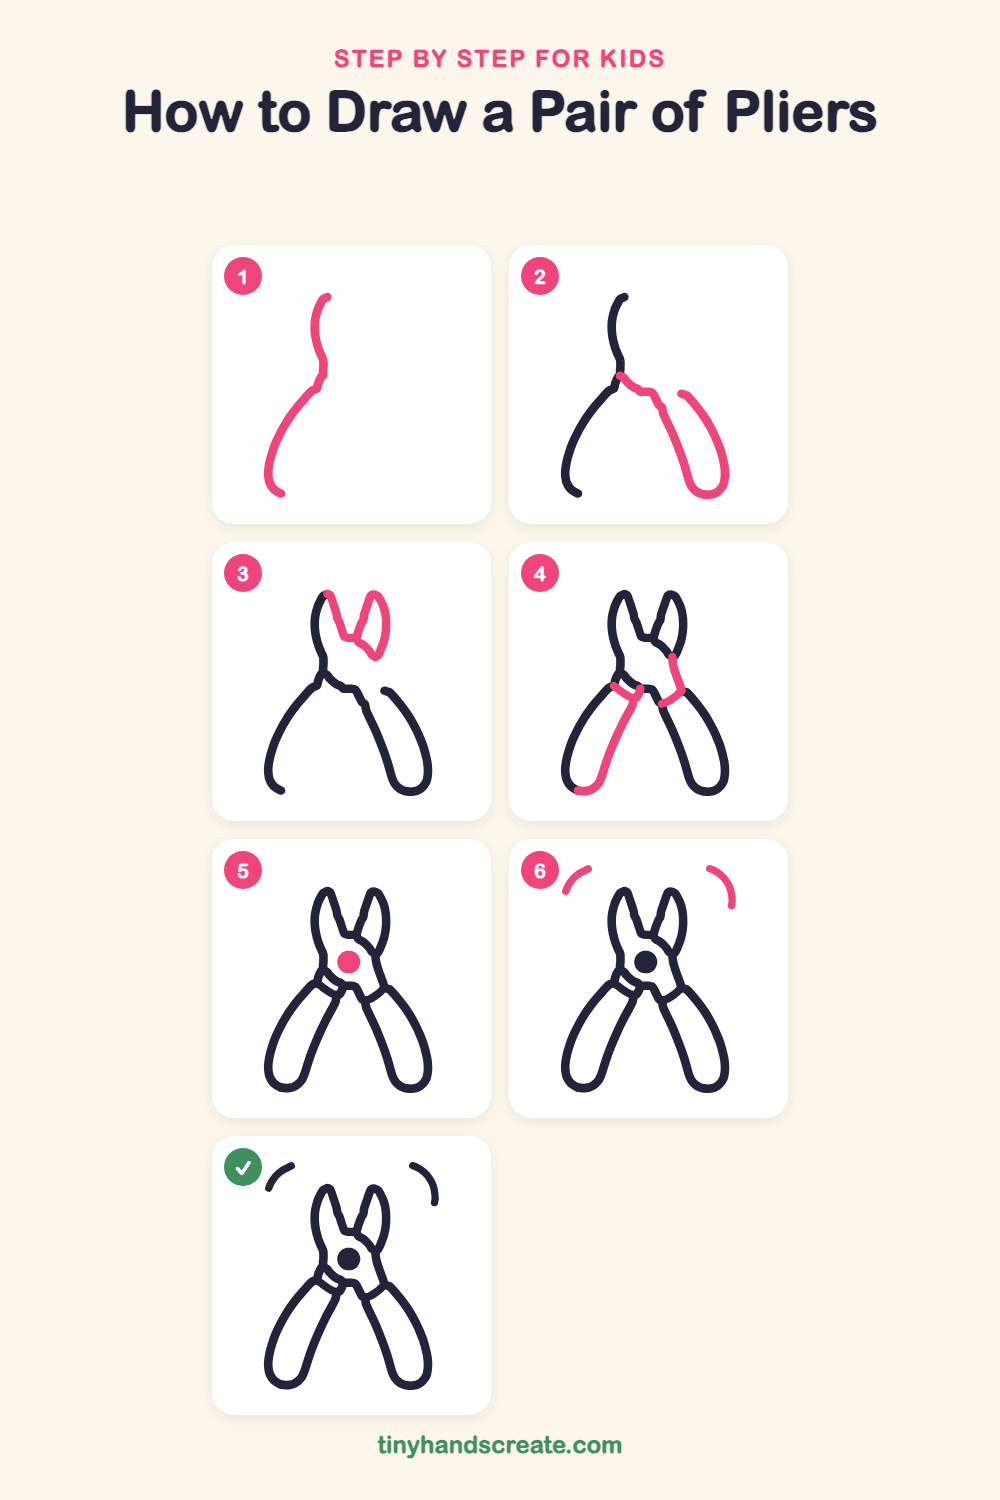
Step 1: Left side and handle
Start near the top and draw a long wavy line down the left side. Let it curve in at the middle, then sweep out and down to the bottom left, where the handle ends.
Step 2: Right handle
Start near the middle of the first line and draw a line that bends out to the right and slants down to a big round bottom. Then draw a separate curve on the outside that comes down to meet that round end.
Step 3: The jaw tips
At the top, draw two pointy jaw tips with a V-shaped gap between them. Draw the left tip's inner edge down to a small bend, then draw the right tip as a pointed loop that curves down toward the middle.
Step 4: Handle edge and collars
Draw a long line inside the left handle, from near the middle down to the round bottom, to give it a second edge. Then add a short band across the top of the left handle and another on the right side, where the metal meets the handles.
Step 5: The pivot bolt
Draw a small round circle in the middle, where the two halves meet. Fill it in with your pencil so it looks like a solid bolt.
Step 6: Squeeze lines
Draw one short curved line to the left of the jaws and one to the right, both above the handles. They show the pliers squeezing.
All done!
Go over your lines with a marker, then color it in.
Finished your pair of pliers? Keep the pencils out and learn how to draw a rocket or how to draw a shooting star next.
Tips for drawing a pair of pliers
- Draw the two handles about the same length. Look at the gap between them to check that the pliers look balanced.
- The jaw tips are the trickiest part. Make the V-shaped gap first, then curve the outer sides of the tips.
- Add the bolt near the end, right where the two halves meet. Press a little harder and fill it in so it looks darker than the rest.
Free pair of pliers coloring page
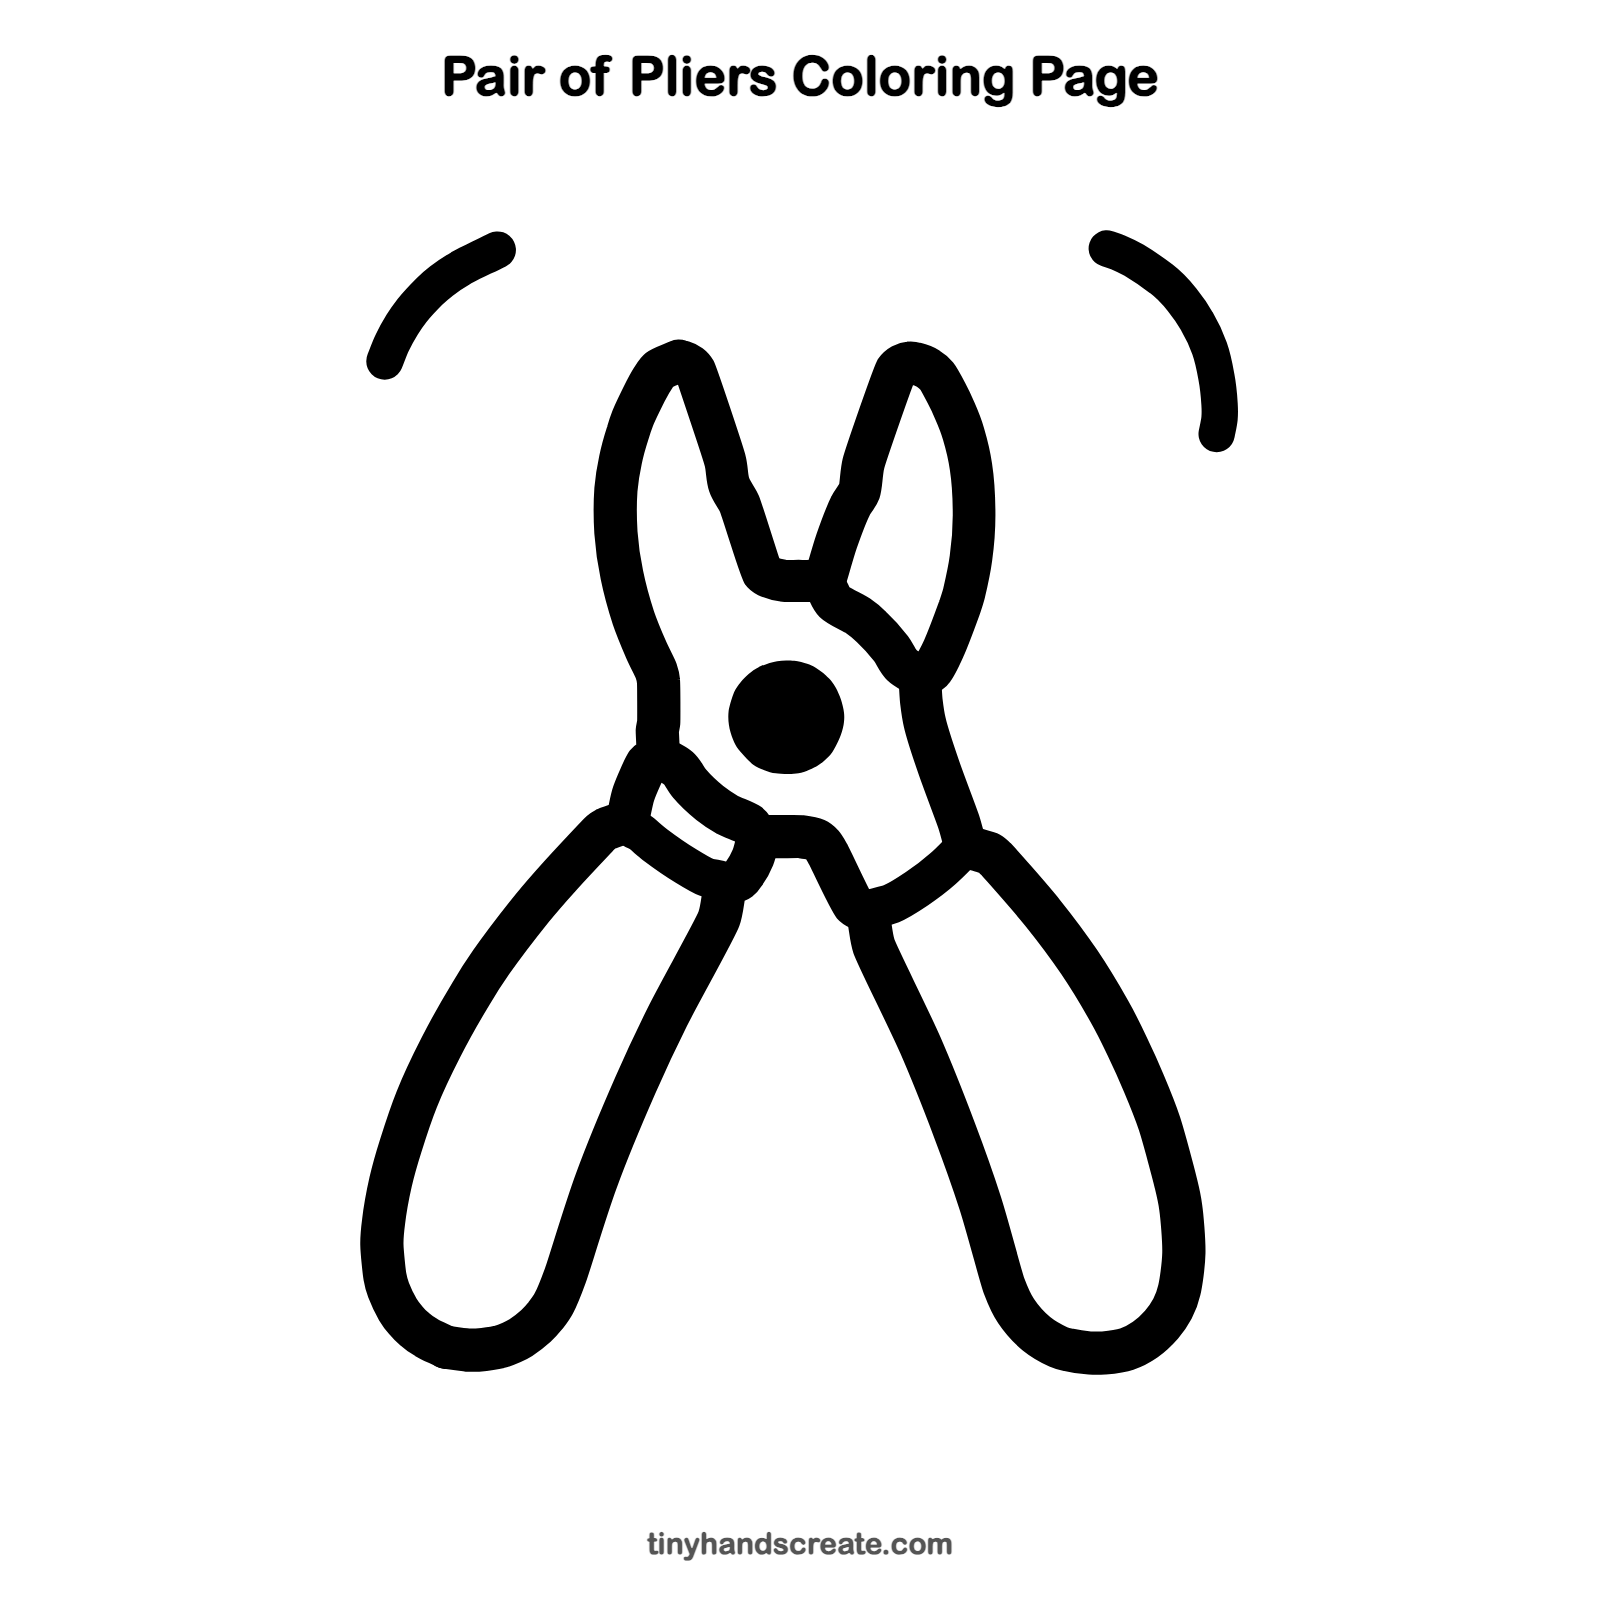
Want to go straight to coloring? Open this pair of pliers coloring page at full size and print it. It is the same drawing you just learned, with clean lines ready for crayons or markers.
How to color your pair of pliers drawing
Try red or blue handles with gray metal jaws and a dark gray bolt. For a creative twist, give each handle a different pattern, like stripes on one and dots on the other.
Pair of pliers fun fact for kids
The word "pliers" comes from the old word "ply," which means to bend. Pliers are tools for bending and gripping things.
Questions about drawing a pair of pliers
What shapes do I need to draw pliers?
You need long curved lines for the handles, pointy shapes with a V-shaped gap for the jaws, and one small filled circle for the bolt.
How do I make the handles look even?
Draw one handle, then match the other to it. Check that both end at about the same height and have the same round bottom.
How do I make my pliers look like metal?
Color the jaws in light and dark gray. Leave a thin white streak on the jaws so they look shiny.