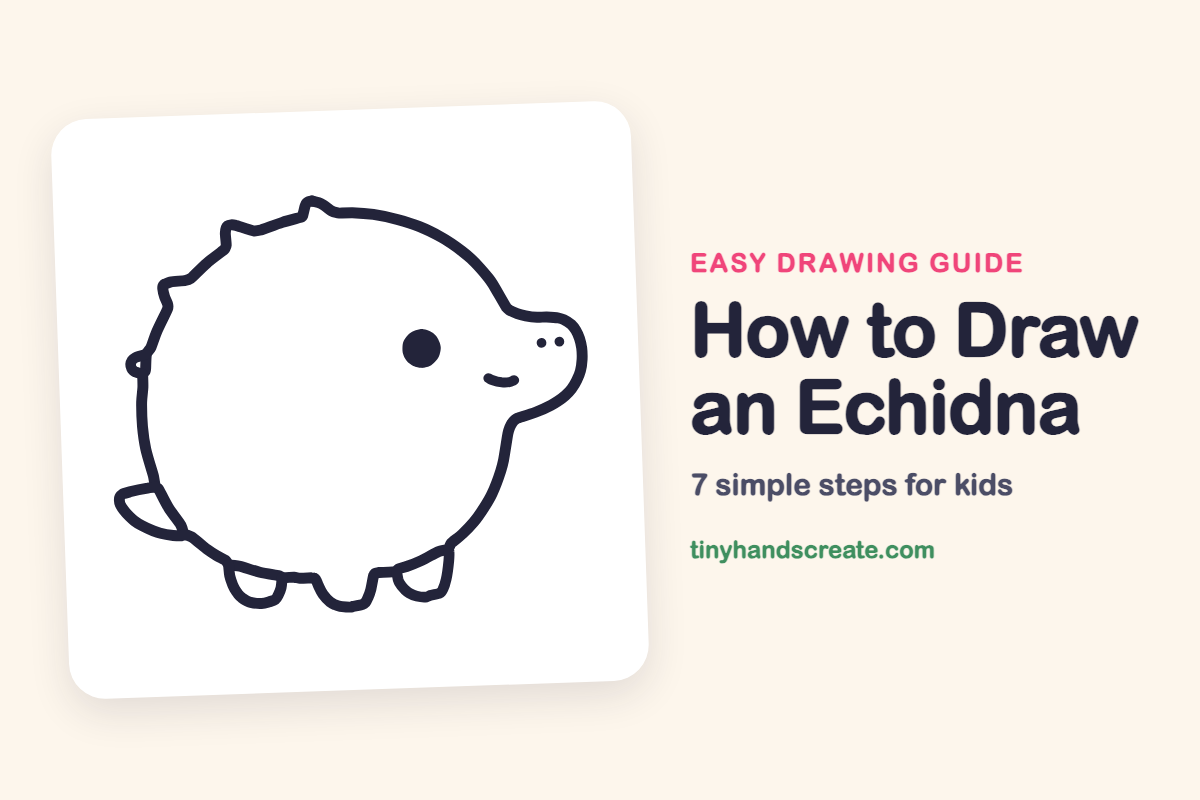
How to Draw an Echidna (Easy Step by Step)
Learn to draw a cute, spiky echidna with this easy step-by-step guide. You'll start with basic shapes like a round body and snout, then add details like spines, a tail, and tiny feet.
- Learn to draw an echidna by breaking it down into simple shapes.
- Begin your drawing with a large round body and a small snout.
- Add bumpy spines, a pointed tail, and tiny feet to finish your echidna.
- This step-by-step guide is ideal for kids who love cute animals.
This post contains affiliate links. As an Amazon Associate I earn from qualifying purchases.
The echidna is a spiky, round, smiling animal that is easy to draw once you see the shapes inside it. This one starts with a big round body and a small snout, then adds bumpy spines, a pointed tail, and tiny feet. It is a great first drawing for kids who like cute animals.
- Easy
- 10 minutes
- 7 steps
You need: paper, a pencil, an eraser, and crayons or markers for coloring.
Start drawing


In this article (7 sections)
How to draw an echidna step by step
How to Draw an Echidna · tinyhandscreate.com
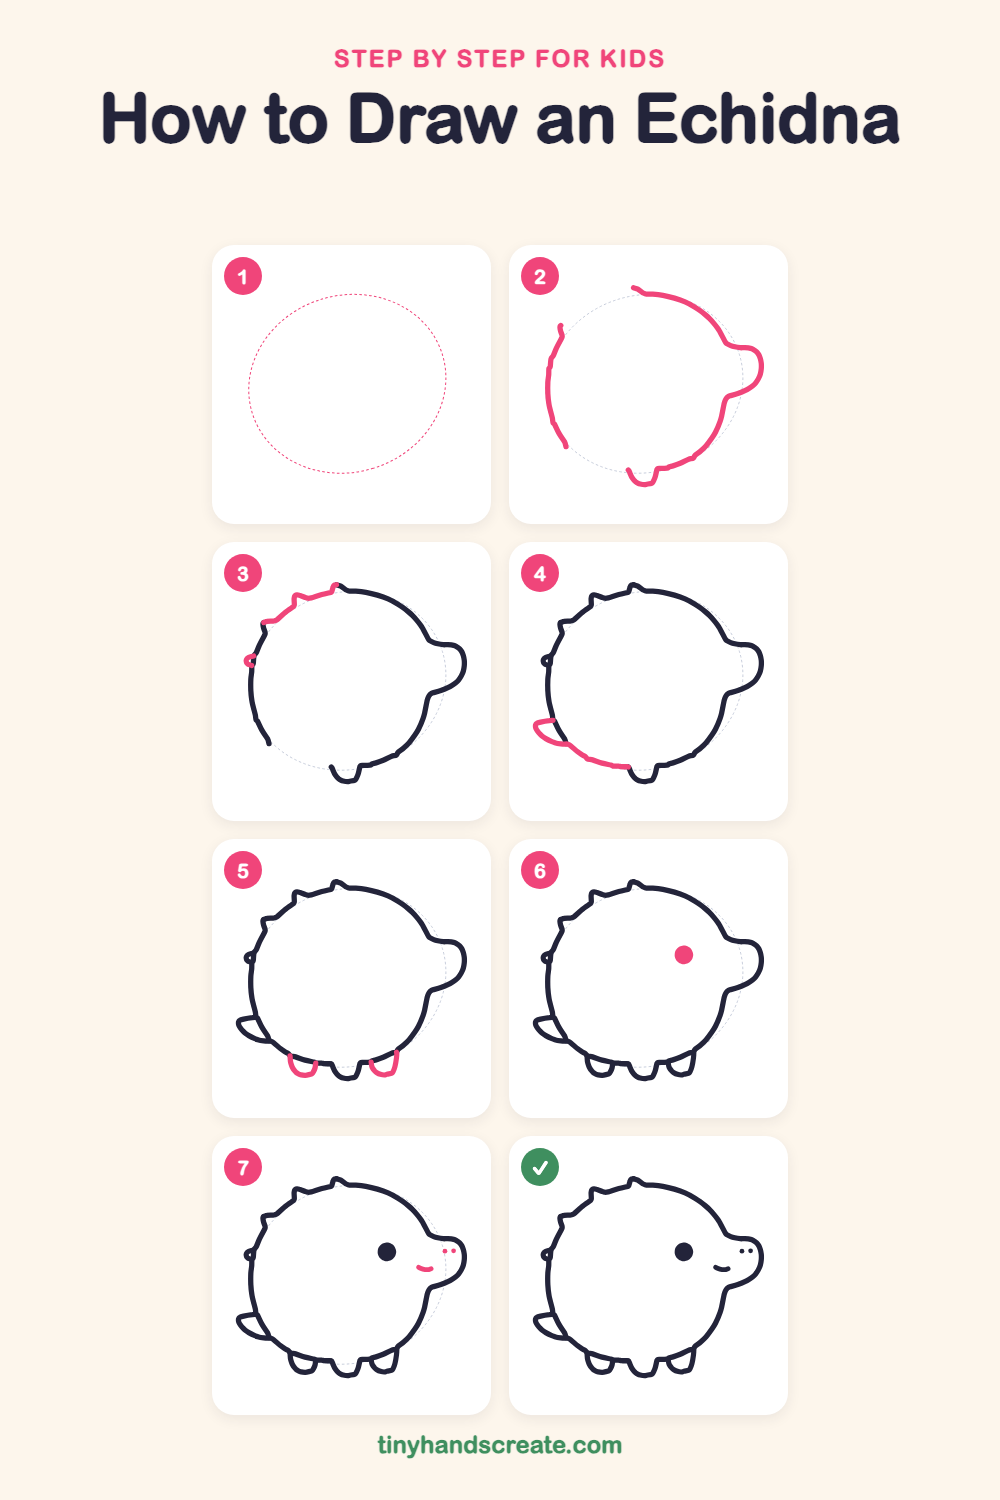
Step 1: Guide shapes
Lightly sketch this oval. It only shows where the big parts go, so press softly. You will erase it at the end.
Step 2: Body, snout and first foot
Trace most of the big round body, starting at the top and curving around the right side. Bump out a small rounded snout on the right, then keep going down to the bottom and add one little foot. Then draw a separate curved line down the left side of the circle.
Step 3: Prickly spines
Along the top left of the body, draw a bumpy line of small pointy spikes to fill the gap between the top and the left side. Add a tiny loop sticking out on the left side too.
Step 4: Tail and belly line
On the lower left, draw a small pointed tail shaped like a leaf, tucked against the body. Then draw a gently curving line along the bottom for the belly, ending at the first foot.
Step 5: Little feet
Under the belly, draw two more small rounded feet, one on each side of the first foot. Each one looks like a little upside-down U that starts at the belly line and curves down and back up.
Step 6: The round eye
Near the snout, draw a small round dot for the eye and fill it in solid. Keep it nice and round.
Step 7: Smile and nostrils
Below the eye, draw a small curved smile. Then add two tiny dots near the tip of the snout for the nostrils.
All done!
Erase the guide shapes, go over your lines, then color it in.
Finished your echidna? Keep the pencils out and learn how to draw a fox or how to draw a hedgehog next.
Tips for drawing an echidna
- Draw the body large and round so the spines, tail, and feet all have room around it.
- Make the spines different sizes. Little and big spikes spaced unevenly look more like a real prickly back.
- Keep the feet small and close together under the belly so the echidna looks balanced and cute.
Free echidna coloring page
Want to go straight to coloring? Open this echidna coloring page at full size and print it. It is the same drawing you just learned, with clean lines ready for crayons or markers.
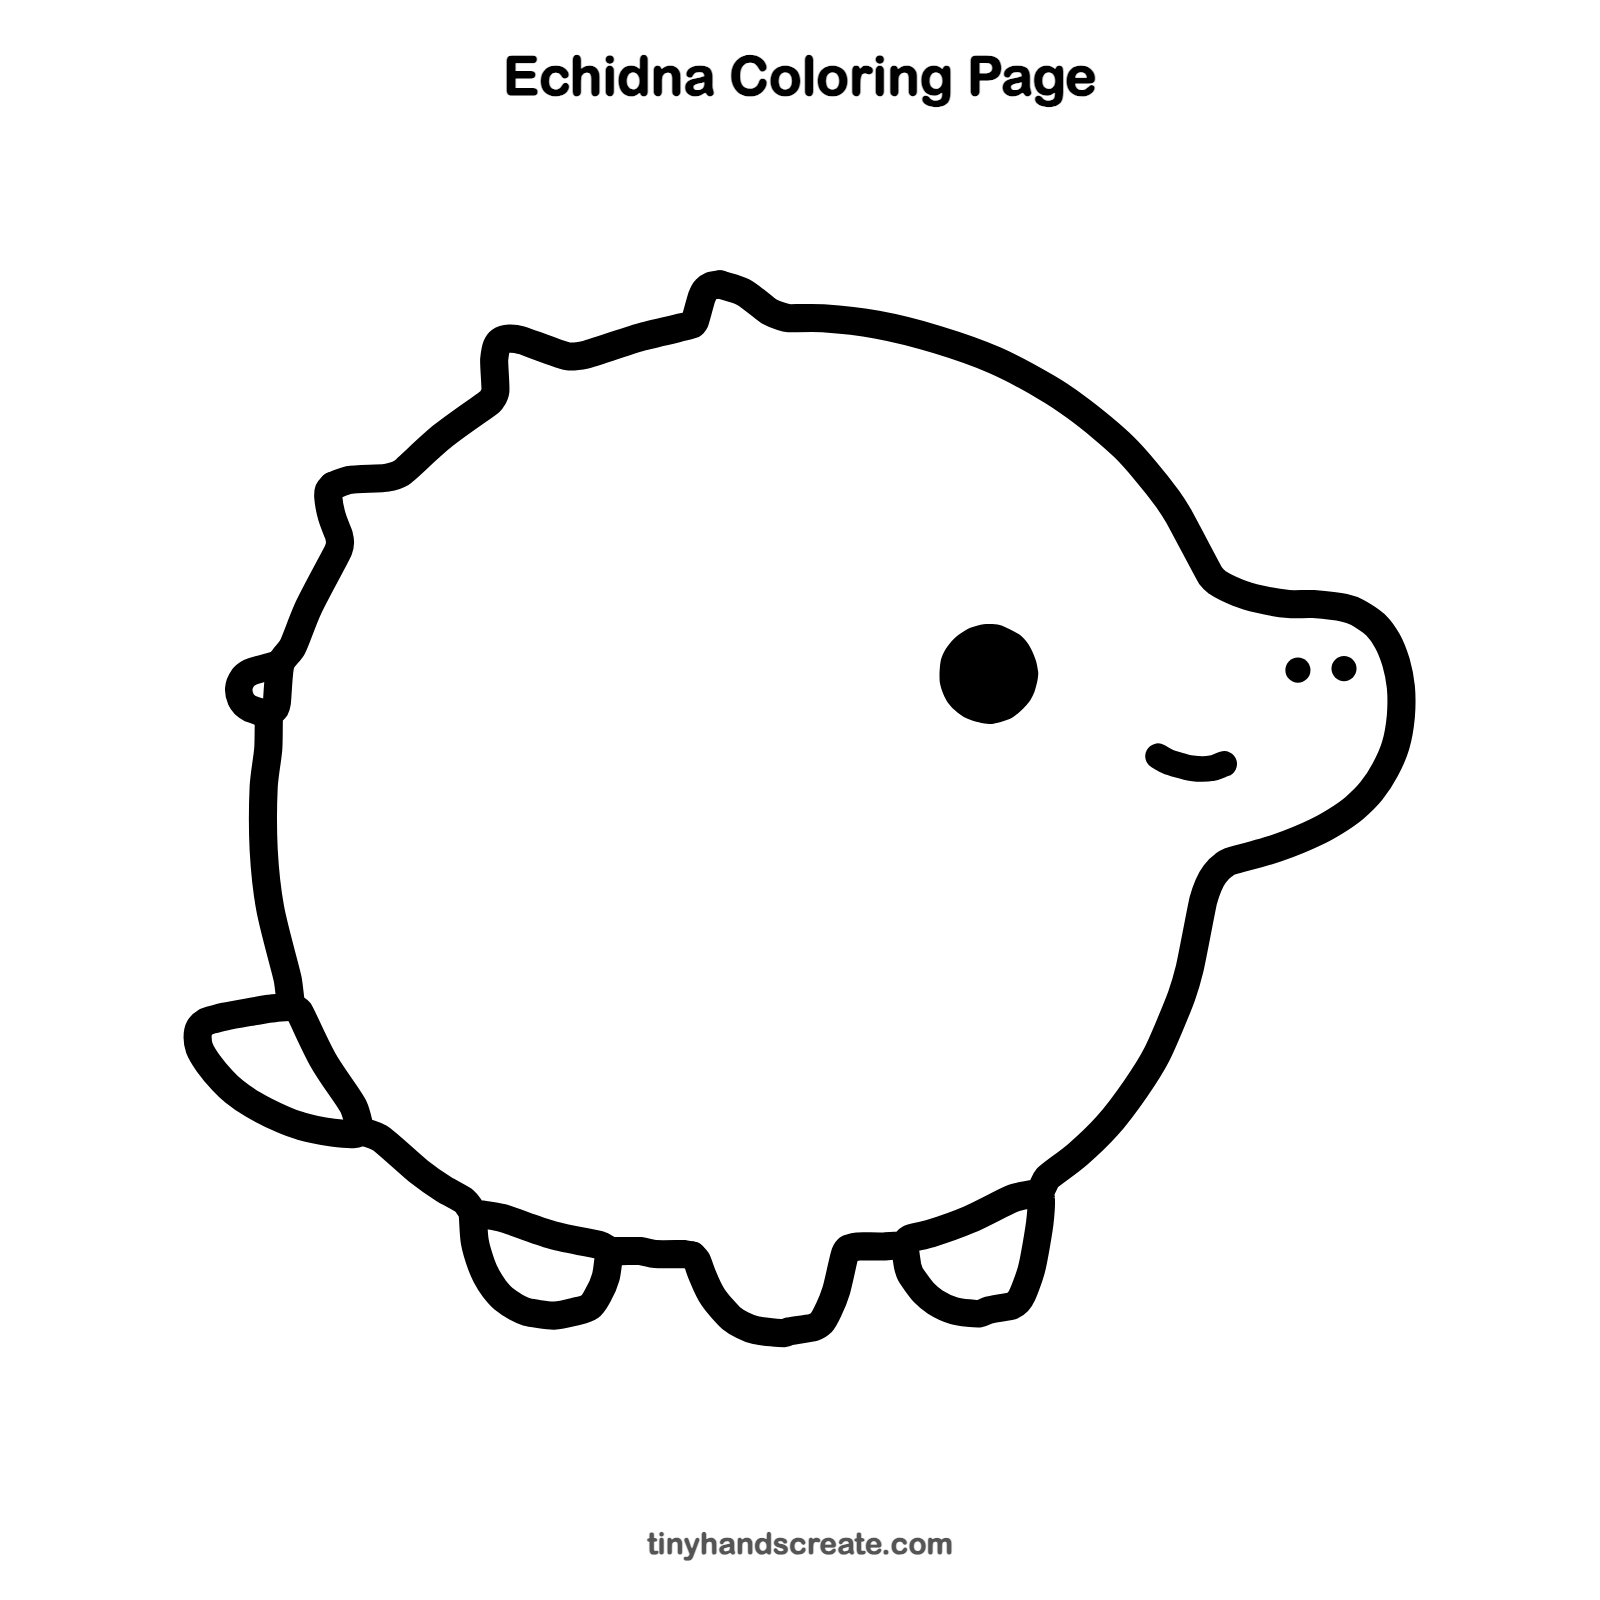
How to color your echidna drawing
Try warm browns and tans for the body, with darker brown spines and a pinkish snout. For a creative twist, make each spine a different rainbow color.
Echidna fun fact for kids
Echidnas are one of only a few mammals that lay eggs. A baby echidna is called a puggle.
Questions about drawing an echidna
What shapes do I need to draw an echidna?
You need one big round shape for the body, a small rounded bump for the snout, and little pointy spikes for the spines. The tail and feet are simple small shapes.
How do I make my echidna look cuter?
Make the eye a big round dot, and draw a small curved smile. Short little feet and a chubby round body make it look extra sweet.
How do I draw the spines so they look pointy?
Draw small pointy spikes along the top left edge of the body, with the tips pointing outward. Vary their sizes so the back looks naturally spiky.