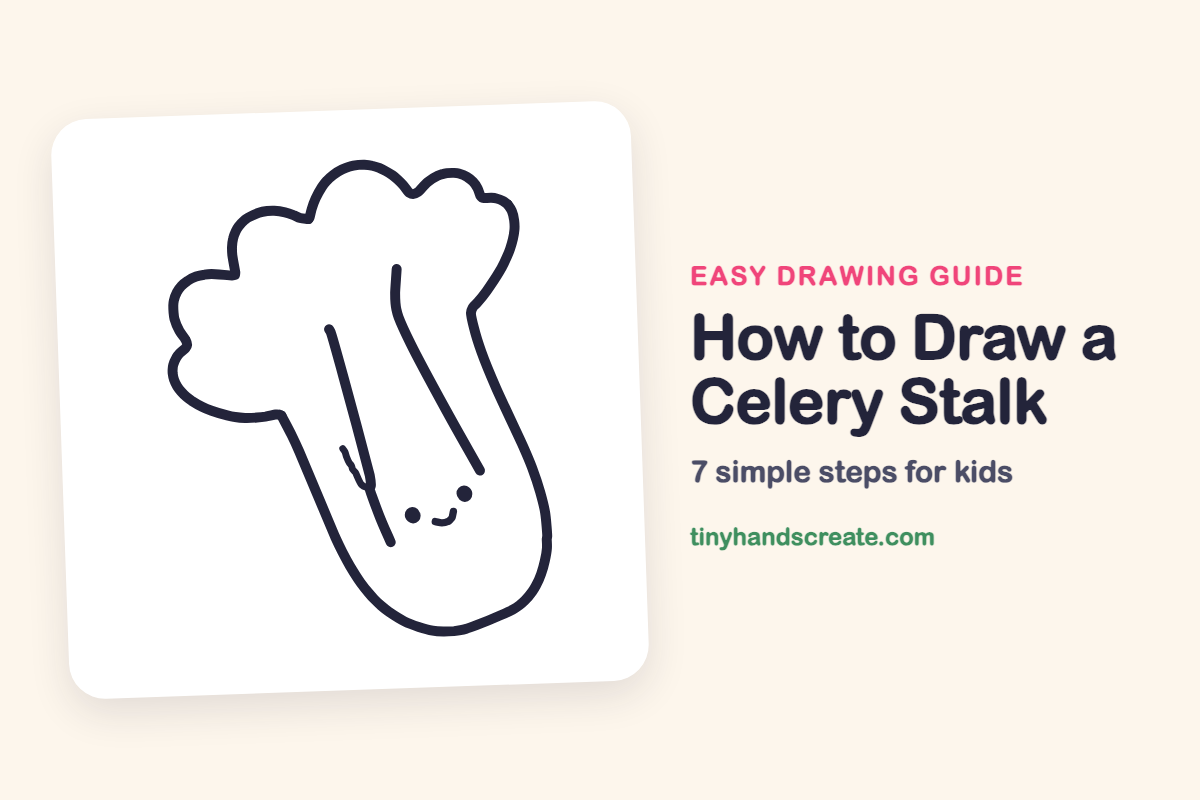
How to Draw a Celery Stalk (Easy Step by Step)
Learn to draw a happy celery stalk using simple shapes. You'll start with a long U for the stalk, add cloud bumps for leaves, then finish with ridge lines and a tiny smile.
- Begin by drawing a long U shape for the main stalk.
- Add a row of round cloud bumps to create the leafy top.
- Draw two long ridge lines down the stalk for detail.
- Complete your celery stalk with a tiny smile to give it character.
This post contains affiliate links. As an Amazon Associate I earn from qualifying purchases.
A celery stalk is a fun one to draw because it is mostly big, friendly curves. You build it from a long U shape for the stalk and a row of round cloud bumps for the leafy top. Add two long ridge lines and a tiny smile and it becomes a happy little vegetable.
- Easy
- 10 minutes
- 7 steps
You need: paper, a pencil, an eraser, and crayons or markers for coloring.
Start drawing


In this article (7 sections)
How to draw a celery stalk step by step
How to Draw a Celery Stalk · tinyhandscreate.com
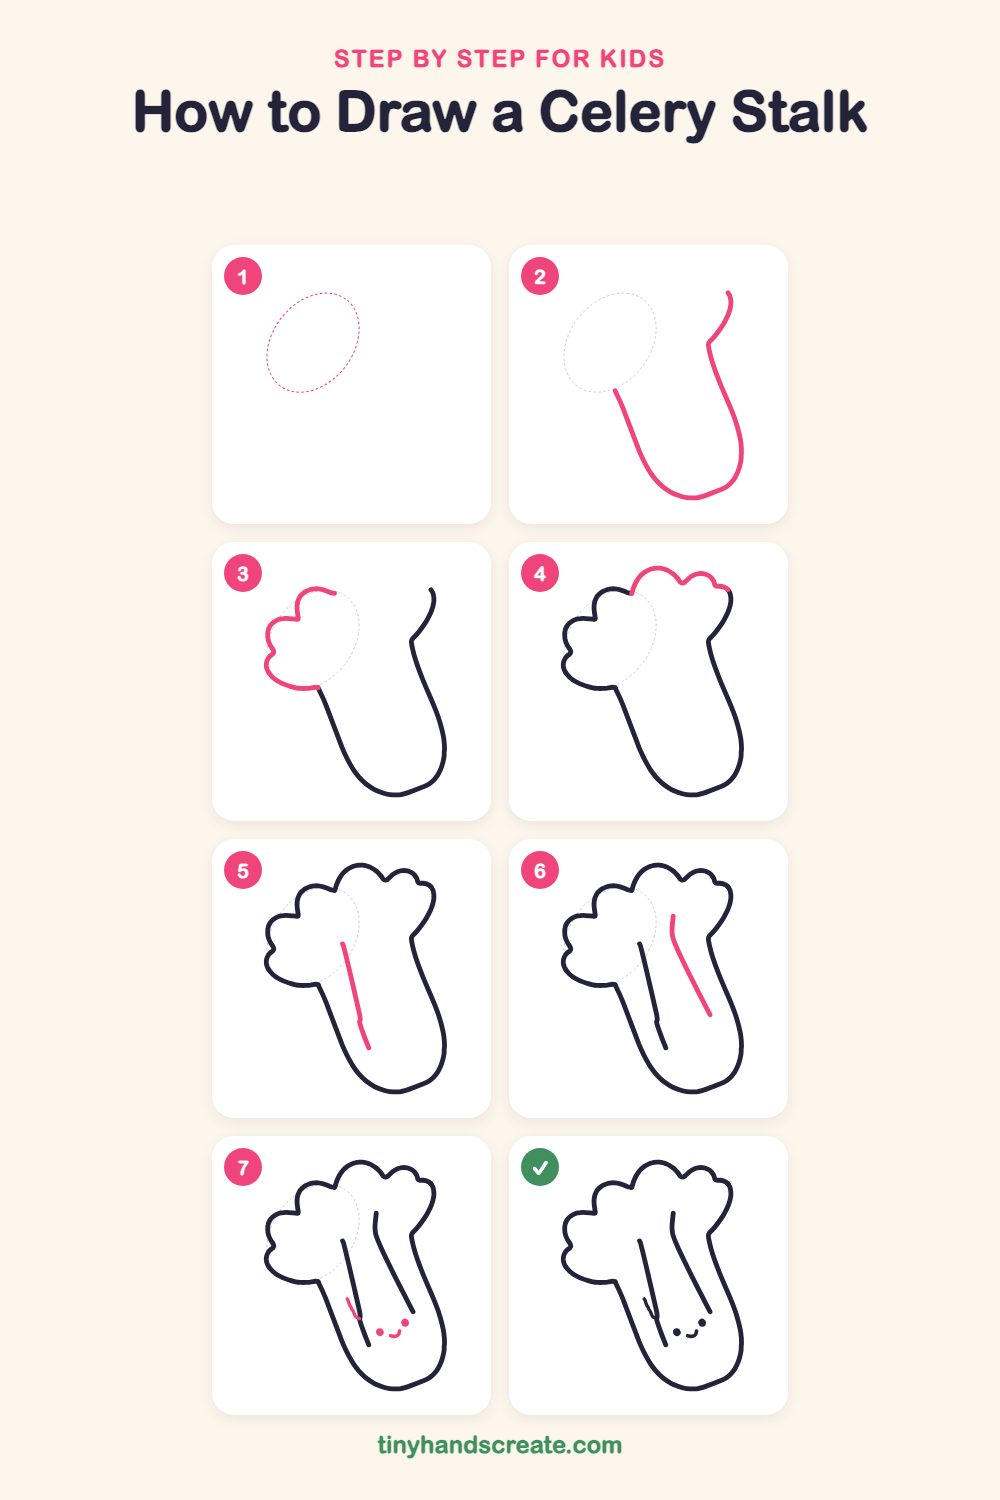
Step 1: Guide shapes
Lightly sketch this oval. It only shows where the big parts go, so press softly. You will erase it at the end.
Step 2: The stalk
Draw a long, wide U shape that leans to the right, like a big thumb. Start with the right side near the top, curve down around a round bottom, and come back up the left side, leaving the top open for the leaves.
Step 3: Leafy top, left side
At the top of the stalk, start a row of puffy cloud bumps and curve them around to the left. Keep going down until the last bump meets the left side of the stalk.
Step 4: Leafy top, right side
Finish the leafy top with a few more cloud bumps across the top, from big to small. The last small bump ends where the right side of the stalk begins.
Step 5: Left ridge
Inside the stalk, draw a long line that starts under the leaves and goes almost straight down, slanting a little to the right. Give it a tiny bend near the bottom.
Step 6: Right ridge
Draw another long line to the right of the first one. Start near the top with a small bend, then slant it down toward the bottom right.
Step 7: Face and string
Add two small round dots for eyes low on the stalk, with a little curved smile between them. Then draw a short wiggly line at the bottom end of the left ridge for a tiny celery string.
All done!
Erase the guide shapes, go over your lines, then color it in.
Finished your celery stalk? Keep the pencils out and learn how to draw boba tea or how to draw a cupcake next.
Tips for drawing a celery stalk
- Make the stalk wide and a little tilted. Sketch a light oval for the leafy top first, then trace the final outline.
- Draw the leafy bumps like puffy clouds, and make each bump a different size so the top looks bouncy.
- Keep the two long ridge lines running the same direction as the stalk, and stop them before they touch the bottom outline.
- Keep the face small and low on the stalk so the ridges stay easy to see.
Free celery stalk coloring page
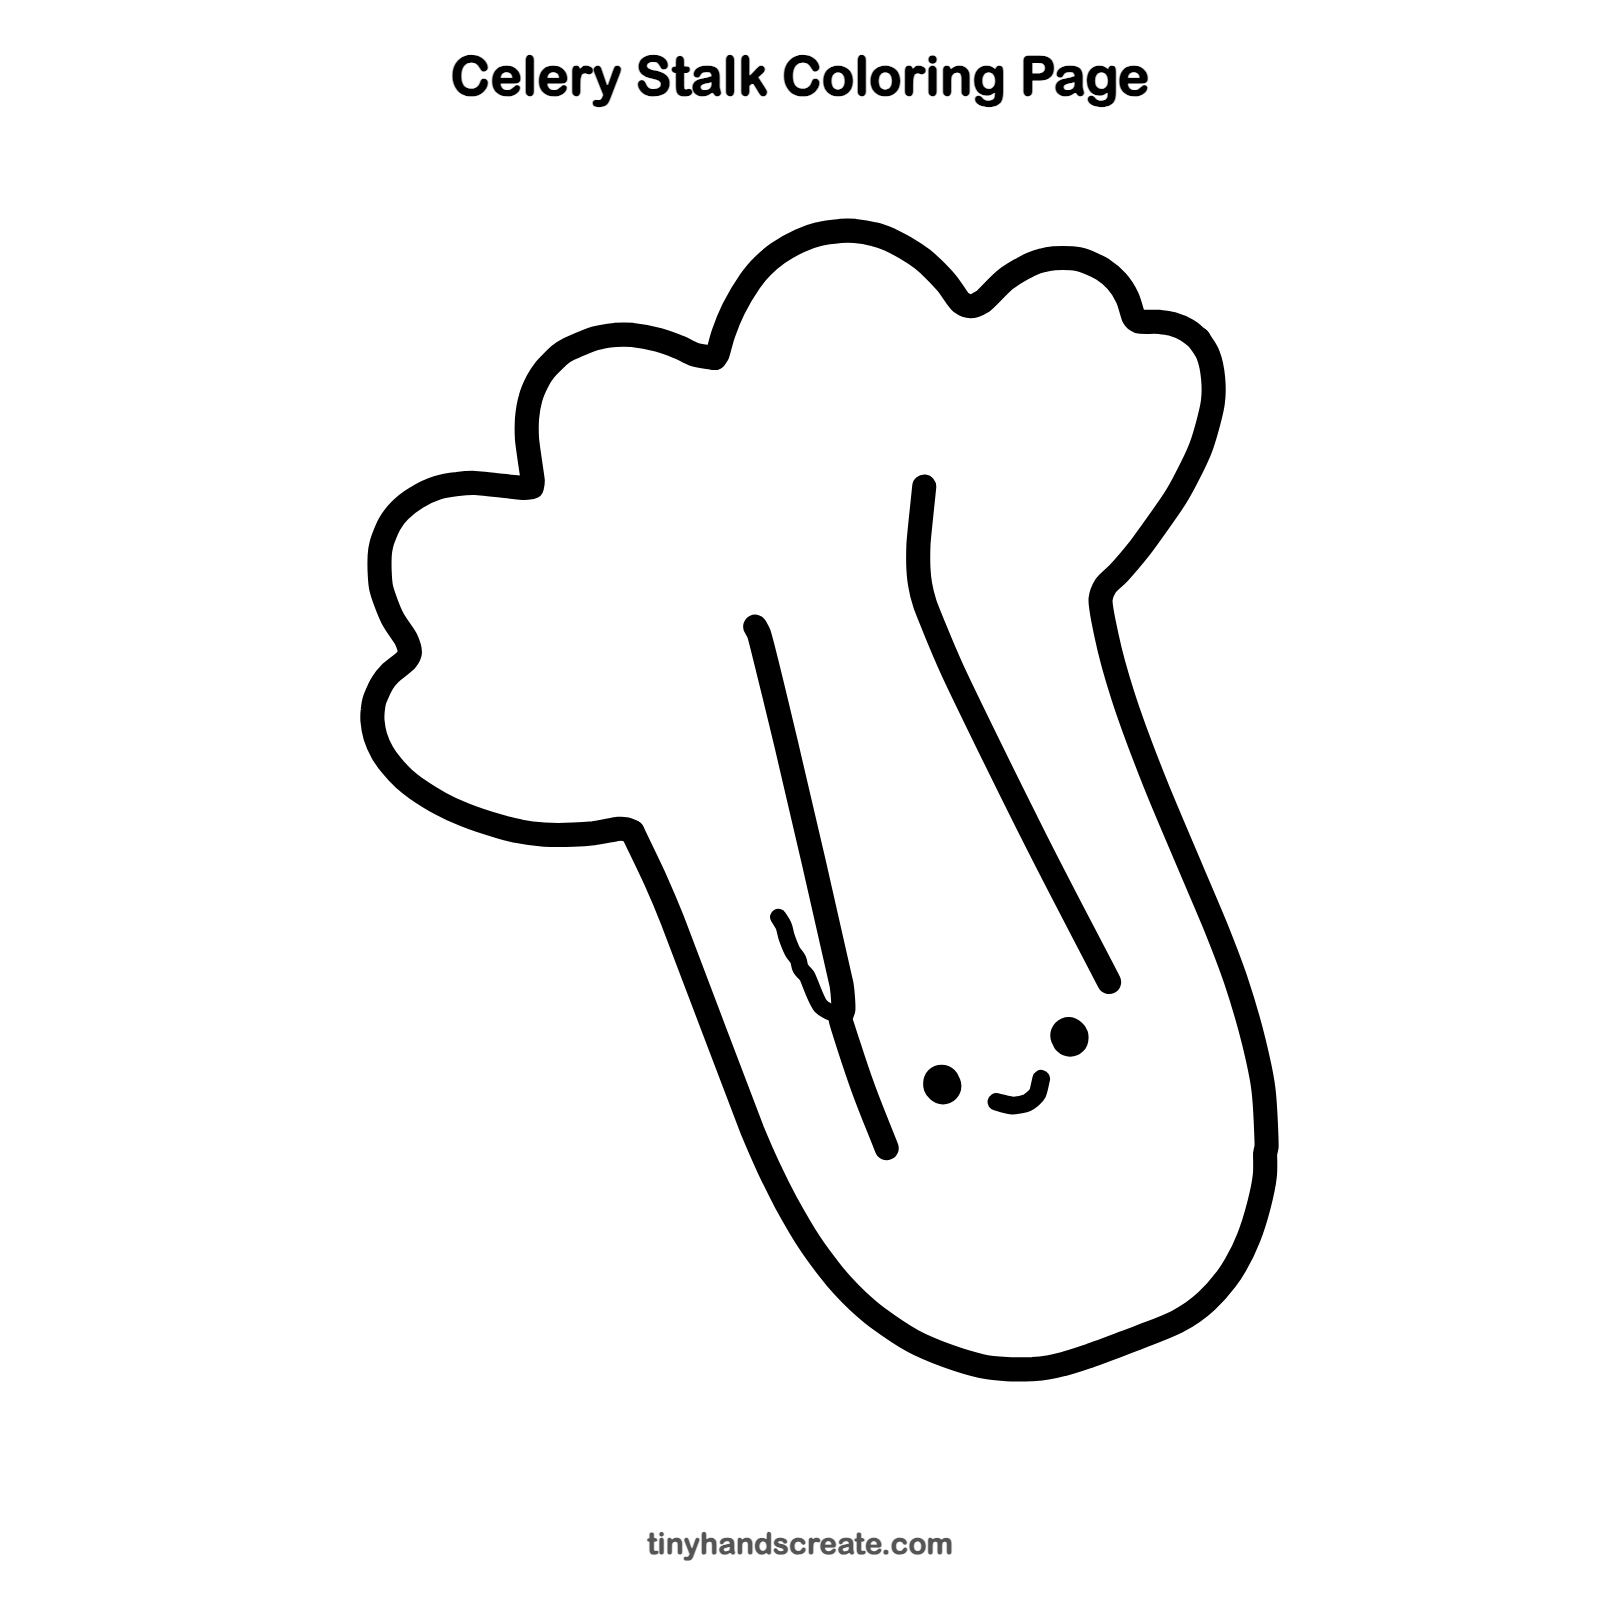
Want to go straight to coloring? Open this celery stalk coloring page at full size and print it. It is the same drawing you just learned, with clean lines ready for crayons or markers.
How to color your celery stalk drawing
Use light green for the stalk and a deeper green for the leafy top, with pale yellow-green between the ridges. For a creative twist, color the little string a darker green so it stands out.
Celery stalk fun fact for kids
Celery is crunchy because its stalks are packed with water, about 95 percent of the stalk. The long stringy lines you can see are tiny tubes that carry water up from the roots to the leaves.
Questions about drawing a celery stalk
What shapes do I need to draw a celery stalk?
You need a long U shape for the stalk and a row of small round bumps, like clouds, for the leaves. The ridges are just two long, slightly bent lines.
How do I make my celery look cuter?
Place the two dot eyes low on the stalk and add a small curved smile between them. Keep the eyes the same size and the smile small.
How do I draw the leafy top so it looks natural?
Draw each bump a different size and let them follow a gentle curve across the top. Small changes in size make it look like real, ruffled celery leaves.
What is the little wiggly line for?
It is a celery string, one of the tough fibers that run along real stalks. Draw it short and wiggly at the bottom end of the left ridge.