How to Draw a Hoverboard (Easy Step by Step)
Learn to draw a hoverboard easily by breaking it down into simple shapes like a long bar, two big ovals, and slanted rectangles. You'll be able to create your own cool gadget in no time.
- Break down a hoverboard into simple shapes.
- Start your drawing with a long bar.
- Add two large ovals for the wheels.
- Draw slanted rectangles for your feet.
- Finish your hoverboard with sparkle lines.
This post contains affiliate links. As an Amazon Associate I earn from qualifying purchases.
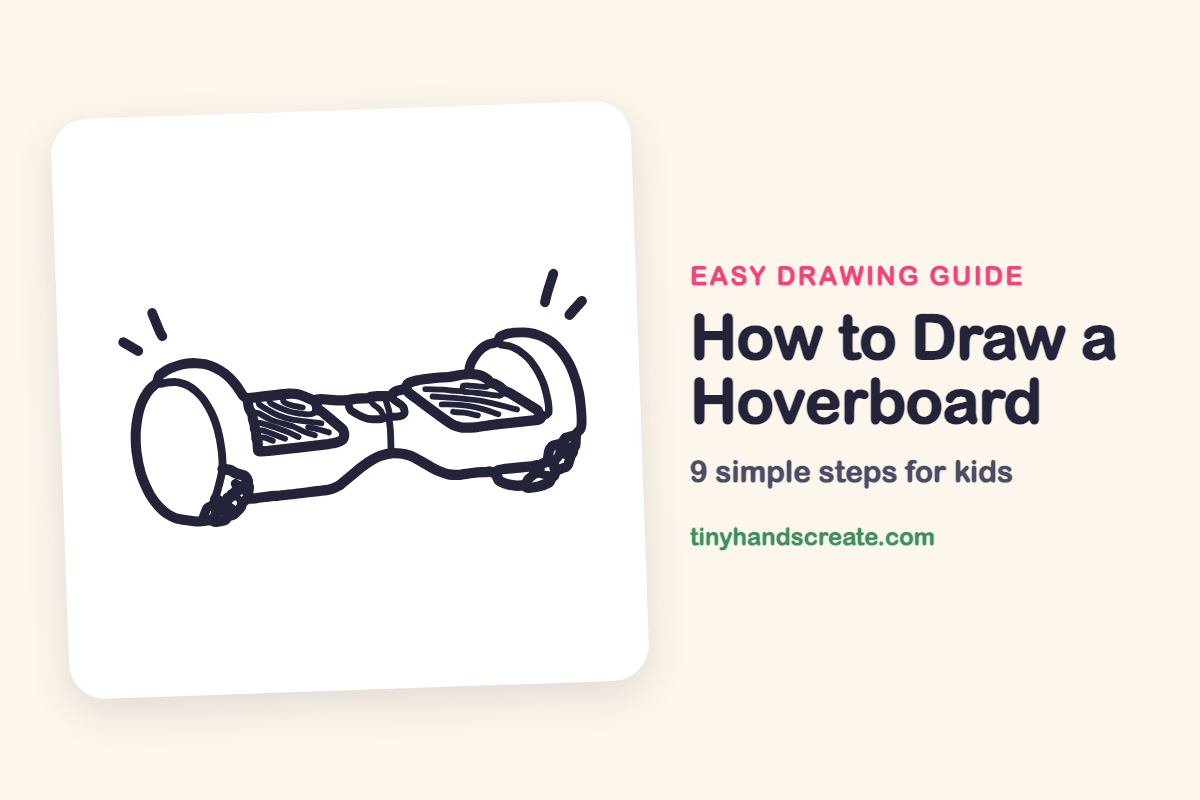
A hoverboard looks like a cool gadget, but it is built from simple shapes: a long bar, two big ovals for the wheels, and a pair of slanted rectangles for your feet. Once you see the shapes, it is easy to draw a board of your own. Add a few sparkle lines and it looks ready to zoom.
- Medium
- 15 minutes
- 9 steps
You need: paper, a pencil, an eraser, and crayons or markers for coloring.
Start drawing


In this article (7 sections)
How to draw a hoverboard step by step
How to Draw a Hoverboard · tinyhandscreate.com
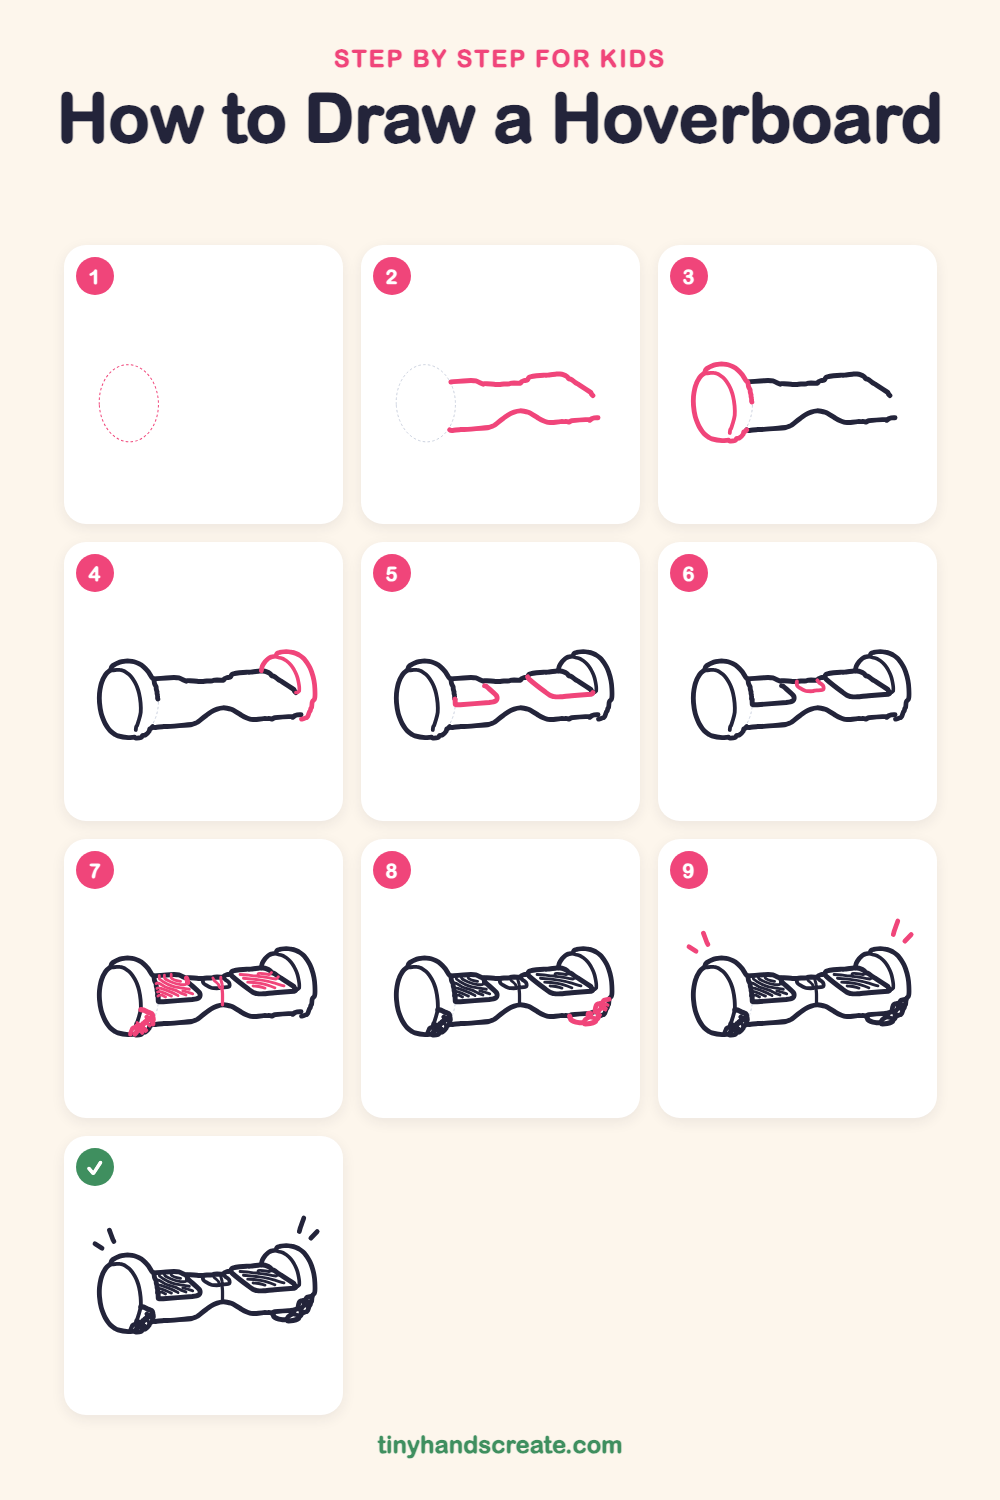
Step 1: Guide shapes
Lightly sketch this oval. It only shows where the big parts go, so press softly. You will erase it at the end.
Step 2: The long body
Draw two long wavy lines across the middle of your page, one on top and one below. Make the bottom line dip down in the middle, like a peanut shell. Leave both ends open for now.
Step 3: The left wheel cover
At the left end of the body, draw a big tall oval for the wheel cover. Then draw a curved line inside it, hugging the right side, to show the round edge of the wheel.
Step 4: The right wheel cover
Do the same on the right end, but a little smaller because it is farther away. Draw a curved shape over the end of the body, then a curved line inside it.
Step 5: The foot pads
On top of the board between the wheels, draw two flat four-sided shapes where your feet go. Make them slanted, like squashed rectangles lying down.
Step 6: The center bump
In the middle of the board, between the two pads, draw a small rounded loop like a little bump.
Step 7: Grip lines
Fill each foot pad with curvy lines that follow its shape, like the ripples in a wood plank. Draw a short straight line down from the middle bump, and scribble a few little tread lines at the bottom of the left wheel.
Step 8: Right wheel tread
At the bottom of the right wheel, draw a small curved shape and scribble a few little lines on it for rubber tread.
Step 9: Zoom lines
Finish with short, straight dashes above each end of the board, pointing outward like little sparkles. They make the hoverboard look like it is zooming along.
All done!
Erase the guide shapes, go over your lines, then color it in.
Finished your hoverboard? Keep the pencils out and learn how to draw a rocket or how to draw a shooting star next.
Tips for drawing a hoverboard
- Draw the left wheel a little bigger than the right one. This makes the board look like it is turning toward you.
- Lightly sketch the long body first, then add the wheels at each end. Try not to press hard until you like the shape.
- For the grip lines, follow the shape of the foot pad. Do not worry if they are wobbly, since that looks like a real textured pad.
Free hoverboard coloring page
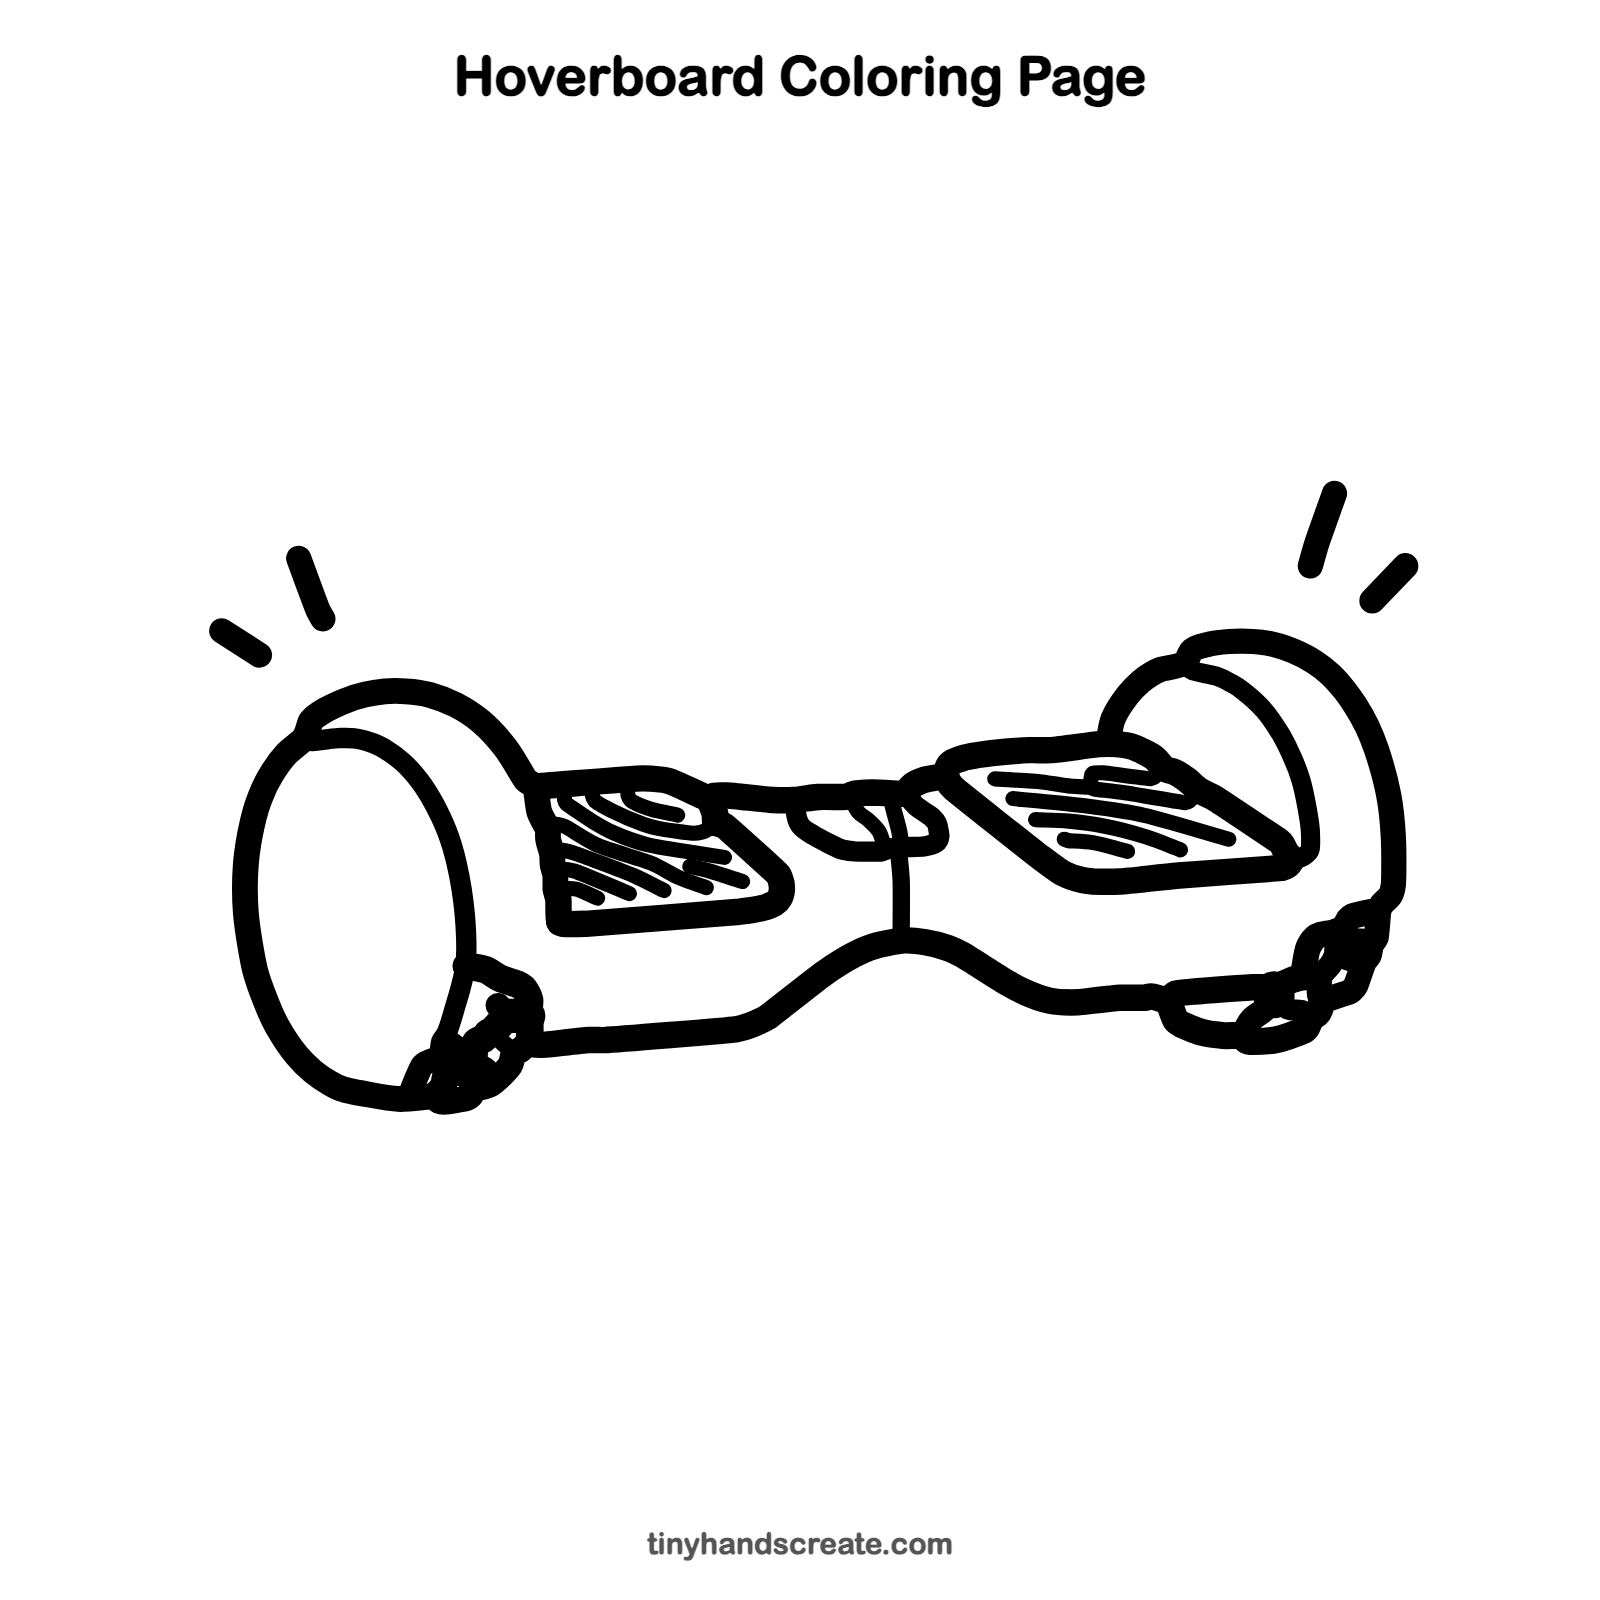
Want to go straight to coloring? Open this hoverboard coloring page at full size and print it. It is the same drawing you just learned, with clean lines ready for crayons or markers.
How to color your hoverboard drawing
Try a shiny silver or bright blue body with black wheels and gray foot pads. For a creative twist, color the board like a rainbow or give it glowing neon stripes and a night sky behind it.
Hoverboard fun fact for kids
Most self-balancing hoverboards do not really hover. They roll on two wheels and use tiny sensors called gyroscopes to feel which way you lean, then drive the wheels to keep you upright.
Questions about drawing a hoverboard
What shapes do I need to draw a hoverboard?
You need a long wavy bar for the body, two big ovals for the wheel covers, and two slanted rectangles for the foot pads. A tiny loop in the middle finishes it.
How do I make my hoverboard look like it is moving?
Add short dash lines above the ends of the board, like sparkles or speed marks.
Why do the wheels look different sizes?
The wheel closer to you is drawn bigger and the far one smaller. This trick, called perspective, makes flat paper look three-dimensional.