How to Draw a Hair Dryer (Easy Step by Step)
Learn to draw a hair dryer easily by breaking it down into simple shapes. You'll use long curves, short lines, and blobs to create its basic form and add details like air lines.
- Understand the basic shape of a hair dryer as a fat tube with a T-shaped handle.
- Use long curves, a few short lines, and two blobs to form the main parts.
- Add air lines at the front to make your drawn hair dryer appear to be blowing.
This post contains affiliate links. As an Amazon Associate I earn from qualifying purchases.
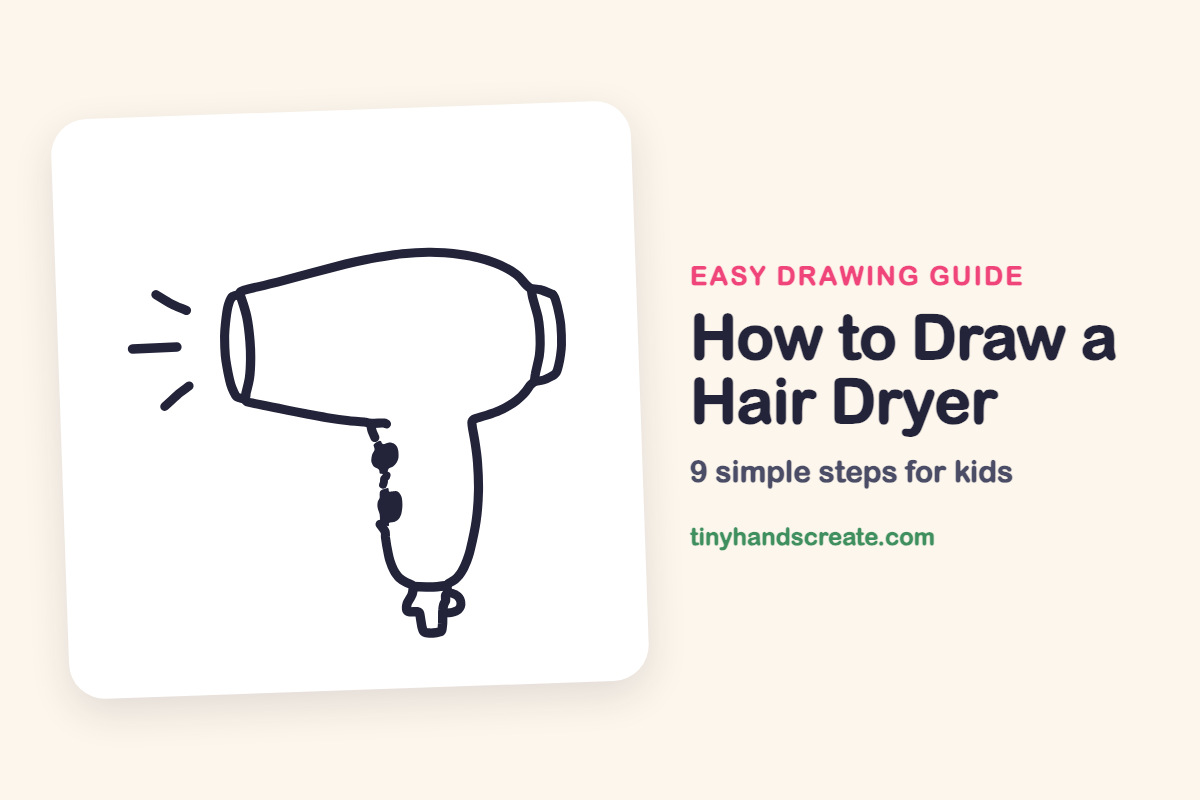
A hair dryer looks fancy, but it is really just a fat tube with a handle hanging down from it, like a letter T. You will use long curves, a few short lines and two little blobs to draw it. The air lines at the front make it look like it is really blowing.
- Easy
- 10 minutes
- 9 steps
You need: paper, a pencil, an eraser, and crayons or markers for coloring.
Start drawing


In this article (7 sections)
How to draw a hair dryer step by step
How to Draw a Hair Dryer · tinyhandscreate.com
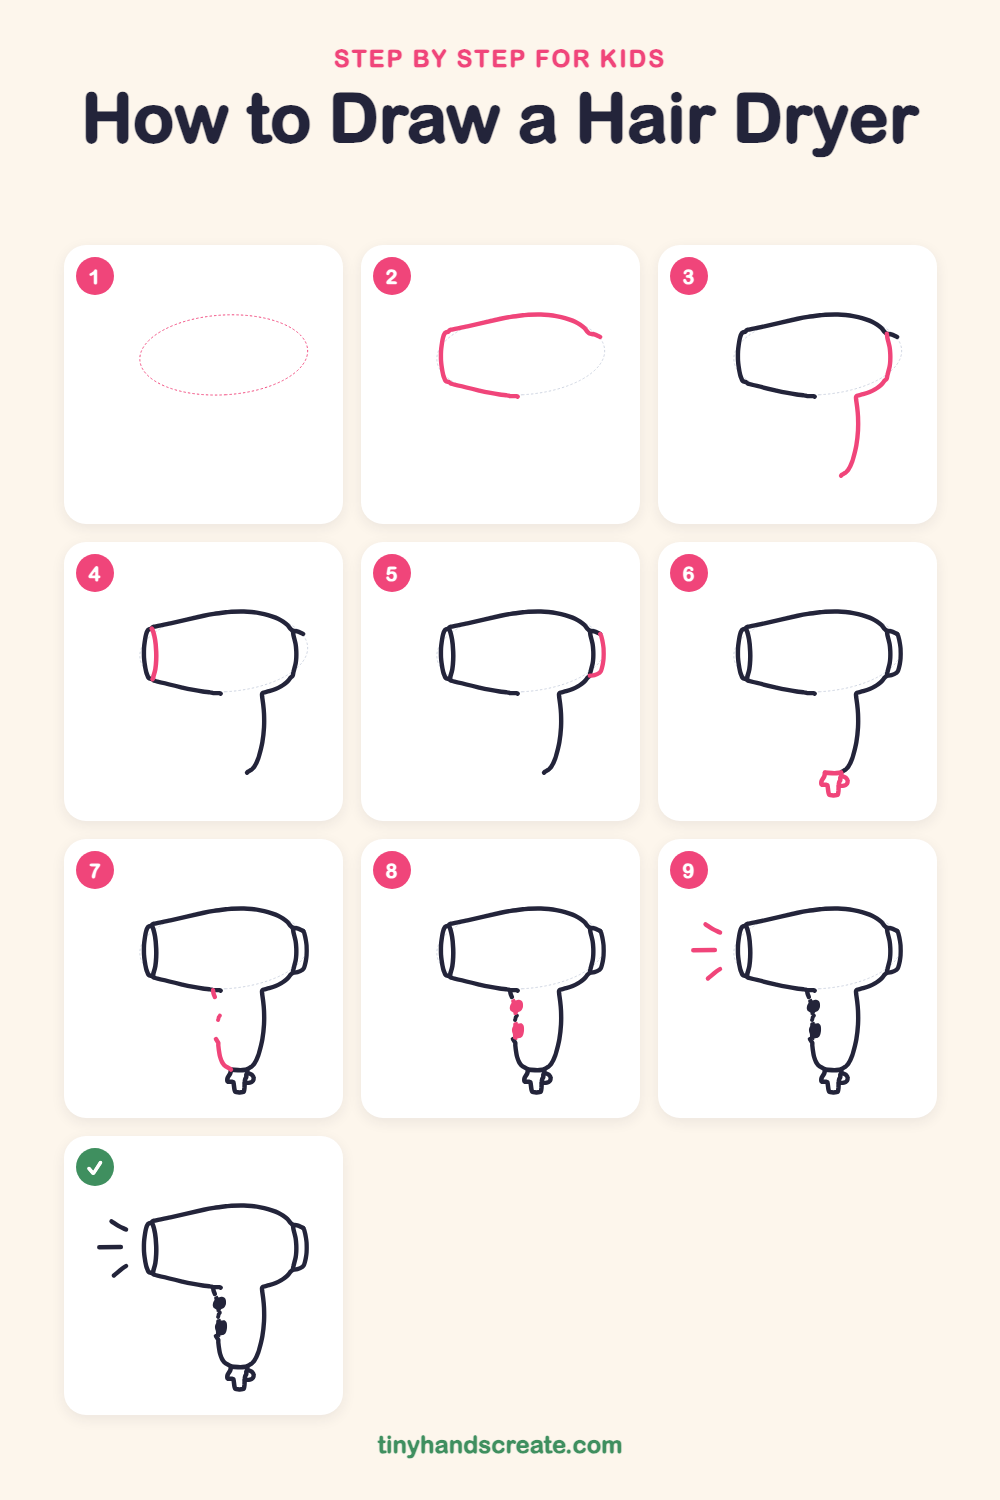
Step 1: Guide shapes
Lightly sketch this oval. It only shows where the big parts go, so press softly. You will erase it at the end.
Step 2: The body outline
Draw a long rounded shape like a fat sideways tube. Start at the top left, curve the line up and over the top to the right, and then draw a bottom line that stops partway along, leaving a gap.
Step 3: The back and handle
At the right end, draw a curved line down the back of the body. Where it curves in at the bottom, keep going and draw a long line down and to the left for the back edge of the handle.
Step 4: The front opening
At the left end of the body, draw a curved line from top to bottom, just inside the edge, to make the round opening where the air comes out.
Step 5: The back cap
At the right end of the body, draw a small curved bracket shape, like the edge of a little cup. This is where the air goes in.
Step 6: The cord end
At the bottom of the handle, draw a small shape like a tiny letter T with a loop on the right. This is where the cord comes out.
Step 7: The front of the handle
Start at the gap in the bottom of the body and draw a short dashed line down. Then curve a line down the front of the handle until it meets the cord end.
Step 8: The two buttons
On the front edge of the handle, near the top, draw two small rounded blobs, one above the other, and color them in. These are the switches for speed and heat.
Step 9: Blowing air lines
On the left, in front of the opening, draw three short lines that fan out: one straight in the middle, one slanting up and one slanting down. They show air blowing out.
All done!
Erase the guide shapes, go over your lines, then color it in.
Finished your hair dryer? Keep the pencils out and learn how to draw a rocket or how to draw a shooting star next.
Tips for drawing a hair dryer
- Draw the long body first and make the left end a little narrower than the right so it looks like a nozzle.
- Let the handle hang down from the right half of the body, and keep its edges smooth and curved.
- Draw the air lines last, and keep them short with some space from the front so they look like puffs of air.
Free hair dryer coloring page
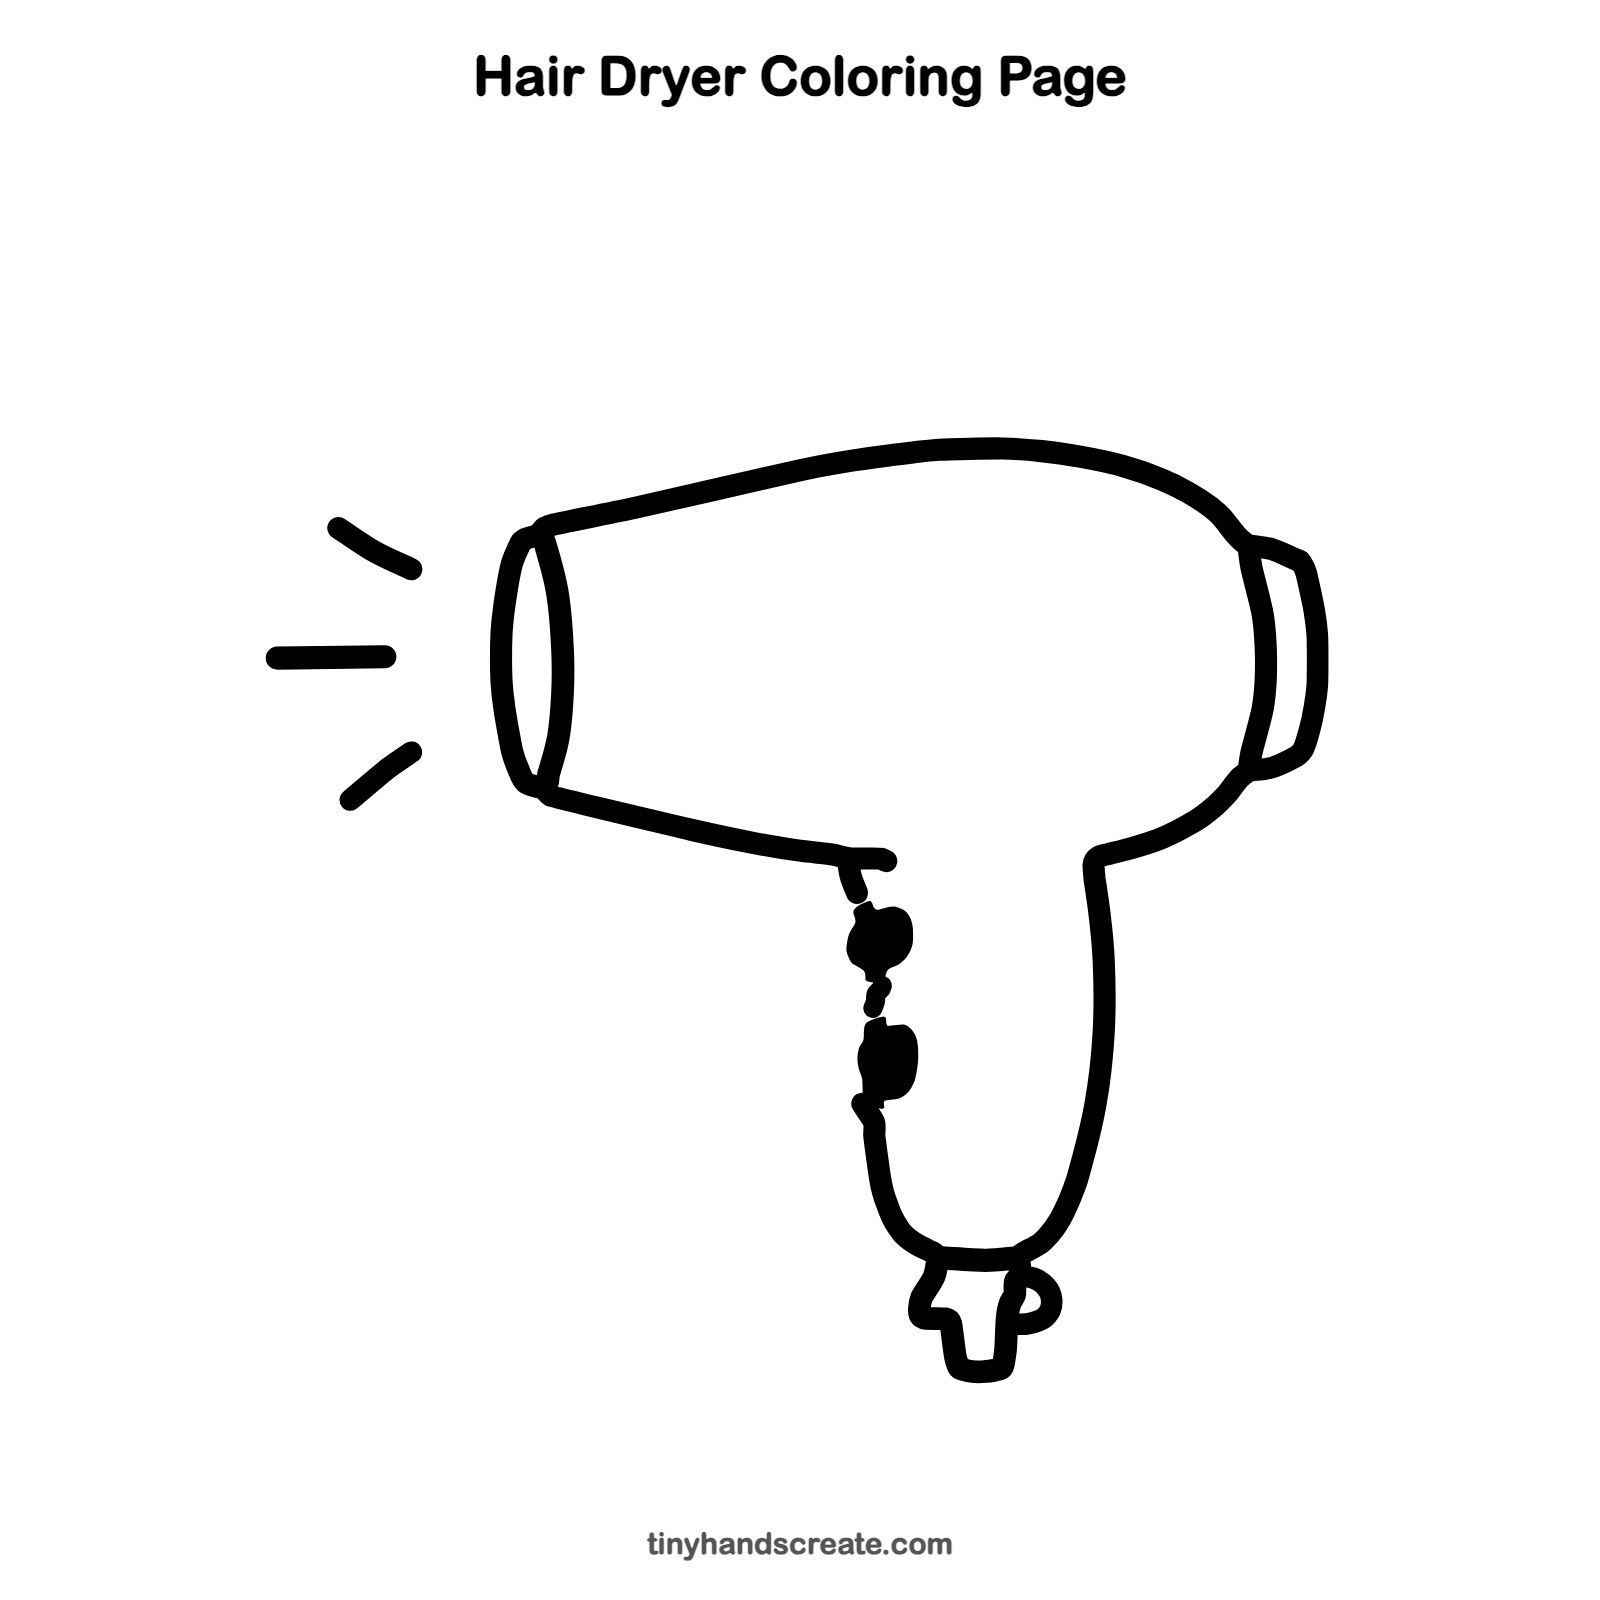
Want to go straight to coloring? Open this hair dryer coloring page at full size and print it. It is the same drawing you just learned, with clean lines ready for crayons or markers.
How to color your hair dryer drawing
Try a bright pink or turquoise body with a gray nozzle and cord. For a creative twist, color the air lines in rainbow stripes as if the hair dryer is blowing a rainbow.
Hair dryer fun fact for kids
Hand-held hair dryers first went on sale in the 1920s. Early ones were heavy and slow, and many were made of metal, so they could get very hot.
Questions about drawing a hair dryer
What shapes do I need to draw a hair dryer?
You need a big rounded tube for the body and a long curved shape for the handle. Add a curved line for the opening, a small cap at the back, two small blobs for buttons, and a few short lines for the air.
How do I make my hair dryer look like it is blowing air?
Add three short lines in front of the opening, with one straight and two slanting away. They show the air rushing out.
How do I draw the handle so it looks right?
Draw the back edge of the handle as a long, gently curved line going down from the body. Then draw the front edge beside it so the handle is a little wider at the top than at the bottom.