How to Draw a Slice of Cake (Easy Step by Step)
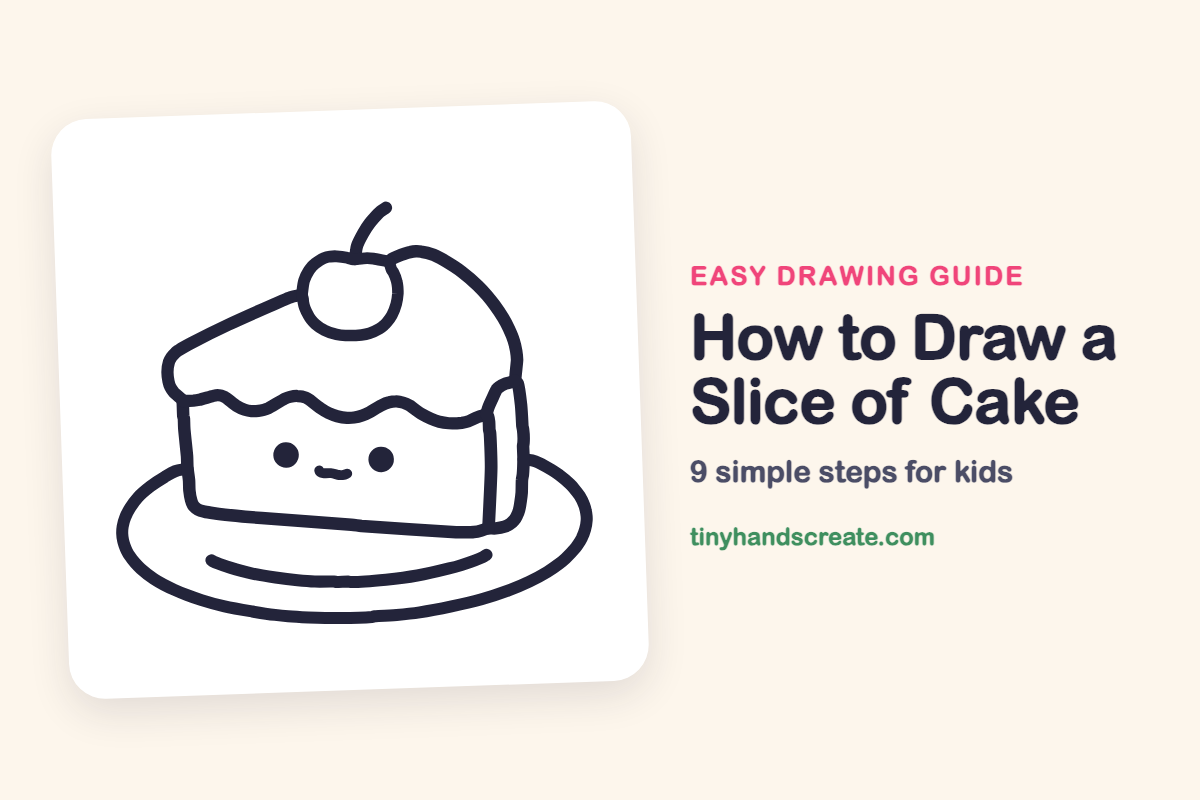
Learn to draw an easy slice of cake using simple shapes like wedges, wavy lines, and circles. You'll add details like a cherry and a smile to create your first cute dessert drawing.
- Start your cake drawing with a simple wedge shape.
- Use a wavy line to create the cake's top or frosting.
- Add circles for details like a cherry on top.
- Give your cake a tiny smile for a friendly look.
This post contains affiliate links. As an Amazon Associate I earn from qualifying purchases.
A slice of cake is a friendly drawing built from a wedge shape, a wavy line, and a few circles. With a cherry on top and a tiny smile, this cake looks ready to be eaten. It is a great first dessert drawing.
- Easy
- 12 minutes
- 9 steps
You need: paper, a pencil, an eraser, and crayons or markers for coloring.
Start drawing

In this article (7 sections)
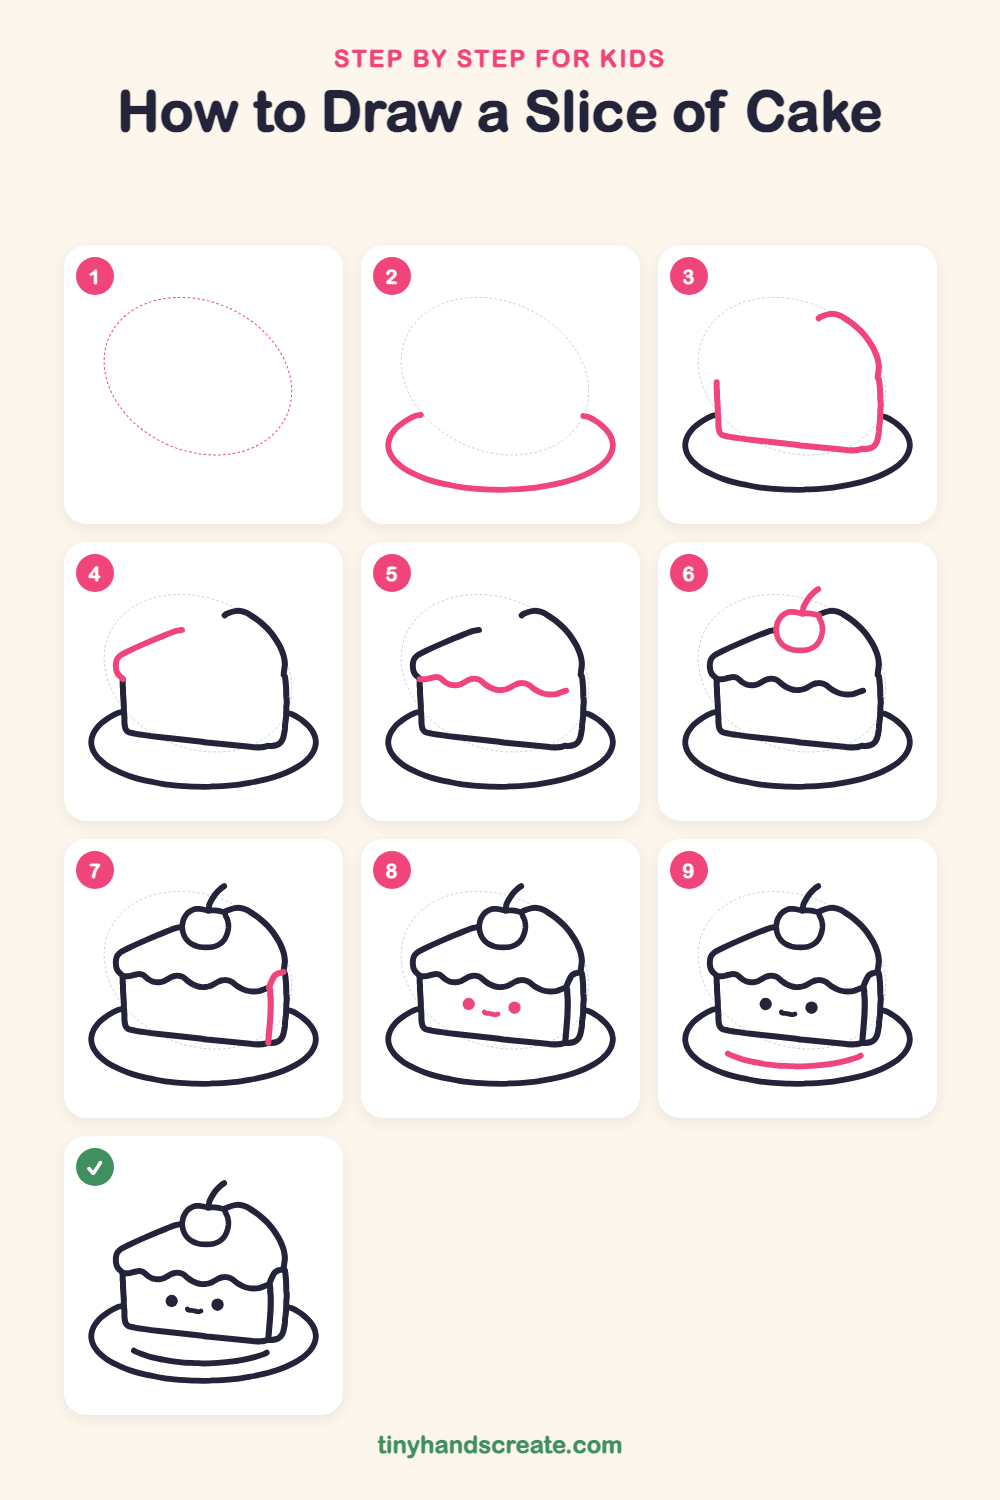
How to draw a slice of cake step by step
How to Draw a Slice of Cake · tinyhandscreate.com
Step 1: Guide shapes
Lightly sketch this oval. It only shows where the big parts go, so press softly. You will erase it at the end.
Step 2: The plate
Draw a wide, curved line like the bottom half of an oval. This is the front edge of the plate, so it curves up a little at both ends.
Step 3: The cake side
Draw a straight line down on the left, then a long, gently slanted line along the bottom. On the right, draw a line that goes up and curves over into a rounded hump at the top.
Step 4: The frosting top
Start at the top of the left side and draw a short rounded corner. Then draw a long slanted line going up toward the middle of the cake.
Step 5: Wavy icing line
Draw a wiggly, wavy line across the cake, starting at the left edge. Make it go up and down like gentle ocean waves and stop near the right side.
Step 6: The cherry
Draw a small circle sitting on top of the cake. Then add a short curved stem going up from the top of the cherry.
Step 7: The cake's back edge
On the right side, draw a short curve at the top that turns into a long straight line going down. This shows how thick the slice is.
Step 8: Cute face
Draw two round dots for eyes and color them in solid. Add a tiny wavy smile between them, low on the cake.
Step 9: Plate shine
Draw a long curved line near the bottom of the plate, following the curve of the plate's edge. This makes the plate look shiny.
All done!
Erase the guide shapes, go over your lines, then color it in.
Finished your slice of cake? Keep the pencils out and learn how to draw boba tea or how to draw a cupcake next.
Tips for drawing a slice of cake
- Draw the wavy icing line slowly, making each bump about the same size, and it will look neat.
- Keep the two eyes at the same height and far apart so the face looks sweet and calm.
- Draw the cherry as a small round circle, then add the little stem so it curves up from the top.
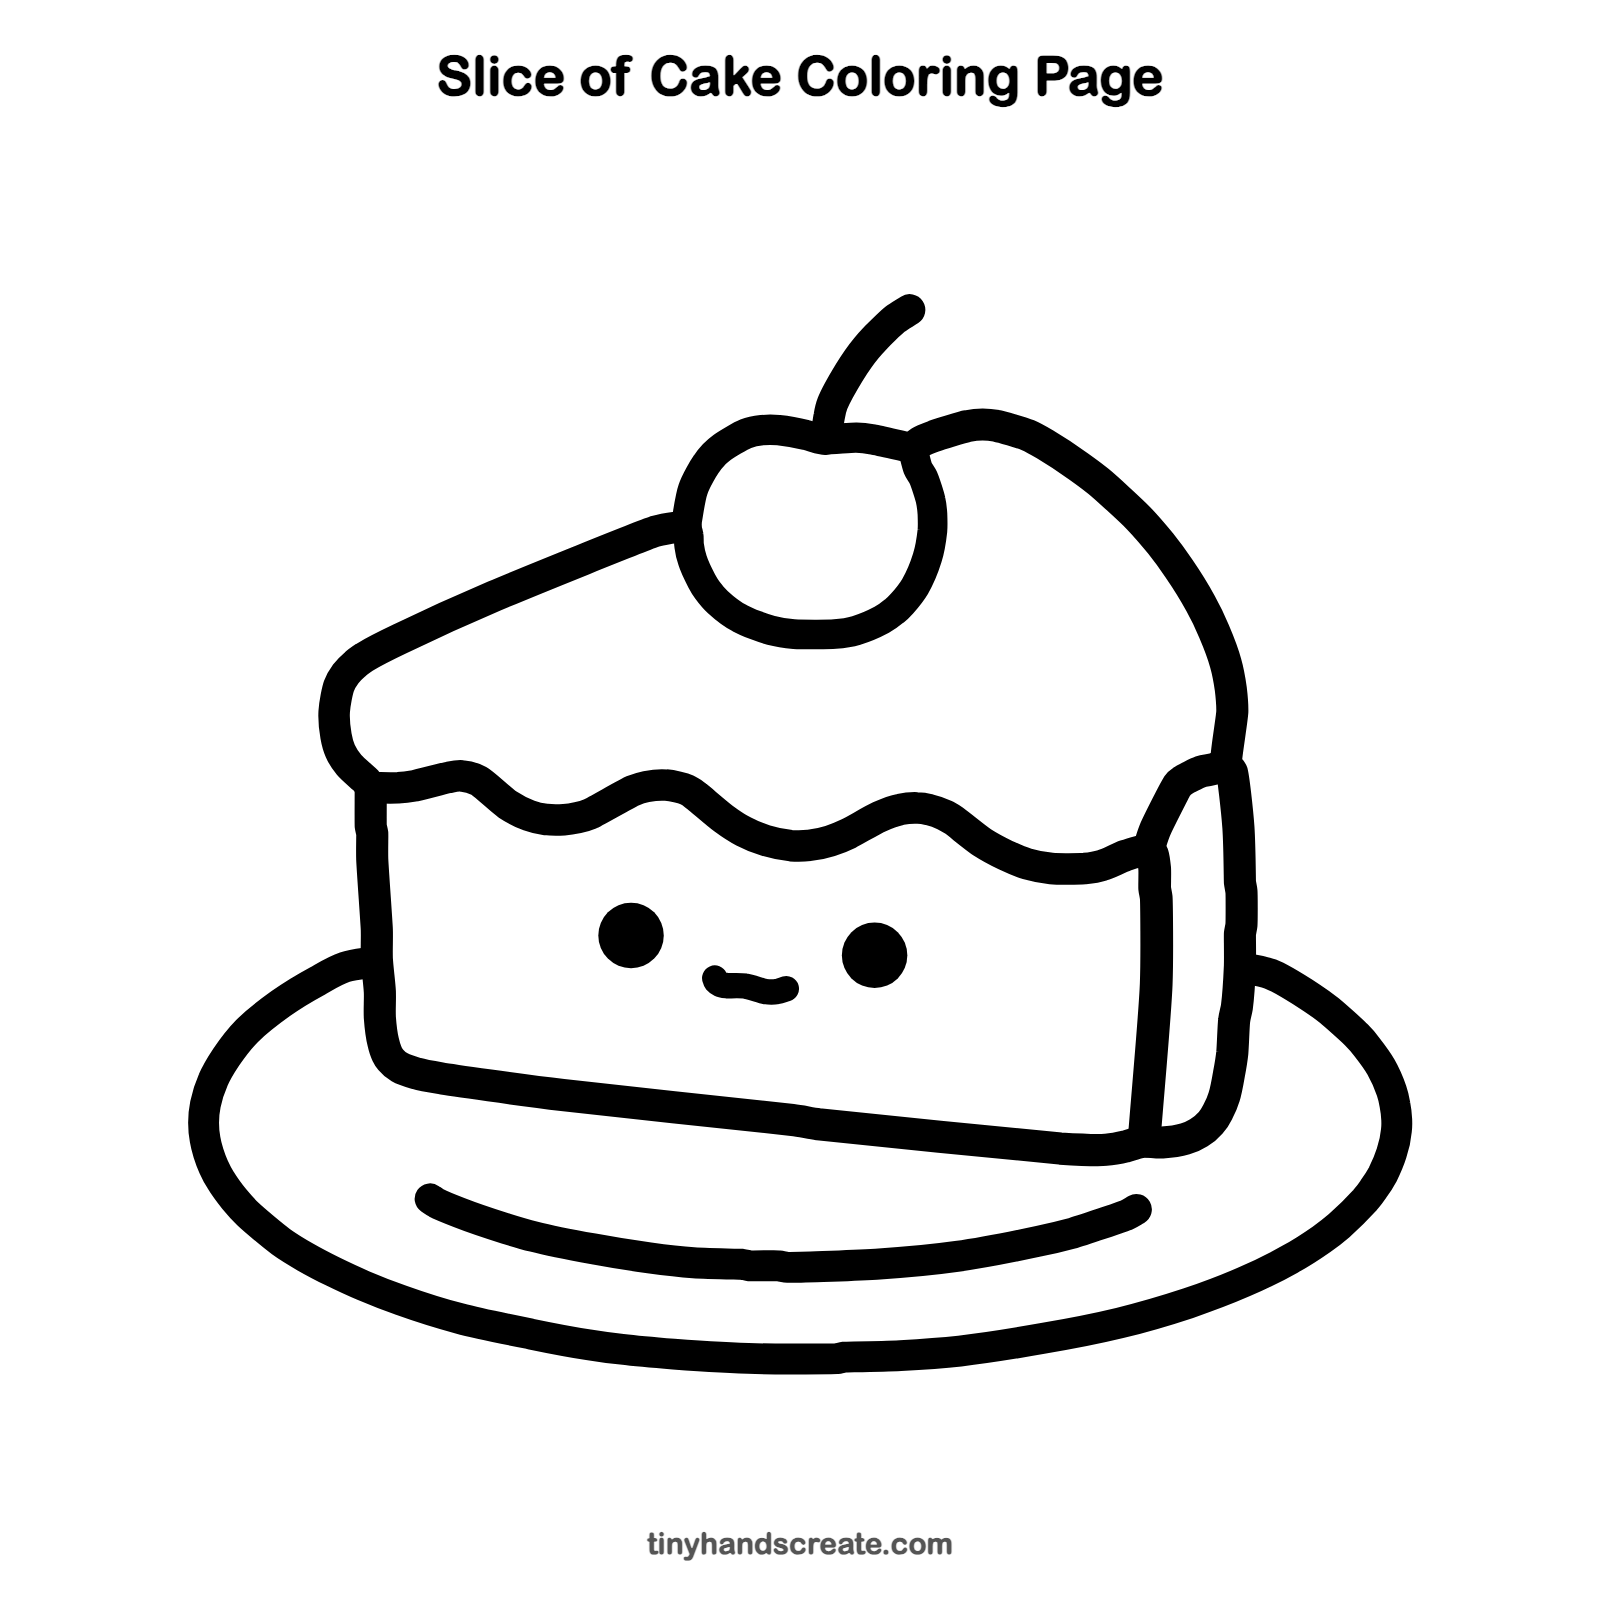
Free slice of cake coloring page
Want to go straight to coloring? Open this slice of cake coloring page at full size and print it. It is the same drawing you just learned, with clean lines ready for crayons or markers.
How to color your slice of cake drawing
Try pink frosting, yellow cake, and a bright red cherry on a light blue plate. For a creative twist, add rainbow sprinkles on the frosting.
Slice of cake fun fact for kids
Cherries often grow in pairs joined by their stems, which is why you sometimes see two cherries hanging together.
Questions about drawing a slice of cake
What shapes do I need to draw a slice of cake?
You need a wedge shape for the cake, a wavy line for the icing, a circle for the cherry, and a flat oval for the plate.
How do I make my cake slice look cuter?
Add two round eyes and a tiny smile on the front of the cake. Keep the eyes the same height and the smile small.
How do I draw wavy icing?
Draw a line that goes up and down in small, even bumps, like gentle hills. Go slowly and keep your hand relaxed.