How to Draw a Sleeping Bunny (Easy Step by Step)
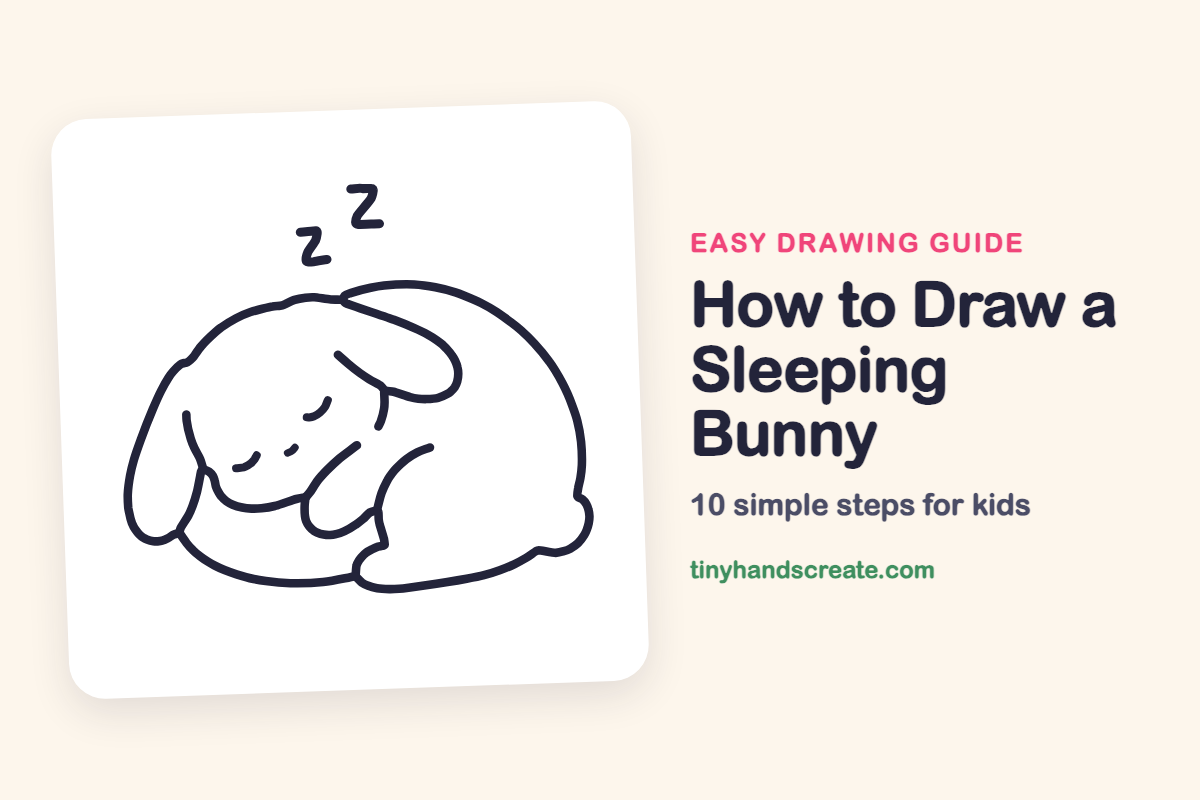
Learn to draw a sleeping bunny using simple, soft, and round shapes. You'll build it from a rounded body, dome head, floppy ears, and add small curves for details, finishing with Zs to show it's dreaming.
- Practice drawing soft, round shapes with this easy bunny guide.
- Start your bunny with a big rounded body and a dome for the head.
- Add two floppy ears and small curves for the face, paw, and leg.
- Include floating Zs to show your bunny is dreaming.
This post contains affiliate links. As an Amazon Associate I earn from qualifying purchases.
A sleeping bunny is one of the easiest ways to practice drawing soft, round shapes. The whole bunny is built from a big rounded body, a dome for the head, and two floppy ears, with just a few small curves for the face, paw, and leg. The two floating Zs finish the picture and tell everyone the bunny is dreaming.
- Easy
- 12 minutes
- 10 steps
You need: paper, a pencil, an eraser, and crayons or markers for coloring.
Start drawing


In this article (7 sections)
How to draw a sleeping bunny step by step
How to Draw a Sleeping Bunny · tinyhandscreate.com
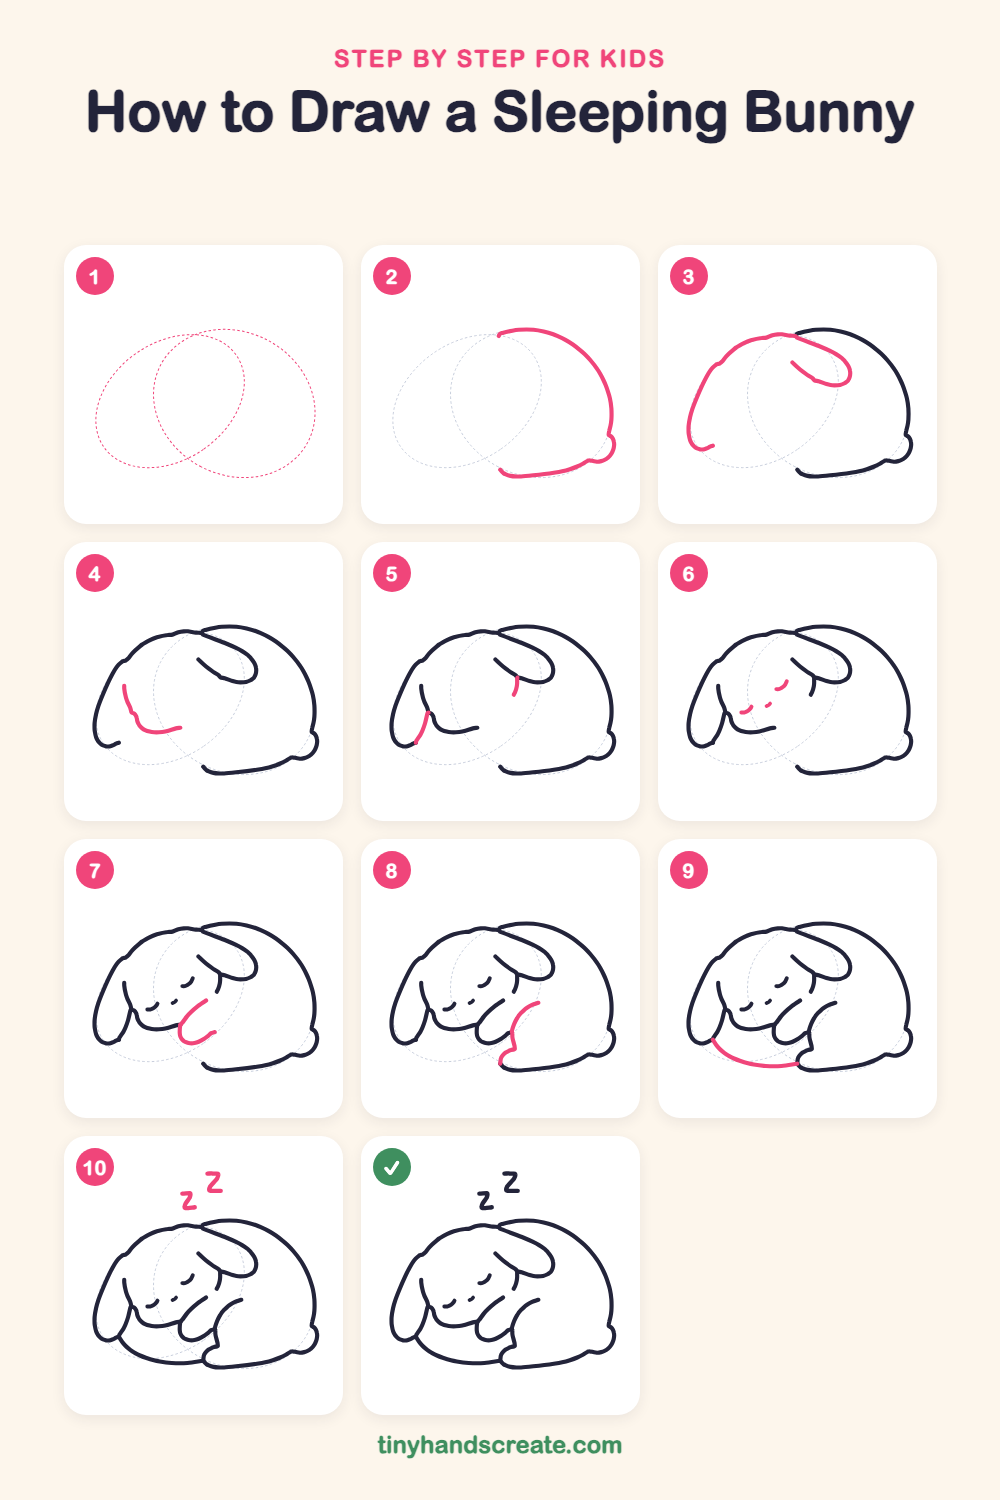
Step 1: Guide shapes
Lightly sketch these 2 ovals. They only show where the big parts go, so press softly. You will erase them at the end.
Step 2: The round body
Draw a big, rounded hill shape for the bunny's curled-up back. Start near the top middle, sweep down the right side, and finish with a little round bump at the bottom corner for the fluffy tail, then curve back along the bottom.
Step 3: The head and ears
Draw a wide, soft dome on the left for the head, with a long floppy ear hanging down on the left side. Then let the second ear flop over the top of the body on the right, like a rounded leaf with a short curved line inside.
Step 4: The cheek and chin
Inside the head on the left, draw a curved line that goes down and then bends to the right, like a letter J. This makes the inner edge of the left ear and the round cheek and chin.
Step 5: The ear folds
Draw a short curved line near the bottom of the left ear. Then add a tiny curved line just under the tip of the right ear where it folds.
Step 6: Sleepy eyes and nose
Draw two little curved lines for the closed eyes. Add a tiny short dash between them for the nose.
Step 7: The tucked paw
Under the chin, draw a U shape that is longer on one side, with the long side curving up to the right. This is a little paw tucked under the face.
Step 8: The back leg
Start beside the paw and draw a curve that sweeps down and ends in a small rounded foot at the bottom, joining the body line. This is the bunny's hind leg, all curled up.
Step 9: The belly line
Draw a long, gentle curve along the bottom, from the bottom of the left ear across to the foot. This is the tummy resting on the ground.
Step 10: The sleepy Zs
Above the bunny, draw two letter Zs floating in the air, a small one on the left and a bigger one up and to the right, to show the bunny is fast asleep.
All done!
Erase the guide shapes, go over your lines, then color it in.
Finished your sleeping bunny? Keep the pencils out and learn how to draw a fox or how to draw a hedgehog next.
Tips for drawing a sleeping bunny
- Start with the big round body and let the head overlap it, so the bunny looks curled up and cozy.
- The closed eyes are tiny, so keep them small and low on the face with a short dash for the nose between them.
- Draw the Zs last, with the second one a little bigger than the first, so they look like they are floating up and away.
Free sleeping bunny coloring page
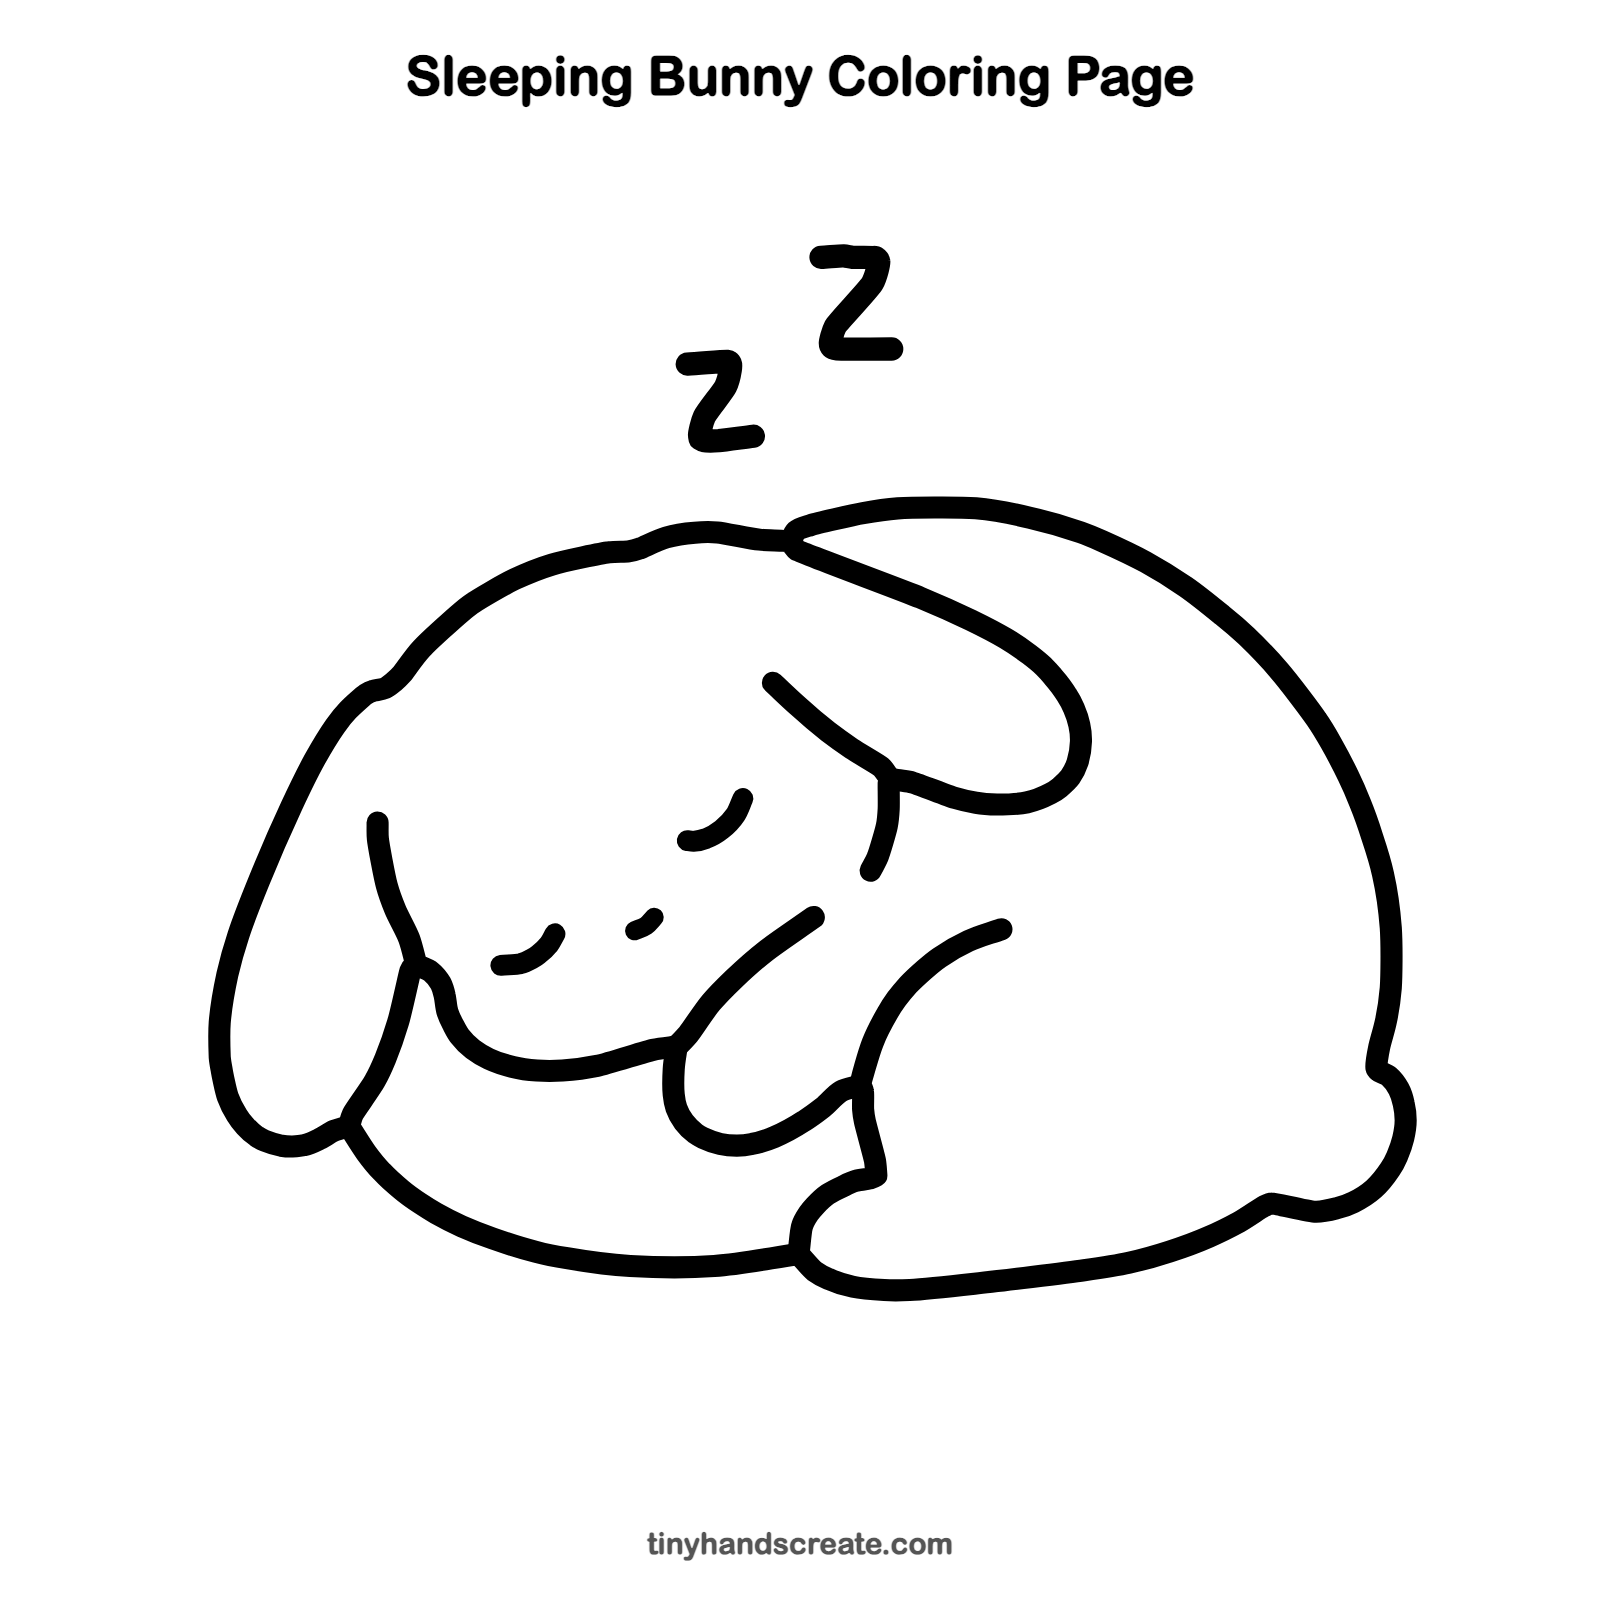
Want to go straight to coloring? Open this sleeping bunny coloring page at full size and print it. It is the same drawing you just learned, with clean lines ready for crayons or markers.
How to color your sleeping bunny drawing
Try soft gray, cream, or light brown for the fur, with pink inside the ears and on the cheeks. For a creative twist, color the background deep night blue and add little yellow stars around the Zs.
Sleeping bunny fun fact for kids
A rabbit's front teeth never stop growing, so rabbits keep them worn down by chewing.
Questions about drawing a sleeping bunny
What shapes do I need to draw a sleeping bunny?
You need one big rounded hill shape for the body, a dome for the head, and two long rounded shapes for the floppy ears. Small curved lines make the eyes, nose, paw, and back leg.
How do I make my sleeping bunny look cuter?
Keep the eyes small and low on the face, and make the head round and soft. A tiny nose and a plump, tucked-in paw help a lot too.
How do I draw floppy ears?
Draw each ear as a long rounded shape that hangs down or flops over instead of standing up. Add a short curved line to show where the ear folds.