How to Draw a Fruit Bowl (Easy Step by Step)
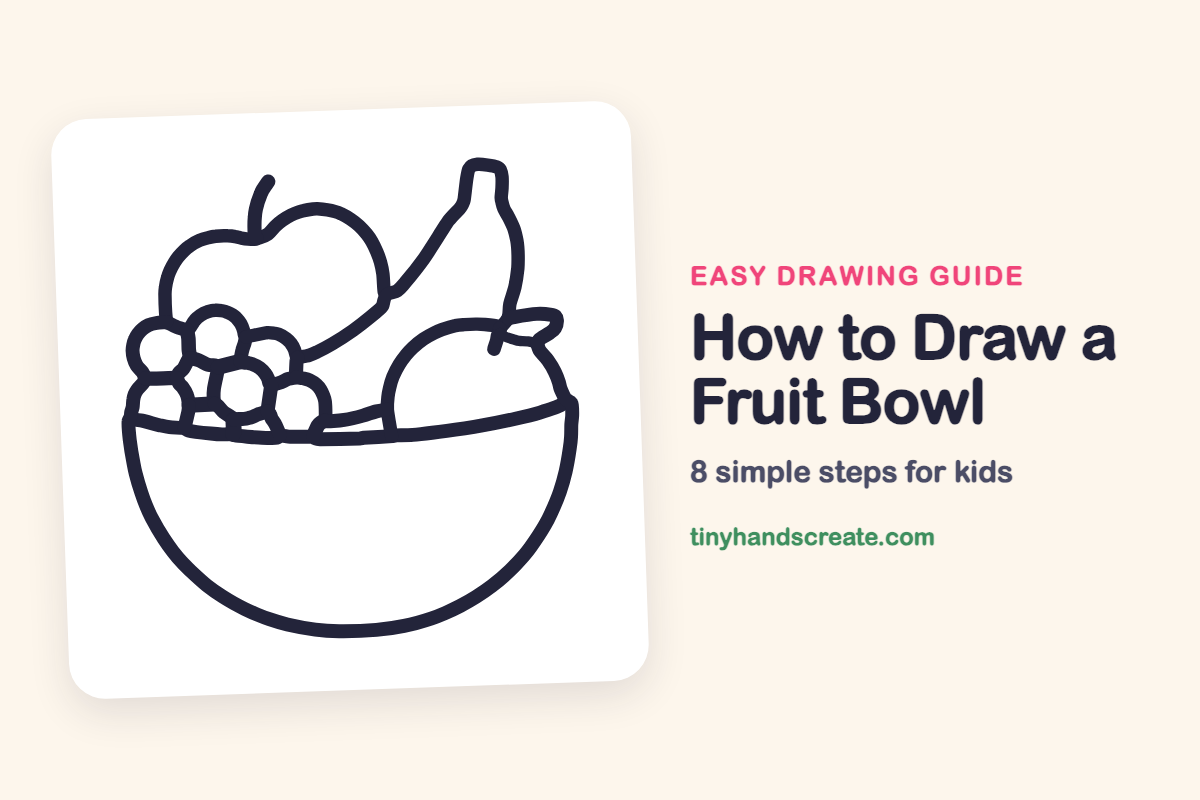
You will learn an easy, step-by-step method to draw a fruit bowl, using simple shapes for each fruit and understanding how to overlap them to create depth in your drawing.
- Use simple shapes like curves and circles for each fruit.
- Form the bowl with a shallow curve for the rim and a half circle.
- Draw oranges as domes and grapes as small circles.
- Create bananas and apples using long curves.
- Practice overlapping shapes to add depth to your fruit bowl.
This post contains affiliate links. As an Amazon Associate I earn from qualifying purchases.
A fruit bowl is a fun first still life because every piece is a simple shape. You will use a shallow curve for the rim, a half circle for the bowl, a dome for the orange, small circles for the grapes, and long curves for the banana and apple. Drawing some fruit in front of other fruit teaches kids how shapes overlap.
- Medium
- 15 minutes
- 8 steps
You need: paper, a pencil, an eraser, and crayons or markers for coloring.
Start drawing
In this article (7 sections)
How to draw a fruit bowl step by step
How to Draw a Fruit Bowl · tinyhandscreate.com
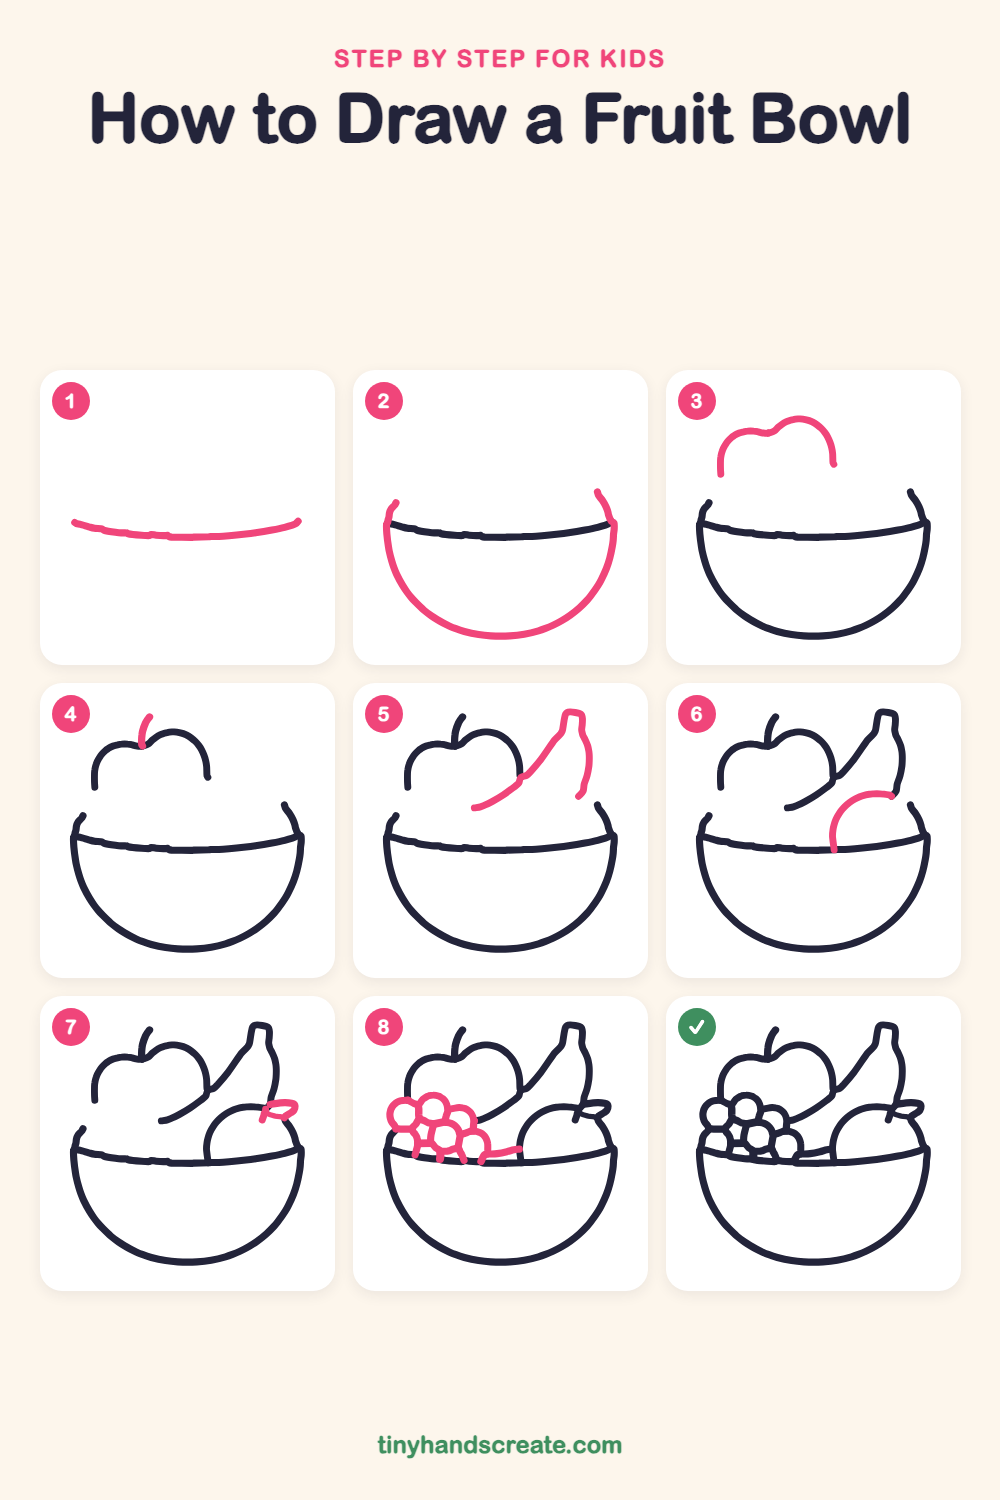
Step 1: The rim
Draw a gently curved line, like a long, shallow smile. This will be the top edge of the bowl.
Step 2: The bowl
Start at the left end of the rim and draw a big curve down and around, like half a circle, ending at the right end of the rim. Add a tiny flick going up at each end.
Step 3: Top of the apple
Above the left side of the bowl, draw a wavy line with two round bumps and a little dip between them. Let both ends hang down and stay open.
Step 4: Apple stem
Start in the dip at the top of the apple and draw a short curved line going up. It looks like a little bent twig.
Step 5: The banana
On the right of the apple, draw a long curved banana with a small square tip at the top. Draw one line sweeping down to the left and another curving down on the right.
Step 6: Top of the orange
Below the banana, draw an arch that starts on the bowl rim, curves up and over like a dome, and ends near the bottom of the banana.
Step 7: Orange leaf
At the top of the orange, near the bottom of the banana, draw a tiny stem and a small pointy leaf.
Step 8: The grapes
On the left, draw a bunch of small circles that touch each other, like a cluster of bubbles. Let the bunch overlap the apple and rest on the bowl rim.
All done!
Go over your lines with a marker, then color it in.
Finished your fruit bowl? Keep the pencils out and learn how to draw boba tea or how to draw a cupcake next.
Tips for drawing a fruit bowl
- Draw the rim first, then the bowl under it, so you know where the fruit will sit.
- The grapes are the trickiest part. Start with one circle, then add the next so it touches the first, and keep going until you have a bunch.
- Draw each banana line in one smooth sweep, starting from the small square tip at the top.
Free fruit bowl coloring page
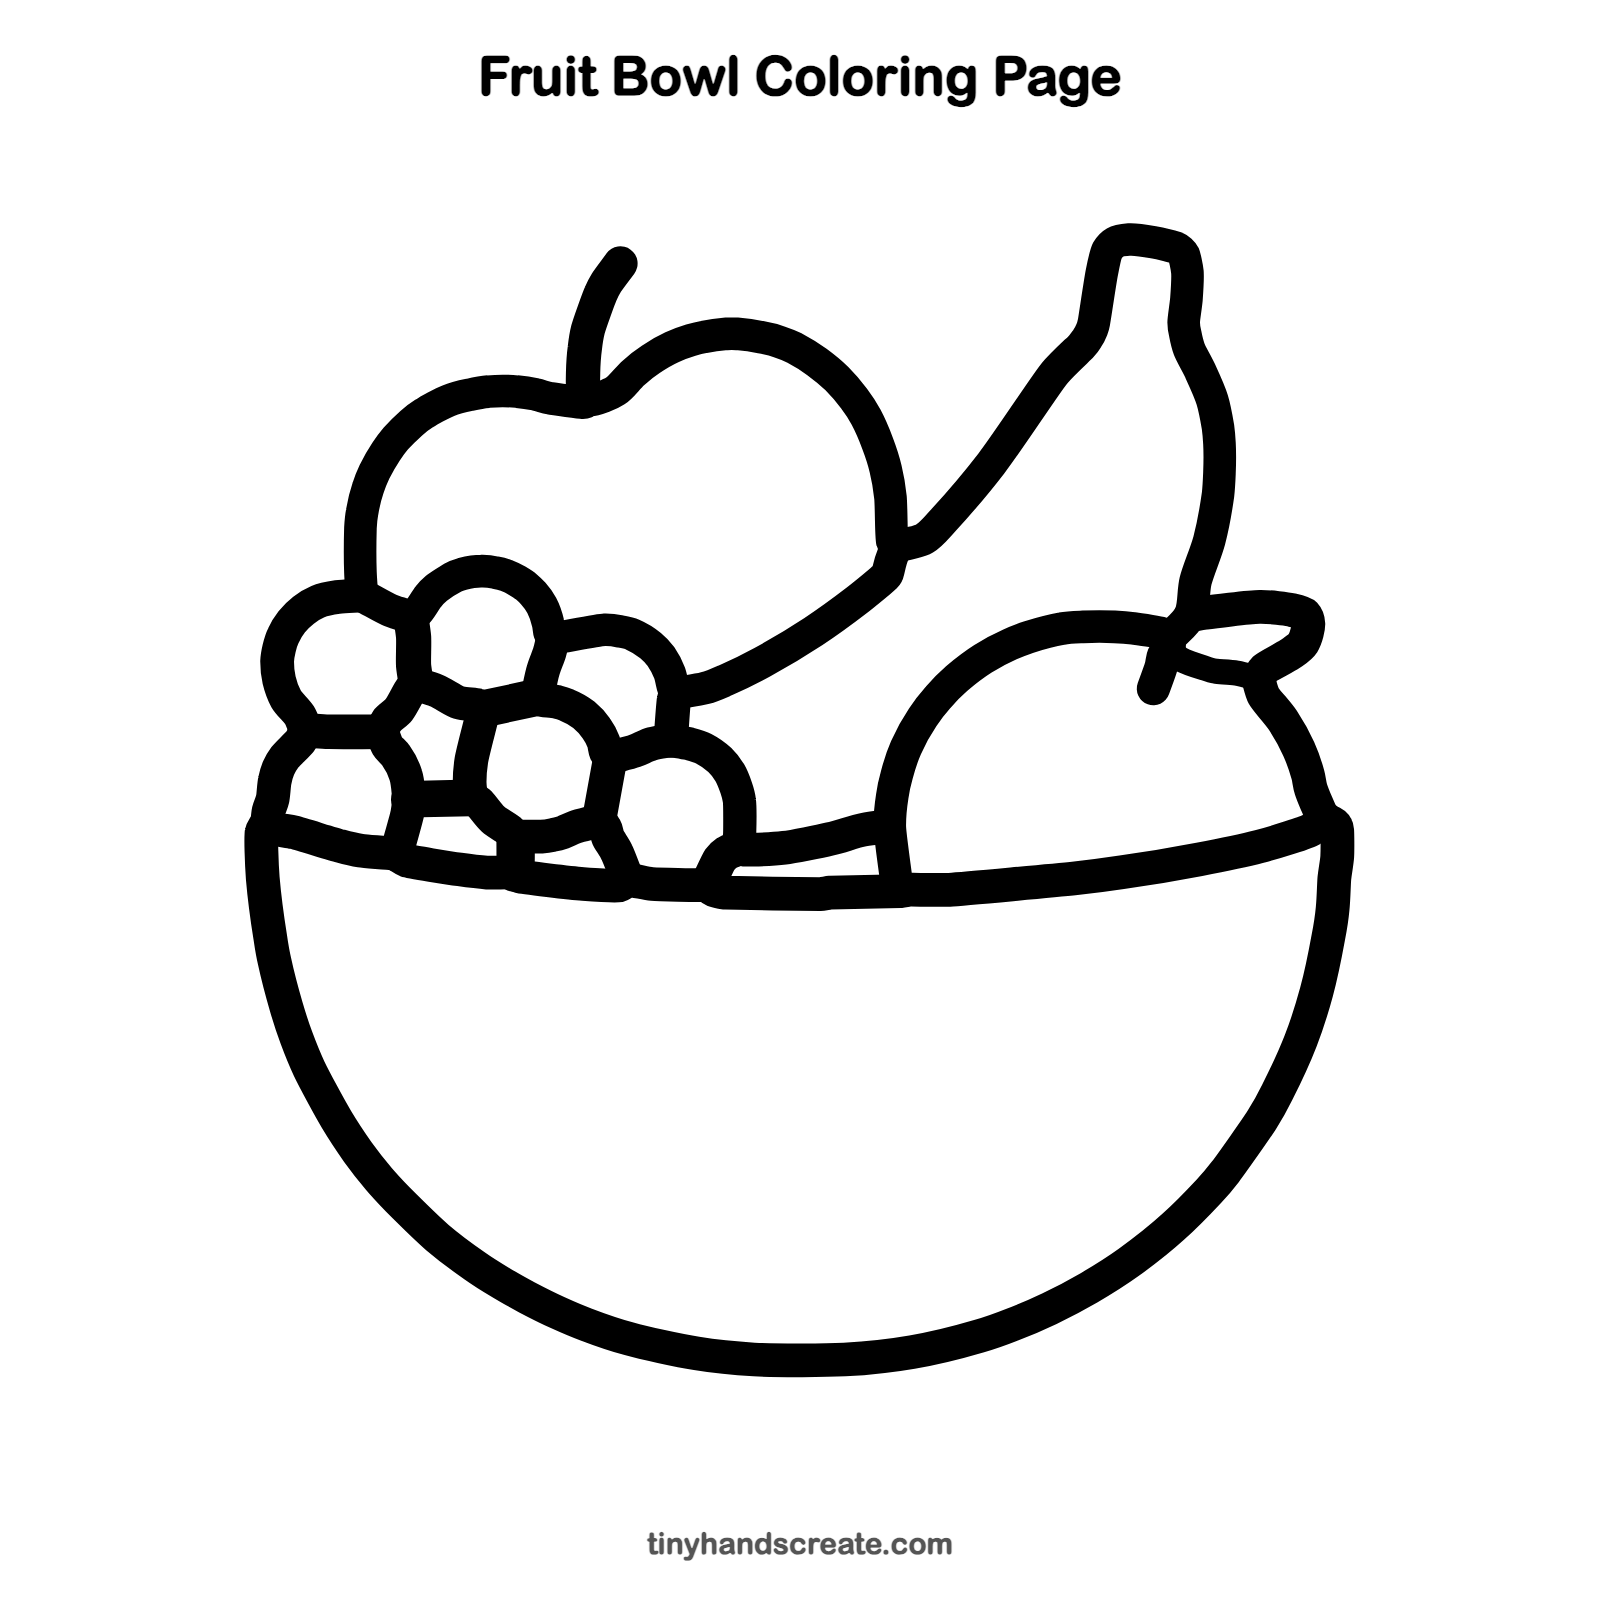
Want to go straight to coloring? Open this fruit bowl coloring page at full size and print it. It is the same drawing you just learned, with clean lines ready for crayons or markers.
How to color your fruit bowl drawing
Try a red apple, a yellow banana, an orange orange, purple or green grapes, and a bowl in your favorite color. For a creative twist, give the bowl stripes or polka dots.
Fruit bowl fun fact for kids
Bananas grow in bunches called hands, and each single banana is called a finger. Banana plants are actually giant herbs, not trees.
Questions about drawing a fruit bowl
What shapes do I need to draw a fruit bowl?
You need a shallow curve for the rim, a half circle for the bowl, a dome for the orange, a round bumpy shape for the apple, and a long curve for the banana. Small circles make the grapes.
How do I make the fruit look like it is inside the bowl?
Draw the bowl rim first, then let the fruit lines stop at the rim. This makes the fruit look like it is sitting in the bowl.
How do I draw grapes that look good?
Draw small circles of about the same size that touch each other. Let the bunch rest on the bowl rim.