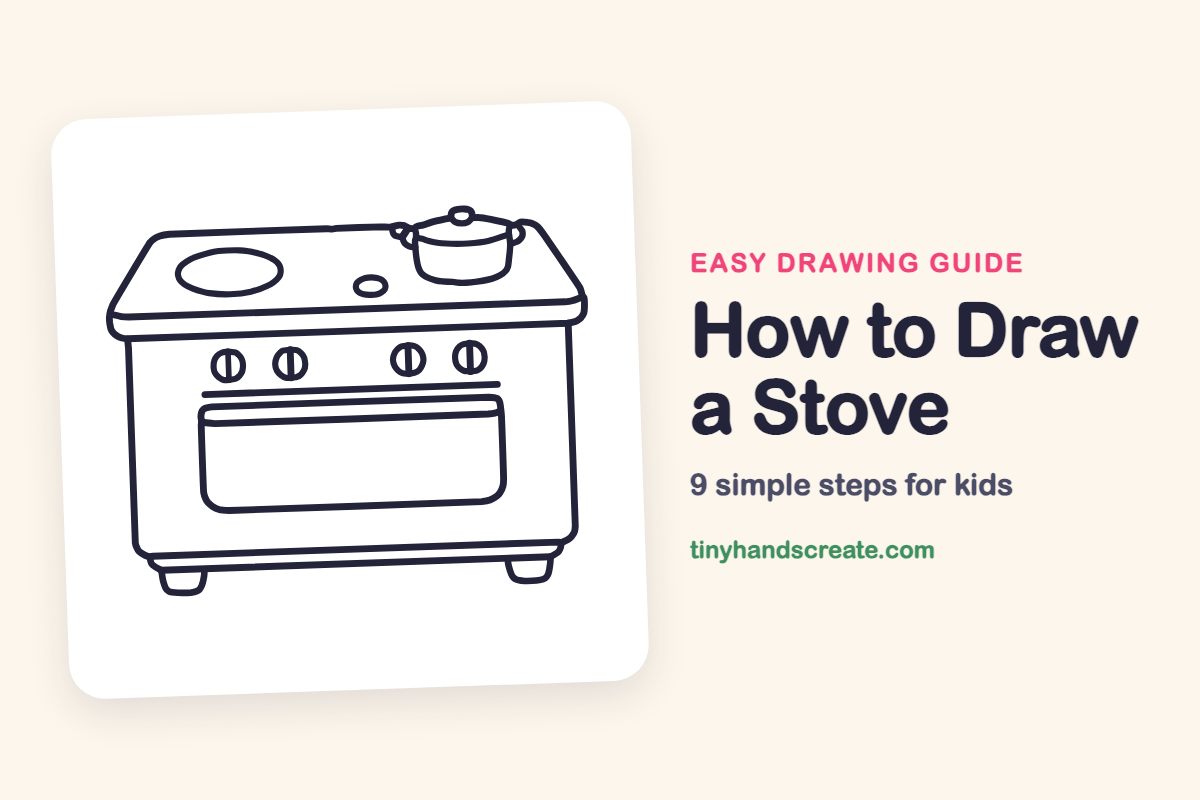
How to Draw a Stove (Easy Step by Step)
Learn how to easily draw a stove using simple shapes like boxes, circles, and straight lines. You'll start with the top, add a pot, an oven door, and finish with feet.
- Break down the stove into simple boxes, circles, and lines.
- Begin your drawing by creating a wide top for the stove.
- Include a pot and a large rounded rectangle for the oven door.
- Complete your stove drawing by adding two small feet.
This post contains affiliate links. As an Amazon Associate I earn from qualifying purchases.
A stove looks tricky, but it is made of boxes, circles, and a few straight lines. You start with a wide top, add a pot and a big rounded rectangle for the oven door, and finish with two little feet.
- Medium
- 15 minutes
- 9 steps
You need: paper, a pencil, an eraser, and crayons or markers for coloring.
Start drawing


In this article (7 sections)
How to draw a stove step by step
How to Draw a Stove · tinyhandscreate.com
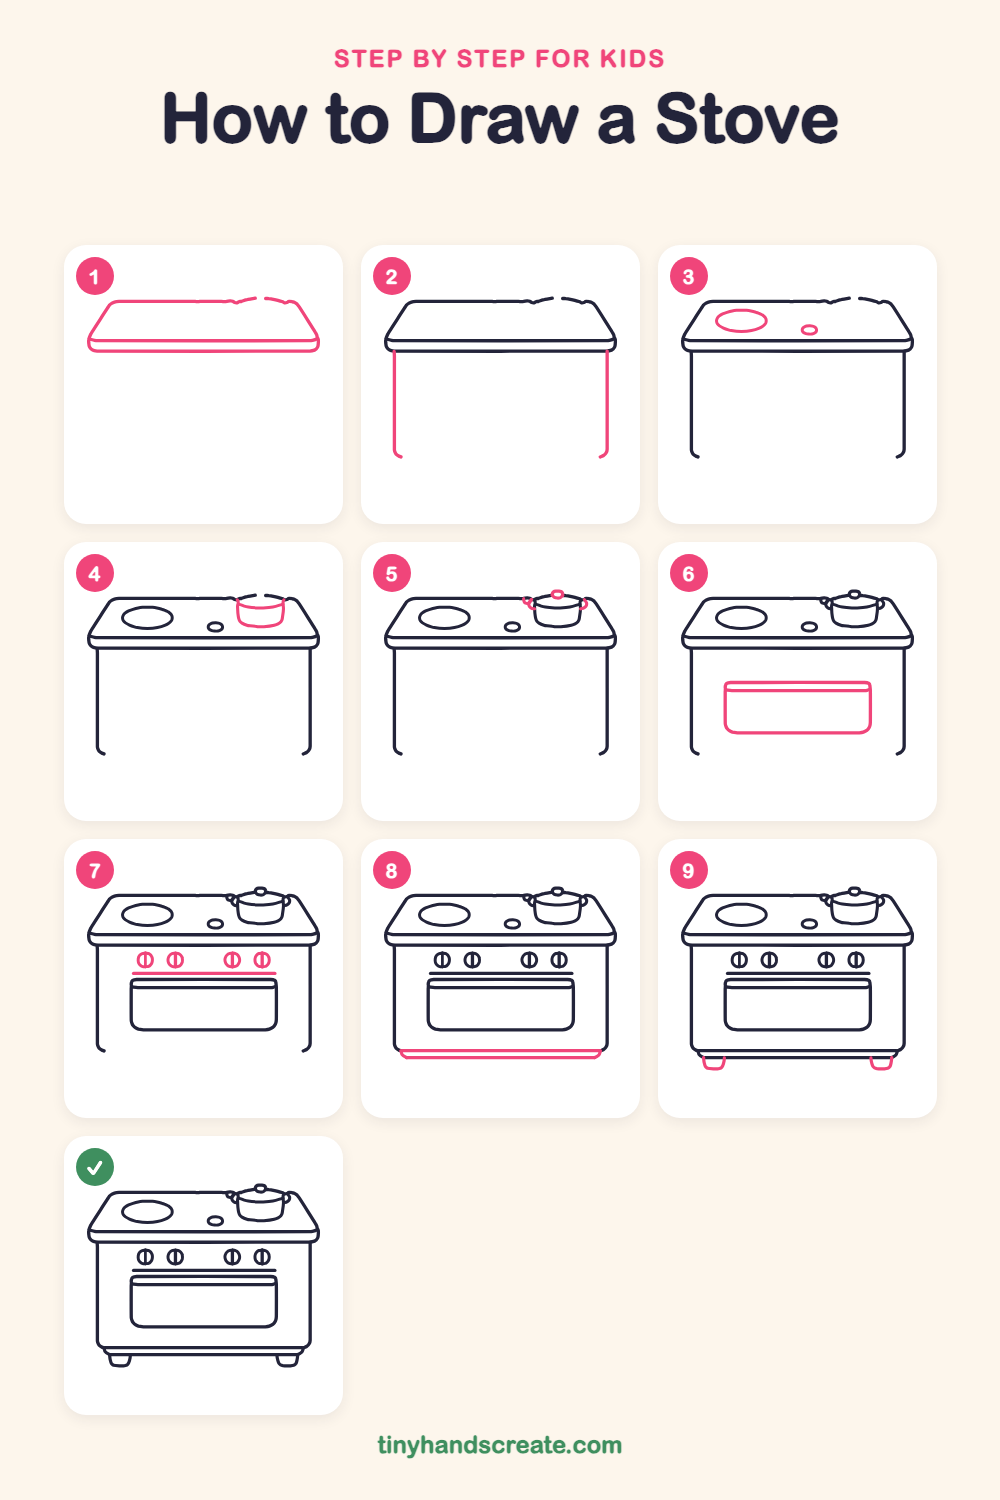
Step 1: The stove top
Draw a wide, flat shape like a squished box: a long top edge, slanted sides, and a bottom edge. Add a second line just under the bottom edge to make a thick front lip.
Step 2: The body sides
Draw two straight lines going down from under the lip, one on the left and one on the right. Curl each bottom end inward a little.
Step 3: Burners
On the flat top, draw one big oval on the left and one small oval in the middle. These are the burners.
Step 4: The cooking pot
On the right side of the top, draw a bowl shape for the pot with straight sides and a curved bottom. Add a curved line across the top for the rim.
Step 5: Lid and handles
Draw a small loop on top of the pot for the lid knob. Then add a little curved handle on each side of the pot.
Step 6: The oven door
Draw a big rounded rectangle in the middle of the stove. Draw a straight line near the top of it for the door handle.
Step 7: Control knobs
Above the oven door, draw four small circles in a row, two on each side. Draw a short line down the middle of each one. Add a long straight line underneath them.
Step 8: The bottom strip
Near the bottom, draw a long, thin strip that joins the left and right sides of the stove, with a rounded end on each side.
Step 9: The little feet
Under the bottom strip, draw a small rounded foot near each end, like a short upside down bucket.
All done!
Go over your lines with a marker, then color it in.
Finished your stove? Keep the pencils out and learn how to draw a rocket or how to draw a shooting star next.
Tips for drawing a stove
- Draw the oven door slowly. Its corners are rounded, so turn your pencil a little at each corner instead of making sharp points.
- Make the two side lines of the body the same length by checking them against each other before you go down.
- For the pot, draw the sides first and the rim last. The little handles and the lid knob are easy to add after that.
Free stove coloring page
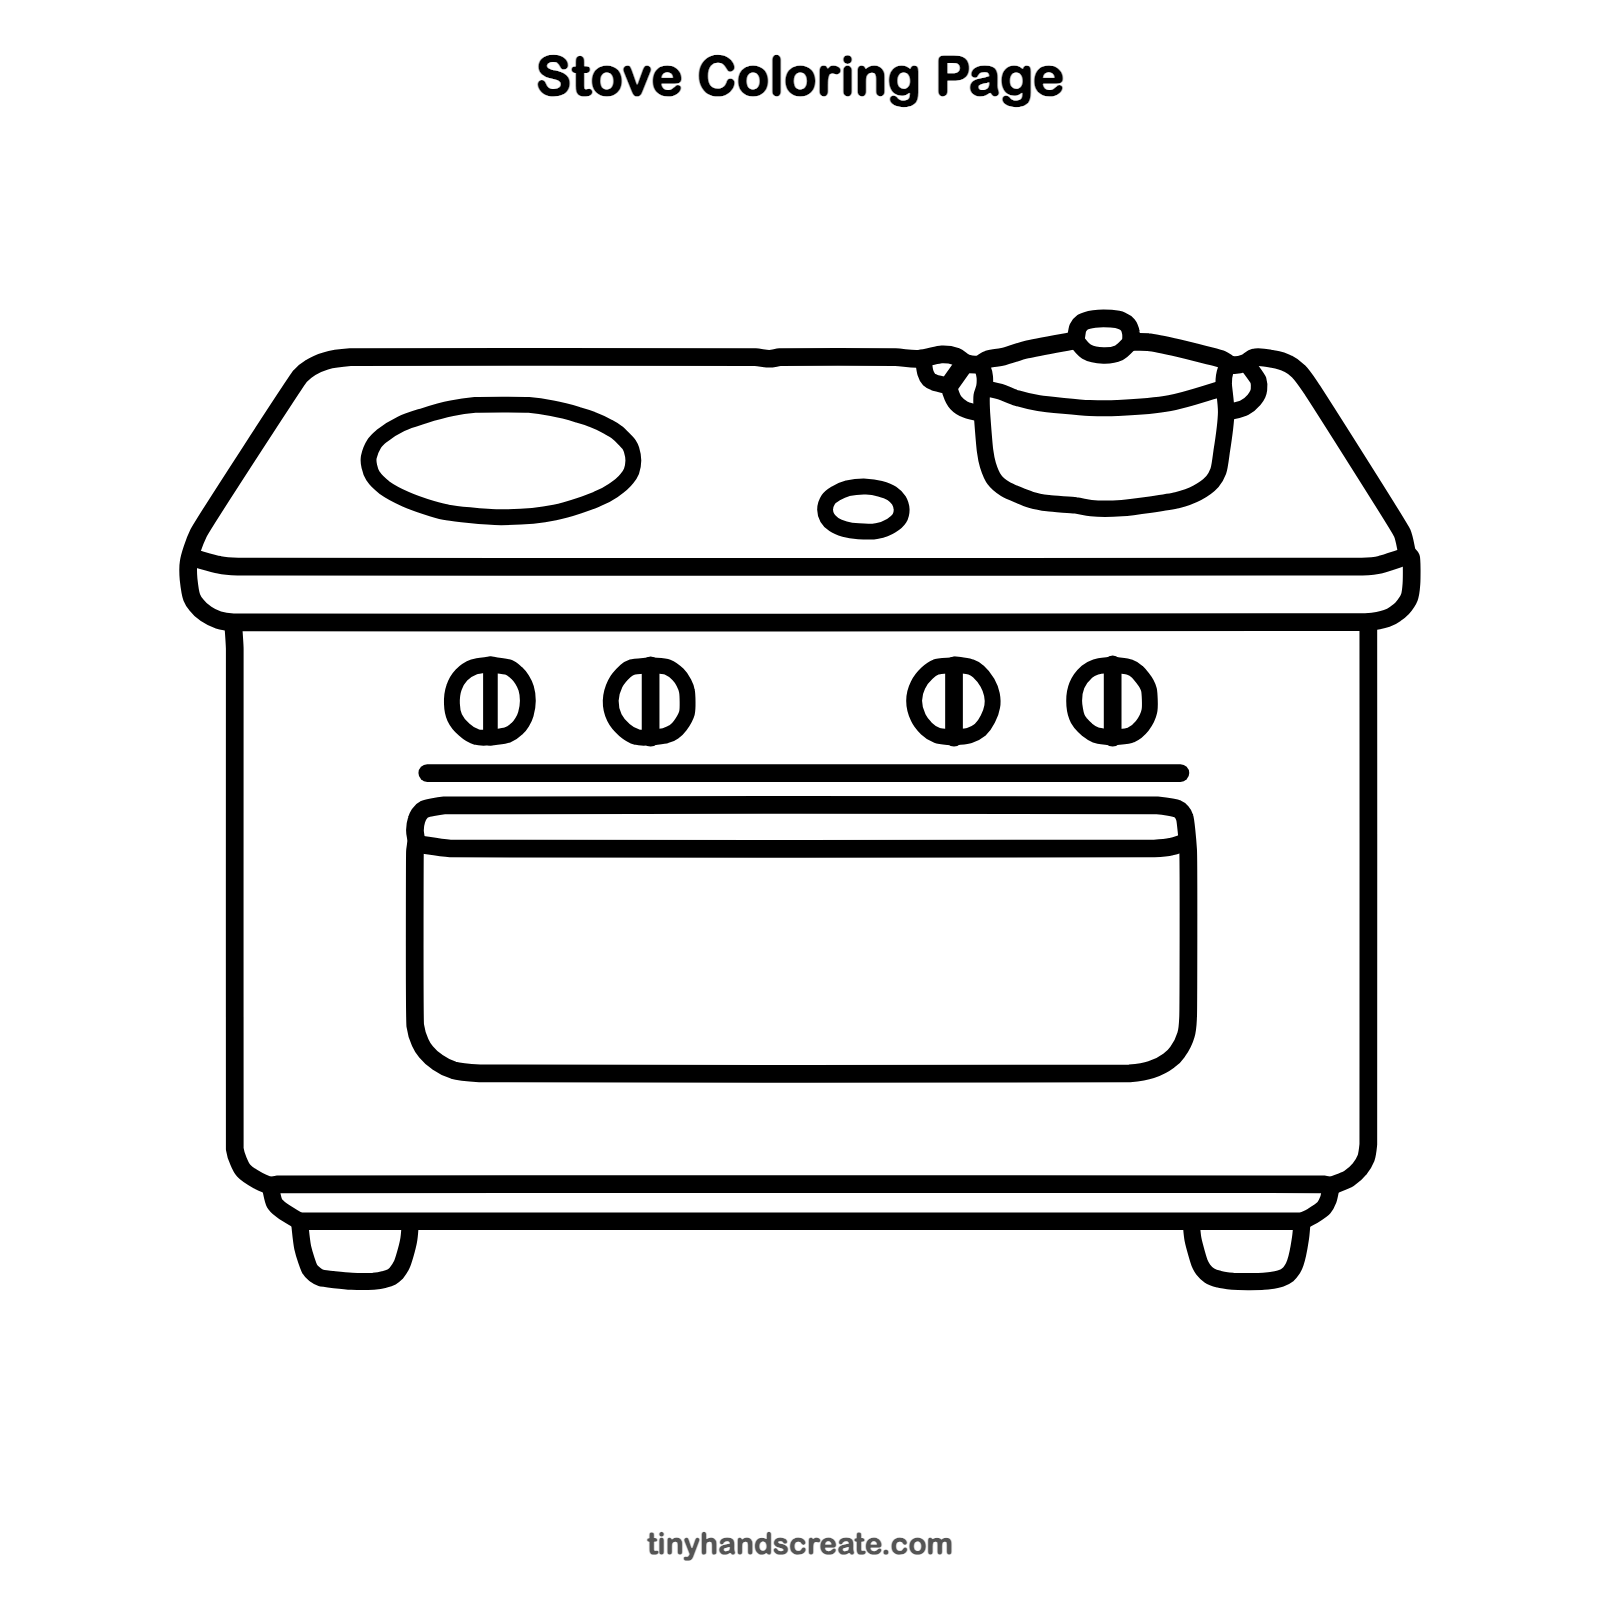
Want to go straight to coloring? Open this stove coloring page at full size and print it. It is the same drawing you just learned, with clean lines ready for crayons or markers.
How to color your stove drawing
Try a shiny silver or a bright red stove, with dark gray burners and a blue pot. Color the knobs a bright shade so they stand out.
Stove fun fact for kids
The word stove comes from an old Germanic word that meant a heated room. Long ago, people kept warm and cooked around open fires before stoves were built.
Questions about drawing a stove
What shapes do I need to draw a stove?
You need rectangles, circles, and ovals. The top and oven door are rectangles, the knobs are small circles, and the burners are ovals.
How do I make my stove look 3D?
Make the top wider than the body and give it a thick front edge, like a shelf. That small overhang makes the stove look solid.
How do I draw a pot on a stove?
Start with a bowl shape, then add a curved line for the rim, a small loop on top for the lid knob, and a little handle on each side. Place it so the bottom sits on the stove top.