How to Draw a Pacifier (Easy Step by Step)
Learn how to easily draw a pacifier using simple shapes like circles and ovals. You'll create the shield, nipple, and ring by following a step-by-step process.
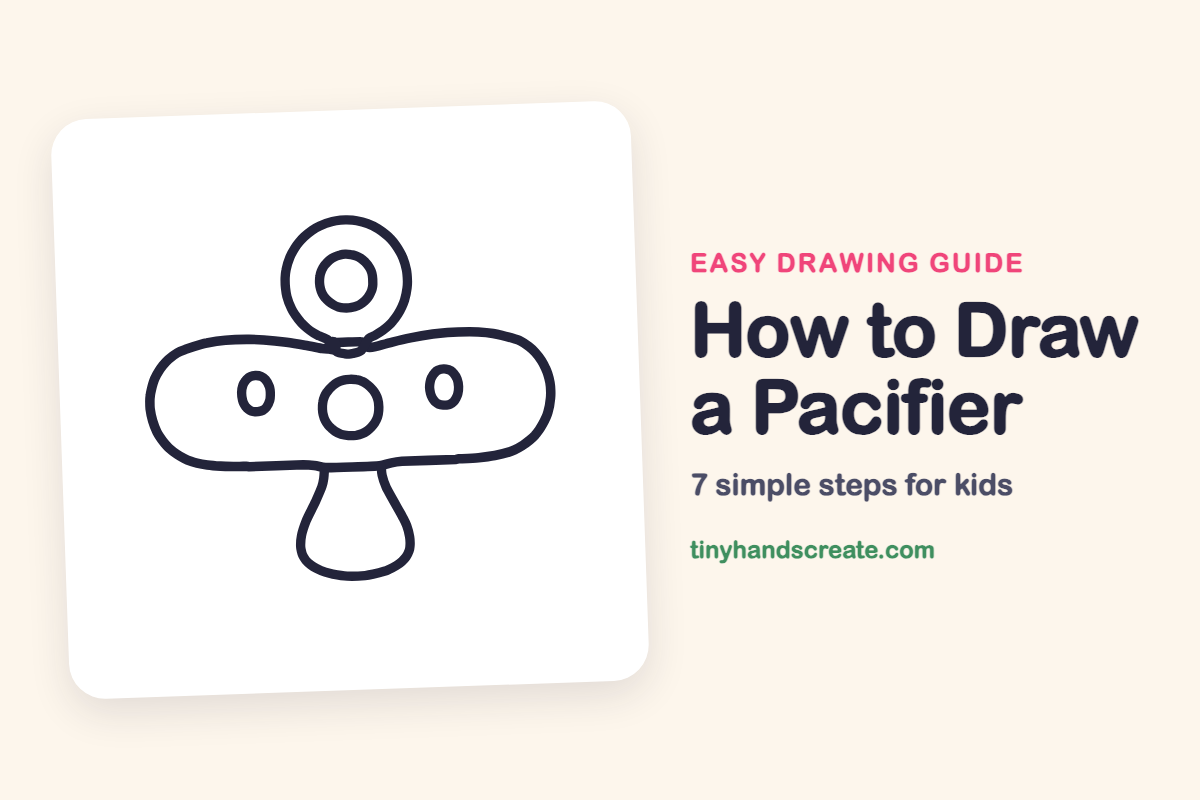
- Begin your pacifier drawing with a wide, bean-shaped shield.
- Form the nipple by adding a teardrop shape to the shield.
- Draw a round ring on the top part of the pacifier.
- Finish your design by adding two small air holes.
- Place a final circle in the middle of the shield.
This post contains affiliate links. As an Amazon Associate I earn from qualifying purchases.
A pacifier is a fun first drawing because it is built almost entirely from circles and soft ovals. You start with a wide bean-shaped shield, add a teardrop nipple and a round ring on top, then finish with two small air holes and a circle in the middle.
- Easy
- 10 minutes
- 7 steps
You need: paper, a pencil, an eraser, and crayons or markers for coloring.
Start drawing
In this article (7 sections)
How to draw a pacifier step by step
How to Draw a Pacifier · tinyhandscreate.com
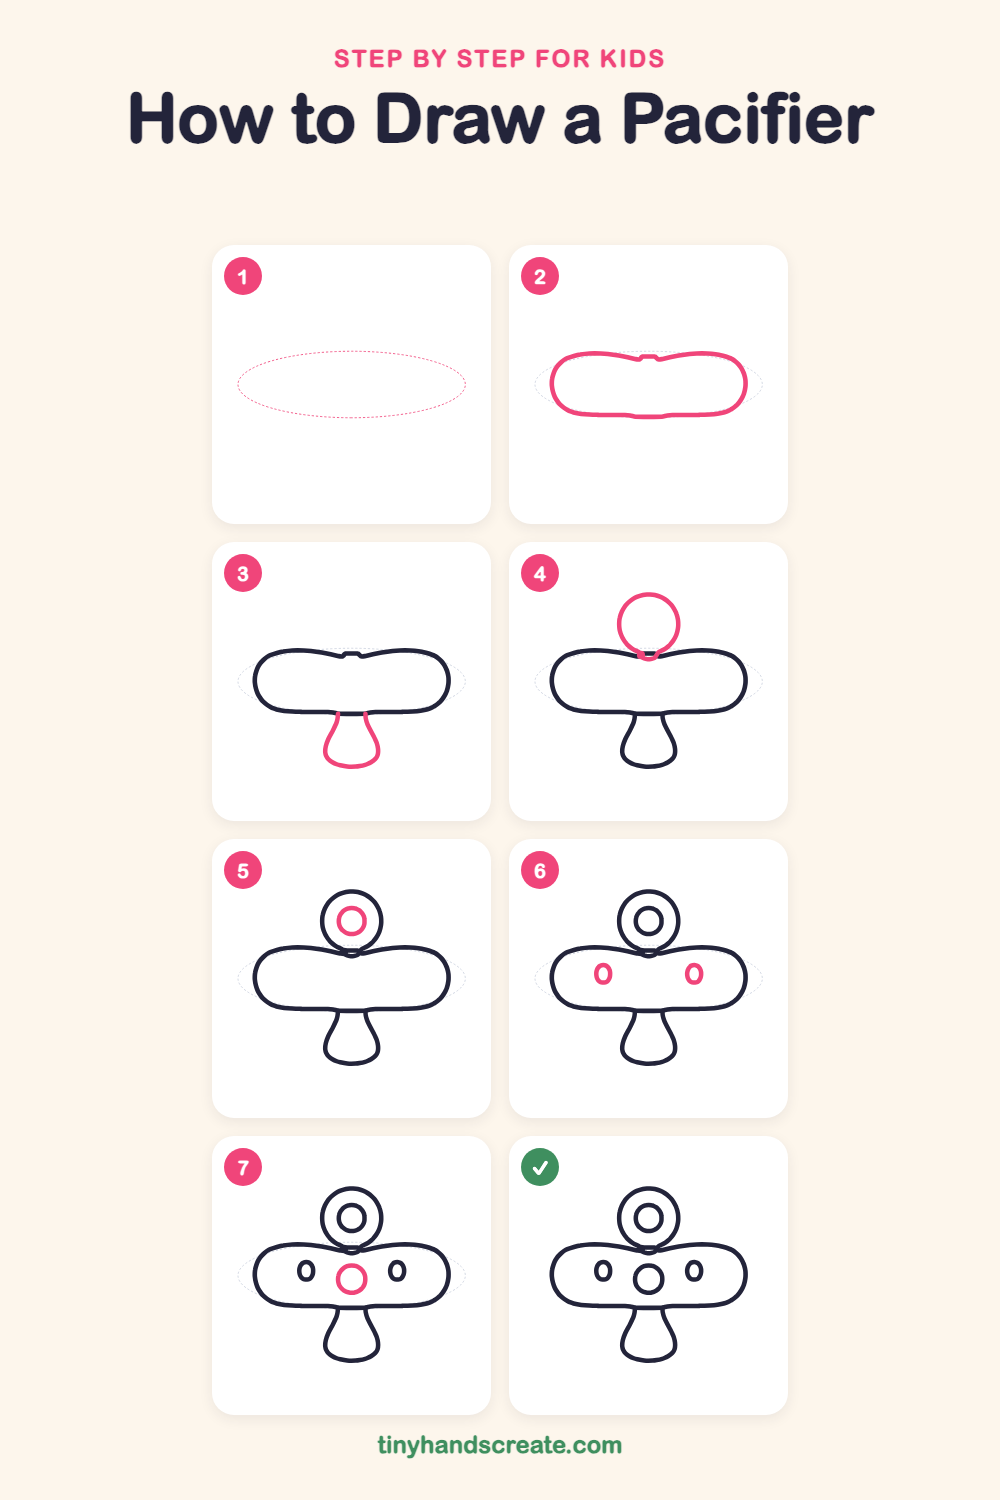
Step 1: Guide shapes
Lightly sketch this oval. It only shows where the big parts go, so press softly. You will erase it at the end.
Step 2: The shield
Draw a wide, rounded shape like a fat bean lying on its side. Make the top dip down into a tiny V in the middle and keep the bottom nearly flat.
Step 3: The nipple
Under the middle of the flat bottom, draw two curved lines that start close together and flare out. Join them at the bottom with a round curve to make a soft teardrop.
Step 4: The big ring
Above the shield, draw a large circle that sits over the dip. Let the bottom of the circle tuck just behind the little V.
Step 5: The inner circle
Draw a smaller circle in the middle of the big ring. Try to leave an even gap all the way around.
Step 6: The air holes
On the shield, draw one small oval on the left and one on the right. Make them the same size and the same height.
Step 7: The center circle
In the middle of the shield, draw a medium circle between the two ovals. Make it a little bigger than the ovals.
All done!
Erase the guide shapes, go over your lines, then color it in.
Finished your pacifier? Keep the pencils out and learn how to draw a rocket or how to draw a shooting star next.
Tips for drawing a pacifier
- Draw the shield wide and low. The dip on top is the trickiest bit, so make a gentle little V rather than a deep notch.
- Sketch the big ring so it tucks behind the dip a little at the bottom. That makes it look like it is attached.
- Draw the two air holes at the same height and the same size, and keep the center circle between them.
Free pacifier coloring page
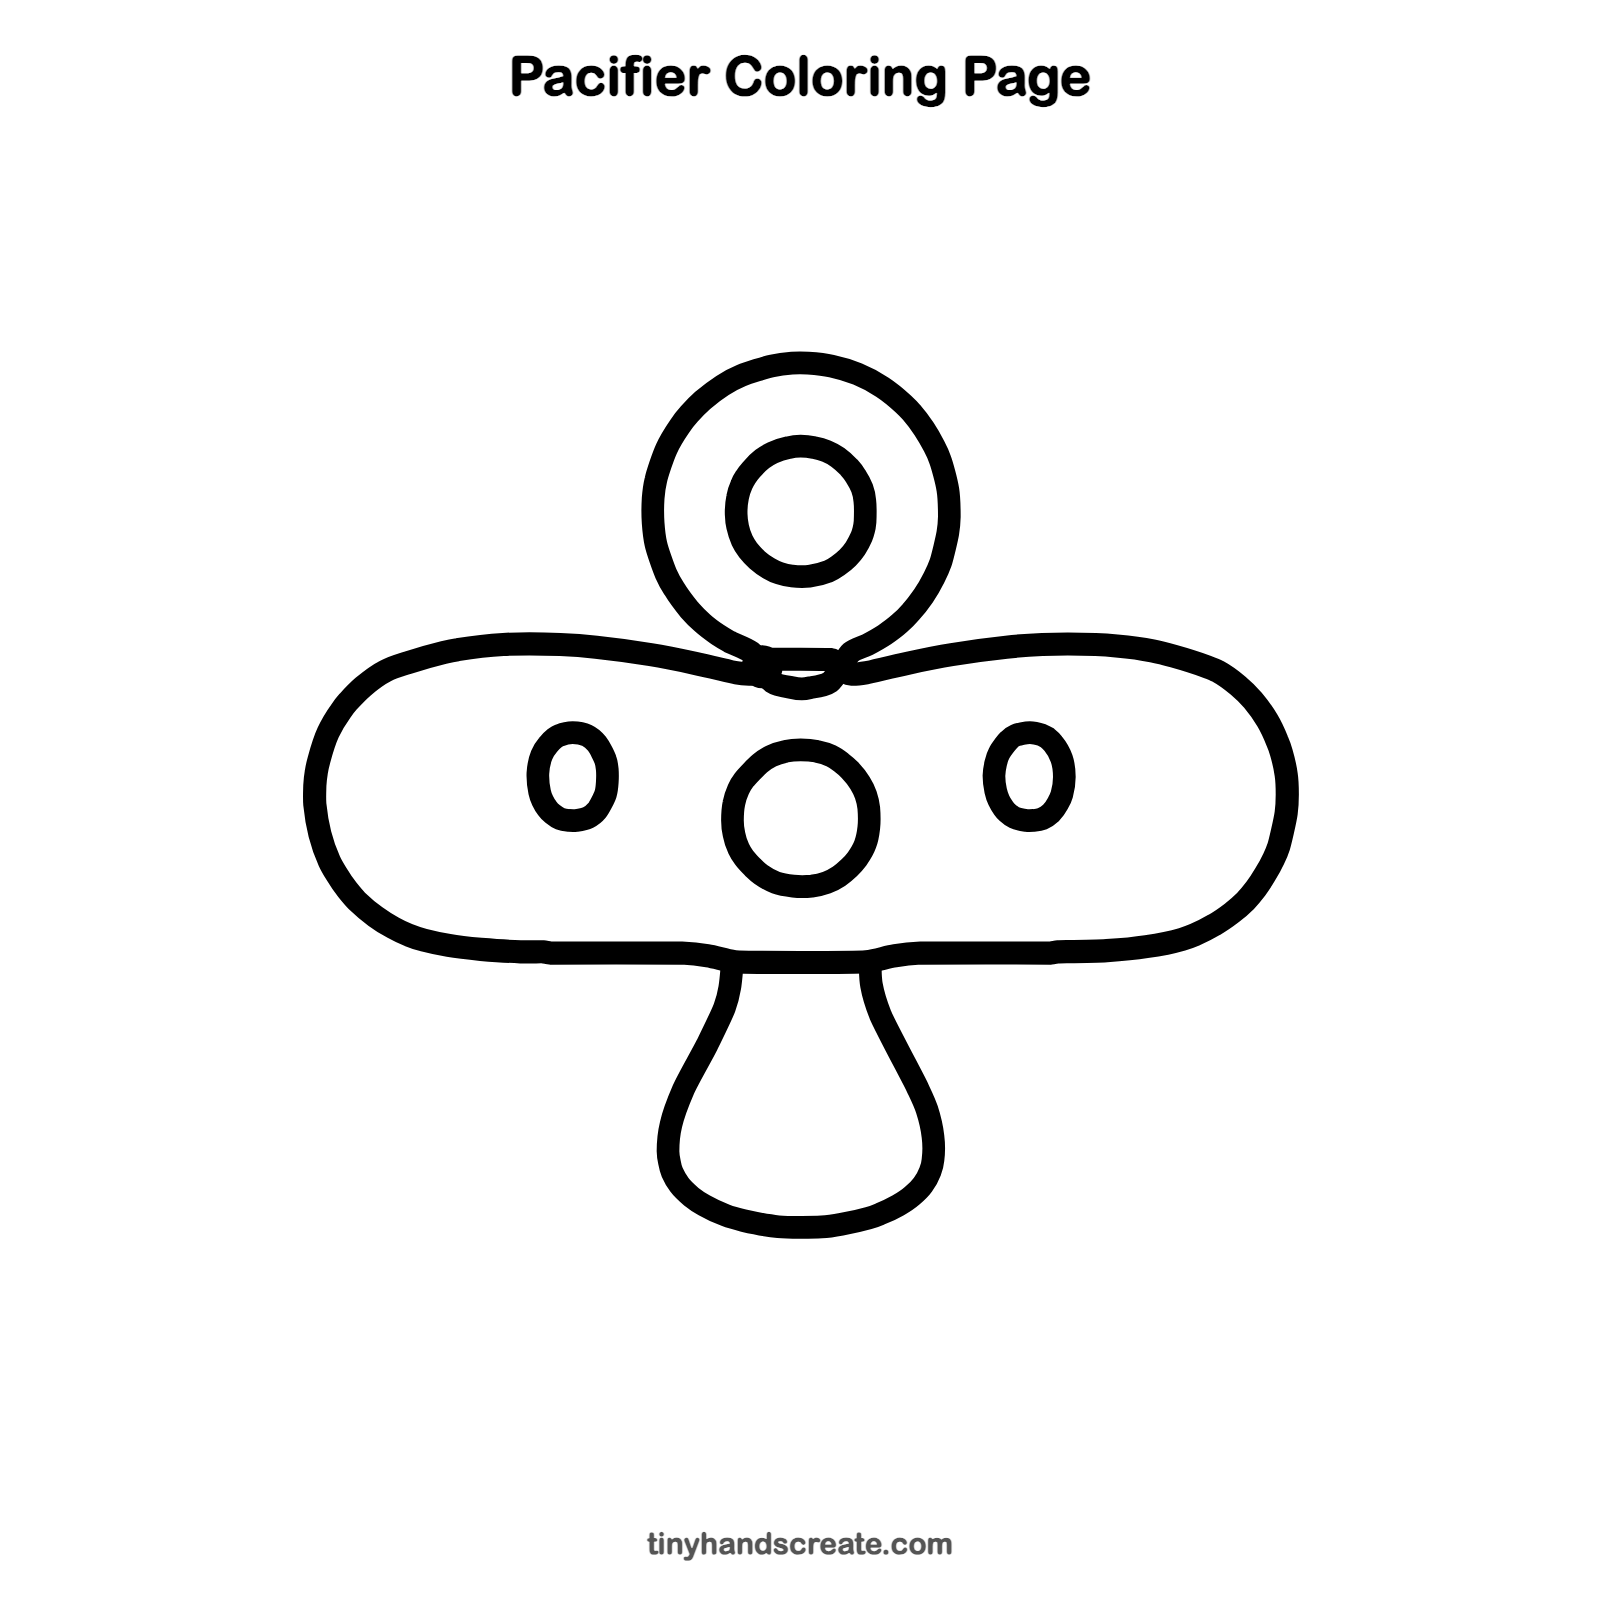
Want to go straight to coloring? Open this pacifier coloring page at full size and print it. It is the same drawing you just learned, with clean lines ready for crayons or markers.
How to color your pacifier drawing
Try soft baby blue or pink for the shield, with a white ring and a pale yellow nipple. For a creative twist, give the shield rainbow stripes or tiny stars.
Pacifier fun fact for kids
Pacifier shields have small air holes. Safety rules for pacifiers require them so a baby can still breathe if the shield ever covers the nose and mouth.
Questions about drawing a pacifier
What shapes do I need to draw a pacifier?
You need a wide rounded bean shape, a teardrop, and a few circles and ovals. Most of the drawing is circles.
How do I make my pacifier look cuter?
Add a heart or a smiley face in the center circle. Pastel colors also make it sweet.
Why is my shield lopsided?
Start with a light oval and draw the dip in the middle last. Turn your paper if one side feels harder to draw than the other.