How to Draw a Pickle (Easy Step by Step)
This post contains affiliate links. As an Amazon Associate I earn from qualifying purchases.
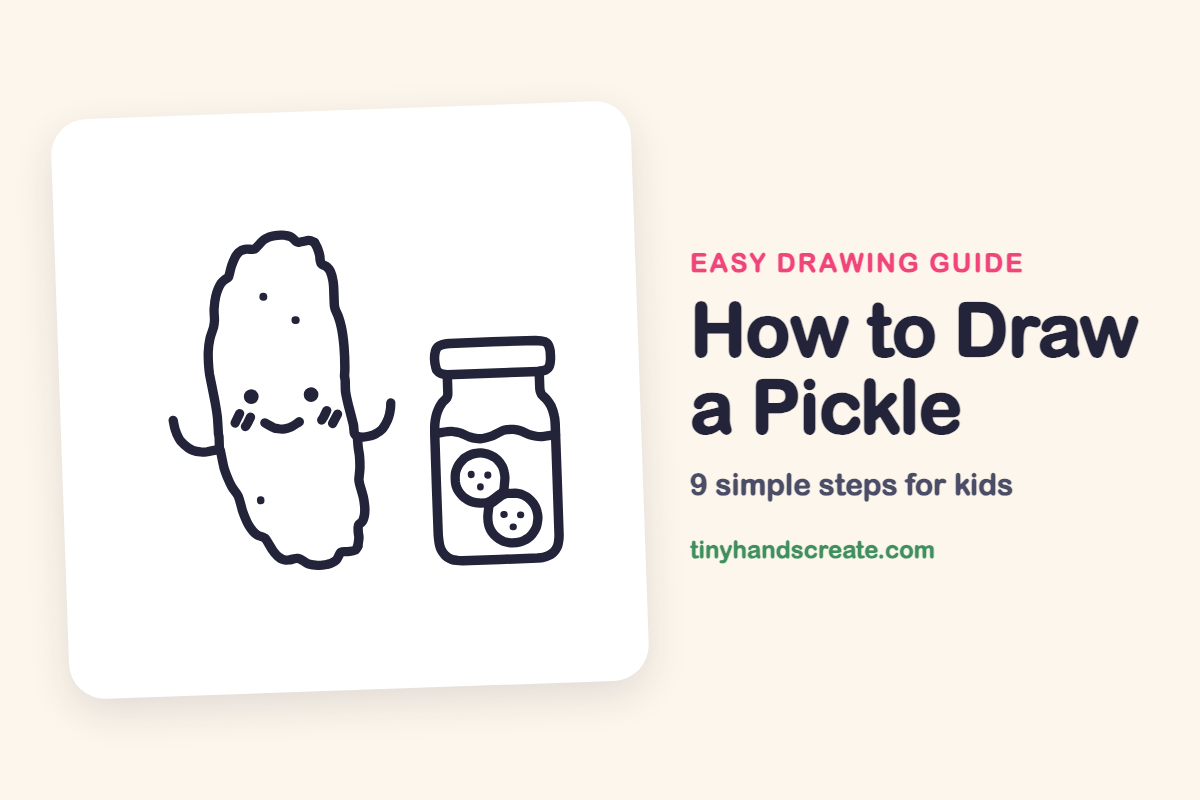
This cheerful pickle has a bumpy oval body, two little curved arms and a sweet smiling face, and it stands next to a jar with two pickle slices floating in it. You build it from an oval, circles, rounded shapes and a few dots, so it is a great first drawing for beginners.
- Easy
- 15 minutes
- 9 steps
You need: paper, a pencil, an eraser, and crayons or markers for coloring.
Start drawing
In this article (7 sections)
How to draw a pickle step by step
How to Draw a Pickle · tinyhandscreate.com
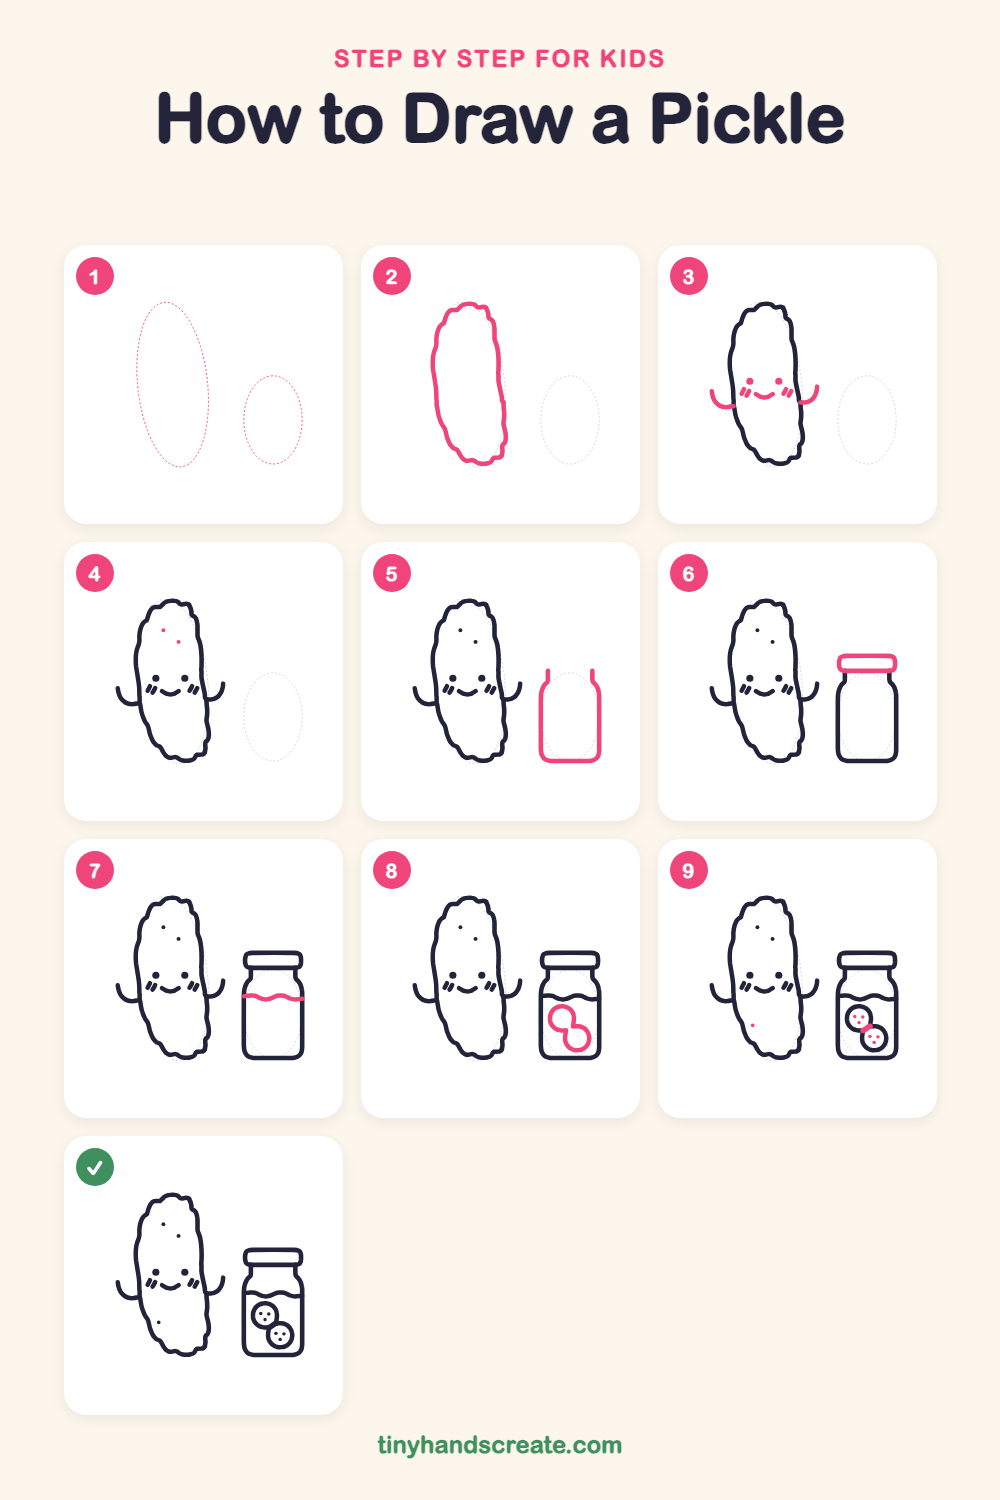
Step 1: Guide shapes
Lightly sketch these 2 ovals. They only show where the big parts go, so press softly. You will erase them at the end.
Step 2: The pickle body
Draw a tall, bumpy oval standing up, like a fat bean. Wiggle the line a little as you go so the edge looks like pickle skin.
Step 3: Arms and face
Draw two curved arms, one sticking out from each side of the body, with the ends curling up. Then add two round dots for eyes, a small curved smile between them, and a short slanted cheek line on each side of the smile.
Step 4: Spots on skin
Add two tiny dots near the top of the pickle, one a little higher than the other. These are bumps on its skin.
Step 5: The jar
Next to the pickle, draw a tall rounded shape for the jar. Start with two short straight lines for the neck, then let the sides widen into shoulders and go down to a flat bottom with round corners.
Step 6: The lid
On top of the jar neck, draw a wide, short rounded rectangle for the lid. Make it a little wider than the neck.
Step 7: The water line
Draw a wavy line across the jar from one side to the other. This shows where the water comes up to.
Step 8: Two pickle slices
Inside the jar, below the wavy line, draw one circle. Draw a second circle a little lower and to the right so it overlaps the first, like two coins.
Step 9: Seeds and last bump
Add a few tiny dots inside each slice for seeds. Then add one more tiny dot near the bottom left of the pickle.
All done!
Erase the guide shapes, go over your lines, then color it in.
Finished your pickle? Keep the pencils out and learn how to draw a peanut or how to draw a rice cooker next.
Tips for drawing a pickle
- Do not make the pickle's outline smooth. Wiggle your pencil a little as you draw, and the bumps will make it look like a real pickle.
- Draw the two eyes at the same height, then put the smile right between them. If it feels tricky, lightly sketch two guide dots first.
- For the pickle slices in the jar, draw the first circle, then let the second one overlap it. Stop the second line when it reaches the first circle.
Free pickle coloring page
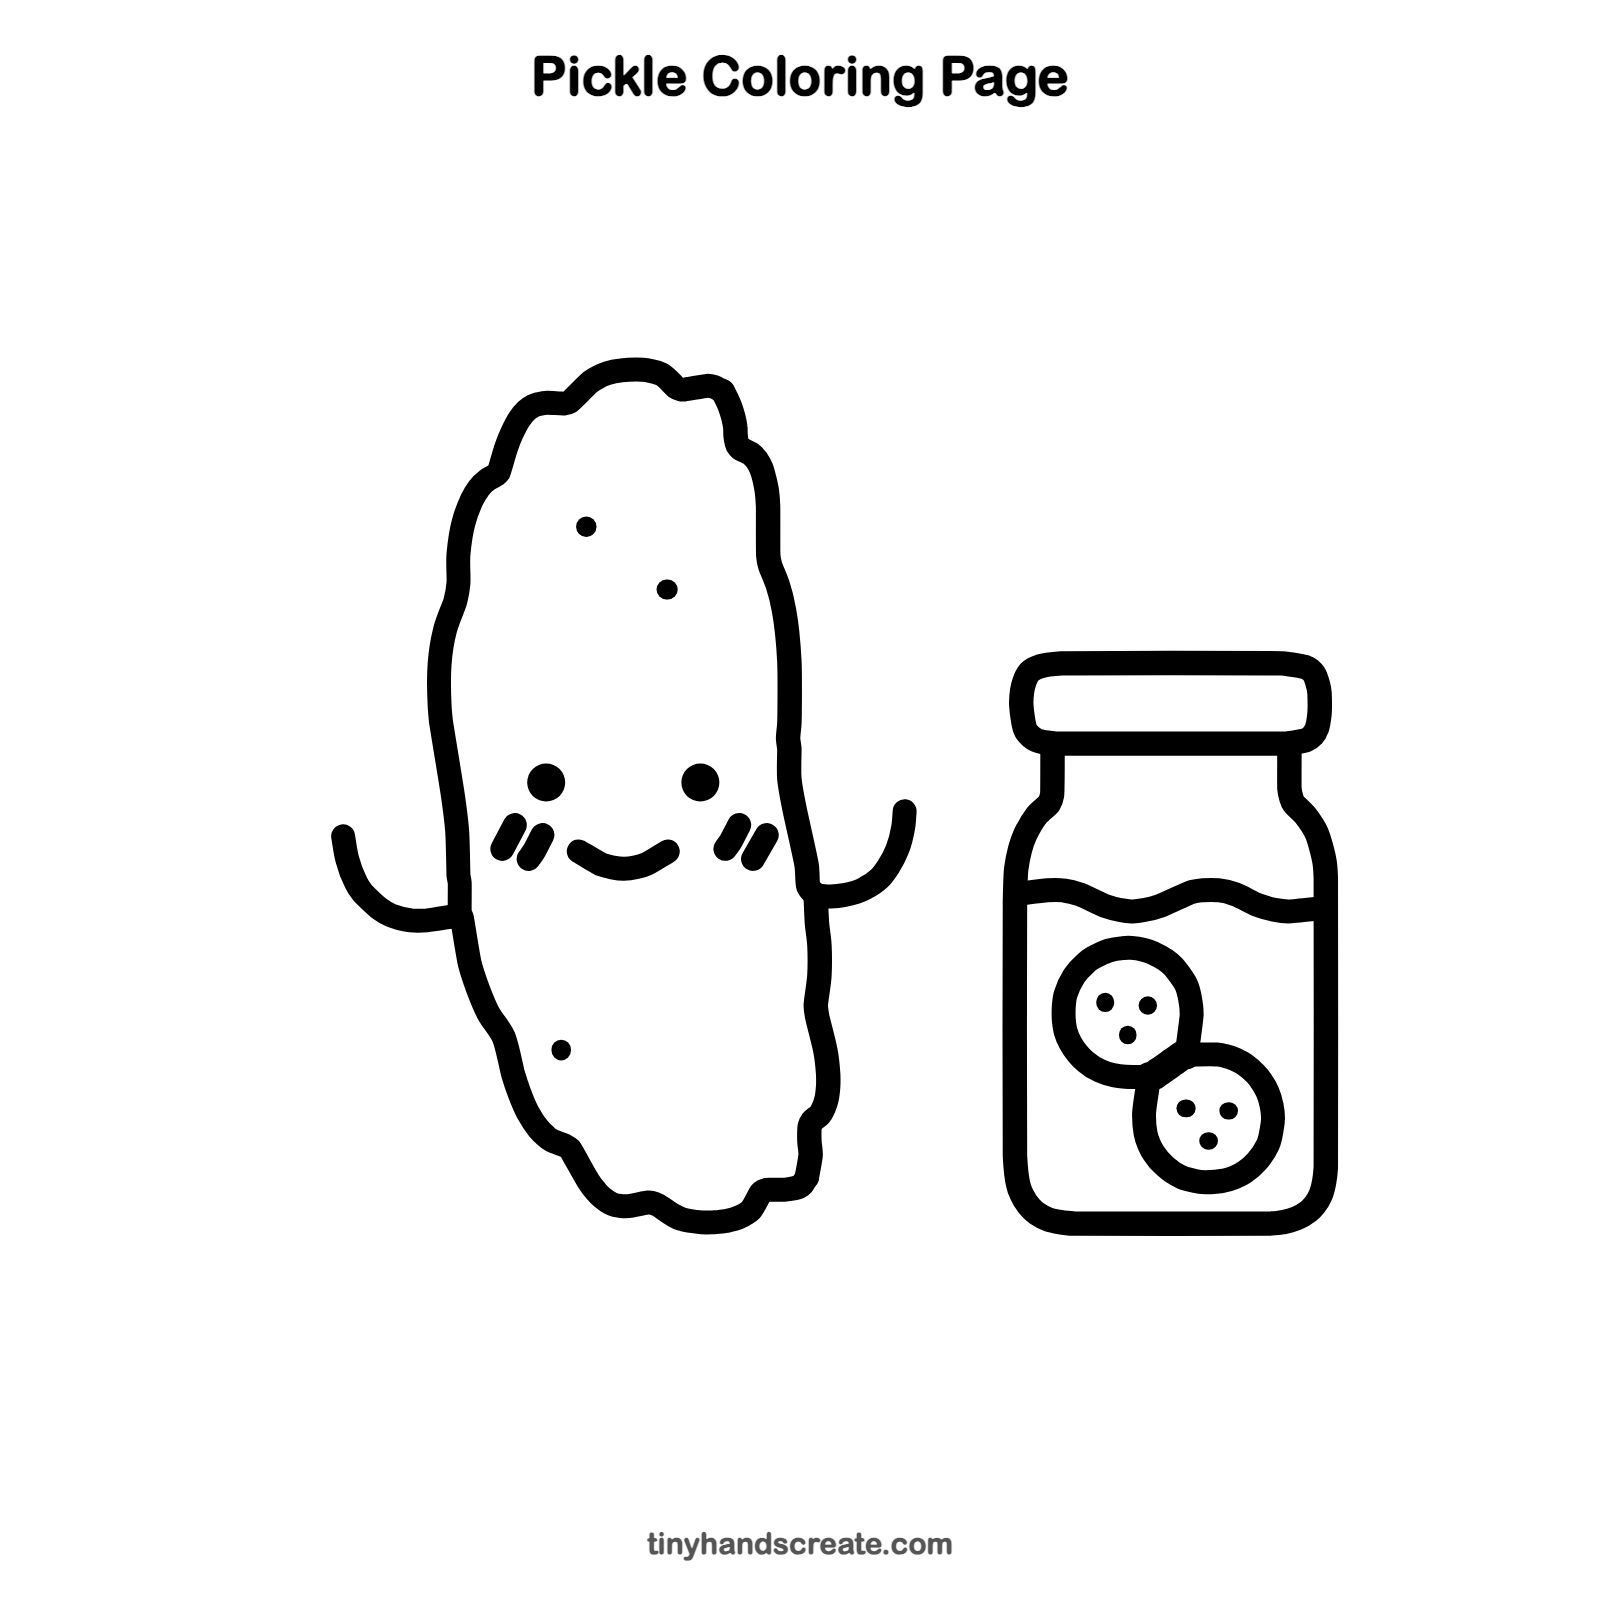
Want to go straight to coloring? Open this pickle coloring page at full size and print it. It is the same drawing you just learned, with clean lines ready for crayons or markers.
How to color your pickle drawing
Color the pickle bright green with a few darker green dots, and the jar water a pale yellow-green. For a creative twist, give the pickle a party hat or color the slices in rainbow stripes.
Pickle fun fact for kids
Pickles are cucumbers that have soaked in salty or sour liquid called brine. People have been pickling cucumbers for thousands of years, long before refrigerators, to keep them good to eat for a long time.
Questions about drawing a pickle
What shapes do I need to draw a pickle?
You need a tall bumpy oval for the body, two curved lines for arms and a few dots and short lines for the face. The jar is a rounded shape with a narrow neck, and the lid is a short rounded rectangle on top.
How do I make my pickle look cuter?
Add the little cheek lines beside the smile and curl the ends of the arms up so it looks like it is waving. Keep the eyes the same size and at the same height.
How do I draw the jar so it looks like it has water in it?
Draw a wavy line across the jar for the water, and put the pickle slices below it. The slices showing inside make the jar look full.