How to Draw a Sandwich Cookie (Easy Step by Step)
This post contains affiliate links. As an Amazon Associate I earn from qualifying purchases.
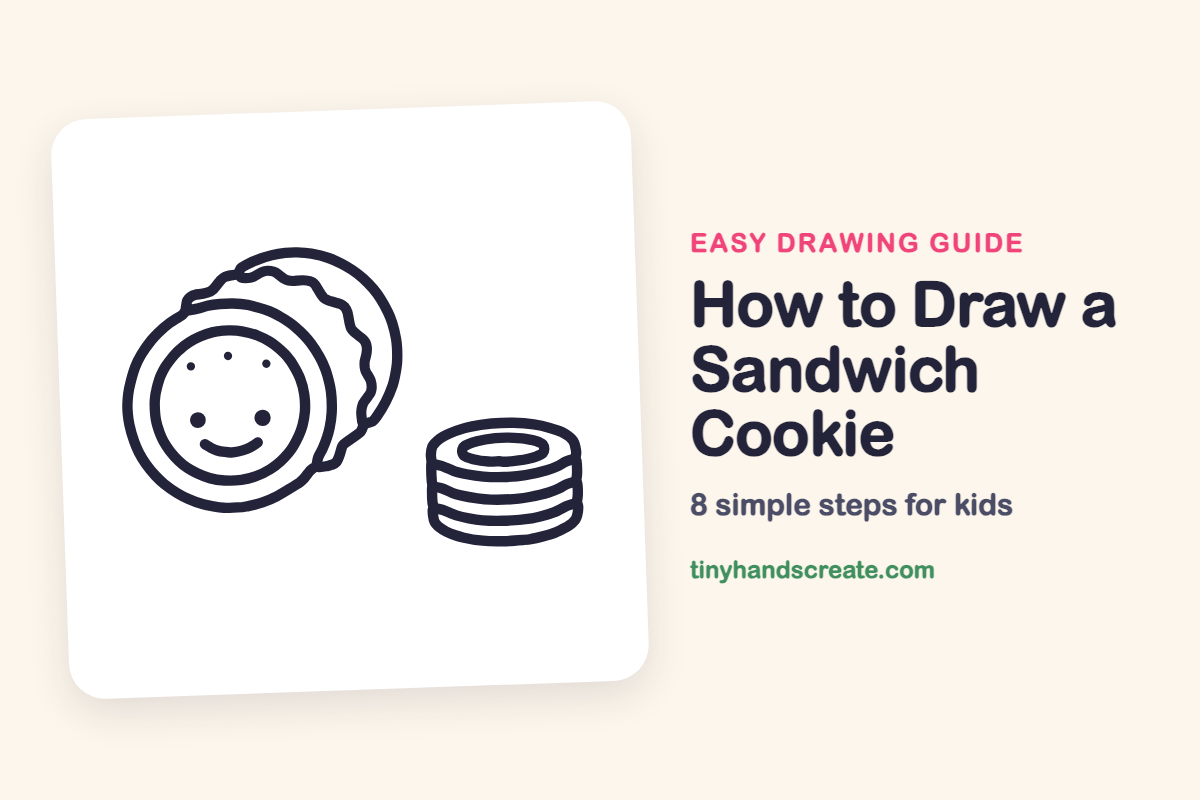
This drawing shows a happy sandwich cookie with a smiling face, sitting next to a neat stack of cookies. It is built from circles, ovals, and a wavy line, so it is a gentle way to practice drawing round shapes. Kids can finish it quickly and then make up faces of their own.
- Easy
- 10 minutes
- 8 steps
You need: paper, a pencil, an eraser, and crayons or markers for coloring.
Start drawing

In this article (7 sections)
How to draw a sandwich cookie step by step
How to Draw a Sandwich Cookie · tinyhandscreate.com
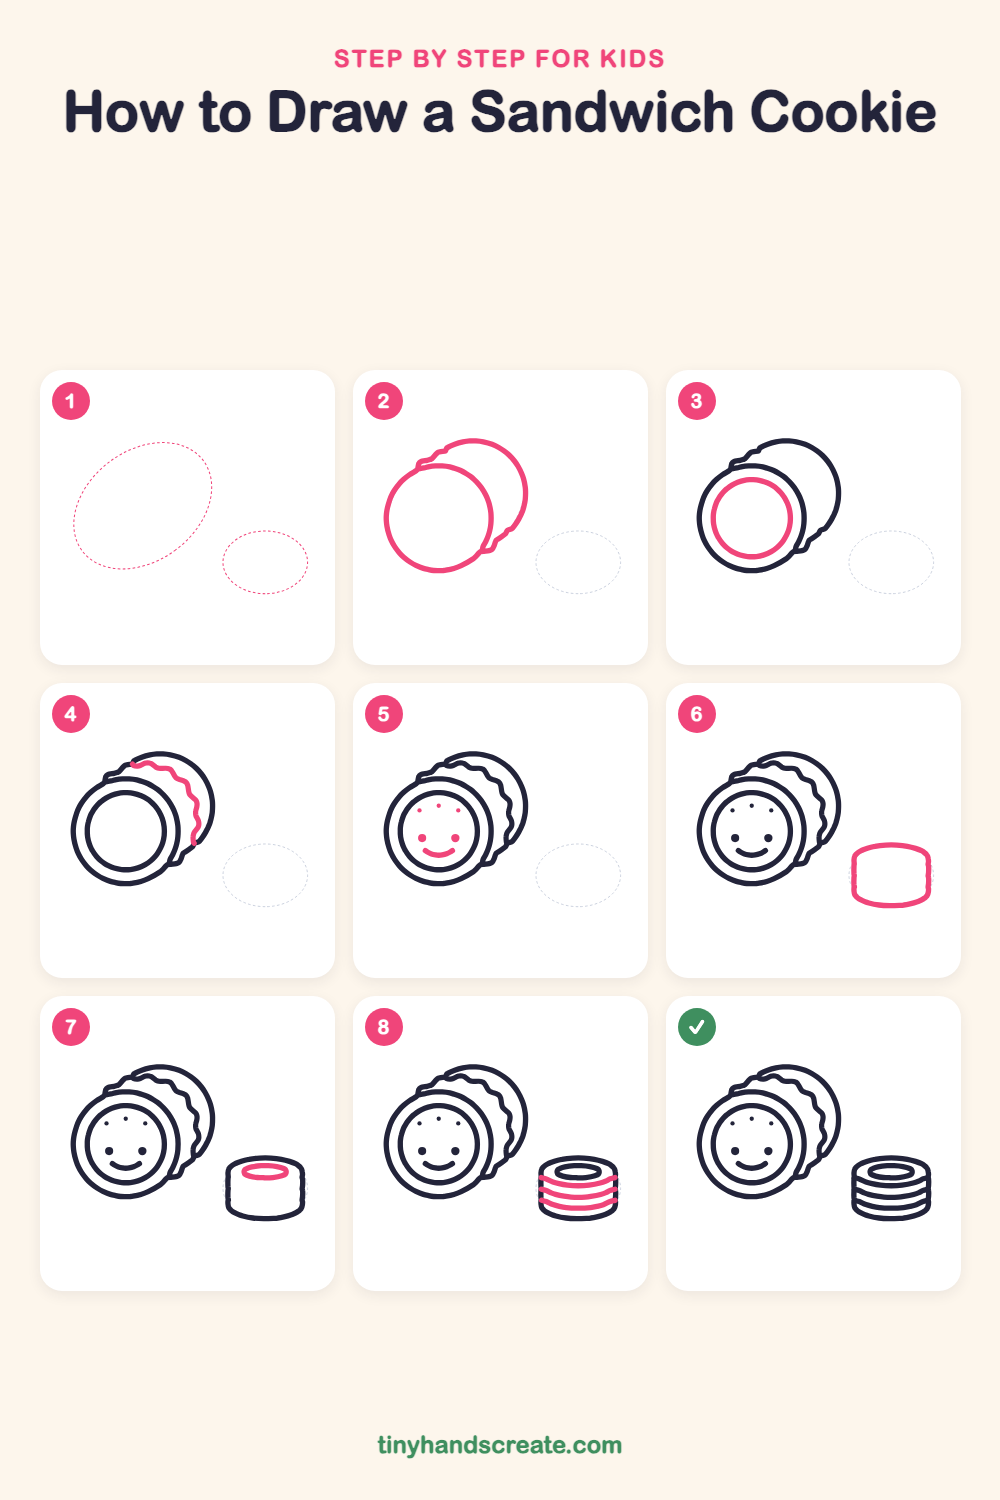
Step 1: Guide shapes
Lightly sketch these 2 ovals. They only show where the big parts go, so press softly. You will erase them at the end.
Step 2: Two overlapping cookies
Draw a big circle for the front cookie. Then draw a second circle peeking out behind it on the upper right, and give the top left a little wavy bump where the two cookies meet.
Step 3: The inner circle
Inside the front cookie, draw a smaller circle that leaves an even gap all the way around. This is the center of the cookie.
Step 4: The wavy cookie edge
On the back cookie, start near the top and draw a wiggly, bumpy line that curves down along the front cookie. Stop where the back cookie's round edge meets the front cookie.
Step 5: The smiling face
Draw two round dots for eyes and a curved smile underneath. Add three tiny dots in an arch above the eyes for sprinkles.
Step 6: The cookie stack shape
To the right, draw a short, wide can shape. Give it a gently curved line on top and a curved line along the bottom, joined by two straight sides.
Step 7: The top ring
Inside the top of the stack, draw one small, flat oval in the middle. It makes the top of the cookie look like a ring.
Step 8: The cookie layers
Draw three gently curved lines across the stack, one below the other. Make them bend downward in the middle, like the bottom of the stack.
All done!
Erase the guide shapes, go over your lines, then color it in.
Finished your sandwich cookie? Keep the pencils out and learn how to draw a rainbow cake slice or how to draw a snow cone next.
Tips for drawing a sandwich cookie
- Draw the front cookie circle first and lightly, then tuck the second circle behind it so the two cookies overlap.
- The wavy edge is the trickiest part. Make small, even bumps and slow your hand down at each curve.
- For the stack, make the three layer lines curve the same way as the bottom of the stack so the cookies look round.
Free sandwich cookie coloring page
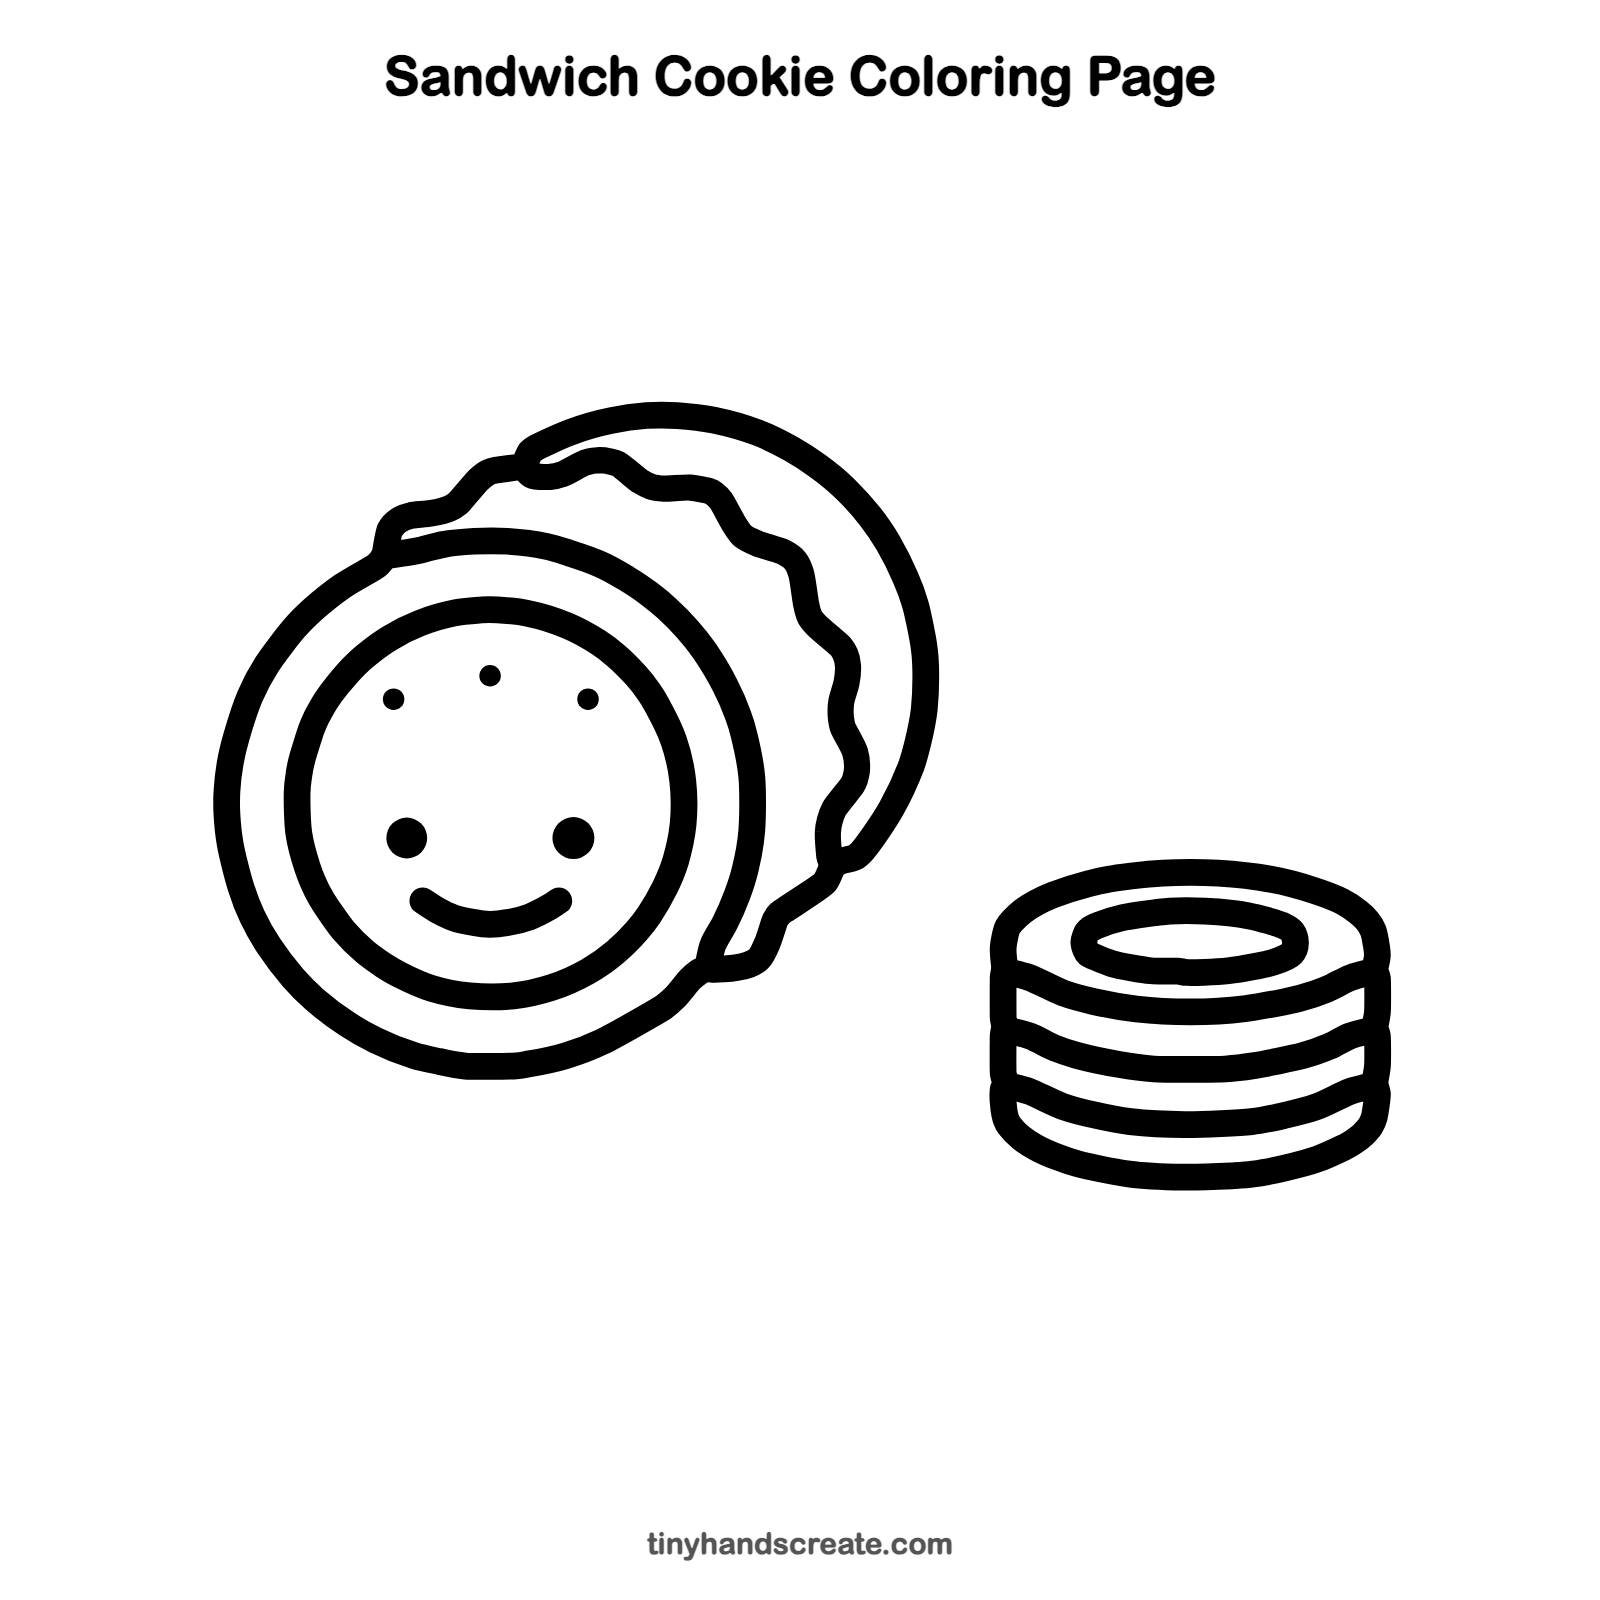
Want to go straight to coloring? Open this sandwich cookie coloring page at full size and print it. It is the same drawing you just learned, with clean lines ready for crayons or markers.
How to color your sandwich cookie drawing
Try golden tan for the cookie edges, chocolate brown for the center circles, and cream for the layers in the stack. For a creative twist, give the cookie a few colorful sprinkles.
Sandwich cookie fun fact for kids
Oreo, one of the best-known sandwich cookies, first went on sale in 1912, and many kids twist the two halves apart to lick the creamy filling first.
Questions about drawing a sandwich cookie
What shapes do I need to draw a sandwich cookie?
You need circles for the cookies and a can shape for the stack. A wavy line adds the bumpy edge of the cookie behind, and curved lines make the layers.
How do I make my cookie look cuter?
Put the eyes low and wide apart, then add a curved smile below them. A few small sprinkle dots above the face make it look extra sweet.
How do I draw a stack of cookies?
Start with a short, wide can shape, then add a small oval on top. Finish with three curved lines across the sides, all bending the same way.