How to Draw a Paddle Steamer (Easy Step by Step)
This post contains affiliate links. As an Amazon Associate I earn from qualifying purchases.
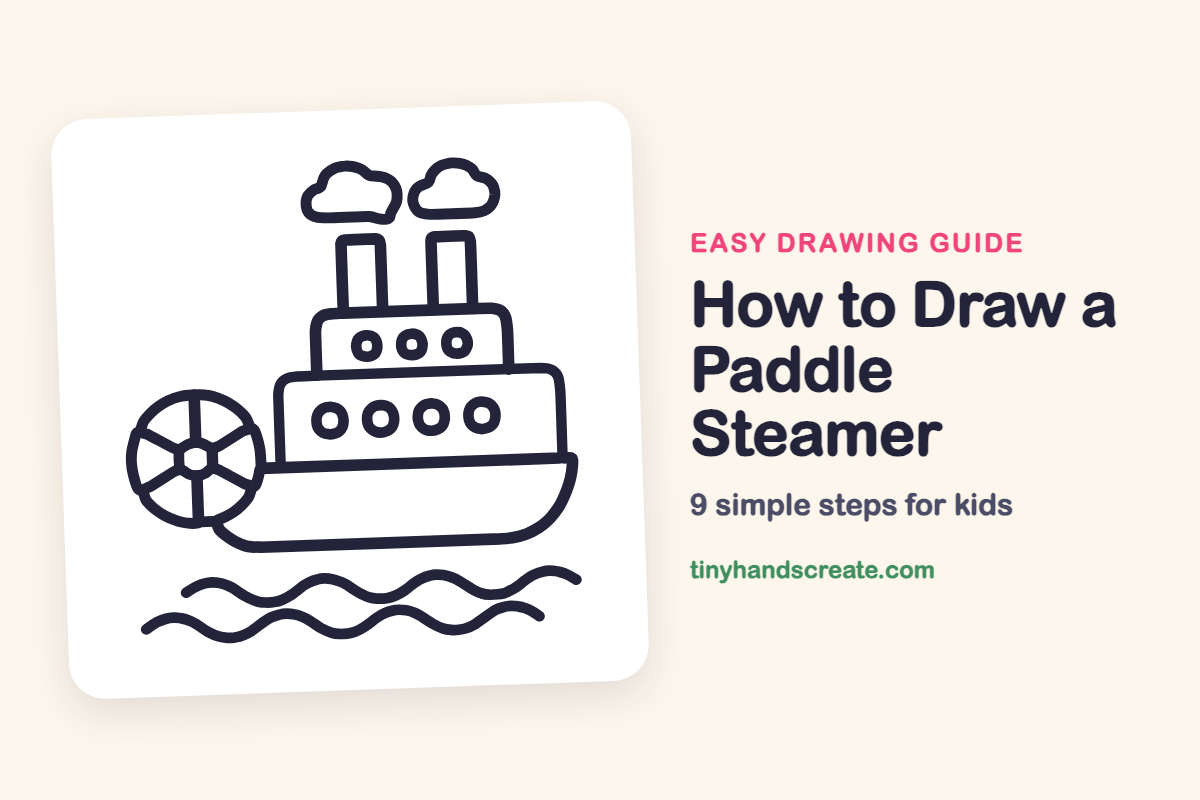
A paddle steamer is a cheerful boat with a big wheel on its side, two tall smokestacks and rows of round windows. You can build it from simple shapes: rectangles for the cabins and smokestacks, circles for the wheel and windows, and wiggly lines for the water. Each step adds one part, so even a first-time artist can finish a boat that looks ready to sail.
- Medium
- 15 minutes
- 9 steps
You need: paper, a pencil, an eraser, and crayons or markers for coloring.
Start drawing
In this article (7 sections)
How to draw a paddle steamer step by step
How to Draw a Paddle Steamer · tinyhandscreate.com
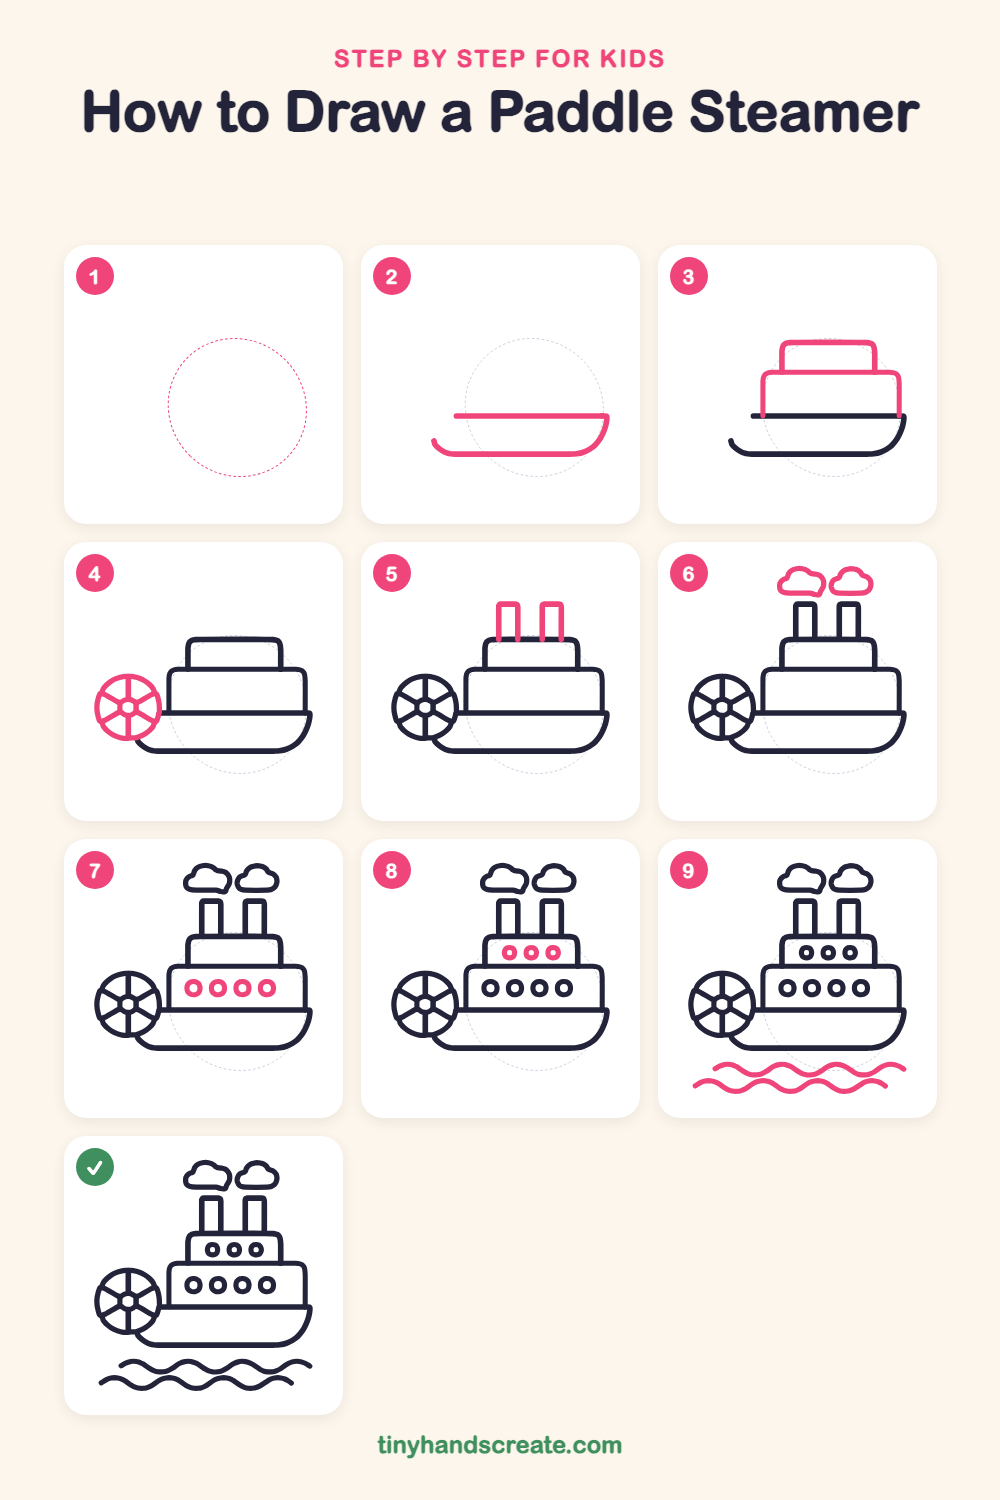
Step 1: Guide shapes
Lightly sketch this oval. It only shows where the big parts go, so press softly. You will erase it at the end.
Step 2: The hull
Start with the boat's bottom. Draw a flat line across, then a long curved bowl shape under it, like a smiling bathtub, with the right side swooping up to meet the line and the left end curling up in a little hook.
Step 3: The cabins
Draw a wide rounded rectangle sitting on top of the hull line. Then add a smaller rounded rectangle on top of that, like building blocks.
Step 4: The paddle wheel
On the left side of the boat, draw a big circle that overlaps the back of the hull. Draw a small circle in the middle, then six spokes going out from it like a bicycle wheel.
Step 5: Two smokestacks
Draw two tall, narrow rectangles standing side by side on top of the small cabin. Leave the bottoms open so they sit on the cabin roof.
Step 6: Puffy smoke clouds
Above each smokestack, draw a bumpy cloud shape with a flat bottom and round bumps on top.
Step 7: Lower round windows
Draw four small circles in a row across the big cabin, spaced evenly. Add a tiny circle inside each one.
Step 8: Upper round windows
Draw three circles in a row on the smaller top cabin. Make them a little smaller than the lower windows, with a tiny circle inside each one.
Step 9: Wavy water
Under the boat, draw two long wiggly lines, like gentle snakes. Make the lower one start a little farther left than the top one.
All done!
Erase the guide shapes, go over your lines, then color it in.
Finished your paddle steamer? Keep the pencils out and learn how to draw a motor scooter or how to draw a jet ski next.
Tips for drawing a paddle steamer
- Draw the wheel circle as lightly as you can first. It overlaps the back of the boat, so a light circle lets you fix it before you press hard.
- Draw one wheel spoke straight up and down first, then add the others between them so all six are evenly spaced.
- Space the windows by drawing the first and last circle, then putting the middle ones between them. This keeps the row straight and even.
Free paddle steamer coloring page
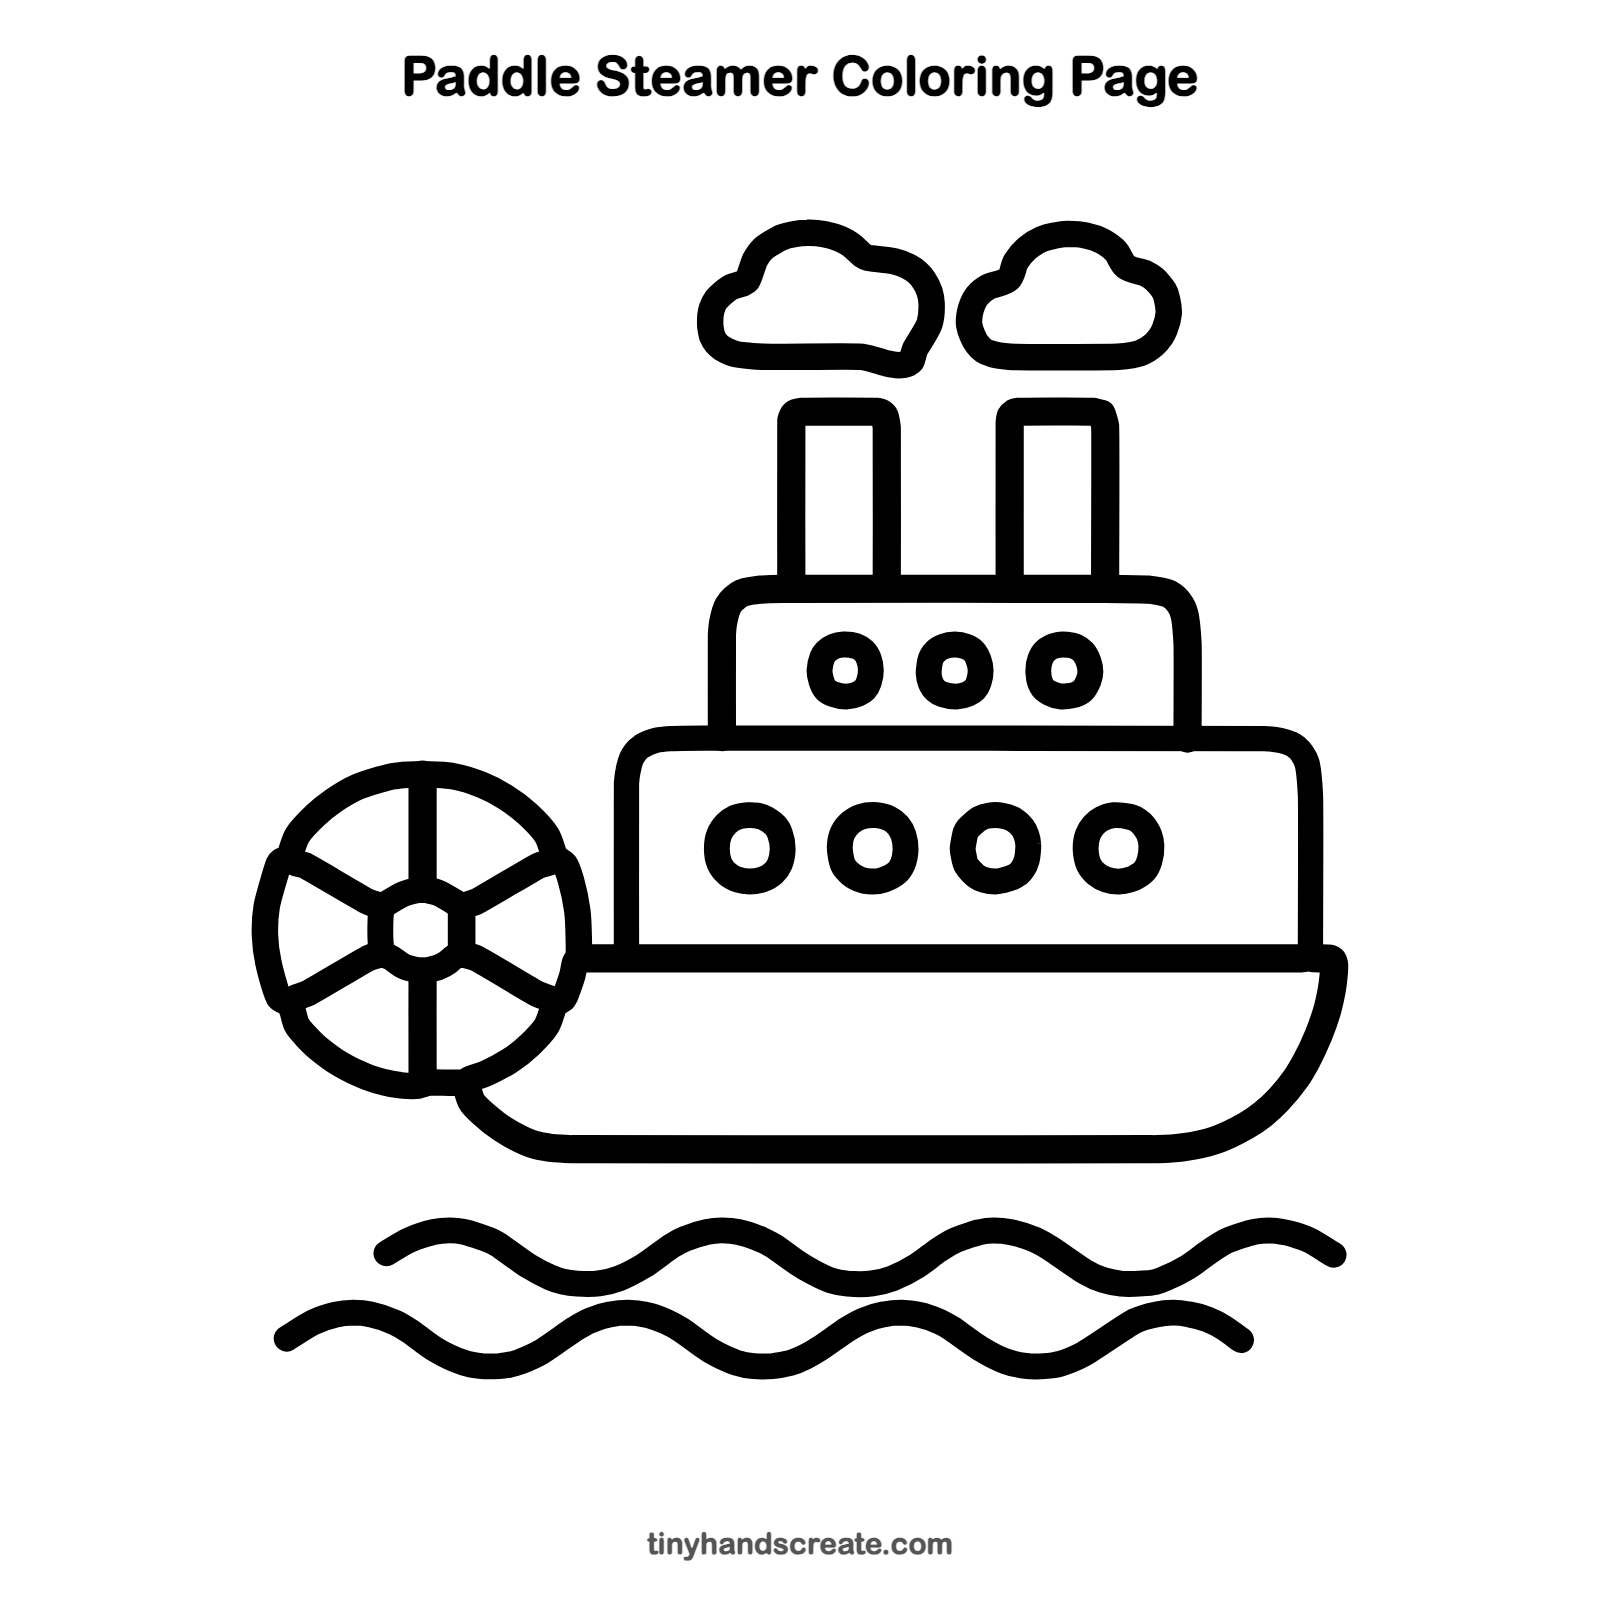
Want to go straight to coloring? Open this paddle steamer coloring page at full size and print it. It is the same drawing you just learned, with clean lines ready for crayons or markers.
How to color your paddle steamer drawing
Try a red hull, white cabins with blue windows, and yellow wheel spokes, with gray smoke and two shades of blue for the waves. For a creative twist, draw tiny passengers waving from the windows.
Paddle steamer fun fact for kids
Paddle steamers moved by turning big wheels with paddles that pushed against the water. Many of them carried passengers and goods along rivers like the Mississippi.
Questions about drawing a paddle steamer
What shapes do I need to draw a paddle steamer?
You need rounded rectangles for the cabins, tall narrow rectangles for the smokestacks, circles for the wheel and windows, a bowl shape for the hull, bumpy clouds for the smoke, and wavy lines for the water.
How do I draw a paddle wheel that looks round?
Draw a light circle first, then a small circle in the center. Add six spokes from the center out to the edge, and trace over the circle when you are happy with it.
How do I make my steamboat look like it is floating?
Draw the wavy lines just below the hull so the boat seems to rest on the water. You can add a few extra little waves on the sides for more movement.