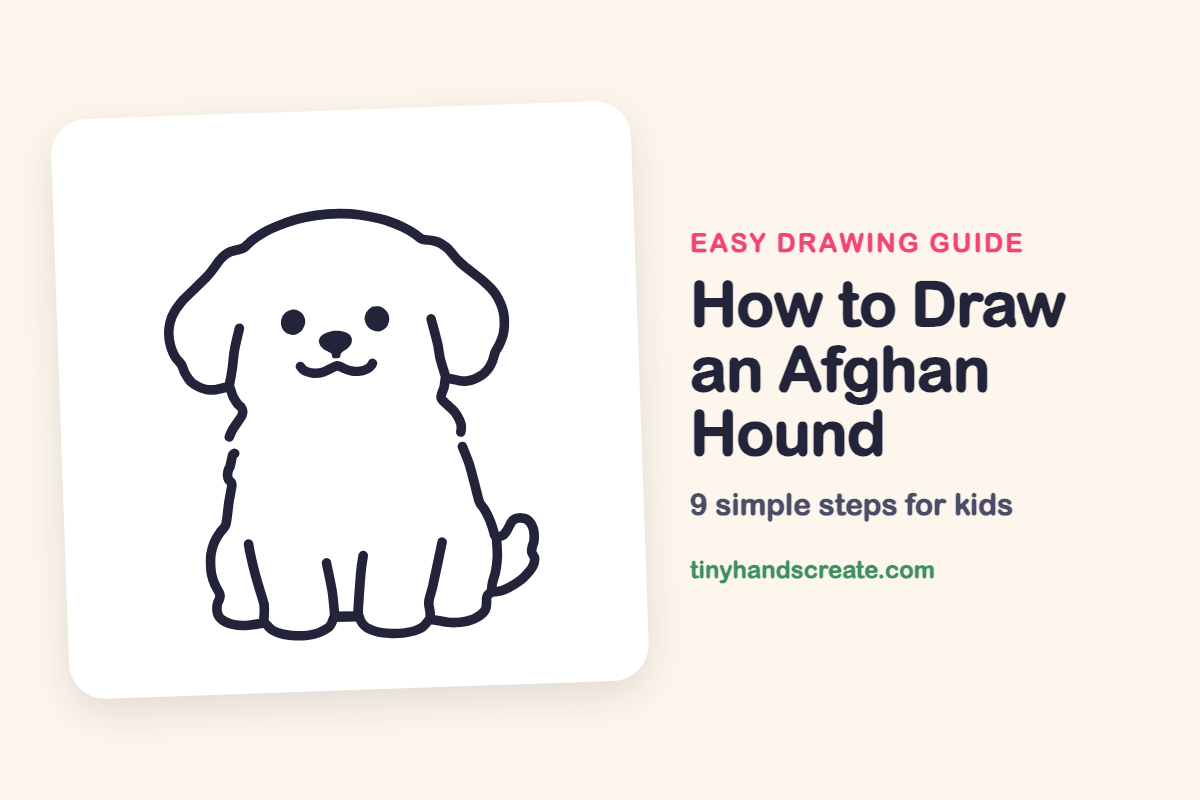
How to Draw an Afghan Hound (Easy Step by Step)
Learn to draw a cute sitting Afghan Hound with this easy step-by-step guide. You'll create its head with floppy ears, a rounded body, front legs with paws, and a curly tail.
- Follow easy steps to draw a cute sitting Afghan Hound.
- Learn to sketch its head, floppy ears, and gentle face.
- Construct the rounded body, front legs with paws, and curly tail.
- Achieve a friendly dog drawing with simple, guided instructions.
This post contains affiliate links. As an Amazon Associate I earn from qualifying purchases.
The Afghan hound is a tall, elegant dog with a gentle face. In this guide it is drawn as a cute sitting dog. You will draw a head with floppy ears, a rounded body, two front legs with paws, and a little curly tail. Go one step at a time and you will have a friendly dog.
- Easy
- 12 minutes
- 9 steps
You need: paper, a pencil, an eraser, and crayons or markers for coloring.
Start drawing


In this article (7 sections)
How to draw an Afghan hound step by step
How to Draw an Afghan Hound · tinyhandscreate.com
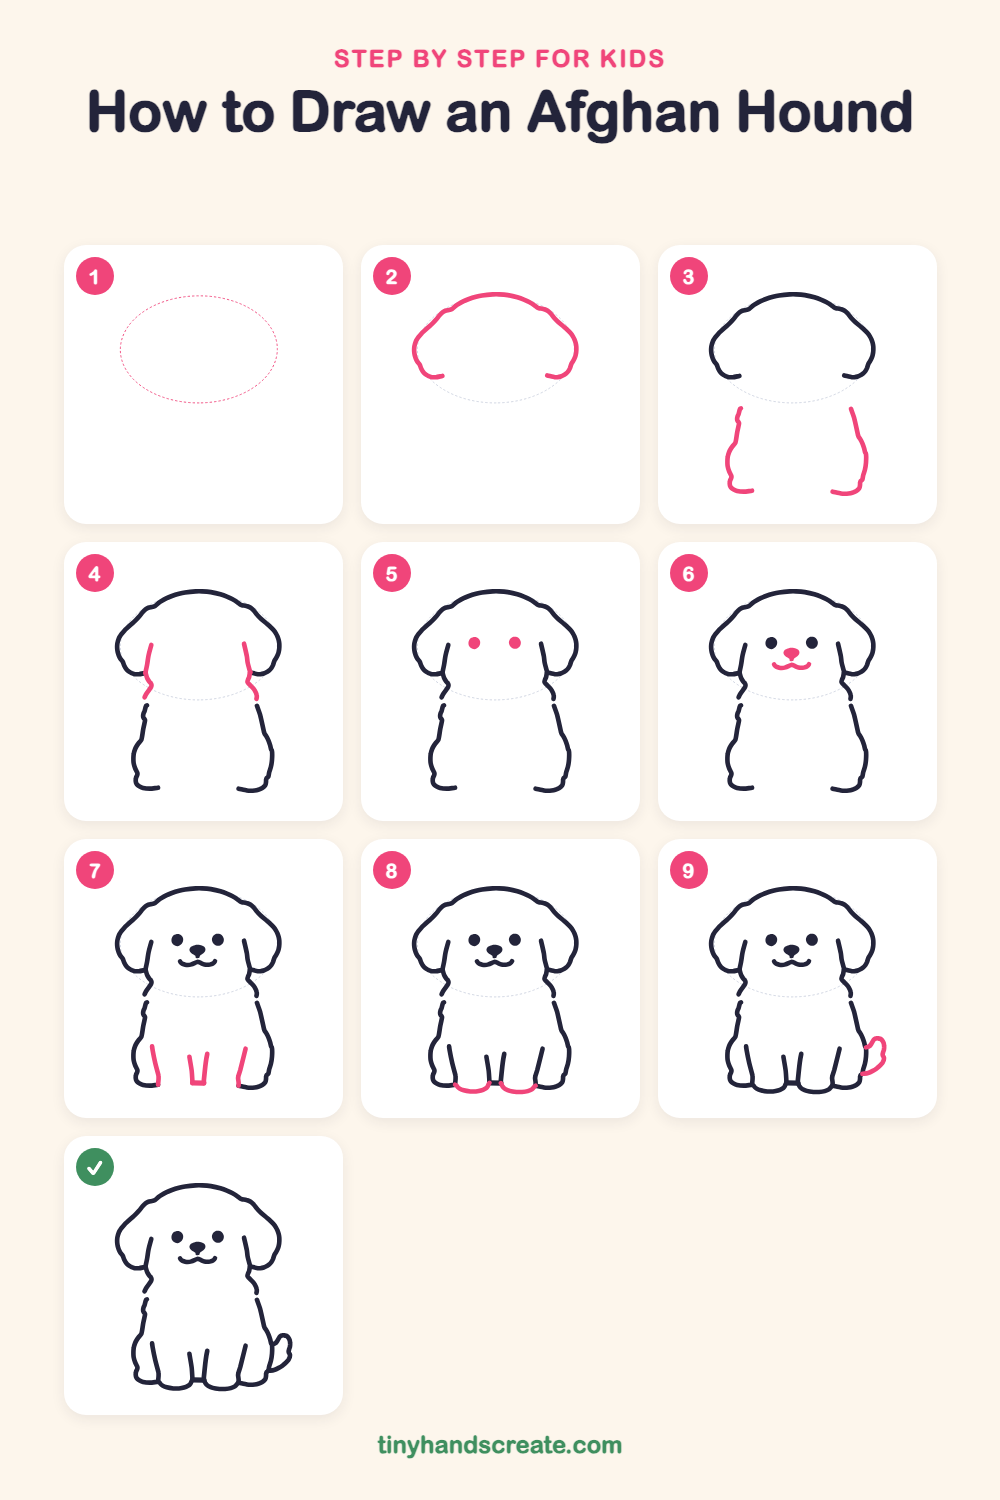
Step 1: Guide shapes
Lightly sketch this oval. It only shows where the big parts go, so press softly. You will erase it at the end.
Step 2: Head and floppy ears
Draw a curved line like a wide upside-down U for the top of the head. At each side, let it bump out and curl back in to make a floppy ear.
Step 3: The body sides
Below the head, leave a little gap and draw two long lines going down, one on the left and one on the right. Let each line curve out and finish with a small curl at the bottom for a back foot.
Step 4: Cheeks and neck
Draw a short wobbly line down from each ear toward the body. These lines join the head to the neck and make the cheeks.
Step 5: The eyes
Draw two round dots for eyes, side by side in the middle of the face. Make them the same size.
Step 6: Nose and smile
Draw a small rounded triangle for the nose between and below the eyes. Under it, add a little curvy smile that looks like a wide letter w.
Step 7: The front legs
At the bottom of the body, draw two slanted lines near the sides. Then draw a narrow upside-down U in the middle to make the space between the front legs.
Step 8: The paws
At the bottom of the front legs, draw two small rounded bumps for the paws. Each bump connects the lines of one leg.
Step 9: The little tail
On the right side, near the bottom of the body, draw a small curly tail that curls up like a little hook.
All done!
Erase the guide shapes, go over your lines, then color it in.
Finished your Afghan hound? Keep the pencils out and learn how to draw a fox or how to draw a hedgehog next.
Tips for drawing an Afghan hound
- Draw the top of the head and the floppy ears first. The rest of the dog is easier to place once you can see the head.
- Leave a small gap between the head and the body lines. The cheek lines in the next step fill it in.
- Draw the eyes the same size and keep them apart. Then add the nose and smile below them.
- Make the paws small rounded bumps that connect the leg lines.
Free Afghan hound coloring page
Want to go straight to coloring? Open this Afghan hound coloring page at full size and print it. It is the same drawing you just learned, with clean lines ready for crayons or markers.
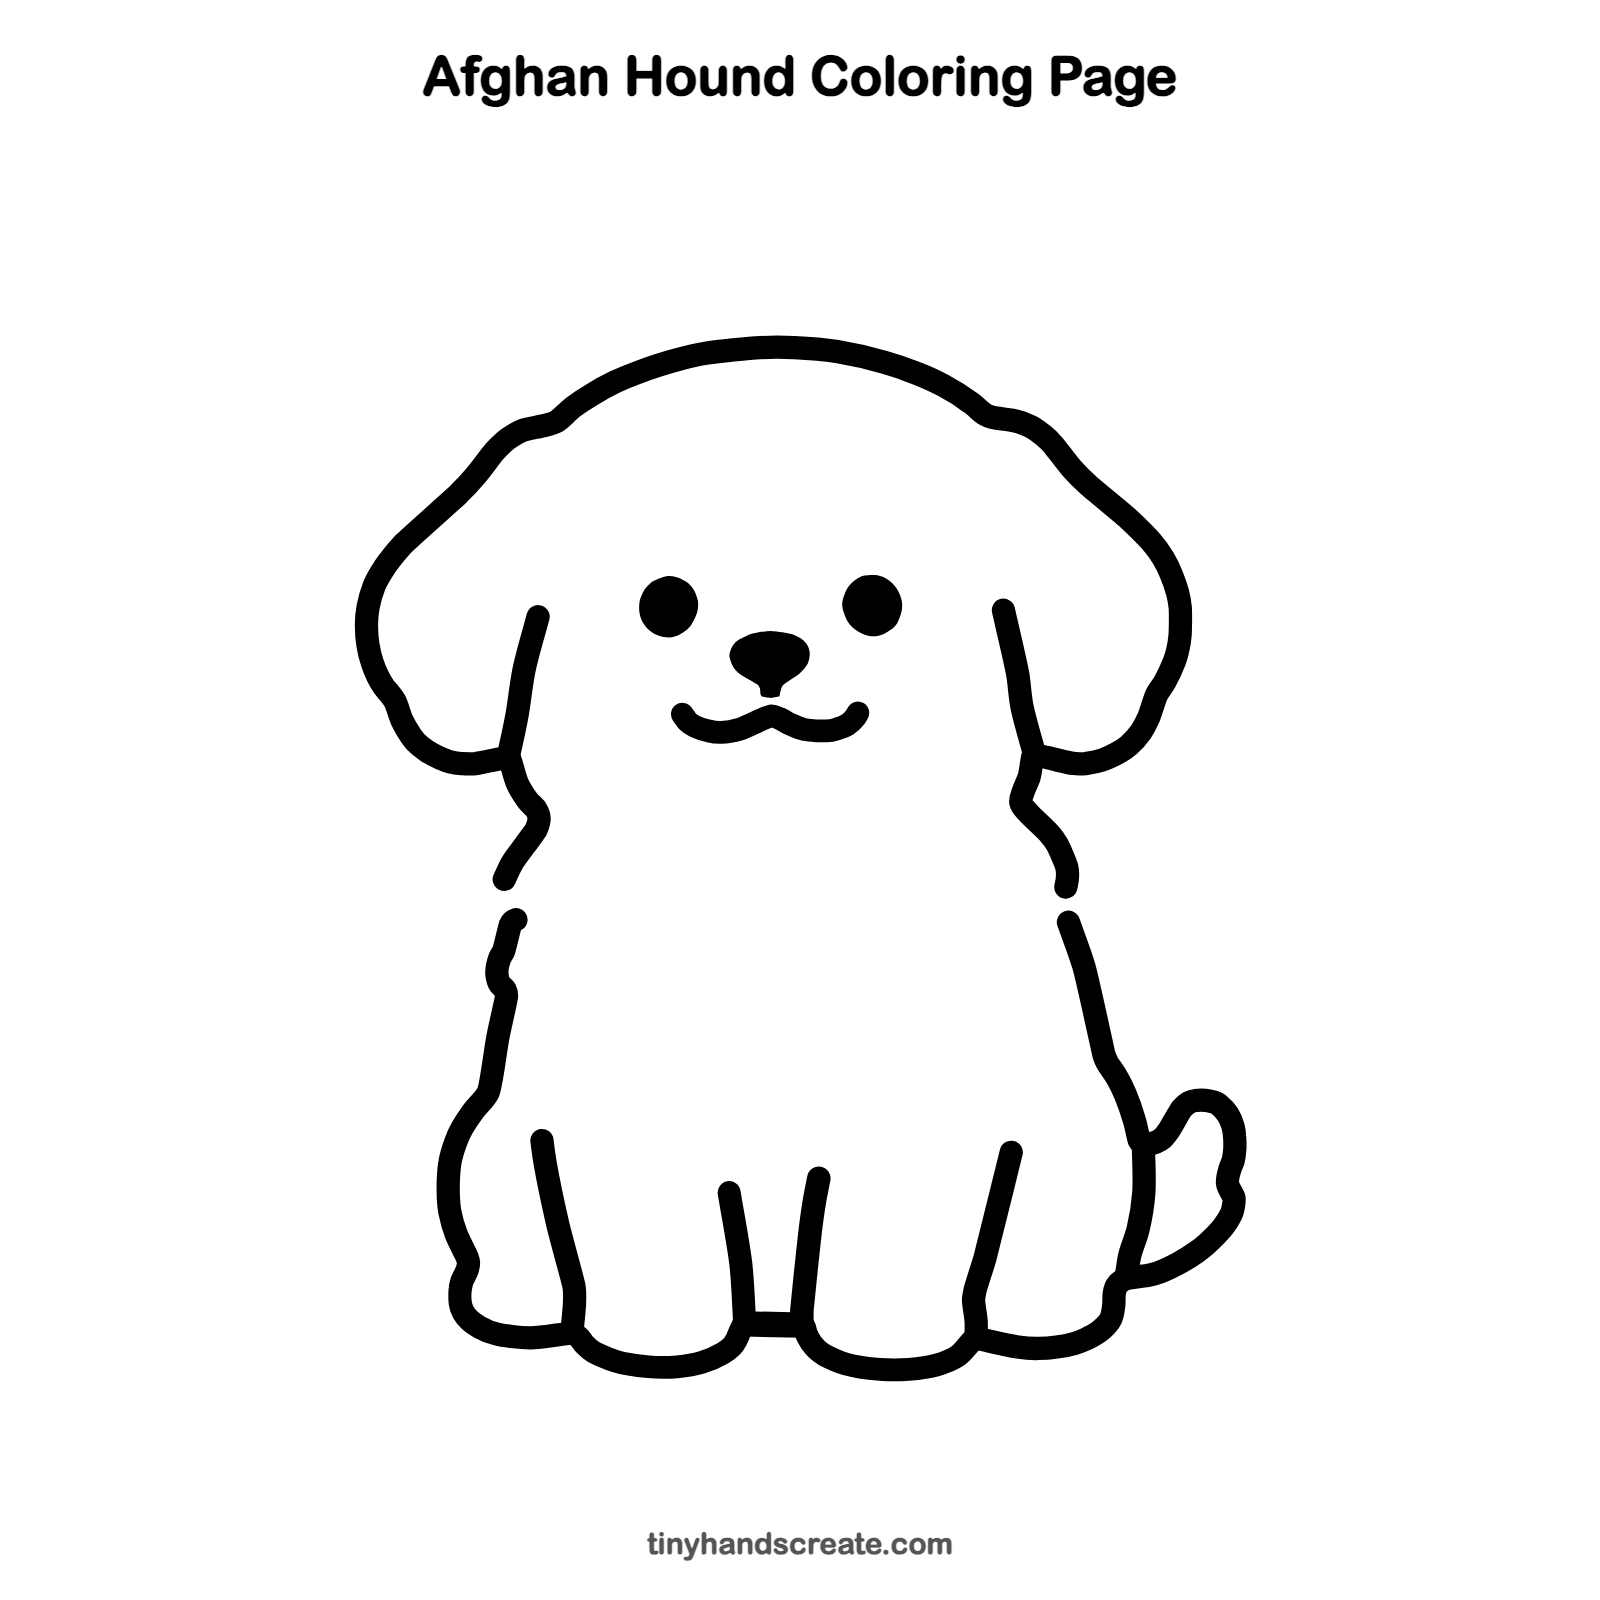
How to color your Afghan hound drawing
Try cream, golden tan, or soft gray for the fur, with darker brown for the ears and nose. You could also draw a tiny bow near one ear.
Afghan hound fun fact for kids
Afghan hounds are sighthounds, which means they were bred to hunt by watching for movement and then running fast. The breed comes from Afghanistan.
Questions about drawing an Afghan hound
What shapes do I need to draw an Afghan hound?
You need a wide curved line for the head and ears, two long curved lines for the body, and short lines for the legs. Two dots and a small rounded triangle finish the face.
How do I make my Afghan hound look cuter?
Keep the eyes round and apart, and add a small curvy smile under the nose. Big floppy ears also add to the sweet look.
How do I draw the paws?
Draw a small rounded bump at the bottom of each front leg. Connect each bump to the two leg lines above it.