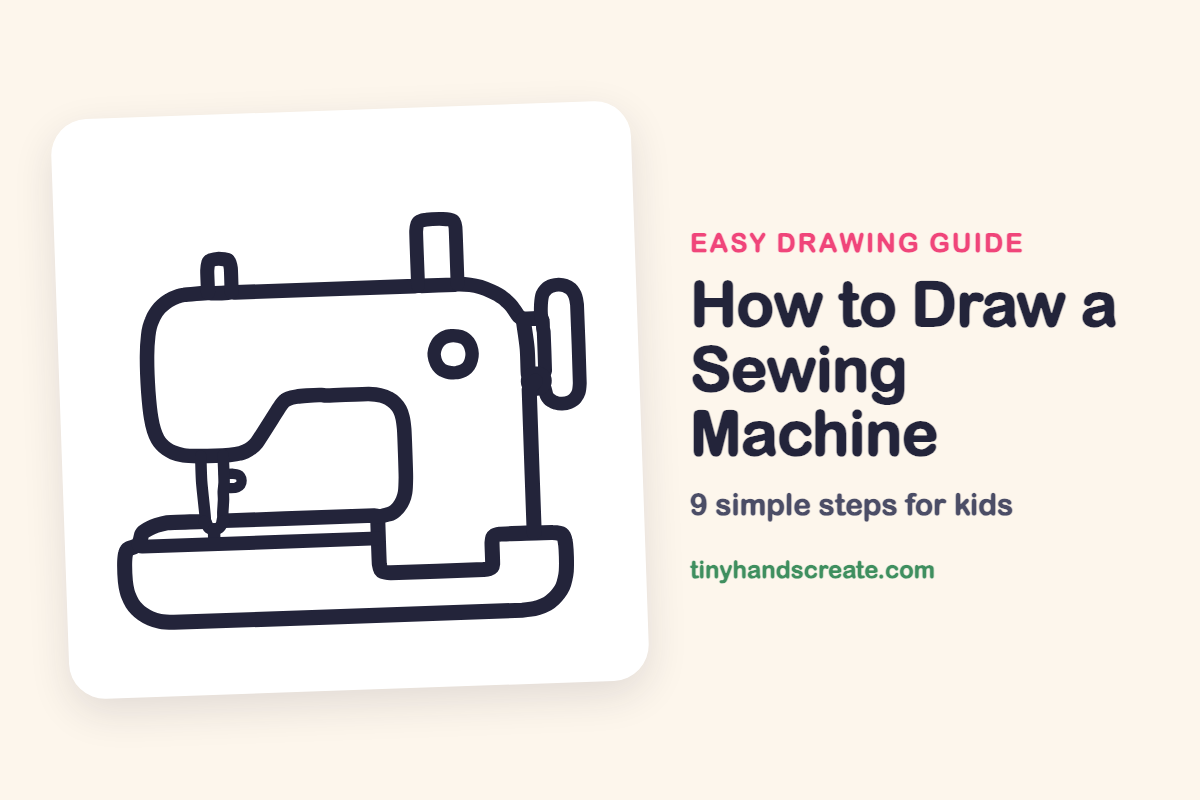
How to Draw a Sewing Machine (Easy Step by Step)
Learn to draw a sewing machine step-by-step using simple shapes like a flat base, curved body, wheel, dial, and thread posts. You'll create a complete machine ready to stitch.
- Start your drawing with the sewing machine's long flat base.
- Form the main body using simple curved shapes.
- Add details like the wheel, dial, and thread posts.
- Incorporate a circle and a pointy needle for realism.
This post contains affiliate links. As an Amazon Associate I earn from qualifying purchases.
A sewing machine looks fancy, but it is built from simple rounded shapes, a circle, and one pointy needle. This guide starts with the long flat base and the curved body, then adds the wheel, dial, and thread posts. By the end you will have a machine ready to stitch.
- Medium
- 15 minutes
- 9 steps
You need: paper, a pencil, an eraser, and crayons or markers for coloring.
Start drawing


In this article (7 sections)
How to draw a sewing machine step by step
How to Draw a Sewing Machine · tinyhandscreate.com
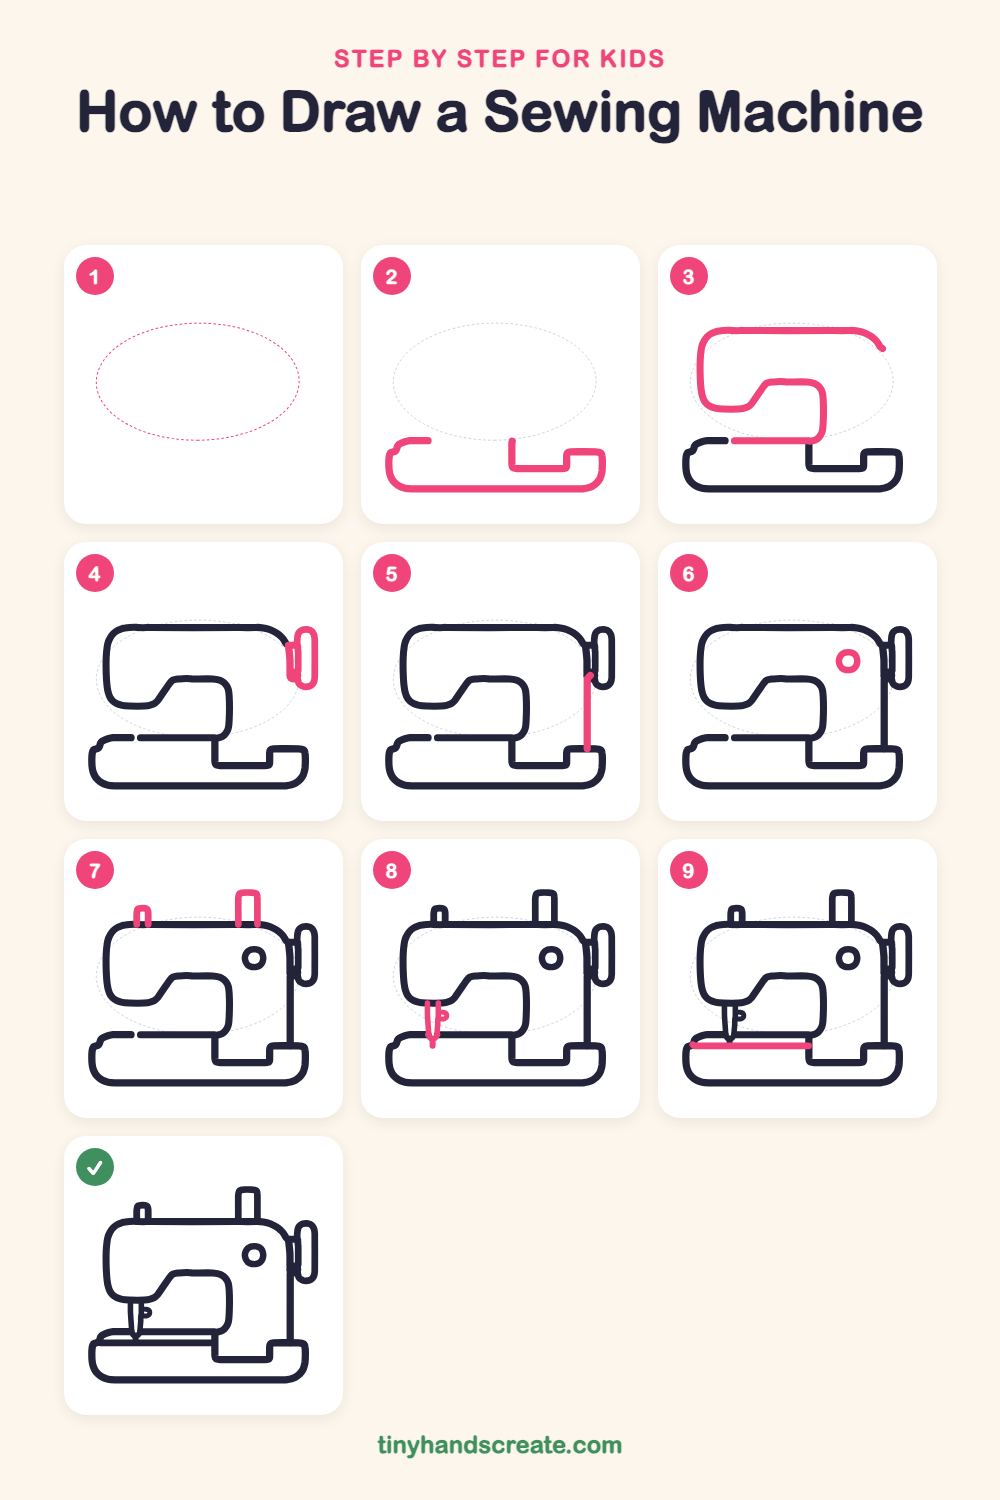
Step 1: Guide shapes
Lightly sketch this oval. It only shows where the big parts go, so press softly. You will erase it at the end.
Step 2: The base
Draw a long rounded rectangle along the bottom for the flat base. On the right, make a small square step that goes up, and leave a little gap in the top edge on the left.
Step 3: Body and arm
Start at the bottom left and draw a big rounded loop that goes up, across the top, and curves down toward the right, but stop before it closes. Then draw the arm shape inside with a bump on the left, a flat top, and a rounded corner on the right, and join it to a line along the bottom of the body.
Step 4: The balance wheel
On the upper right of the machine, draw a tall, skinny oval like a pill. Tuck its left side up against the end of the curved top.
Step 5: Back of the body
Draw a straight line down the right side of the body, from the bottom of the wheel to the base. This closes up the back of the machine.
Step 6: The dial
Near the upper right of the body, draw one small circle for the dial.
Step 7: Thread posts
On the top of the machine, draw a tall rectangle without a bottom for the spool pin on the right. Add a smaller, shorter one on the left for the thread guide.
Step 8: The needle
Under the left end of the arm, draw two lines that slope together into a sharp point, like a long skinny triangle. Add a tiny curl on the right side for the needle holder.
Step 9: The needle plate
Draw a straight line across the top of the base, from the left end to where the step on the right begins. This is the flat spot where the fabric slides under the needle.
All done!
Erase the guide shapes, go over your lines, then color it in.
Finished your sewing machine? Keep the pencils out and learn how to draw a rocket or how to draw a shooting star next.
Tips for drawing a sewing machine
- Draw the body in one smooth loop and round the corners on purpose. Pretend you are tracing around a bar of soap.
- The needle is the trickiest part. Start with two lines that lean toward each other and meet at the point.
- Keep the thread posts straight up. Use the top of the body as your ruler, and make the right one taller than the left.
Free sewing machine coloring page
Want to go straight to coloring? Open this sewing machine coloring page at full size and print it. It is the same drawing you just learned, with clean lines ready for crayons or markers.
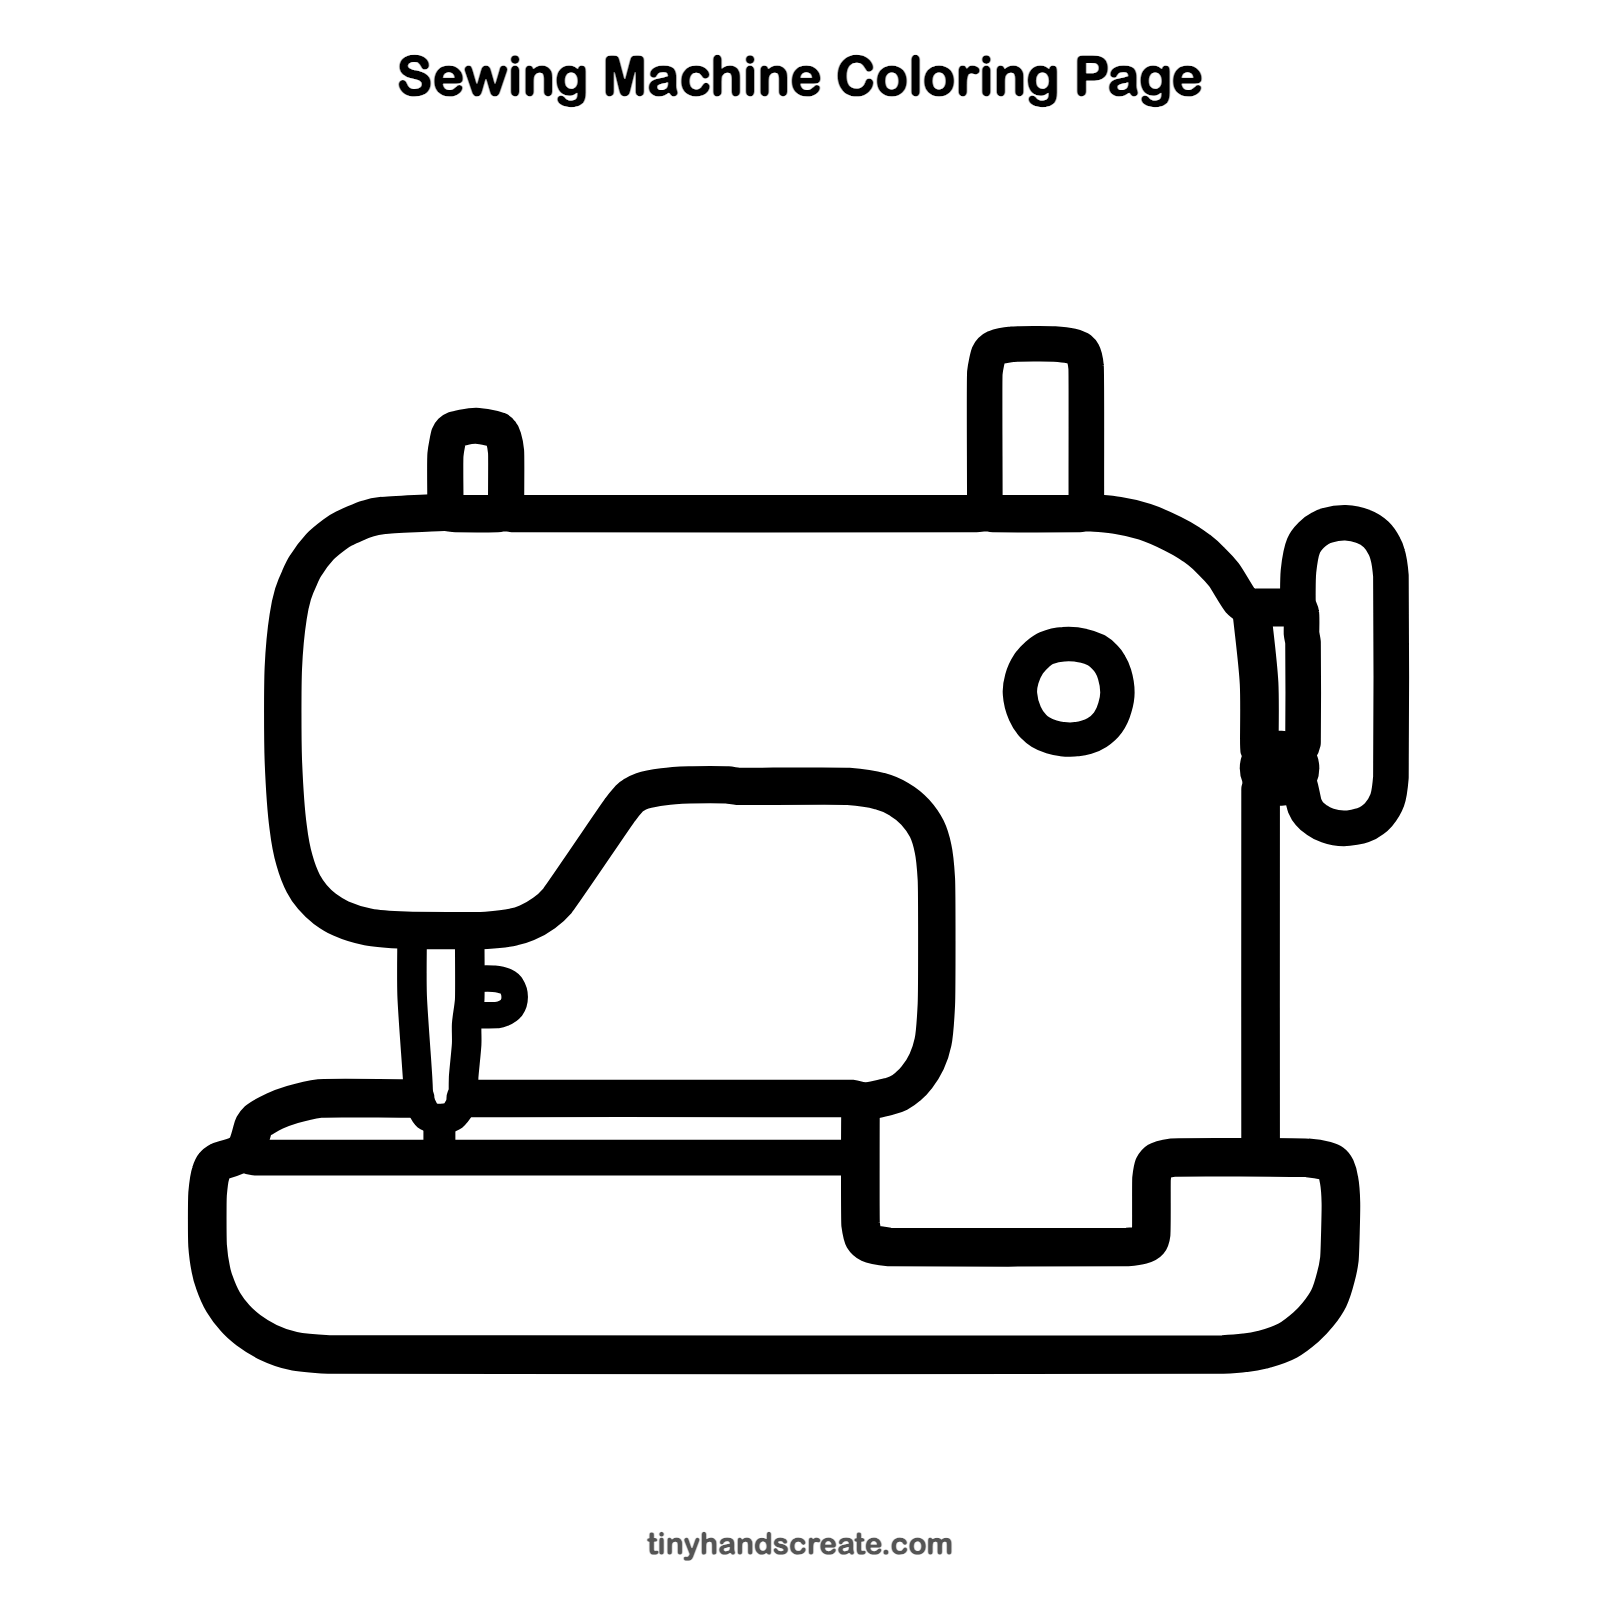
How to color your sewing machine drawing
Try a classic cream and teal machine with a red dial and a bright pink wheel. Use a darker color for the needle so it stands out.
Sewing machine fun fact for kids
Elias Howe, an American inventor, received a patent for a sewing machine with a needle that had the eye near the point in 1846.
Questions about drawing a sewing machine
What shapes do I need to draw a sewing machine?
You need a rounded rectangle for the base, a big rounded loop for the body, a tall oval for the wheel, one small circle for the dial, and two skinny lines that meet in a point for the needle.
How do I make my sewing machine look neat?
Draw the big base and body first with light lines, then add the small parts. Rounded corners and straight posts make it look tidy.
What is the easiest part to start with?
Start with the long rounded base along the bottom. It is one wide shape, and it gives you a place to build the rest of the machine on top.