How to Draw a Quokka (Easy Step by Step)
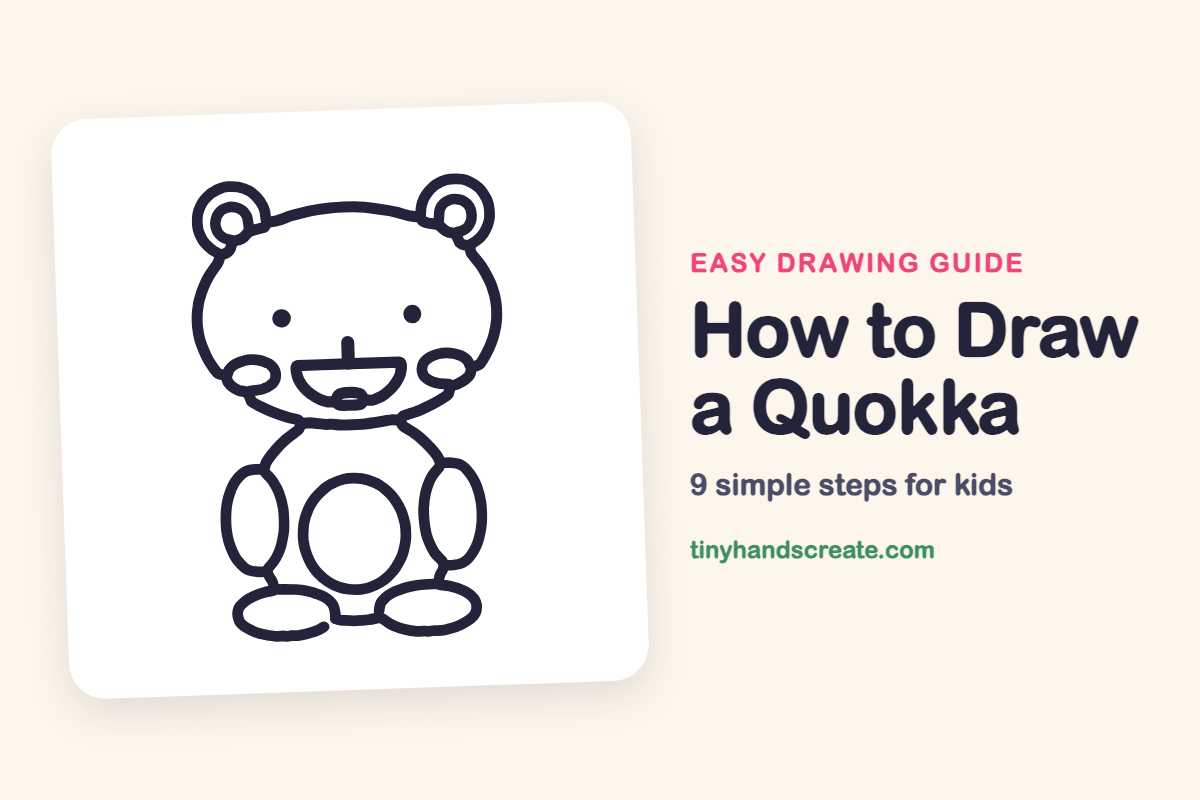
The quokka is known for its friendly, smiling face, and this drawing keeps that smile front and center. You only need ovals and circles: a big oval head, two round ears, a small nose, an oval tummy, and tall and flat ovals for arms and feet. It is a gentle first drawing for young artists.
- Easy
- 10 minutes
- 9 steps
You need: paper, a pencil, an eraser, and crayons or markers for coloring.
Start drawingIn this article (7 sections)
How to draw a quokka step by step
How to Draw a Quokka · tinyhandscreate.com
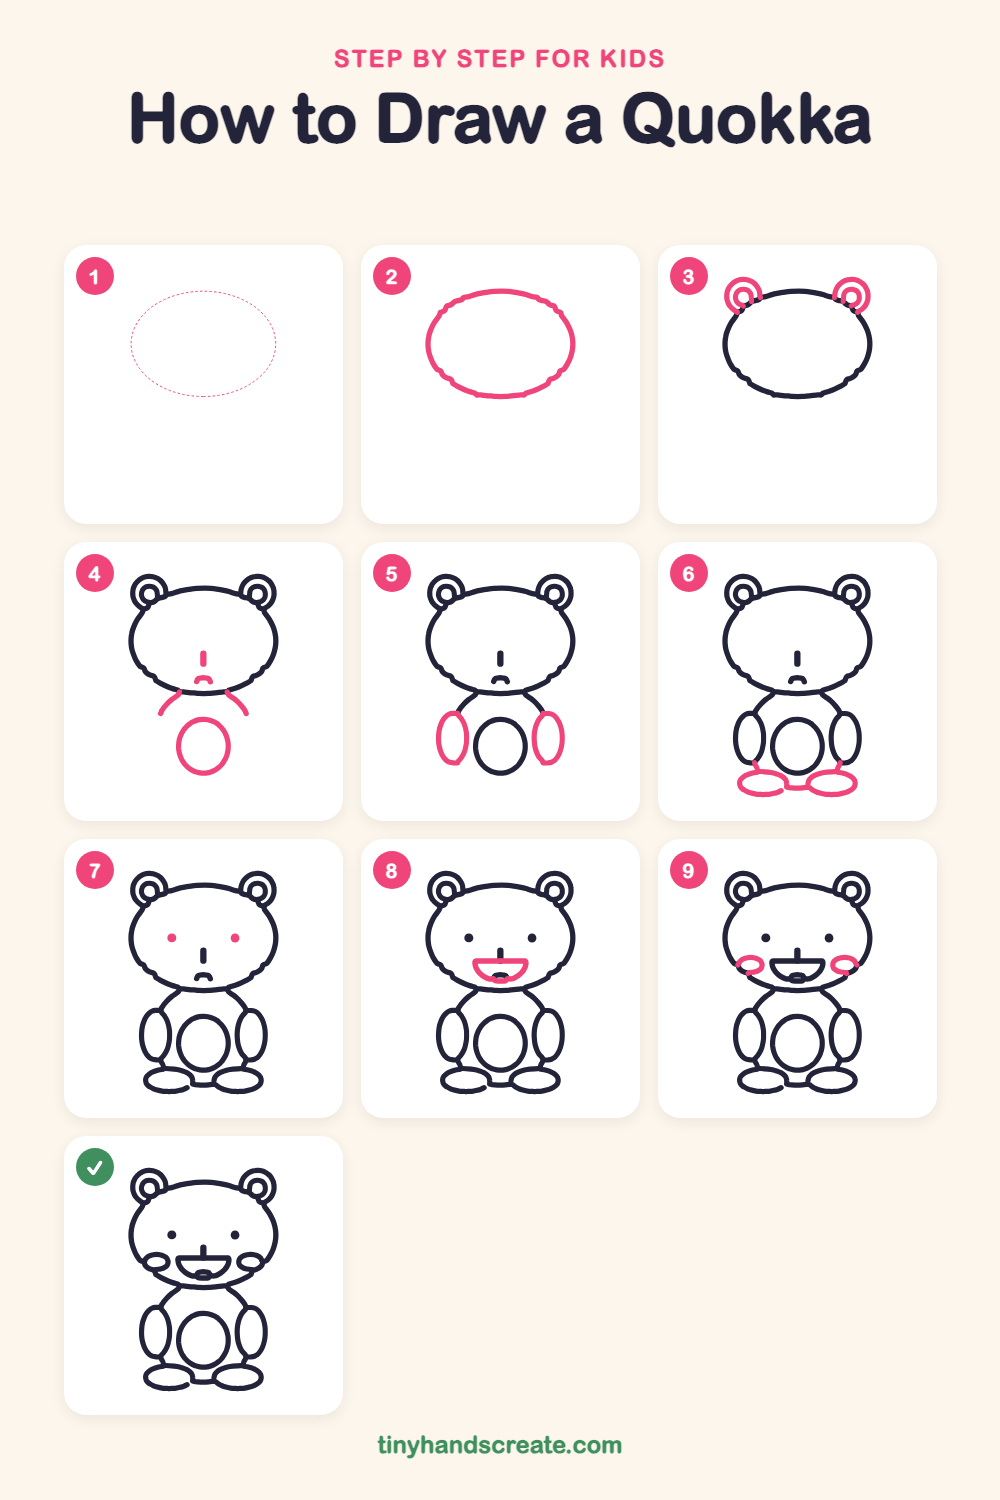
Step 1: Guide shapes
Lightly sketch this oval. It only shows where the big parts go, so press softly. You will erase it at the end.
Step 2: The head
Draw a big wide oval near the top of your page. This will be the quokka's round face.
Step 3: Round ears
Draw a small circle on each upper corner of the head, tucked behind it. Then draw a smaller circle inside each one for the inner ear.
Step 4: Nose, chin and tummy
In the middle of the face, draw a short straight line with a tiny curve under it for the nose. Below the head, draw two curved lines going out and down from the chin for the sides of the body, then draw an oval between them for the tummy.
Step 5: Arms
Draw a tall skinny oval on each side of the tummy for the arms. Let them hang down beside the body.
Step 6: Feet
At the bottom, draw a wide flat oval on each side for the feet. Add short lines to join them to the body.
Step 7: Eyes
Draw two small dots on the face, above the nose and spaced apart. Keep them the same size and at the same height.
Step 8: Open smile
Under the nose, draw a D shape lying on its side, with a flat top and a curved bottom, for the open smile. Add a small curve inside the bottom.
Step 9: Round cheeks
Draw a small oval on each side of the smile, touching the edge of the face. These make your quokka look happy.
All done!
Erase the guide shapes, go over your lines, then color it in.
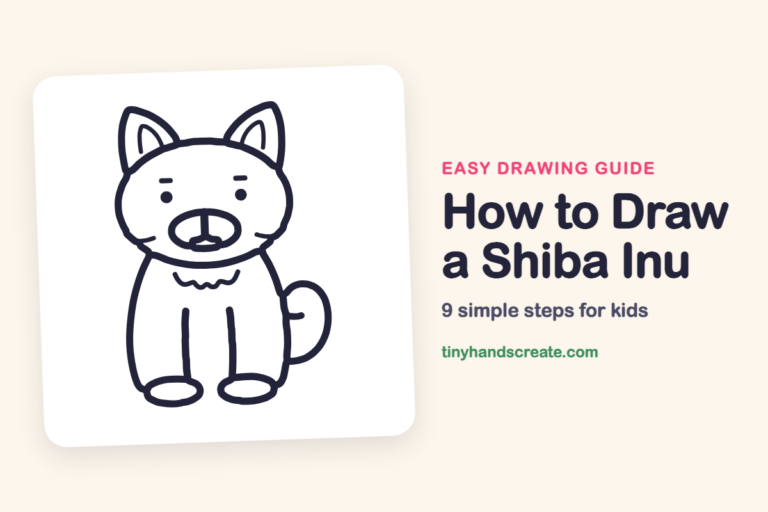
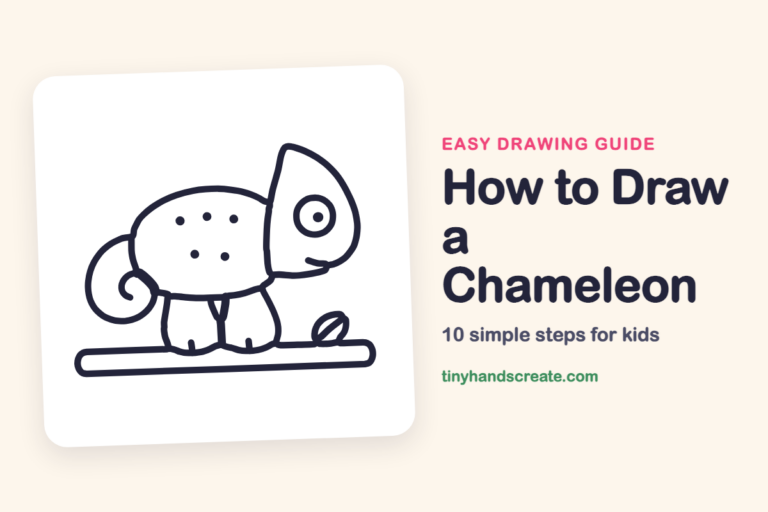
Finished your quokka? Keep the pencils out and learn how to draw a Shiba Inu or how to draw a chameleon next.
Tips for drawing a quokka
- Draw the head oval wider than it is tall so the quokka gets a cute, chubby face.
- Tuck the ears behind the head so the lines meet the head outline instead of crossing it.
- Draw the two arms the same size, and do the same with the feet. Look at the first one while you draw the second.
Free quokka coloring page
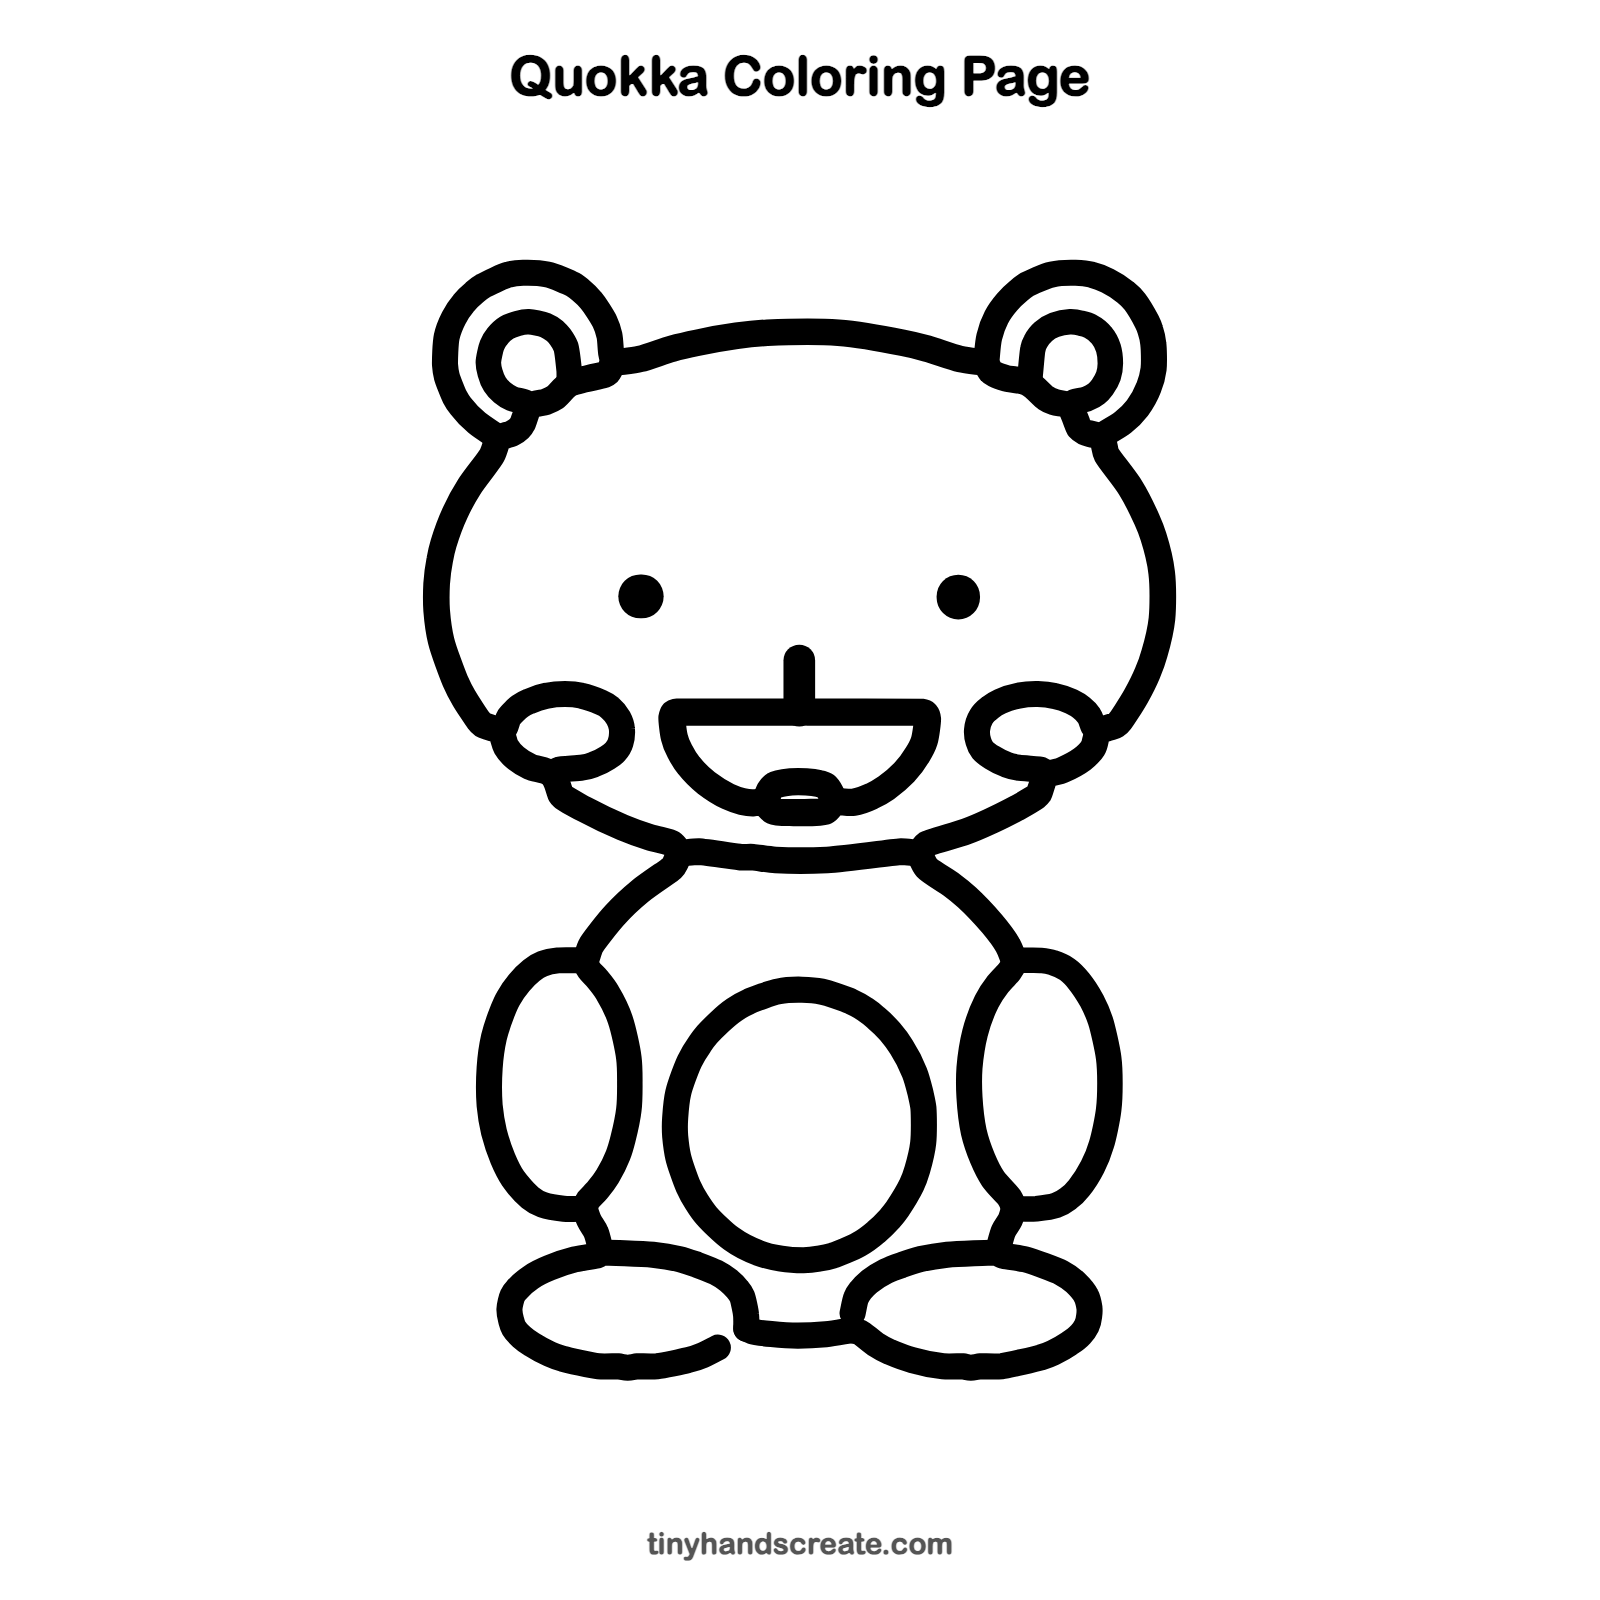
Want to go straight to coloring? Open this quokka coloring page at full size and print it. It is the same drawing you just learned, with clean lines ready for crayons or markers.
How to color your quokka drawing
Try warm brown or tan for the fur, with lighter cream on the tummy and pink inside the ears. Add rosy pink to the cheeks, and keep the eyes dark so they stand out.
Quokka fun fact for kids
Quokkas are small marsupials from Western Australia, and a mother quokka carries her baby in a pouch on her belly.
Questions about drawing a quokka
What shapes do I need to draw a quokka?
You need mostly ovals and circles. Use a big oval for the head, circles for the ears, an oval for the tummy, and tall or flat ovals for the arms and feet.
How do I make my quokka look cuter?
Make the head big and wide, keep the eyes small and far apart, and add round cheeks next to the smile.
What is the hardest part of drawing a quokka?
Most kids find the open smile the trickiest part. Draw a D shape on its side, then add a small curve inside the bottom.