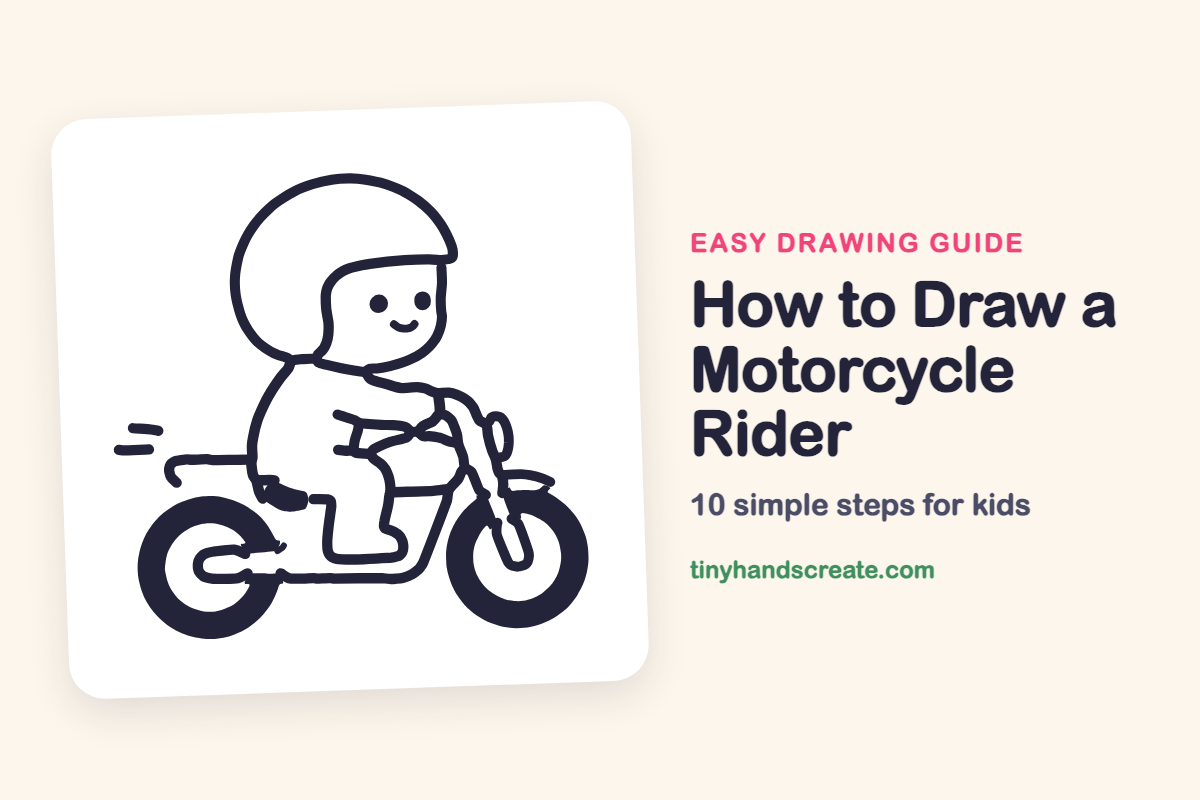
How to Draw a Motorcycle Rider (Easy Step by Step)
A smiling rider on a little motorcycle is a fun picture to draw. It starts with a big round helmet, then a simple body, two thick wheels, and a few curvy lines for the frame and handlebars. Take it one small piece at a time and it comes together.
- Medium
- 15 minutes
- 10 steps
You need: paper, a pencil, an eraser, and crayons or markers for coloring.
Start drawing


In this article (7 sections)
How to draw a motorcycle rider step by step
How to Draw a Motorcycle Rider · tinyhandscreate.com
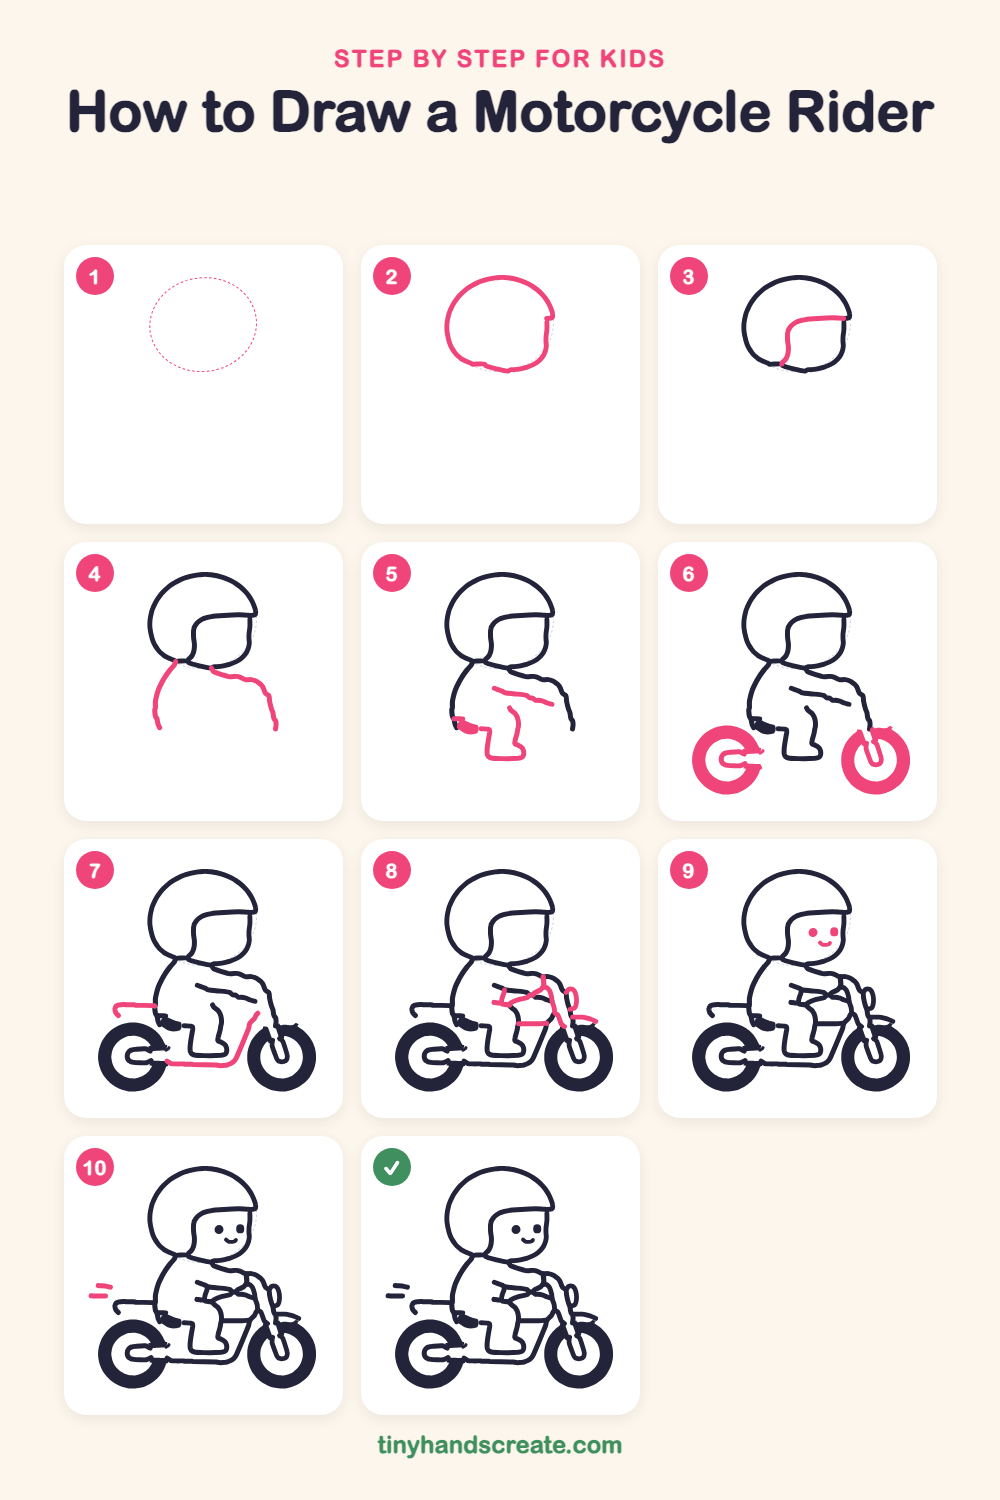
Step 1: Guide shapes
Lightly sketch this oval. It only shows where the big parts go, so press softly. You will erase it at the end.
Step 2: Round helmet
Draw a big rounded shape for the helmet, like a ball with a flat spot at the bottom. Add a little corner on the right side where the front of the helmet sits.
Step 3: Helmet opening
Inside the helmet, draw a curved line for the face opening. Start at the right edge, go left across the top, then bend down and finish at the bottom of the helmet.
Step 4: Back and shoulder
Under the helmet, draw a curved line on the left that goes down for the rider's back. Then draw a bumpy line from the chin that goes right and then down for the front of the shoulder and arm.
Step 5: Arm and leg
Draw a short slanted line inside the body for the arm. Then draw a bent shape for the leg, with a flat foot at the bottom, and add a small boot shape at the left.
Step 6: Two wheels
Draw two thick round wheels, one on the left and one on the right, at the bottom. Draw a small curved hub inside each one. Add a short slanted line on the front wheel for the fork.
Step 7: Frame and seat
Draw a short flat line above the back wheel for the seat, with a little curl at its end. Then draw a long line that starts near the front wheel, slants down, and runs along the bottom toward the back wheel for the frame.
Step 8: Handlebars and light
Above the front wheel, draw curvy lines for the handlebars and the front fork. Add a small oval beside them for the headlight, and a curved fender over the front wheel.
Step 9: Happy face
Draw two small dots for the eyes inside the face opening. Add a little curved smile below them.
Step 10: Speed lines
Behind the bike, on the left, draw two short dashes, one above the other. They show the motorcycle is zooming along.
All done!
Erase the guide shapes, go over your lines, then color it in.
Finished your motorcycle rider? Keep the pencils out and learn how to draw a rocket or how to draw a shooting star next.
Tips for drawing a motorcycle rider
- Draw the two wheels about the same size and keep them level with each other.
- Leave room inside the helmet for the face opening, so the eyes and smile fit.
- Draw the rider first, then the wheels and frame. The arm points toward the front, which shows where the handlebars go.
Free motorcycle rider coloring page
Want to go straight to coloring? Open this motorcycle rider coloring page at full size and print it. It is the same drawing you just learned, with clean lines ready for crayons or markers.
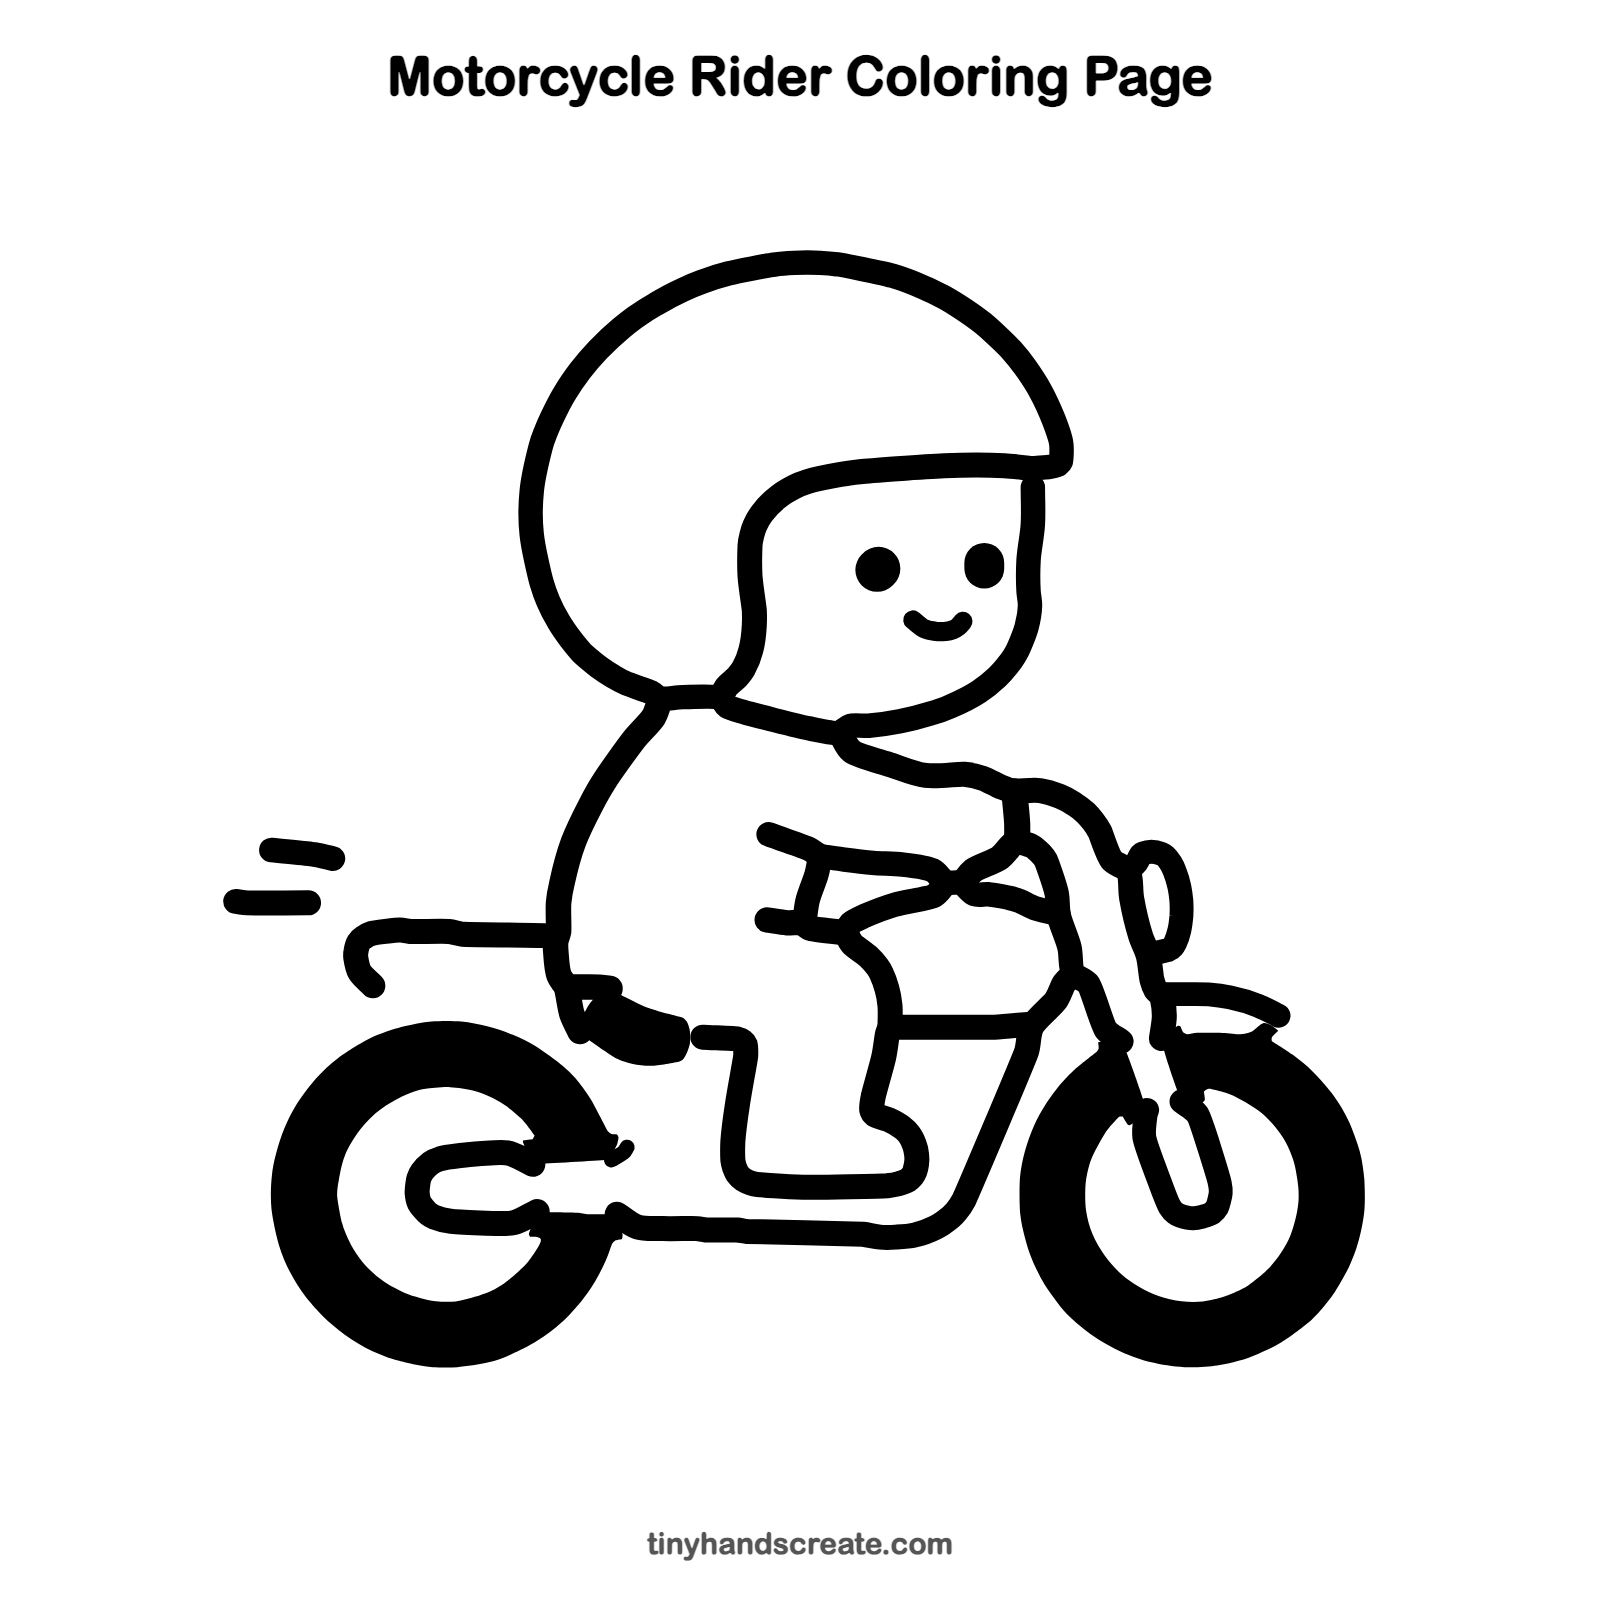
How to color your motorcycle rider drawing
Try a bright red helmet and a blue bike with black tires. You could color the little speed dashes a bright orange.
Motorcycle rider fun fact for kids
Many countries require motorcycle riders to wear helmets, because a helmet helps protect the head in a fall.
Questions about drawing a motorcycle rider
What shapes do I need to draw a motorcycle rider?
You need a big rounded shape for the helmet, two circles for the wheels, and curvy lines for the body and frame.
How do I make the wheels look round?
Draw them slowly and go around in one smooth motion. You can trace a cup or a lid to practice.
How do I show that the motorcycle is moving fast?
Add two short dashes behind the bike. These speed lines tell the eye that the rider is zooming forward.