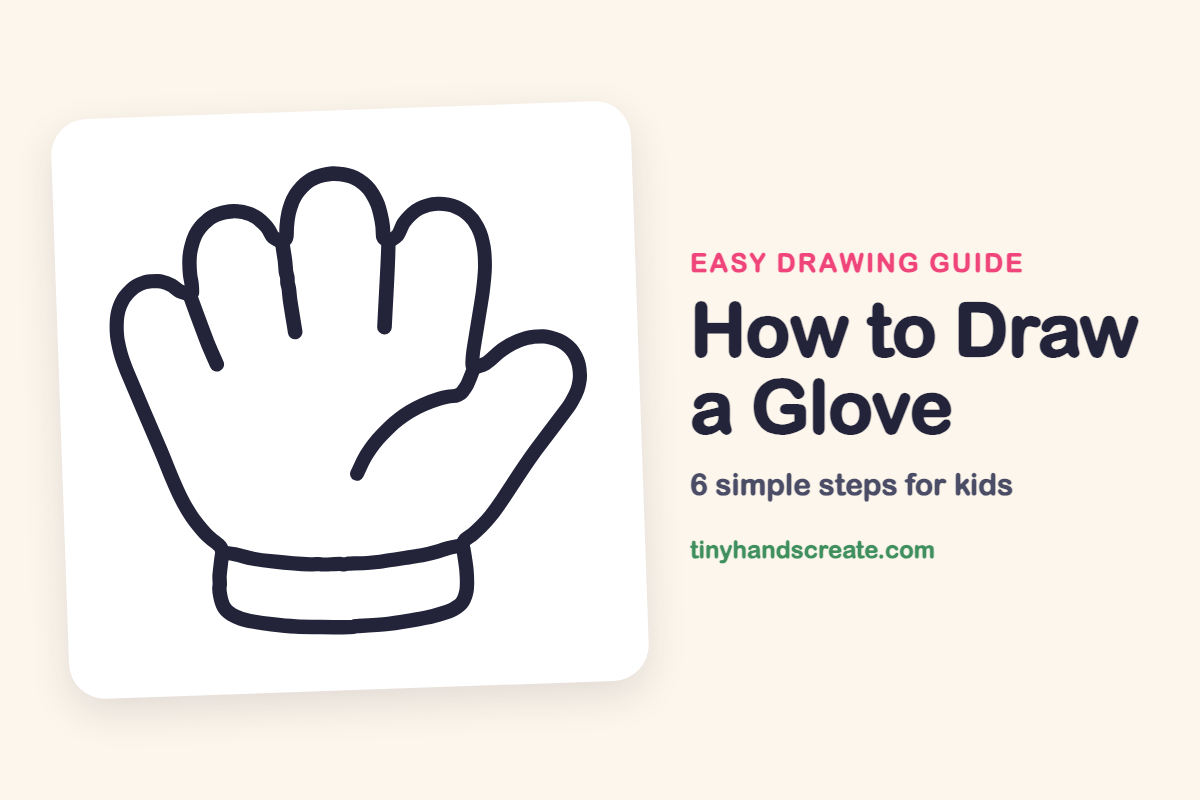
How to Draw a Glove (Easy Step by Step)
You'll learn how to draw a glove using simple shapes like a rounded hand, curvy hills for fingers, and a curved box for the cuff. You can then easily draw a second glove to create a pair.
- Start with a rounded hand shape for your glove.
- Use curvy hill shapes to draw the fingers.
- Create the cuff with a simple curved box.
- Draw a second glove to complete a pair.
This post contains affiliate links. As an Amazon Associate I earn from qualifying purchases.
A glove is a fun first drawing because it is really just a rounded hand shape with four fingers, a thumb, and a cuff. You will use curvy hill shapes for the fingers and a simple curved box for the cuff. Once you have one glove, you can draw its twin to make a pair.
- Easy
- 10 minutes
- 6 steps
You need: paper, a pencil, an eraser, and crayons or markers for coloring.
Start drawing


In this article (7 sections)
How to draw a glove step by step
How to Draw a Glove · tinyhandscreate.com
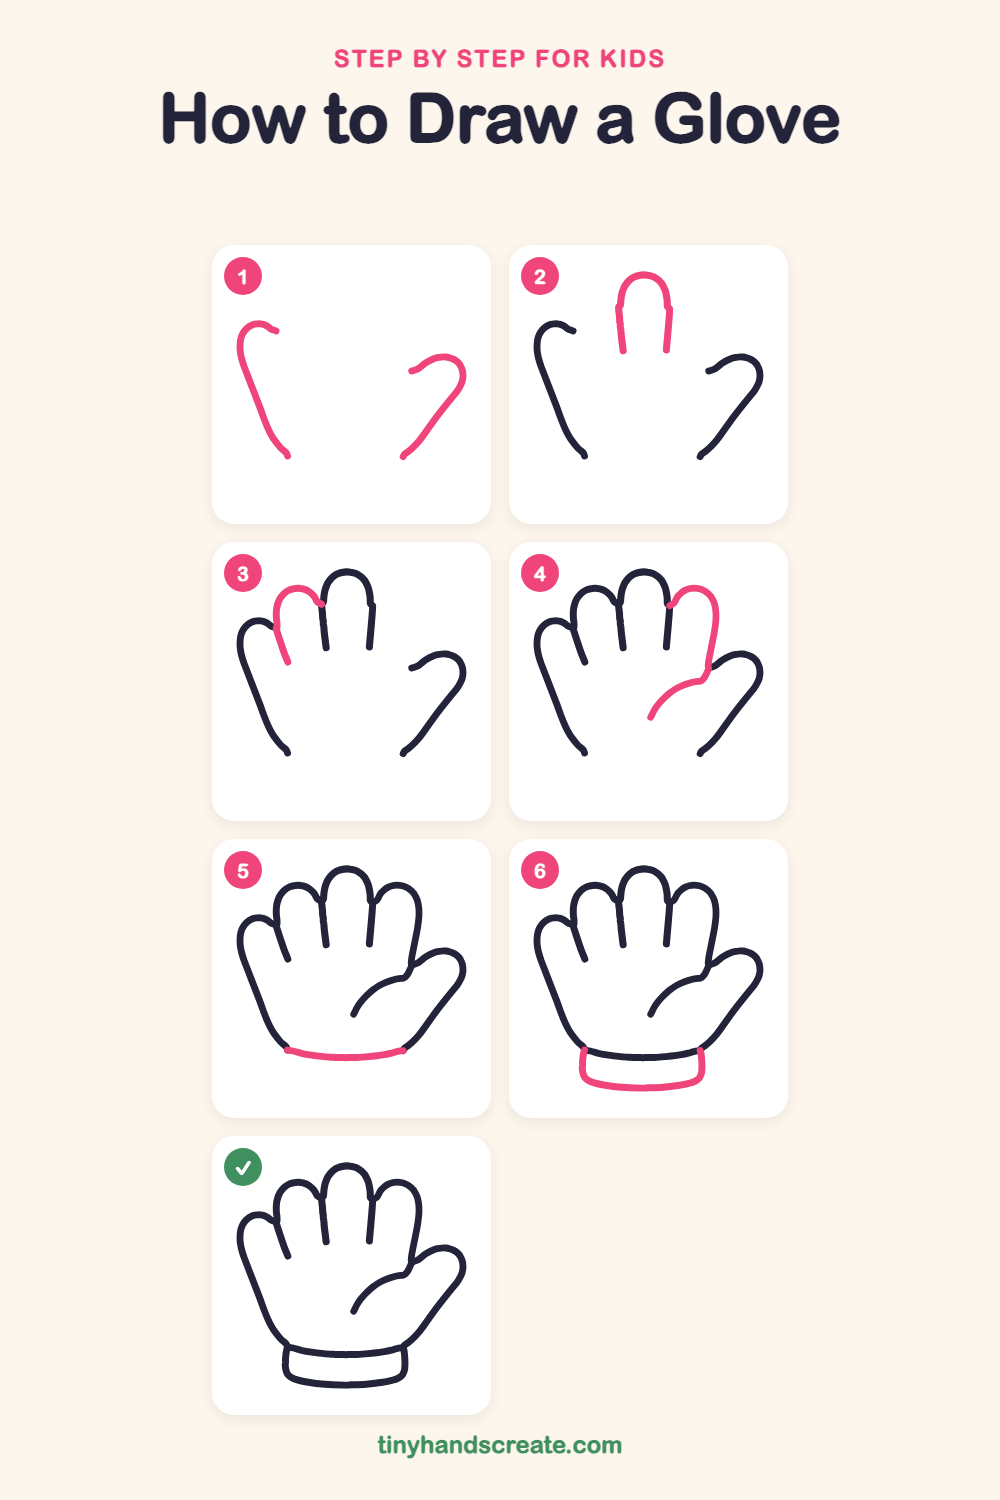
Step 1: Pinky and thumb sides
On the left, draw a small round bump and then a long slanting line down toward the bottom. On the right, draw a rounded thumb tip that curves out and then slants down toward the bottom. Leave the middle empty for now.
Step 2: The tall middle finger
Near the top in the middle, draw an upside-down U like a tall, skinny tunnel. Let both sides go straight down a little way and stop in the air.
Step 3: The left finger
Next to the tall finger, draw a shorter finger on the left. Start at the side of the tall finger, curve up and over like a small hill, then bring the line down toward the pinky bump.
Step 4: Right finger and thumb line
On the right of the tall finger, draw another rounded finger like a hill. Bring its right side down to meet the thumb, then curve a line toward the middle of the hand to show where the thumb begins.
Step 5: The wrist line
Near the bottom, draw a gentle curved line from one side of the glove to the other. It looks like a smile and closes off the hand.
Step 6: The cuff
Under the wrist line, draw a short line going straight down from each end. Join them at the bottom with a soft curve to make a stretchy cuff.
All done!
Go over your lines with a marker, then color it in.
Finished your glove? Keep the pencils out and learn how to draw a rocket or how to draw a shooting star next.
Tips for drawing a glove
- Draw the middle finger first and make it the tallest. The fingers on each side will then be easy to fit next to it.
- Keep the thumb wide and chunky. If it is too skinny, it will look like another finger.
- Let the lines between the fingers stop partway down the hand so the glove looks like it has separate fingers.
Free glove coloring page
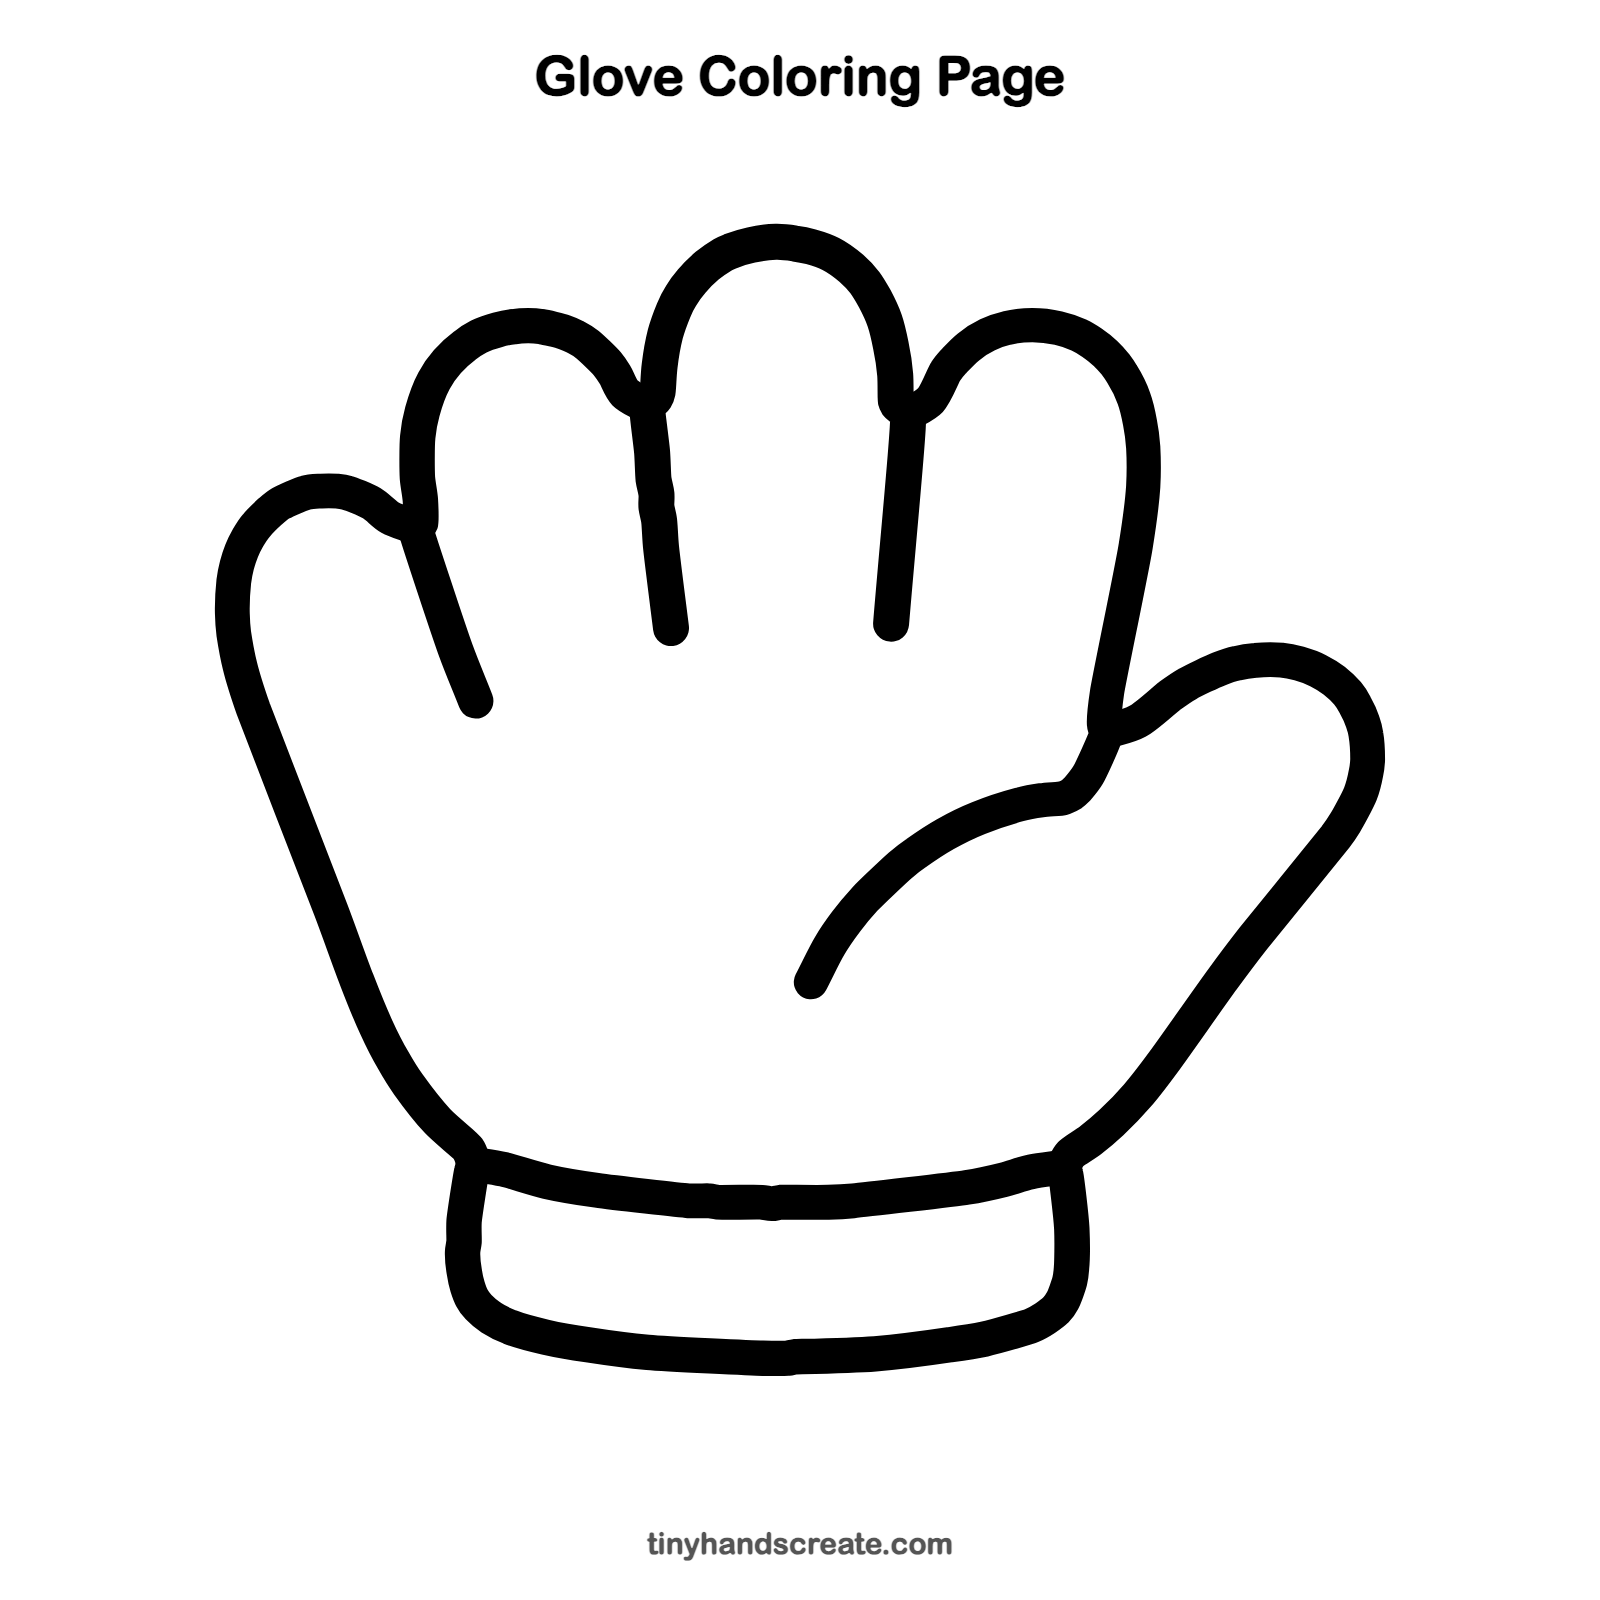
Want to go straight to coloring? Open this glove coloring page at full size and print it. It is the same drawing you just learned, with clean lines ready for crayons or markers.
How to color your glove drawing
Try a bright red or blue glove for winter, with a different color on the cuff. For a creative twist, draw a pattern of stripes or stars on each finger.
Glove fun fact for kids
Gloves were found in the tomb of the Egyptian pharaoh Tutankhamun, who died about 3,300 years ago.
Questions about drawing a glove
What shapes do I need to draw a glove?
You need rounded hill shapes for the fingers, a bigger rounded shape for the thumb and palm, and a curved box for the cuff.
How do I make my glove look cuter?
Color it in a bright color, add a row of little stripes on the cuff, or draw a small heart on the back of the hand.
How do I draw the thumb so it looks right?
Draw it low on the side of the hand, point it out and up, and make it wider than the other fingers.