How to Draw a Ghost Cake Pop (Easy Step by Step)
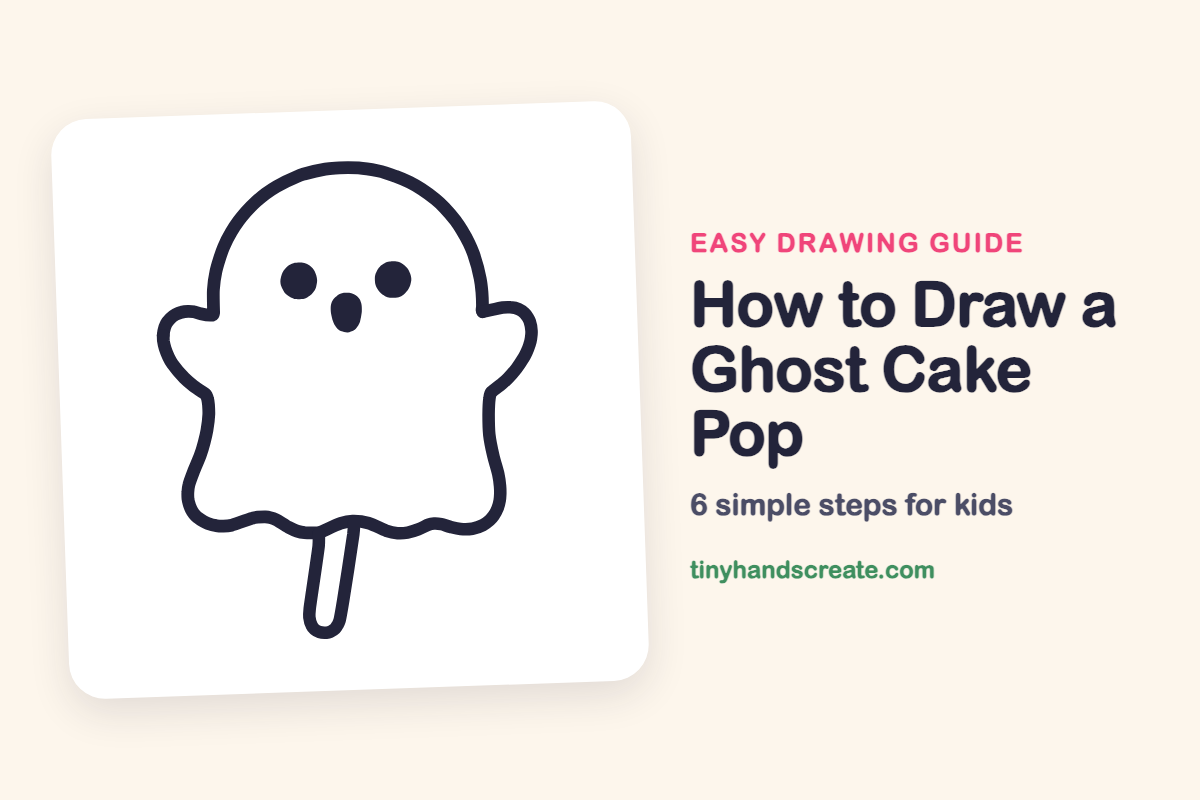
A ghost cake pop is a sweet, friendly ghost on a stick, and it is one of the easiest spooky things to draw. It is built from a big dome for the head, two rounded arms, a wavy bottom, and a skinny stick. Add two dots and a small oval for the face and you are done.
- Easy
- 10 minutes
- 6 steps
You need: paper, a pencil, an eraser, and crayons or markers for coloring.
Start drawing
In this article (7 sections)
How to draw a ghost cake pop step by step
How to Draw a Ghost Cake Pop · tinyhandscreate.com
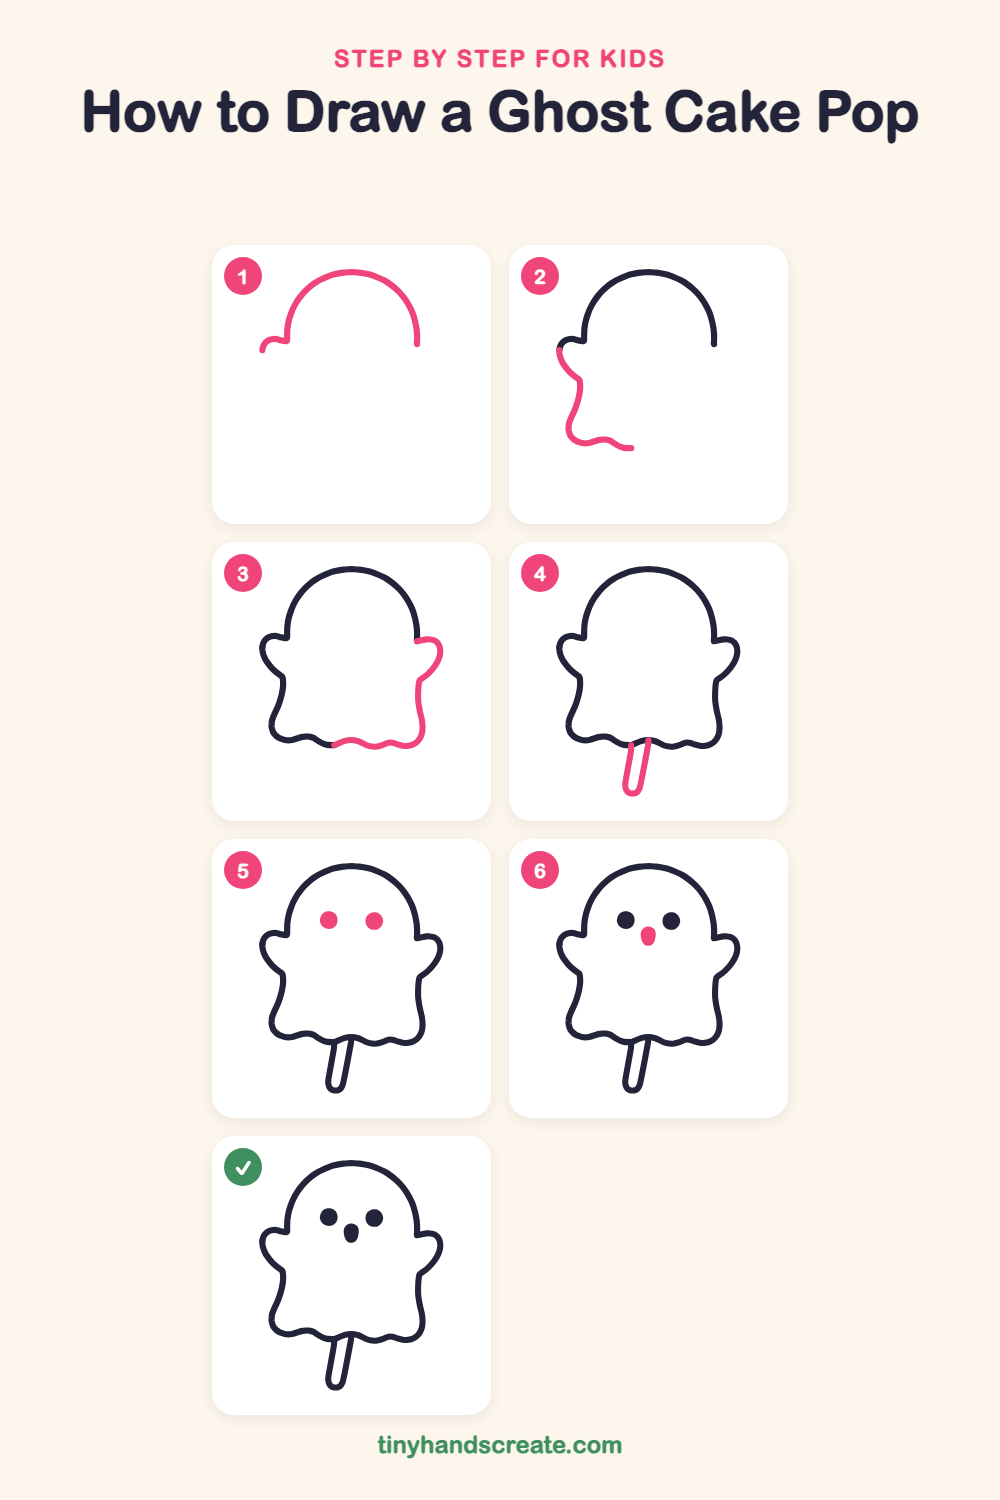
Step 1: Dome head and arm tip
Draw a big dome shape, like a rainbow or an upside-down U. At the left end, add a tiny curl that flicks outward, like the tip of a mitten. Leave the bottom open.
Step 2: The left arm and side
Continue from the little curl on the left: round it into an arm that sticks out like a mitten. Then curve the line down the side of the body and let it wiggle into a small wave at the bottom.
Step 3: Right arm and wavy hem
Do the same on the right: start at the end of the dome, draw a rounded arm sticking out, then a curved side going down. Join it to the bottom with a wavy line, like little hills, until it meets the left side.
Step 4: The cake pop stick
Under the wavy bottom, draw a long skinny shape like a rounded rectangle, tilted a tiny bit. Start it at the hem so it looks like the stick that holds the cake pop.
Step 5: Two round eyes
Near the top of the face, draw two small solid dots side by side with a space between them.
Step 6: The little mouth
Between and a bit below the eyes, draw a small oval standing up tall and color it in. It makes the ghost look surprised and sweet.
All done!
Go over your lines with a marker, then color it in.
Finished your ghost cake pop? Keep the pencils out and learn how to draw a menorah or how to draw a dreidel next.
Tips for drawing a ghost cake pop
- Make the dome tall and round, and leave the bottom open so it flows into the body without a hard corner.
- The wavy bottom is the trickiest part. Draw it as three or four gentle hills, and do not worry if they are not the same size.
- Keep the two eyes the same size and at the same height. Then put the mouth in the middle, slightly lower than the eyes.
Free ghost cake pop coloring page
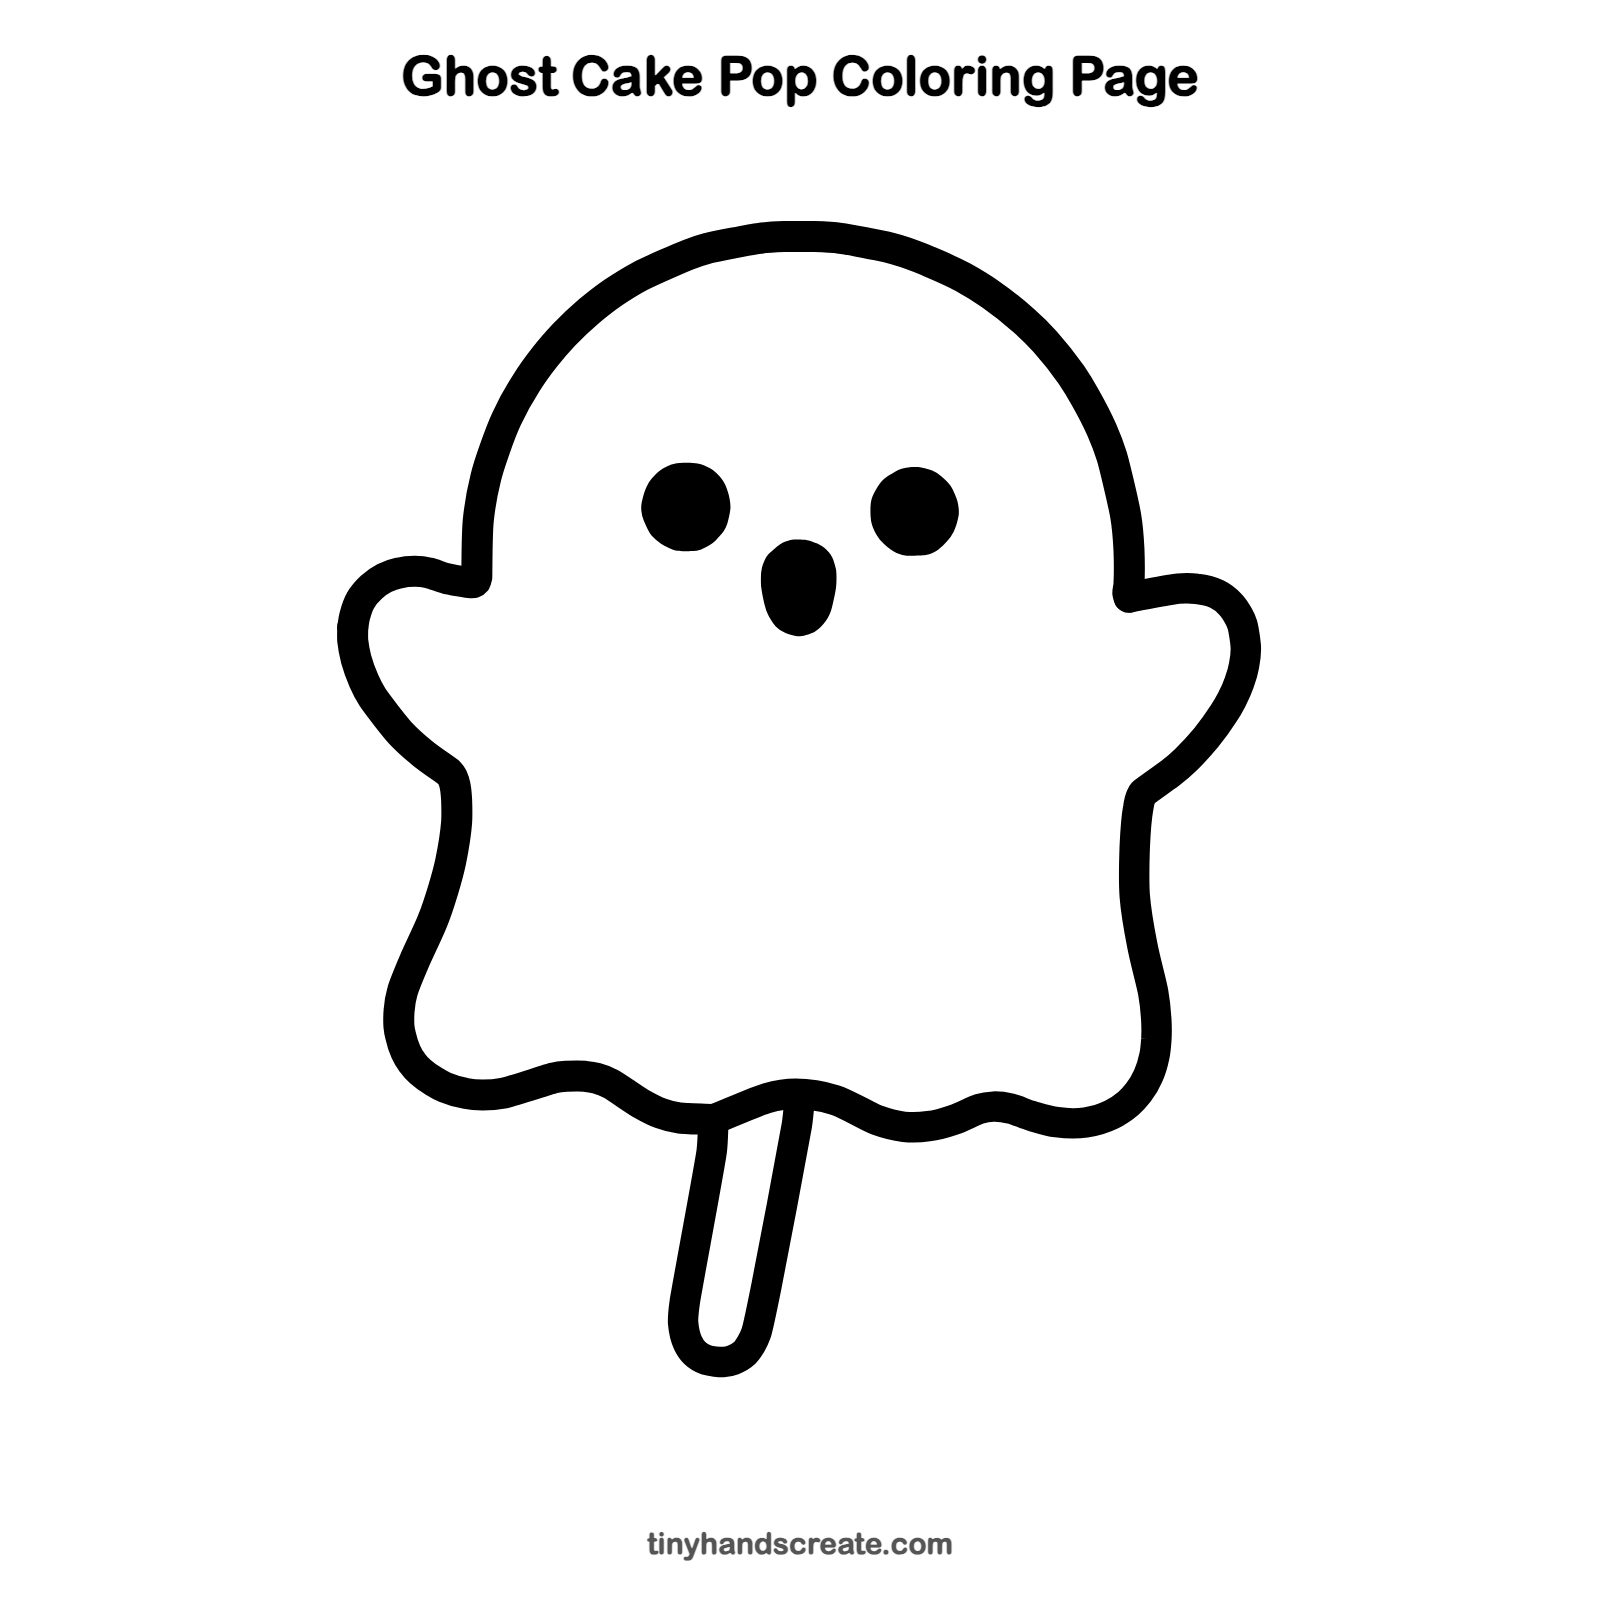
Want to go straight to coloring? Open this ghost cake pop coloring page at full size and print it. It is the same drawing you just learned, with clean lines ready for crayons or markers.
How to color your ghost cake pop drawing
Leave the ghost white or give it a pale pastel, such as lavender or mint, and color the stick in a candy stripe. For a creative twist, add sprinkles or a drippy colored candy coating on the hem.
Ghost cake pop fun fact for kids
The English word ghost comes from the Old English word gāst, which meant spirit or soul. It is more than a thousand years old.
Questions about drawing a ghost cake pop
What shapes do I need to draw a ghost cake pop?
You need a dome for the head, two rounded mitten shapes for the arms, a wavy line for the bottom, two dots and a small oval for the face, and a long rounded rectangle for the stick.
How do I make my ghost cake pop look cuter?
Place the eyes a little wide apart and the mouth a bit low, so the face looks young and sweet. Make the arms stick out to the sides as if the ghost is waving.
How do I draw the wavy bottom of a ghost?
Draw a line that goes up and down like gentle hills, from one side of the body to the other. Practice on scrap paper first, since the waves do not need to be even.