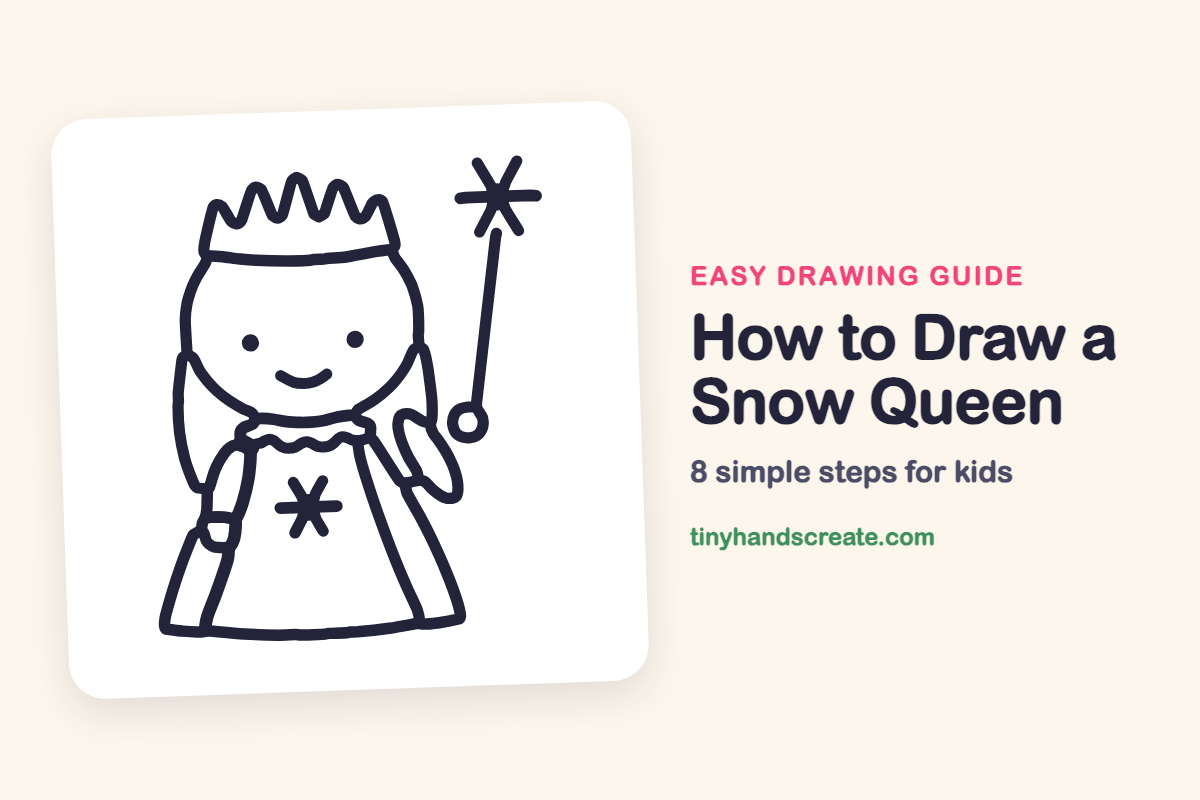
How to Draw a Snow Queen (Easy Step by Step)
A snow queen is a friendly mix of curved lines, triangles and a few simple stars. You start with the curves of a round face, add a pointy crown and long hair, and finish with a wide dress and a magic wand. Each part is simple, so beginners end up with a royal drawing they can be proud of.
- Easy
- 15 minutes
- 8 steps
You need: paper, a pencil, an eraser, and crayons or markers for coloring.
Start drawingIn this article (7 sections)
How to draw a snow queen step by step
How to Draw a Snow Queen · tinyhandscreate.com
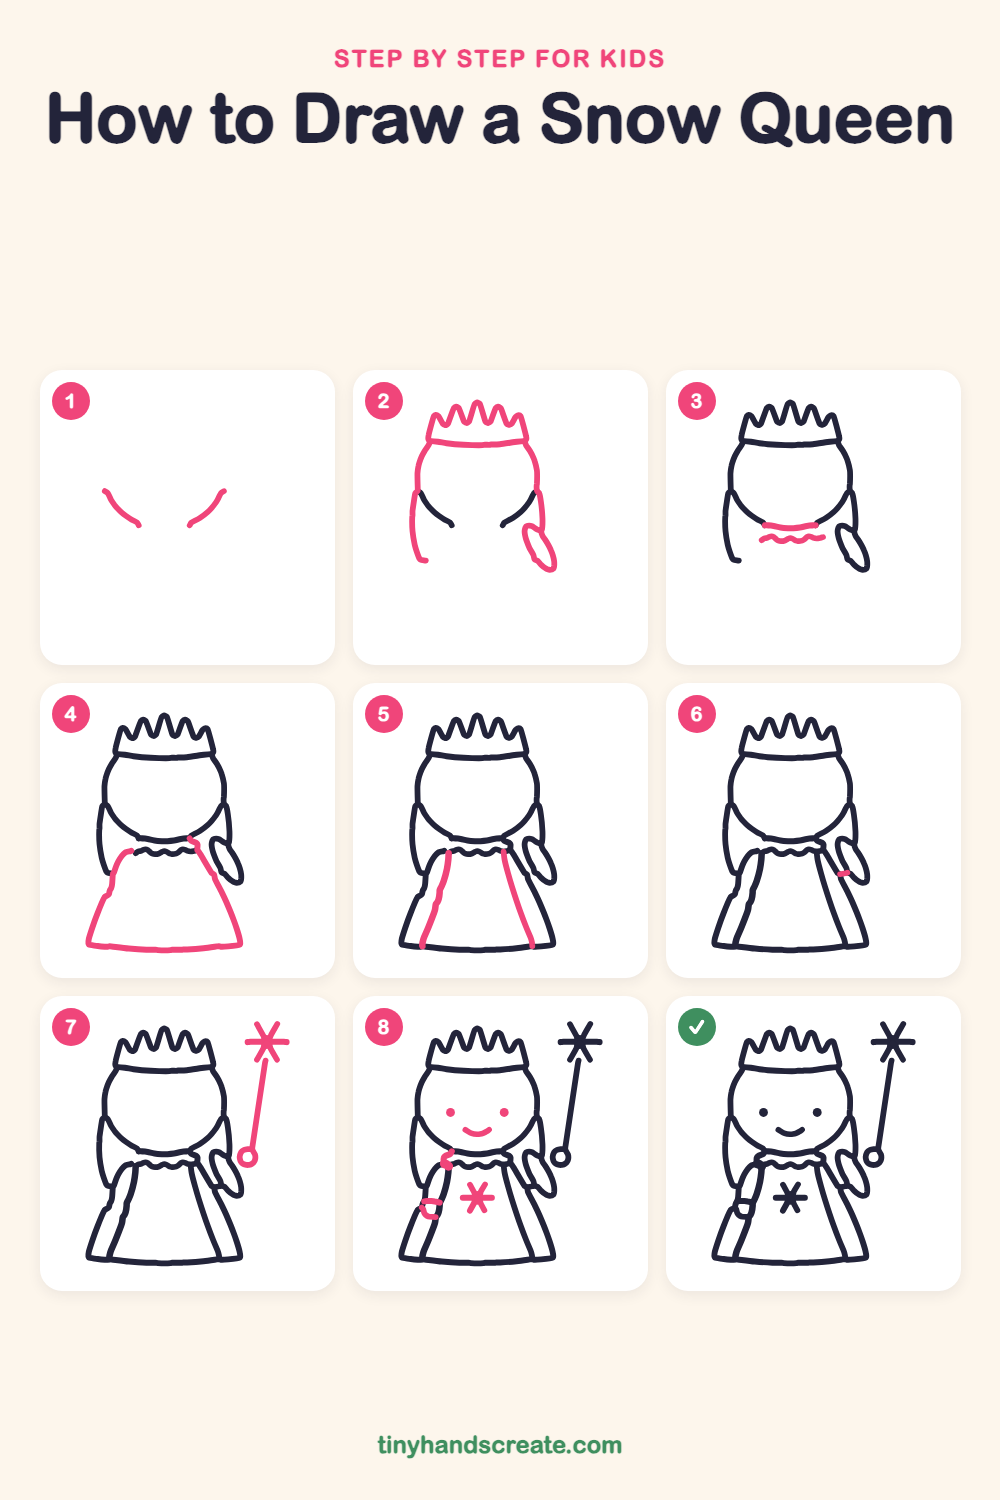
Step 1: Cheek curves
Draw two short curved lines, one on the left and one on the right, like the lower sides of a round face. Leave a gap in the middle for the chin.
Step 2: Crown, head and hair
Draw a crown: a gently curved band with a zigzag of pointy triangles on top. Then draw the sides of the head going down from the band, and long hair hanging down on each side. On the right, end the hair with a long oval.
Step 3: Neck and collar
Draw a short curved line below the face for the neck. Under it, draw a wiggly wavy line for a frilly collar.
Step 4: The big dress
Start at the collar and draw two slanted lines that spread out wide, like a tent. Close the bottom with a long, slightly curved line.
Step 5: Dress panels
Draw a long curved line down each side of the dress, starting under the collar and ending at the bottom edge. These make the dress look layered.
Step 6: Sleeve cuff
Draw one tiny short line across the long oval on the right, near its top. It is a little cuff.
Step 7: The magic wand
Draw a long thin line going up from the right hand, with a small circle at the bottom. At the top, draw a star by crossing three short lines in the middle.
Step 8: Face, snowflake and cuff
Add two dots for eyes and a small curved smile on the face. Draw a snowflake on the dress by crossing three short lines like an asterisk. Add a small curved cuff on the left sleeve.
All done!
Go over your lines with a marker, then color it in.
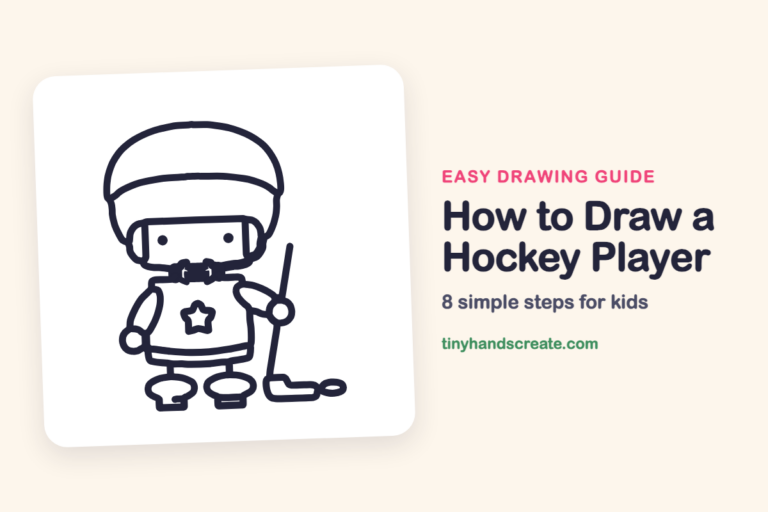
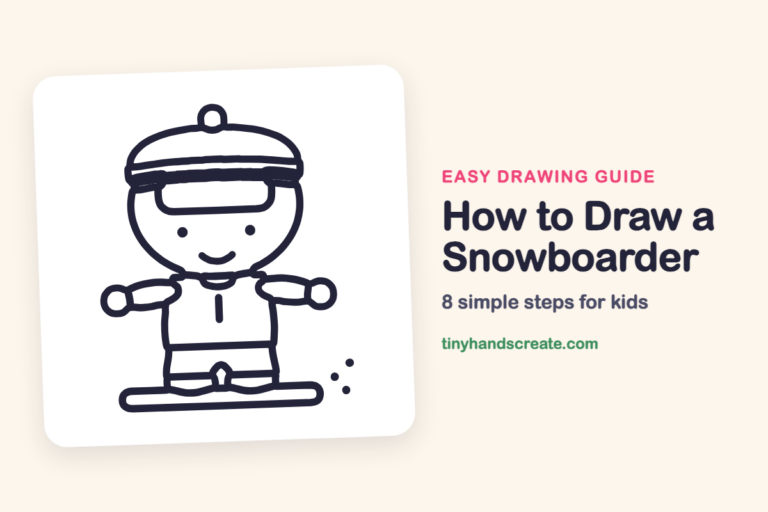
Finished your snow queen? Keep the pencils out and learn how to draw a hockey player or how to draw a snowboarder next.
Tips for drawing a snow queen
- Draw the crown zigzag slowly, going up and down in even steps.
- Leave a gap between the two cheek curves at the start, so the face has room for the chin and neck.
- For the snowflake, draw one straight line, then cross it with two more lines. Keep each arm about the same length.
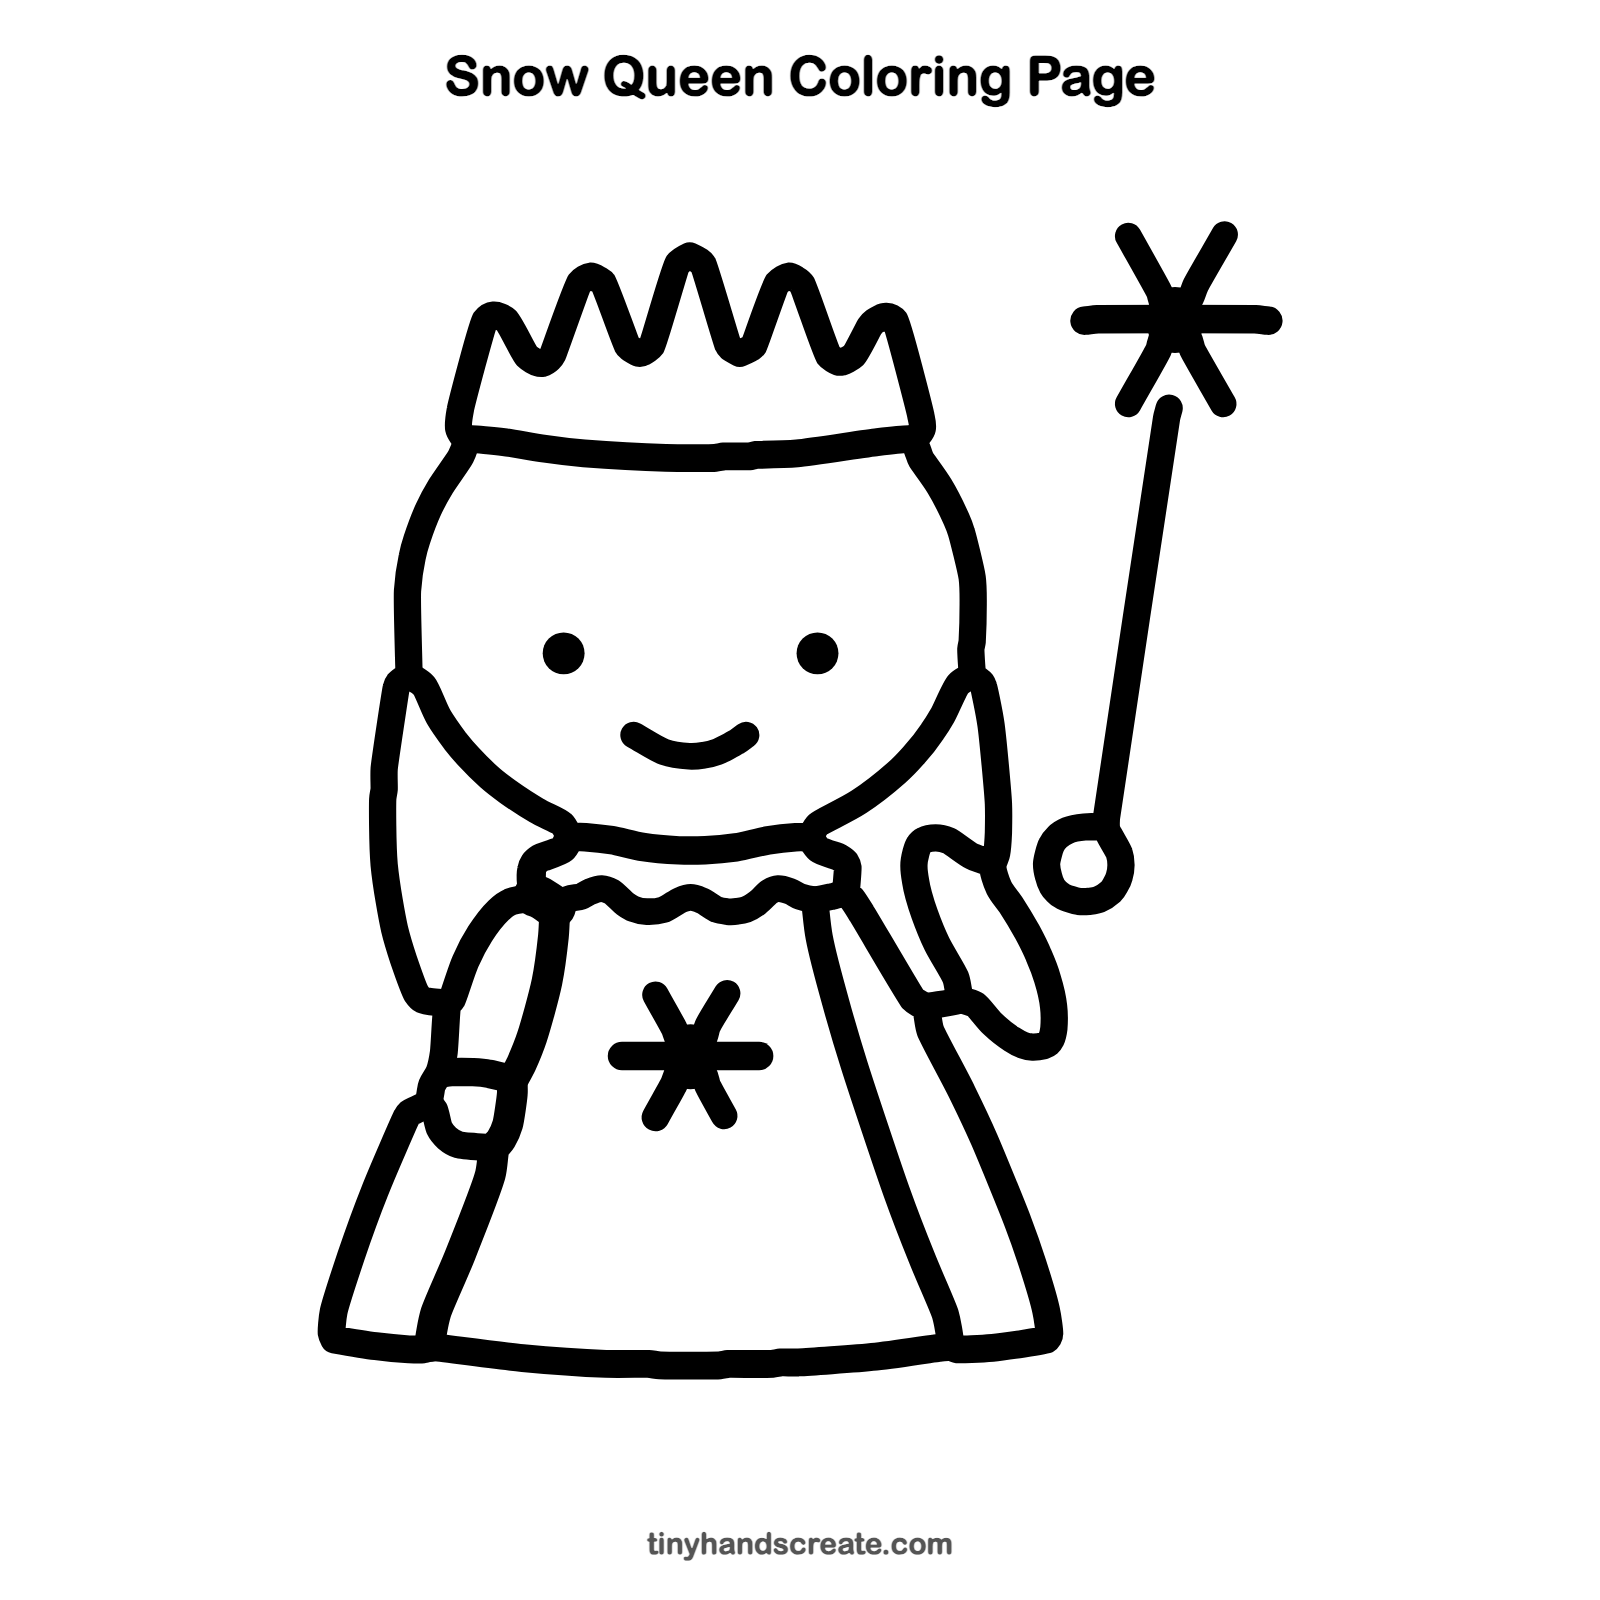
Free snow queen coloring page
Want to go straight to coloring? Open this snow queen coloring page at full size and print it. It is the same drawing you just learned, with clean lines ready for crayons or markers.
How to color your snow queen drawing
Try icy blues, silver and purple for the dress and crown, with pale yellow for the wand star. For a creative twist, draw white crayon snowflakes on the dress first and paint over them with watercolor so they show through.
Snow queen fun fact for kids
The Snow Queen is a fairy tale written by Hans Christian Andersen and first published in 1844. Real snowflakes almost always have six arms, because ice crystals grow in a six-sided pattern.
Questions about drawing a snow queen
What shapes do I need to draw a snow queen?
You need curved lines for the face, a zigzag of triangles for the crown, and a wide tent shape for the dress. A few more curved lines make the hair and the sleeve cuffs.
How do I make my snow queen look cuter?
Place the two eyes wide apart and keep the smile small and curved. A big crown and a star on the wand also add lots of charm.
How do I draw a snowflake?
Draw one straight line, then cross it with two more lines through the same middle point. Keep the arms the same length and you have a snowflake.