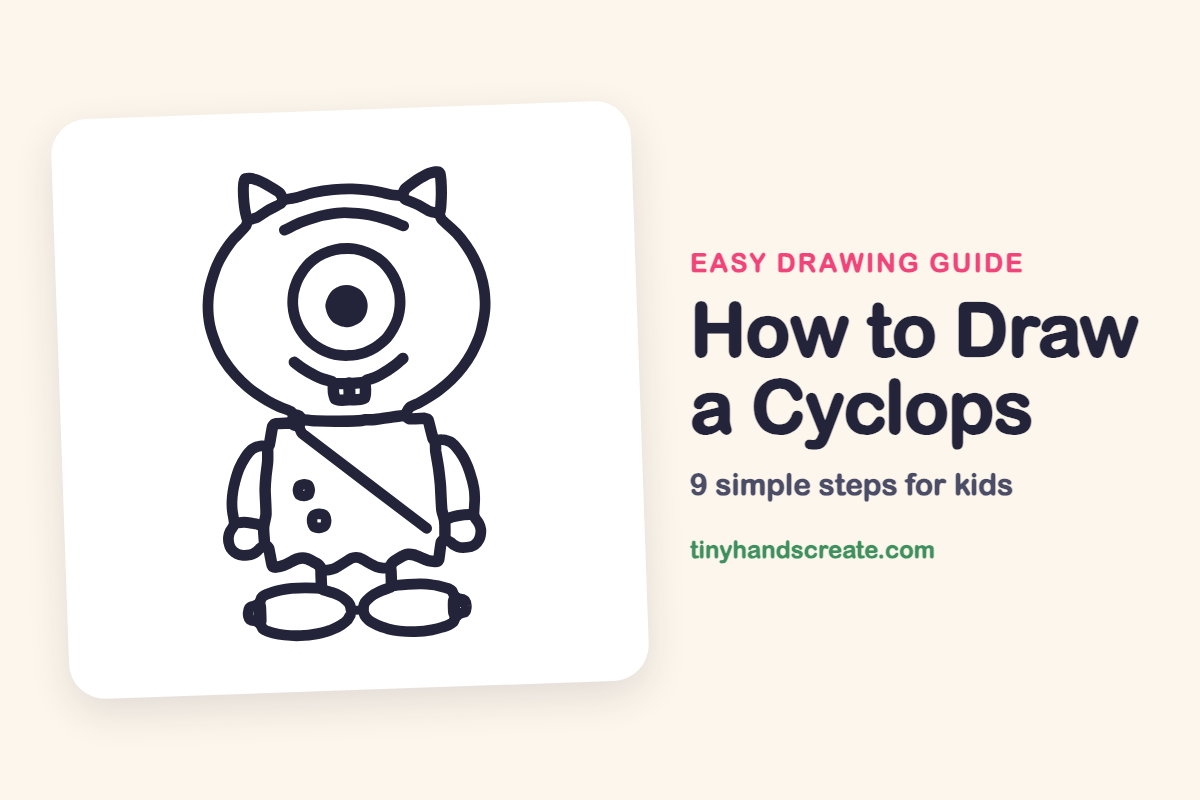
How to Draw a Cyclops (Easy Step by Step)
A cyclops is a friendly monster with just one giant eye, and this one is silly, cute and easy to draw. The whole character is built from simple shapes: a big oval head, a boxy body, circles for the eye and hands, and flat ovals for feet. Once you can draw those, you can make a whole family of one-eyed monsters.
- Easy
- 15 minutes
- 9 steps
You need: paper, a pencil, an eraser, and crayons or markers for coloring.
Start drawingIn this article (7 sections)
How to draw a cyclops step by step
How to Draw a Cyclops · tinyhandscreate.com
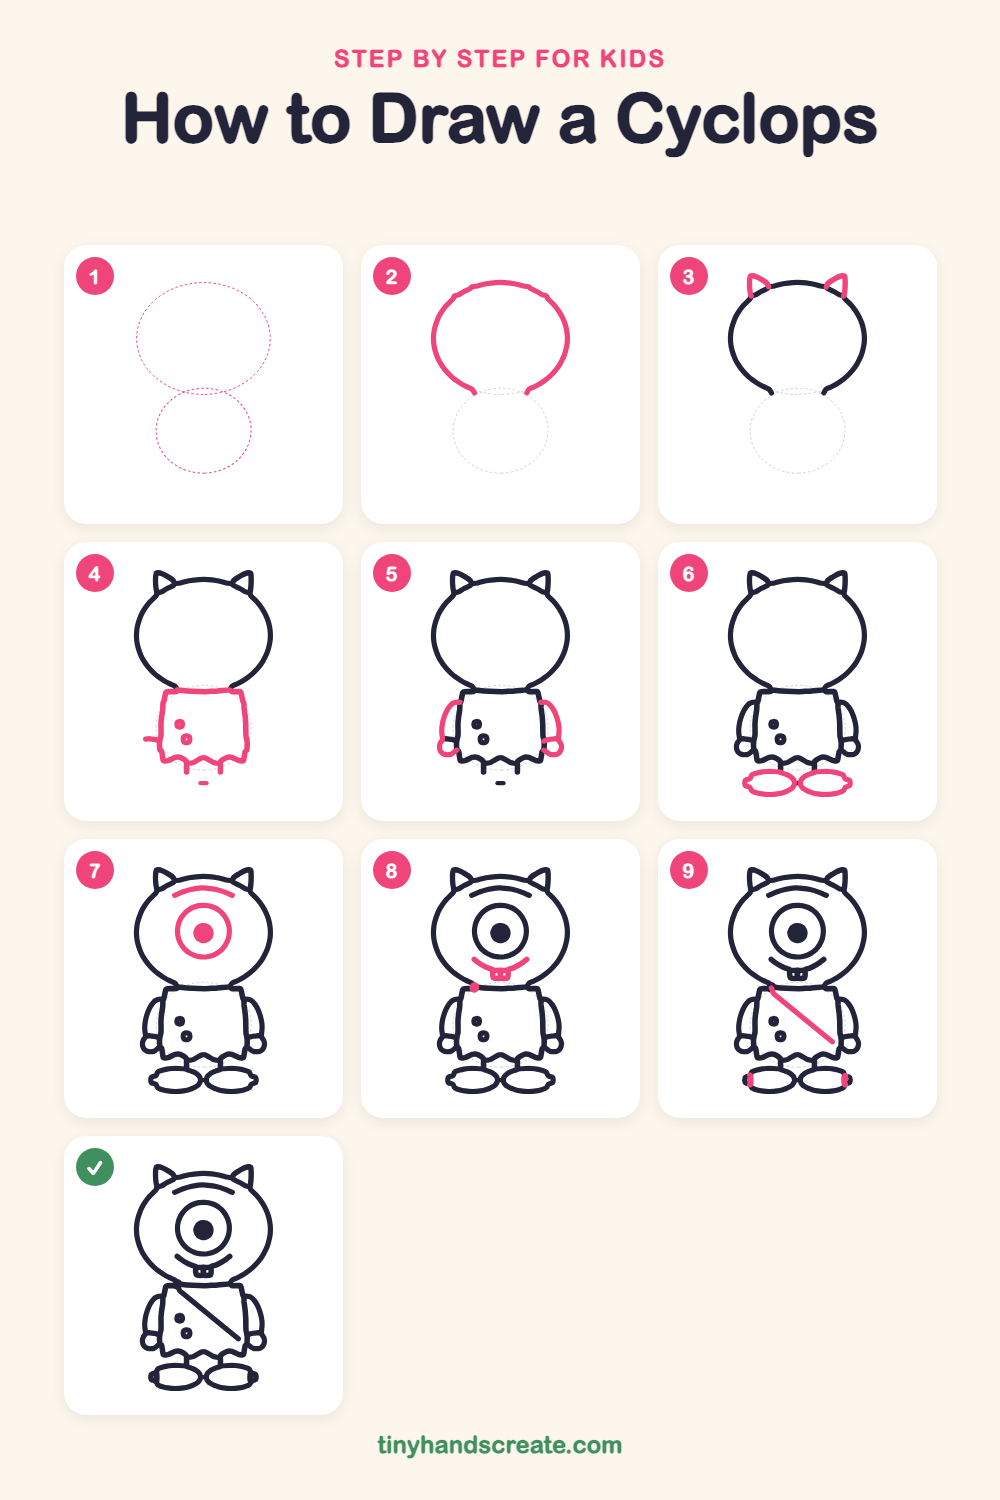
Step 1: Guide shapes
Lightly sketch these 2 ovals. They only show where the big parts go, so press softly. You will erase them at the end.
Step 2: The big head
Draw a big, wide oval near the top of your page. Stop the line a little short at the bottom on each side, so the head has a small gap where the body will go.
Step 3: The pointy ears
On the top left and top right of the head, draw two little triangles that stick up like cat ears. Let the bottom of each triangle touch the head.
Step 4: Body, legs and spots
Under the head, draw a box that is a little narrower than the head, with its top reaching the two ends of the head line. Make the bottom a zigzag like a torn skirt, then add two short legs below it and two little round spots on the front.
Step 5: Arms and hands
Draw a curved arm on each side of the body, starting near the top corner and bending down. At the end of each arm, add a small circle for a hand.
Step 6: Big flat feet
At the bottom of each leg, draw a wide, flat oval for a foot. Put the two feet side by side.
Step 7: The one big eye
In the middle of the head, draw a large circle for the eye. Put a smaller filled-in circle in the center, then draw a curved line above it for an eyebrow.
Step 8: Smile and teeth
Under the eye, draw a wide, curvy smile. At the middle of the smile, add a small box with two tiny lines inside to make buck teeth.
Step 9: Sash and toe lines
Draw one long straight line across the body, from the top left down to the lower right, like a strap. Finish with a short little line on the outer edge of each foot for the toes.
All done!
Erase the guide shapes, go over your lines, then color it in.
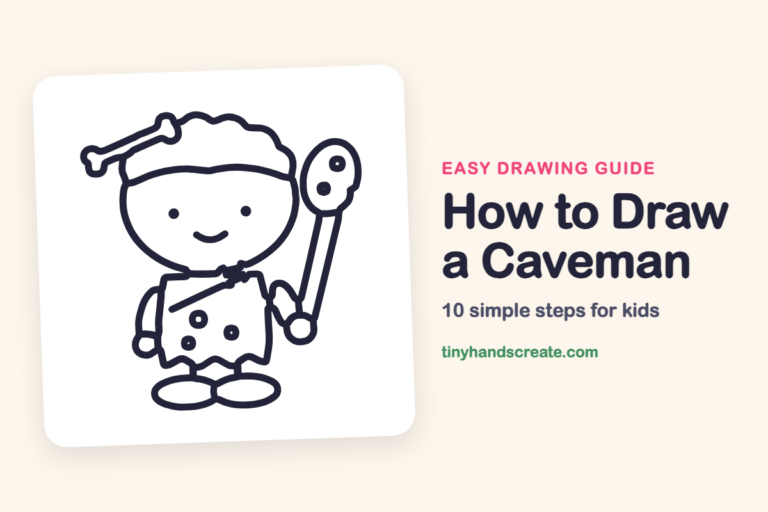
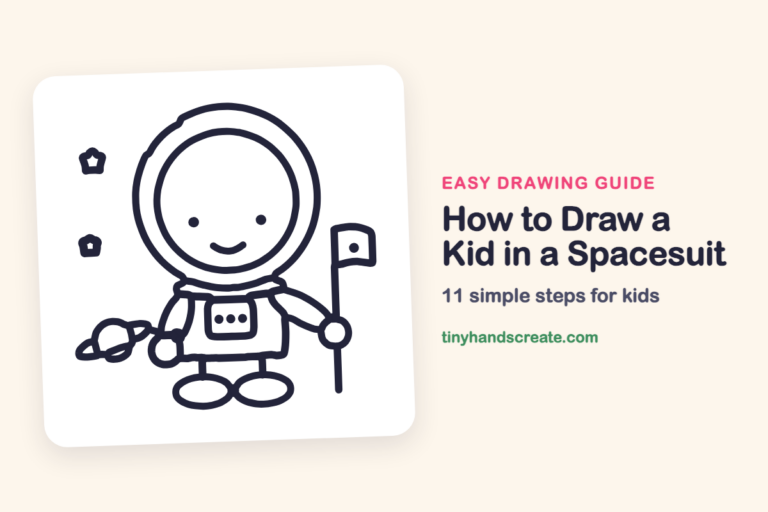
Finished your cyclops? Keep the pencils out and learn how to draw a caveman or how to draw a kid in a spacesuit next.
Tips for drawing a cyclops
- Draw the head oval nice and big first, then leave room underneath so the body does not get squished at the bottom of the page.
- The eye is the star, so draw the big circle slowly and put it right in the middle of the head. A round cup or coin can help you trace a neat circle.
- The zigzag along the bottom of the body is the trickiest part. Make it with short, pointy up-and-down lines, like a row of tiny mountains.
Free cyclops coloring page
Want to go straight to coloring? Open this cyclops coloring page at full size and print it. It is the same drawing you just learned, with clean lines ready for crayons or markers.
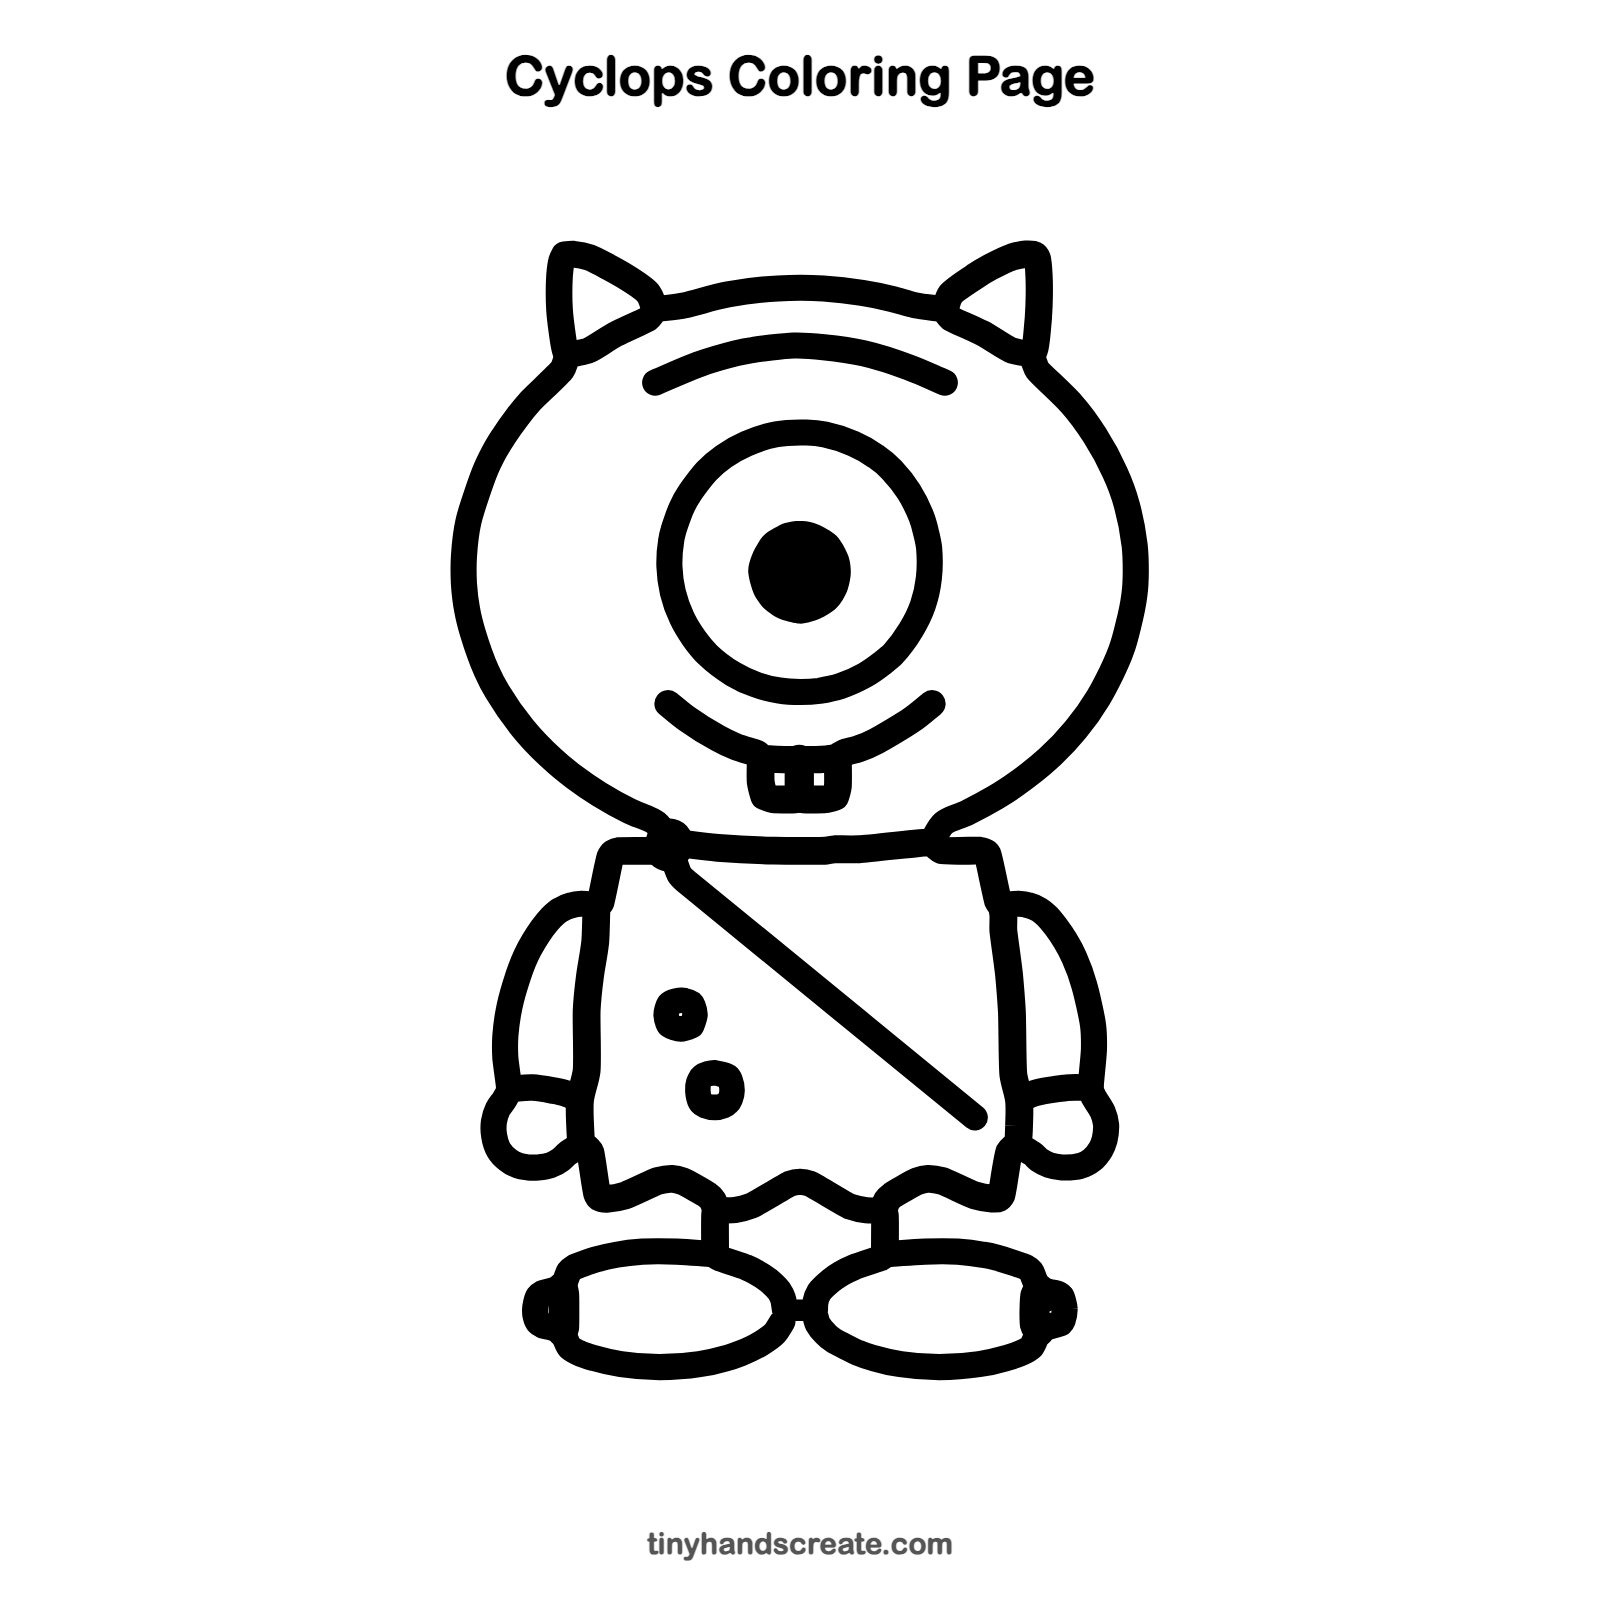
How to color your cyclops drawing
Try a bright green or purple body with a blue eye and a yellow ring around the pupil. For a creative twist, give your cyclops a rainbow sash or color the spots in different colors.
Cyclops fun fact for kids
In old Greek stories, the Cyclopes were giants with one round eye in the middle of their foreheads. The word cyclops comes from Greek words that mean round eye.
Questions about drawing a cyclops
What shapes do I need to draw a cyclops?
You need a big oval for the head, a box for the body, circles for the eye and hands, and flat ovals for the feet. Two small triangles make the ears.
How do I make my cyclops look cuter?
Make the eye extra big and add a wide smile with two little buck teeth. Round shapes and a big head make any monster look friendly.
Can I give my cyclops two eyes?
Then it would not be a cyclops anymore, but it would still be a cute monster. Try drawing one with three eyes for a silly twist.