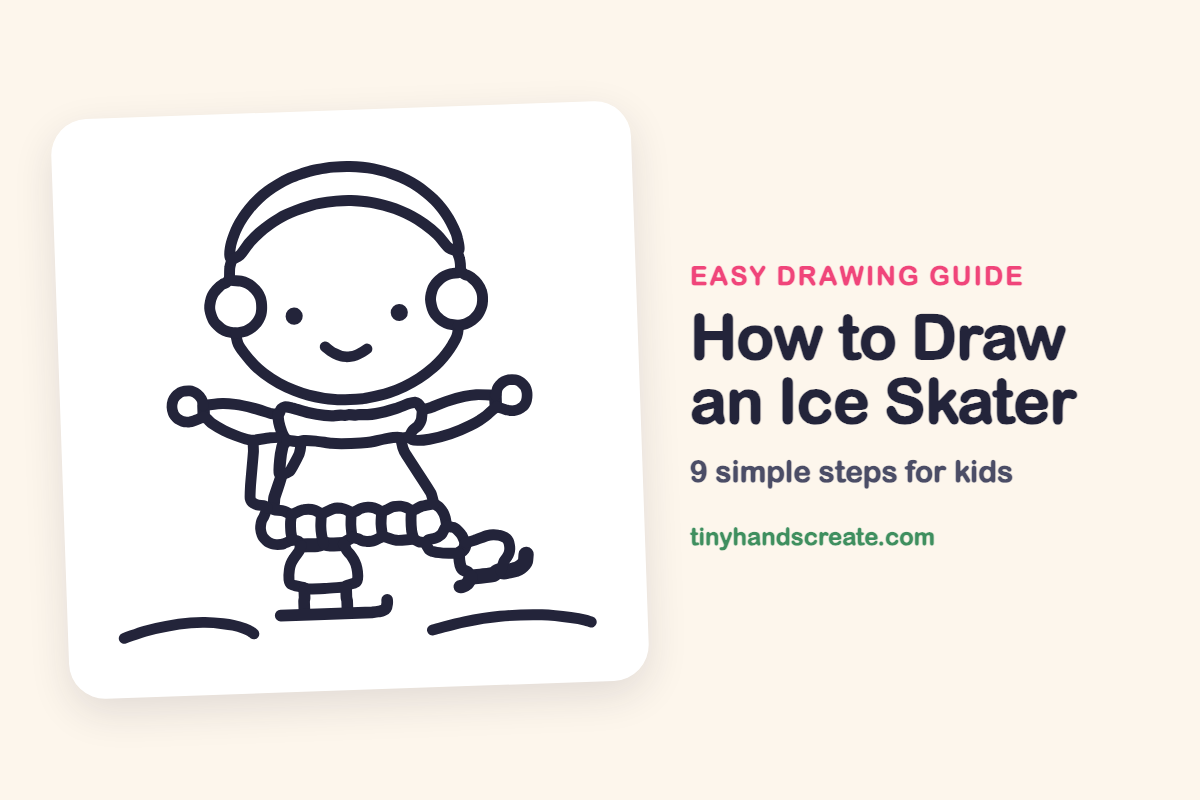
How to Draw an Ice Skater (Easy Step by Step)
This little ice skater is mostly circles and curves, which makes it a friendly drawing for beginners. You start with a round head, add a headband and ear muffs, then build a triangle dress with arms stretched wide for balance. One foot stands on the ice while the other stretches out behind.
- Medium
- 15 minutes
- 9 steps
You need: paper, a pencil, an eraser, and crayons or markers for coloring.
Start drawingIn this article (7 sections)
How to draw an ice skater step by step
How to Draw an Ice Skater · tinyhandscreate.com
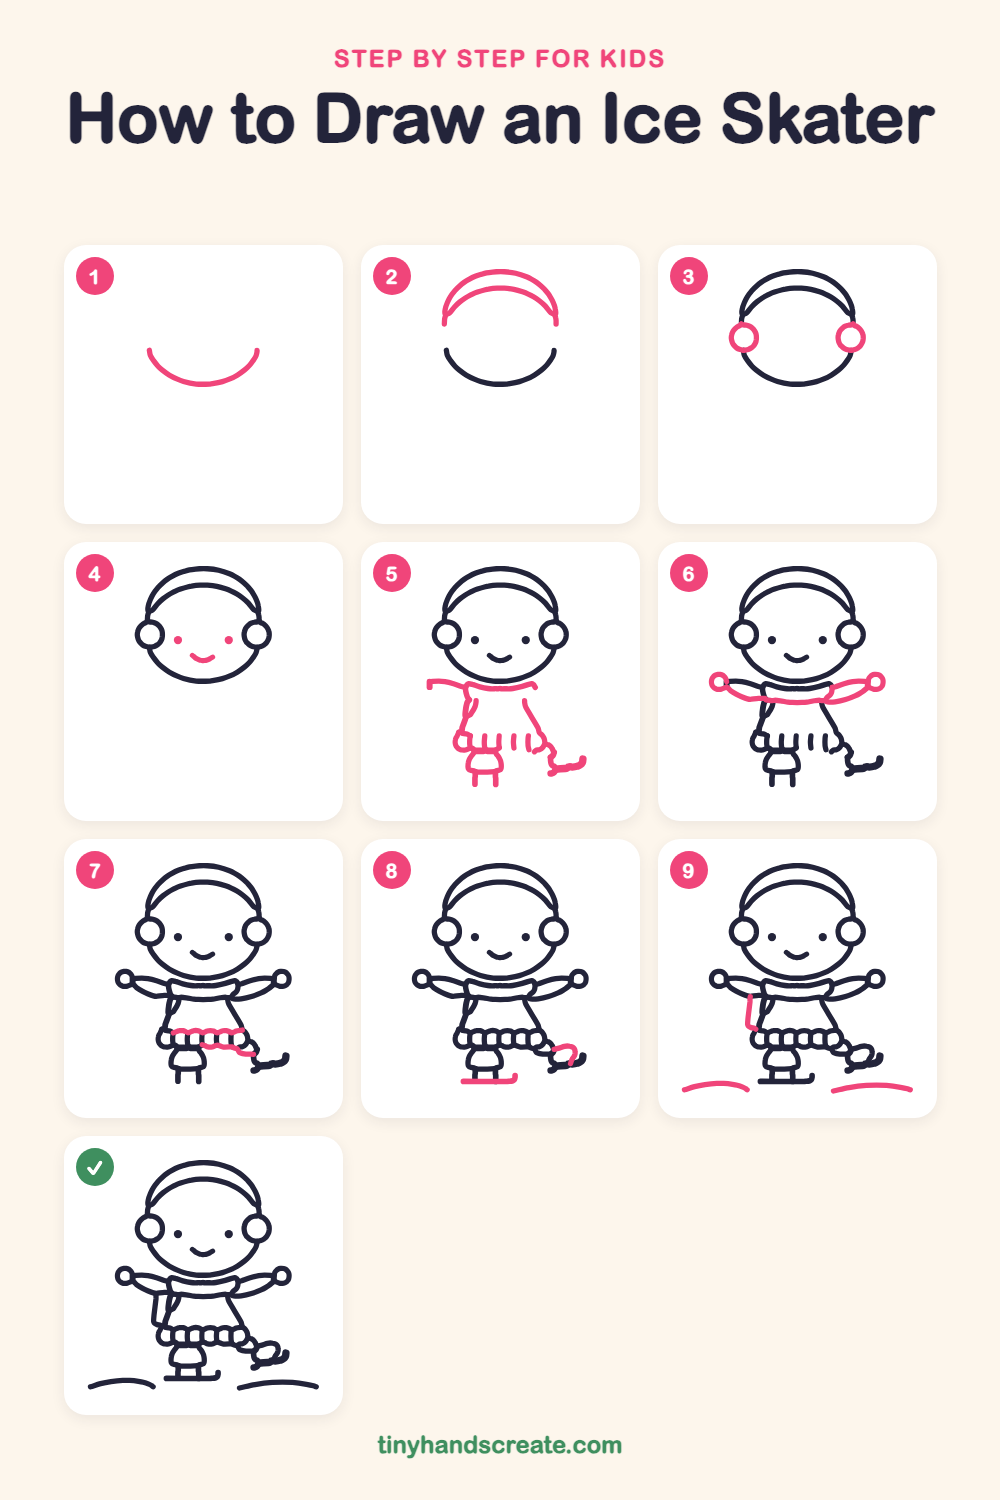
Step 1: Bottom of the head
Draw a wide U-shaped curve, like a big smile, for the bottom of the head. Leave the top open for the headband.
Step 2: The headband
Draw a big curved arch above the U, then a smaller arch inside it. Let both arches end with short lines hanging down at the sides, close to the ends of the U.
Step 3: Fluffy ear muffs
Draw a small circle on each side of the face, where the headband meets the U. Make both circles about the same size so they match.
Step 4: Happy face
Add two small dots for eyes, side by side in the middle of the face. Draw a little curved smile below them, like a tiny bowl.
Step 5: Scarf, dress and boots
Under the chin, draw a wavy band for the scarf, with a short tail hanging at the left end. Then draw the slanted sides of the dress, a small boot with two legs at the bottom, and a stretched-out foot at the right.
Step 6: Arms and mittens
Draw two long, gently curved arms stretched out wide, each starting at the scarf. Finish each arm with a small circle for a mitten.
Step 7: Frilly skirt edge
Along the bottom of the dress, draw a row of round bumps like a string of beads. Add a wavy line that runs from the bumps toward the stretched-out foot.
Step 8: Skate blades
Draw a flat line under the standing boot for the skate blade, with a little upturned end. Add a small curl at the tip of the stretched-out foot.
Step 9: Strap and ice
Draw a long thin line hanging down beside the dress, bending at the bottom. Finish with two low curved lines on the ground for the bumpy ice.
All done!
Go over your lines with a marker, then color it in.
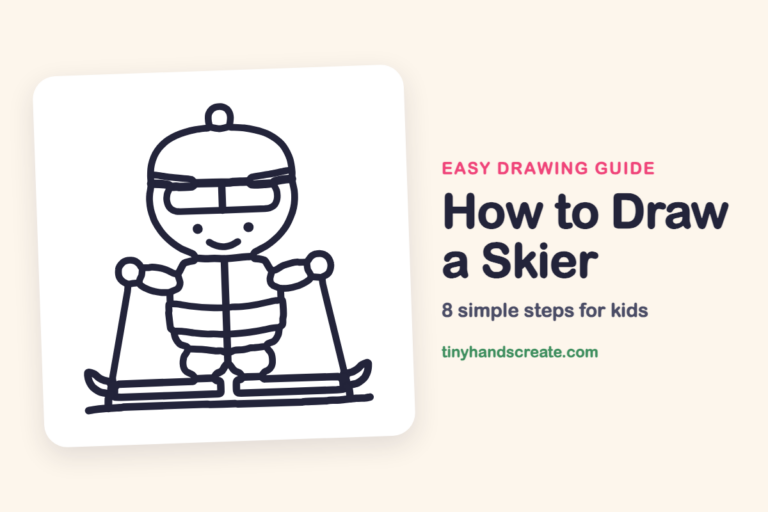
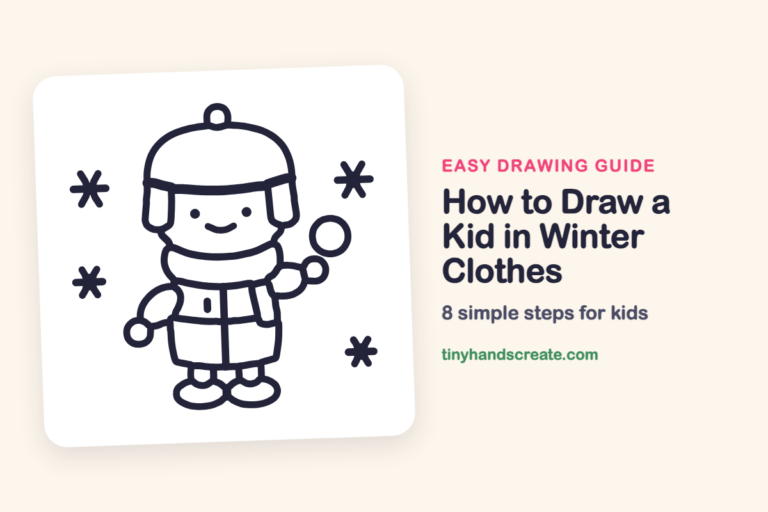
Finished your ice skater? Keep the pencils out and learn how to draw a skier or how to draw a kid in winter clothes next.
Tips for drawing an ice skater
- Draw the U-shaped curve for the head lightly first, so the headband and ear muffs have a guide to sit on.
- The two ear muffs are the trickiest part to match. Draw one, then place the second at the same height on the other side.
- Draw the skirt edge as a row of small round bumps that touch, then add the wavy line after. It is easier than drawing one long bumpy line.
Free ice skater coloring page
Want to go straight to coloring? Open this ice skater coloring page at full size and print it. It is the same drawing you just learned, with clean lines ready for crayons or markers.
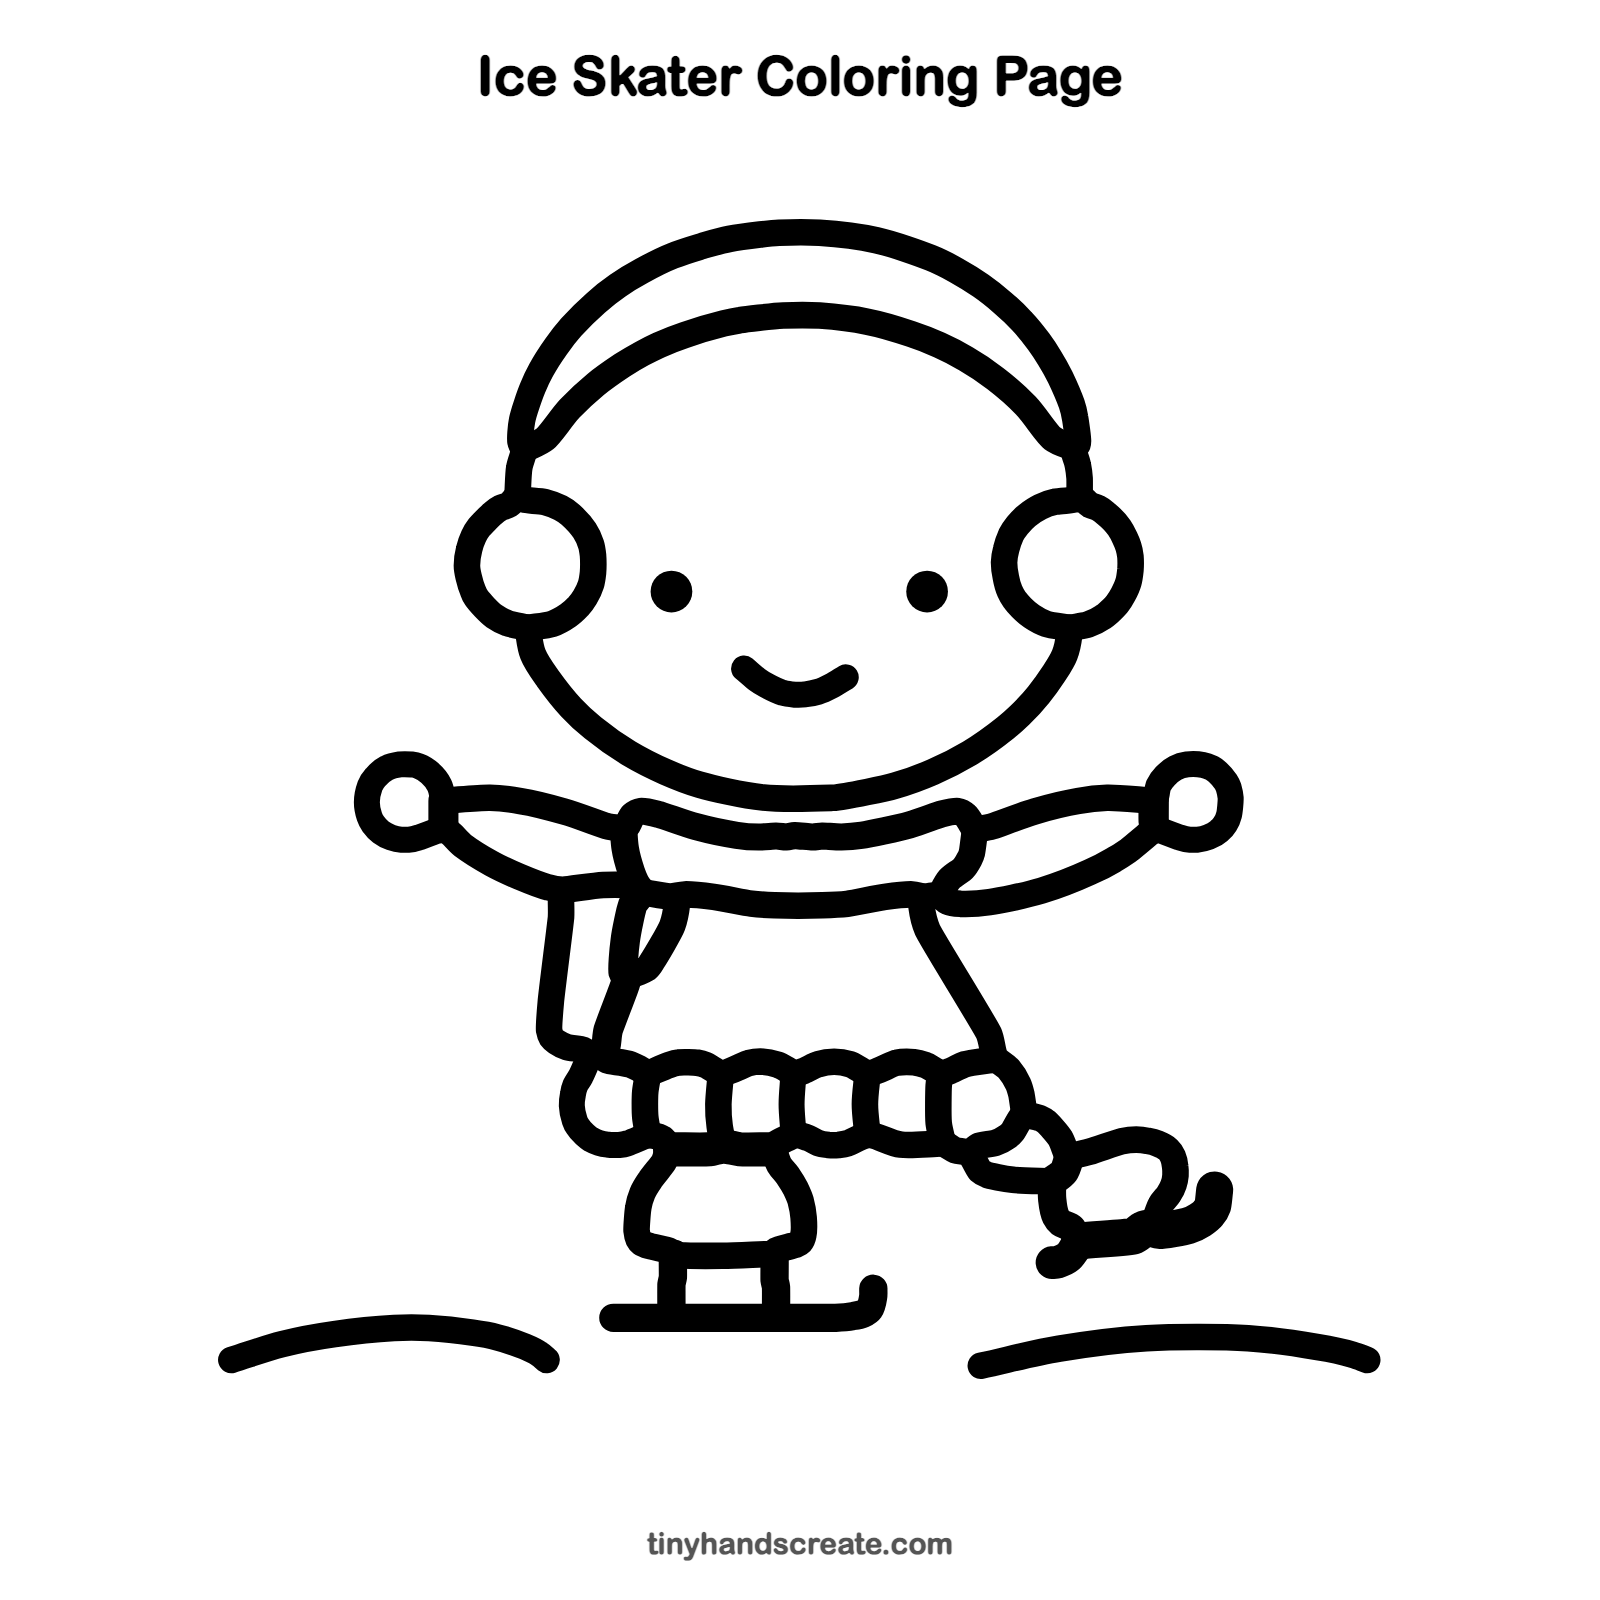
How to color your ice skater drawing
Try a bright red scarf, blue ear muffs and a pink dress against a pale blue ice. For a creative twist, add snowflakes in the sky or draw a friend skating beside this one.
Ice skater fun fact for kids
The first ice skates were made from animal bones tied to shoes. People in northern Europe wore them more than 3,000 years ago.
Questions about drawing an ice skater
What shapes do I need to draw an ice skater?
You need curved lines for the head and headband, circles for the ear muffs and mittens, and a triangle shape for the dress. Round bumps make the skirt edge, and flat lines make the skate blades.
How do I make my ice skater look like it is moving?
Stretch the arms wide and draw one foot stretched out behind, as in this drawing. Drawing the feet in different places makes the skater look like it is gliding.
How do I make my ice skater look cuter?
Draw a big round head with small dots for eyes and a little smile. Adding fluffy ear muffs and round mittens makes it even sweeter.