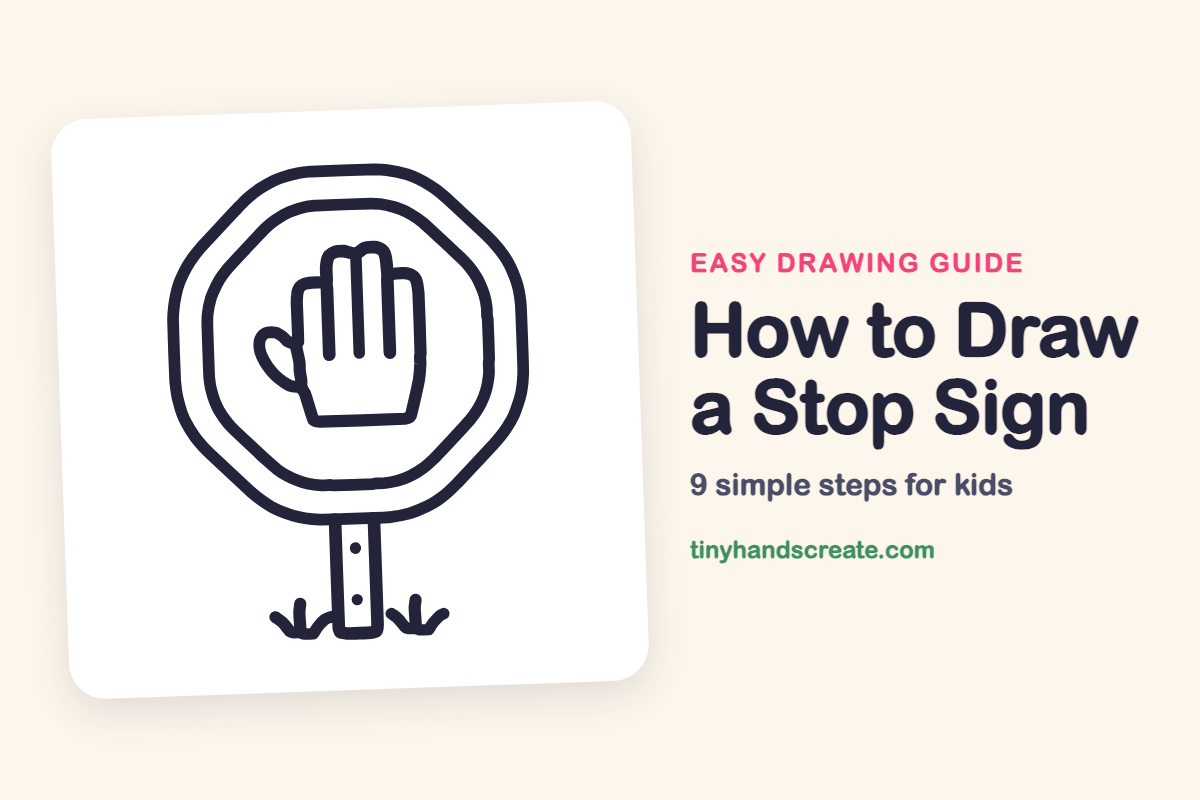
How to Draw a Stop Sign (Easy Step by Step)
A stop sign is a fun first drawing because it is built from simple shapes: an eight-sided octagon, a smaller octagon inside it, a rectangle for the pole, and a hand made from a palm, two tall fingers and a thumb. The hand tells everyone to stop. When the shapes are done, add the bolts and grass.
- Easy
- 12 minutes
- 9 steps
You need: paper, a pencil, an eraser, and crayons or markers for coloring.
Start drawingIn this article (7 sections)
How to draw a stop sign step by step
How to Draw a Stop Sign · tinyhandscreate.com
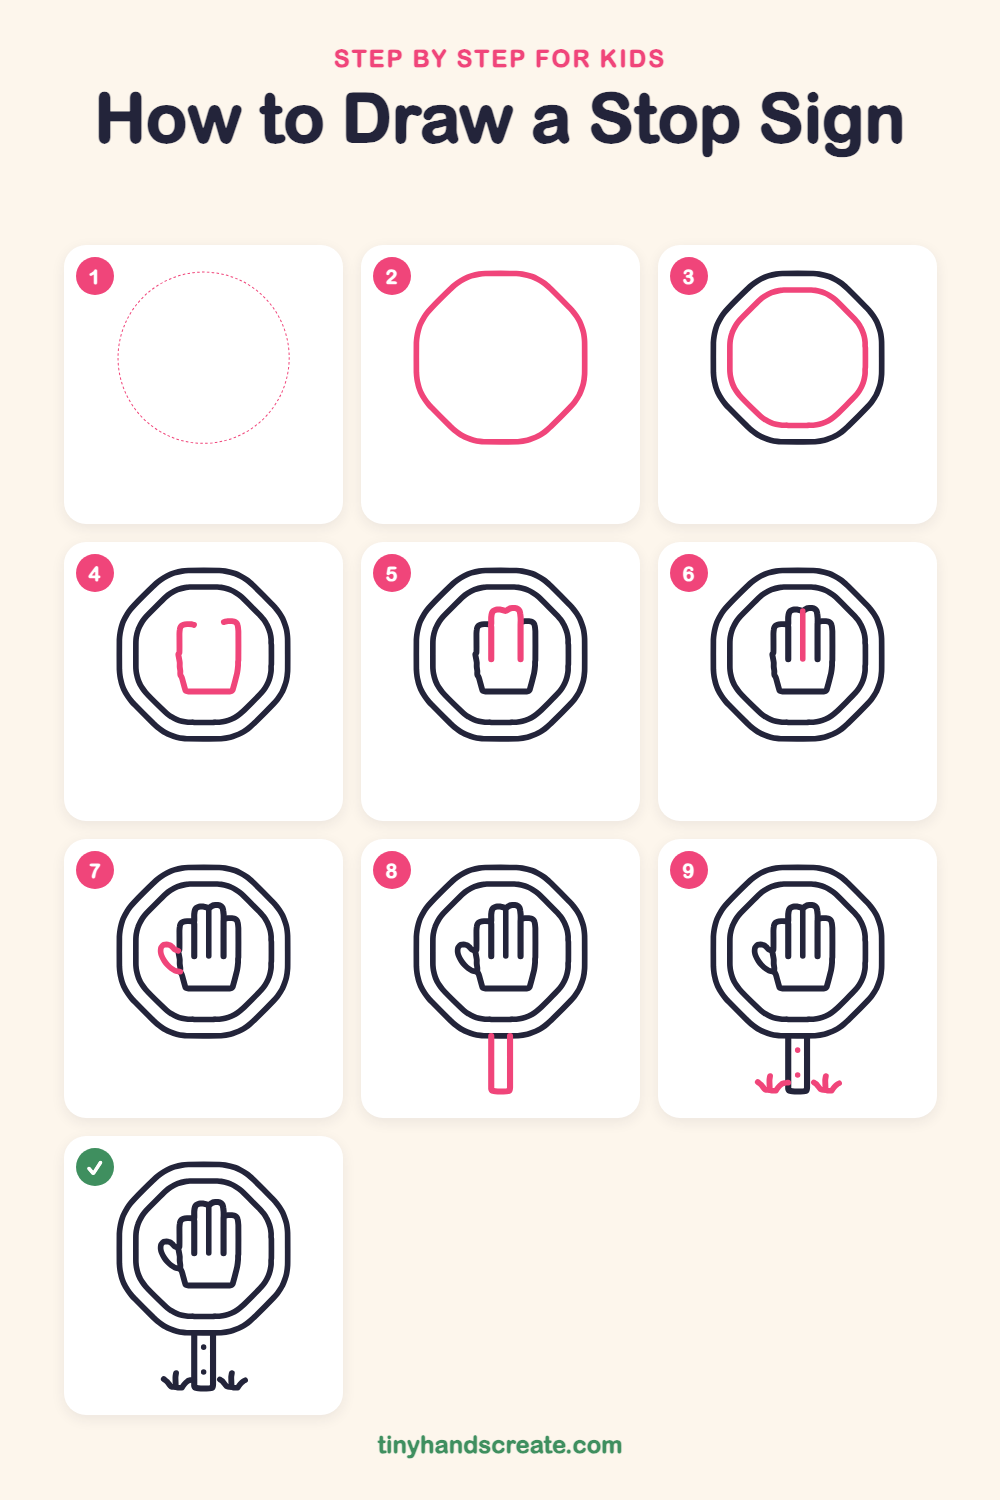
Step 1: Guide shapes
Lightly sketch this oval. It only shows where the big parts go, so press softly. You will erase it at the end.
Step 2: The outer sign
Draw a big eight-sided shape like a stop sign. Make the top, bottom and sides flat, and join them with short slanted lines at the corners.
Step 3: The inner border
Draw a second, smaller eight-sided shape inside the first one. Keep the same gap all the way around so it looks like a neat ring.
Step 4: The palm
In the middle of the sign, draw the palm of a hand. Start with a flat line at the bottom, then draw two sides that lean slightly outward as they go up. Leave the top open.
Step 5: The tall fingers
On top of the palm, draw two long lines going up side by side. Join them across the top with a bumpy curve for the fingertips.
Step 6: The middle line
Draw one straight line down between the tall fingers to show where they touch. Start at the top where the two fingertips meet and stop partway down.
Step 7: The thumb
Draw a leaf shape on the left side of the palm for the thumb. Point it up and out and connect it to the side of the hand.
Step 8: The post
Draw a tall, thin rectangle going down from the bottom of the sign. This is the pole that holds the sign up.
Step 9: Bolts and grass
Add two small dots on the pole for bolts. Then draw little curved grass blades on both sides at the bottom.
All done!
Erase the guide shapes, go over your lines, then color it in.
Finished your stop sign? Keep the pencils out and learn how to draw a fire hydrant or how to draw a mailbox next.
Tips for drawing a stop sign
- Draw the outer octagon first and keep the sides about the same length. Flat sides with slanted corners are easier than trying to draw a circle.
- Make the inner octagon the same shape as the outer one, just smaller. Leave an even gap all around so the ring looks neat.
- The hand is the trickiest part. Draw the flat bottom of the palm first, then add the two tall fingers on top, and the thumb on the left side.
Free stop sign coloring page
Want to go straight to coloring? Open this stop sign coloring page at full size and print it. It is the same drawing you just learned, with clean lines ready for crayons or markers.
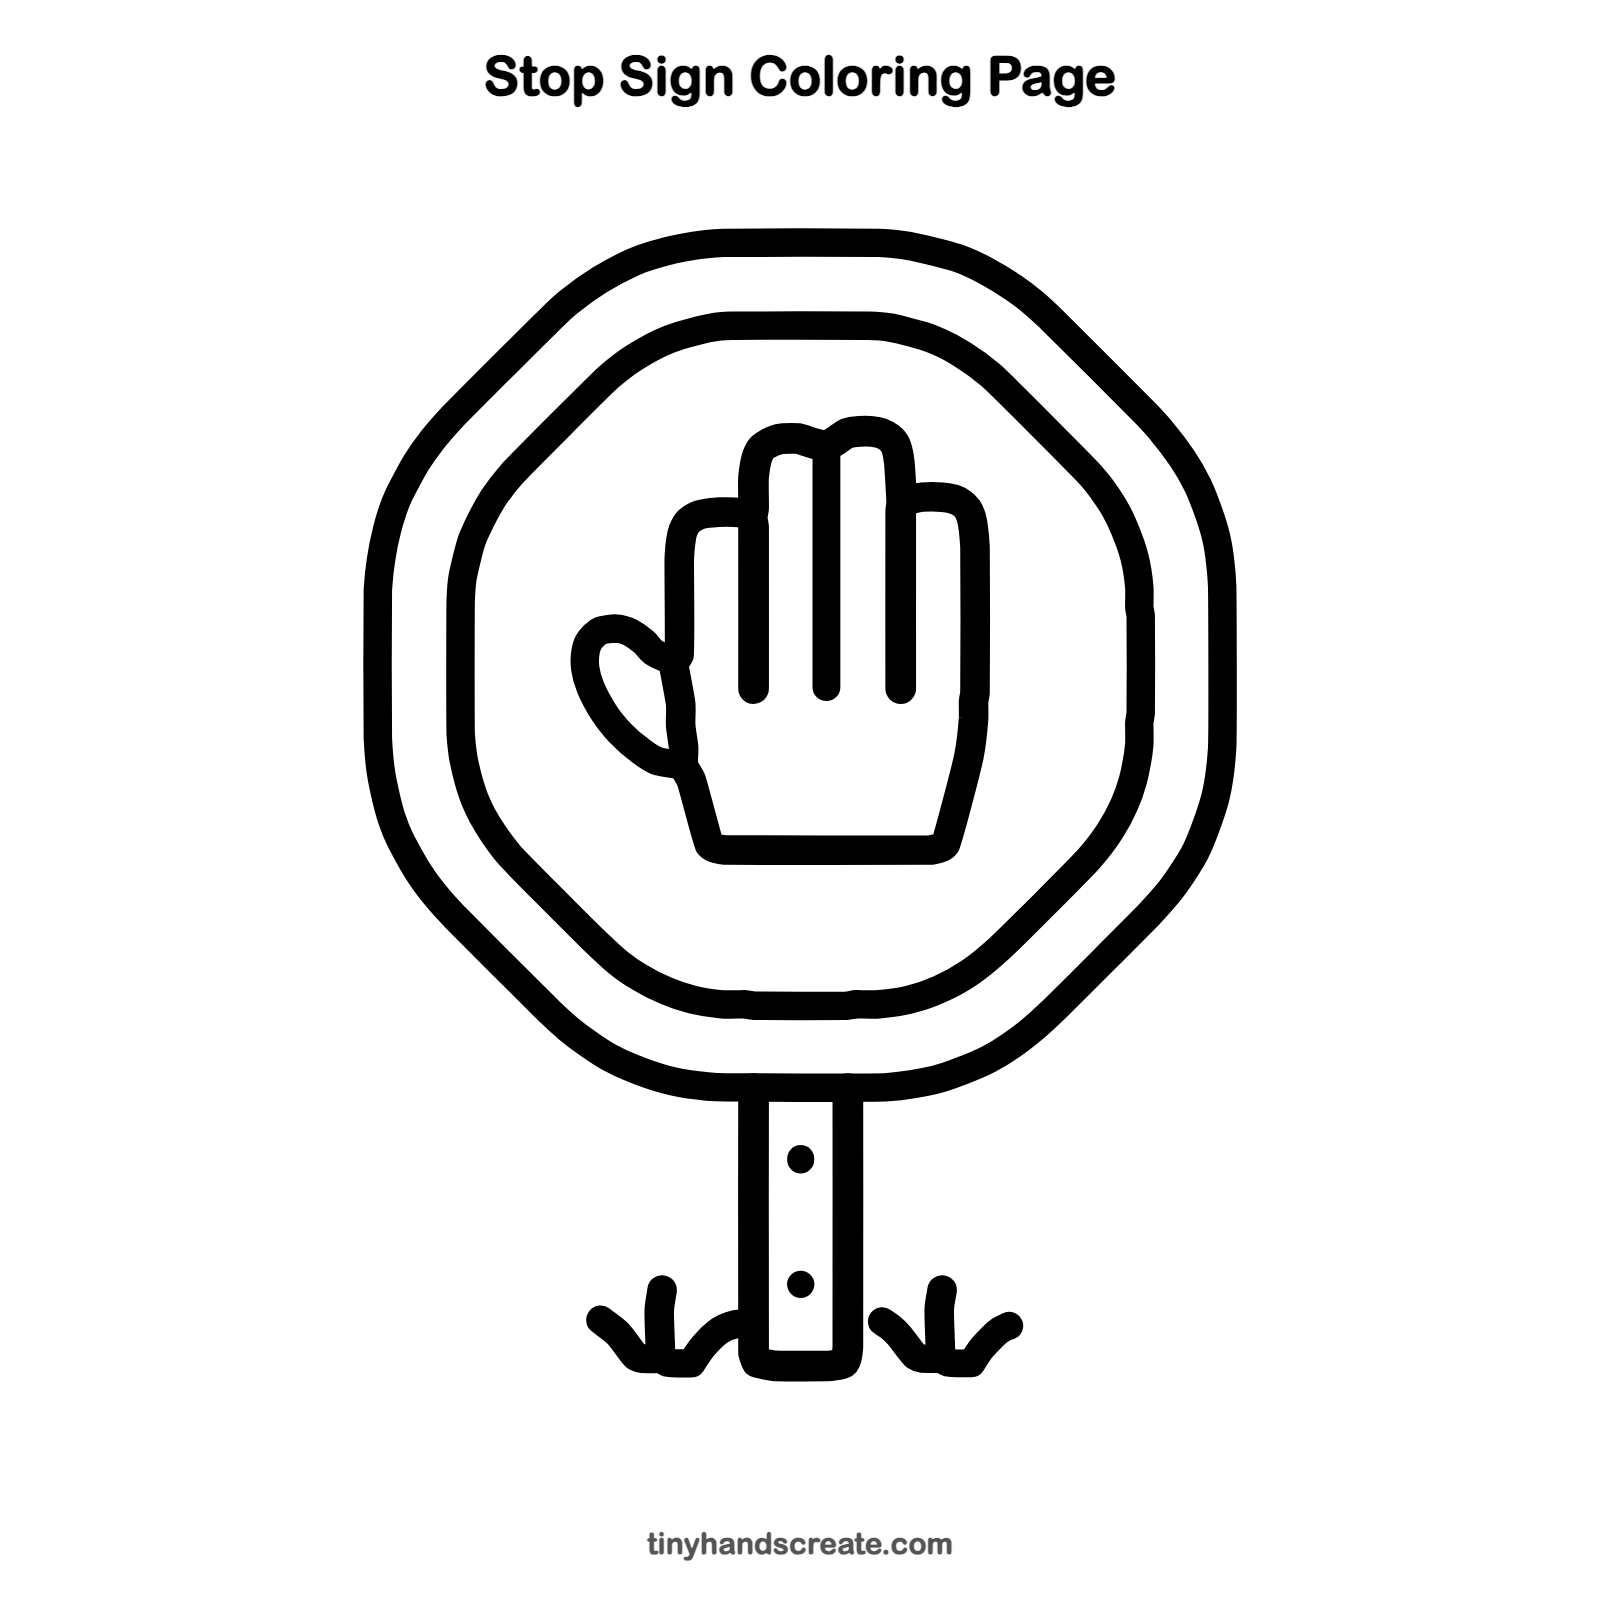
How to color your stop sign drawing
Color the sign red and leave the inner ring and the hand white, or make the hand a bright color so it stands out. For a creative twist, color the grass in rainbow stripes.
Stop sign fun fact for kids
Stop signs have eight sides, a shape called an octagon. Almost no other road sign has that shape, so drivers can tell it is a stop sign even from the back.
Questions about drawing a stop sign
What shapes do I need to draw a stop sign?
You need an octagon for the sign, a smaller octagon inside it, a rectangle for the pole, and a palm with two tall fingers and a leaf-shaped thumb for the hand.
How do I draw an octagon for kids?
Start with a square, then cut off each corner with a short slanted line. You will end up with eight sides.
How do I make my stop sign hand look better?
Draw the palm with a flat bottom first, then add the two tall fingers on top. Add the line between the fingers and the thumb last, and keep the thumb small and leaf-shaped.