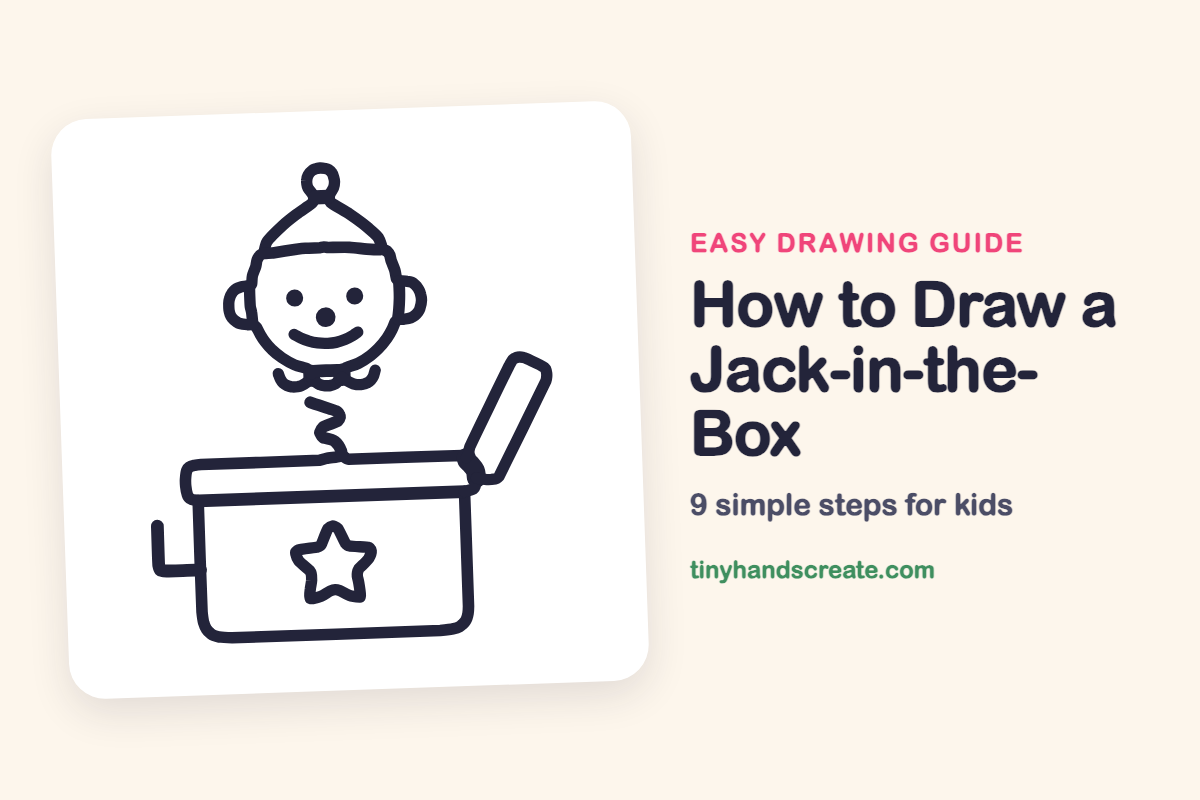
How to Draw a Jack-in-the-Box (Easy Step by Step)
A jack-in-the-box is a surprise in a box, and that makes it fun to draw. It is built from simple shapes: a box and a lid, a zigzag for the spring, a round head with a pointed hat, and a star on the front. Once you can draw those, you can draw the whole toy.
- Medium
- 15 minutes
- 9 steps
You need: paper, a pencil, an eraser, and crayons or markers for coloring.
Start drawingIn this article (7 sections)
How to draw a jack-in-the-box step by step
How to Draw a Jack-in-the-Box · tinyhandscreate.com
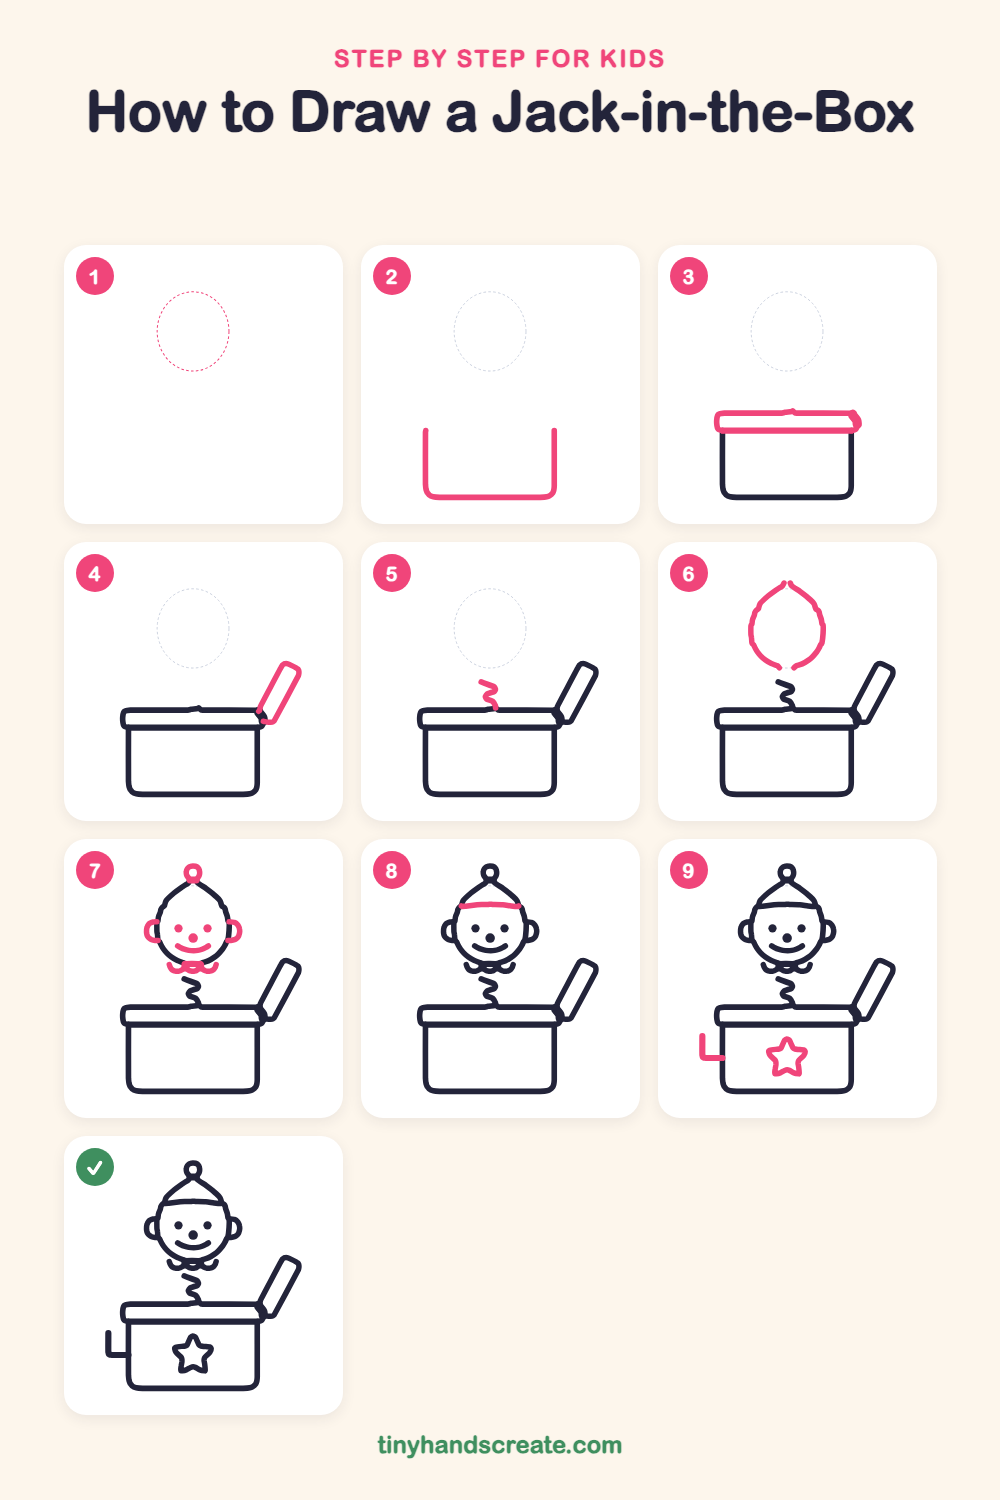
Step 1: Guide shapes
Lightly sketch this oval. It only shows where the big parts go, so press softly. You will erase it at the end.
Step 2: The toy box
Draw a U shape for the box: two straight sides going down and a rounded bottom joining them. Leave the top open for now, because the lid goes there next.
Step 3: Lid and hinge
Draw a long, thin rectangle across the top of the box for the lid, wider than the box. Finish its right end with a small rounded corner where the flap will attach.
Step 4: The open flap
From the right end of the lid, draw a tall, narrow rectangle with rounded corners leaning up and out to the right, like a little door swung open.
Step 5: The spring
Start on the lid, near the middle, and draw a small zigzag that goes up with rounded corners. This is the spring that makes the toy bounce.
Step 6: Pointed head outline
Above the spring, draw a big rounded head shape like an egg turned upside down. Make the top come to a point, where the hat will be.
Step 7: Face, ears and collar
Add a small round pom-pom on the point at the top. Inside the head draw two dot eyes, a dot nose and a curved smile. Add a half circle on each side for ears and a row of little scallops under the chin for a collar.
Step 8: Hat band
Draw a gently curved line across the head, just above the eyes, to mark where the hat ends and the face begins.
Step 9: Star and crank
Draw a five-pointed star in the middle of the front of the box. On the left side, draw a short line going up from the box, then bend it into an L shape that meets the box for the crank handle.
All done!
Erase the guide shapes, go over your lines, then color it in.
Finished your jack-in-the-box? Keep the pencils out and learn how to draw a snowman family or how to draw an ice skating penguin next.
Tips for drawing a jack-in-the-box
- Draw the box low on the page and leave plenty of room above it. The spring and head need lots of space.
- The spring is the trickiest part. Think of drawing the letter Z a couple of times in a row, with rounded corners instead of sharp ones.
- For the star, start with a point at the top and zigzag down and around. Take it slowly so the five points come out even.
Free jack-in-the-box coloring page
Want to go straight to coloring? Open this jack-in-the-box coloring page at full size and print it. It is the same drawing you just learned, with clean lines ready for crayons or markers.
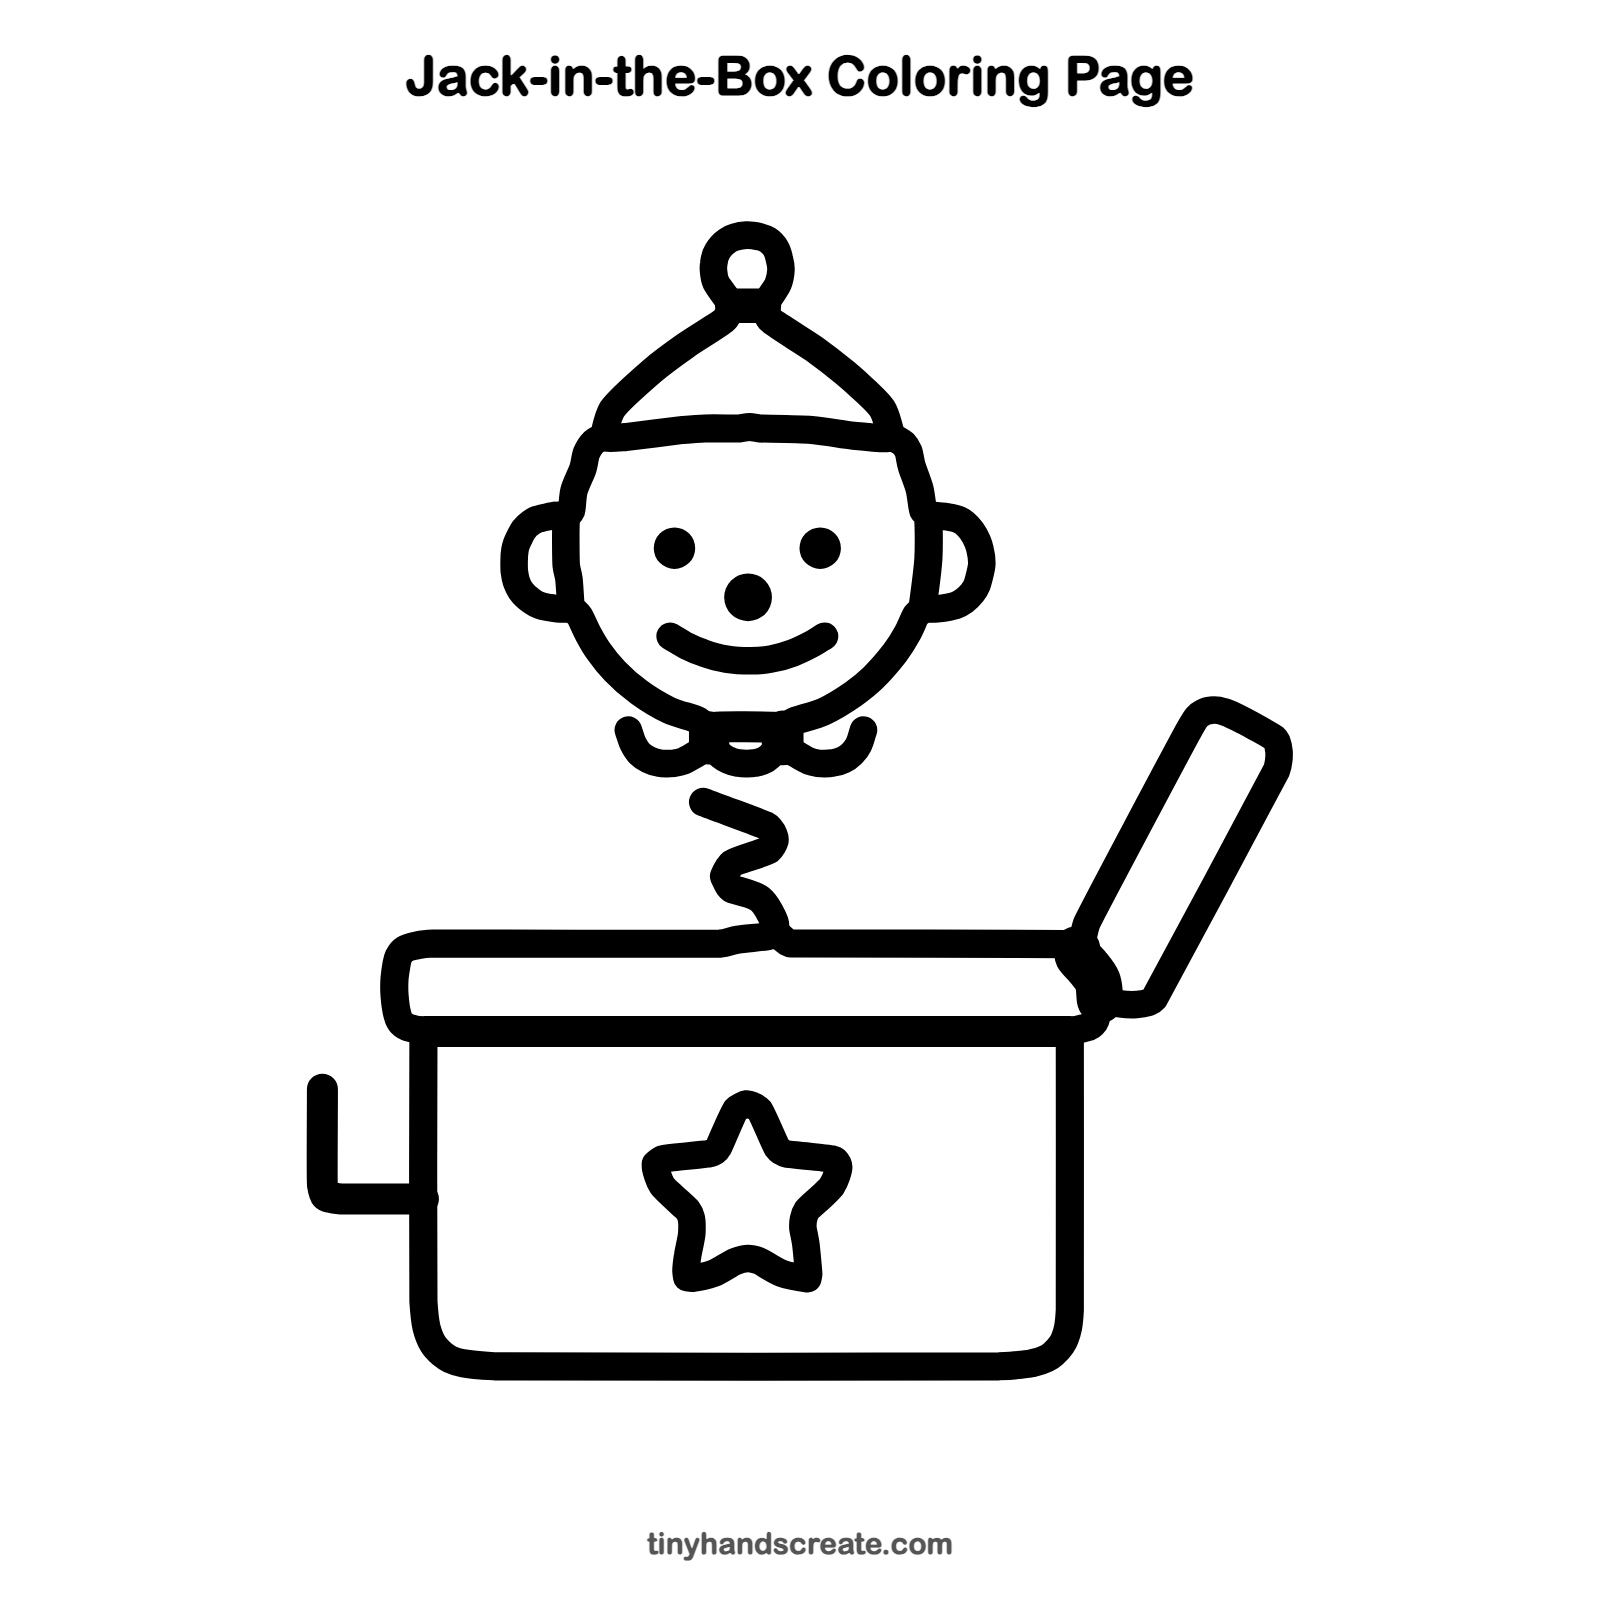
How to color your jack-in-the-box drawing
Try a red box with a yellow star, a blue hat and a green spring. For a creative twist, give the hat rainbow stripes and color the box in stripes too.
Jack-in-the-box fun fact for kids
A jack-in-the-box works with a spring. Closing the lid squashes the spring down, and a latch holds it there until the lid is opened and the figure pops up.
Questions about drawing a jack-in-the-box
What shapes do I need to draw a jack-in-the-box?
You need a U shape for the box, thin rectangles for the lid and flap, a rounded head with a pointed top, and a zigzag line for the spring. A star and a few small dots finish the picture.
How do I make my jack-in-the-box look like it is popping out?
Stretch the spring a little taller and tilt the open flap outward. A tall spring makes the figure look like it just jumped up.
How do I make the face look cuter?
Place the eyes low on the face and draw a big, wide smile. A round nose and a pom-pom on the hat make it extra friendly.