How to Draw an Apple Pie (Easy Step by Step)
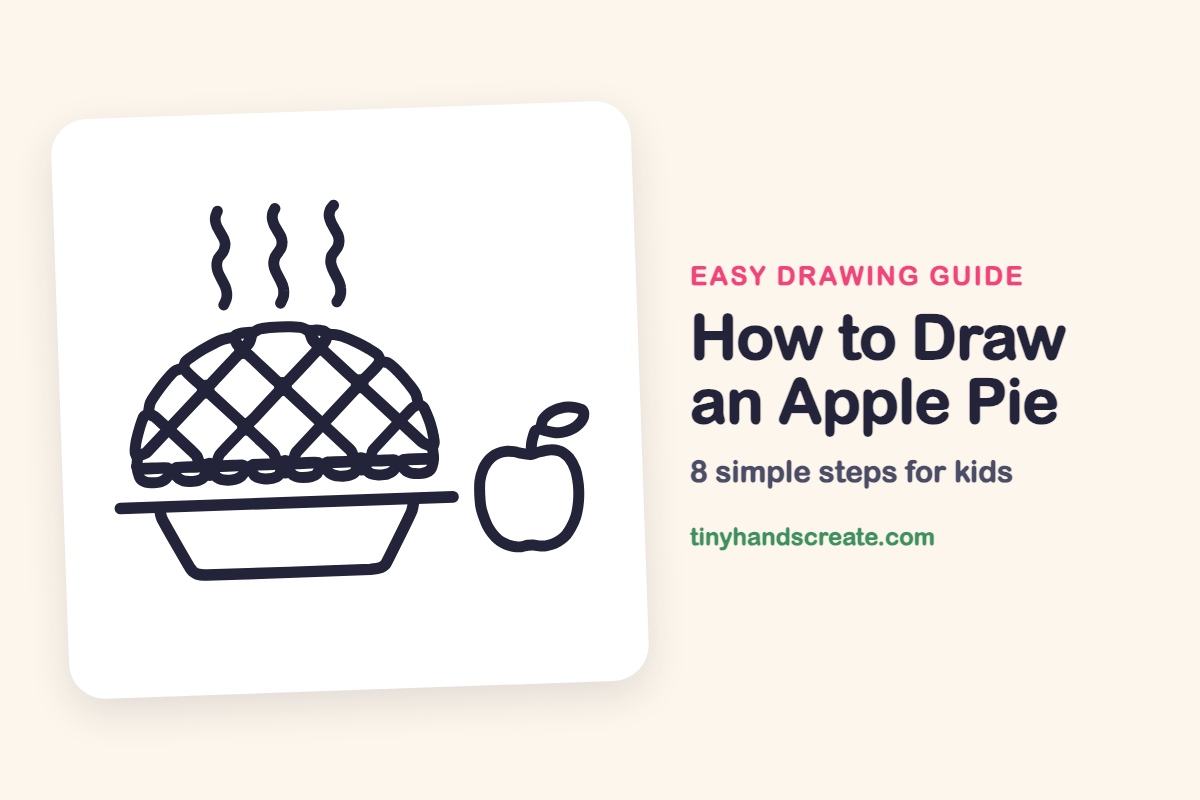
An apple pie is a cozy drawing, and it is built from shapes you already know. You will use an arch for the dome, a bowl shape for the pan, and a net of diamonds for the crust. A little apple and some wavy steam finish the picture.
- Medium
- 15 minutes
- 8 steps
You need: paper, a pencil, an eraser, and crayons or markers for coloring.
Start drawingIn this article (7 sections)
How to draw an apple pie step by step
How to Draw an Apple Pie · tinyhandscreate.com
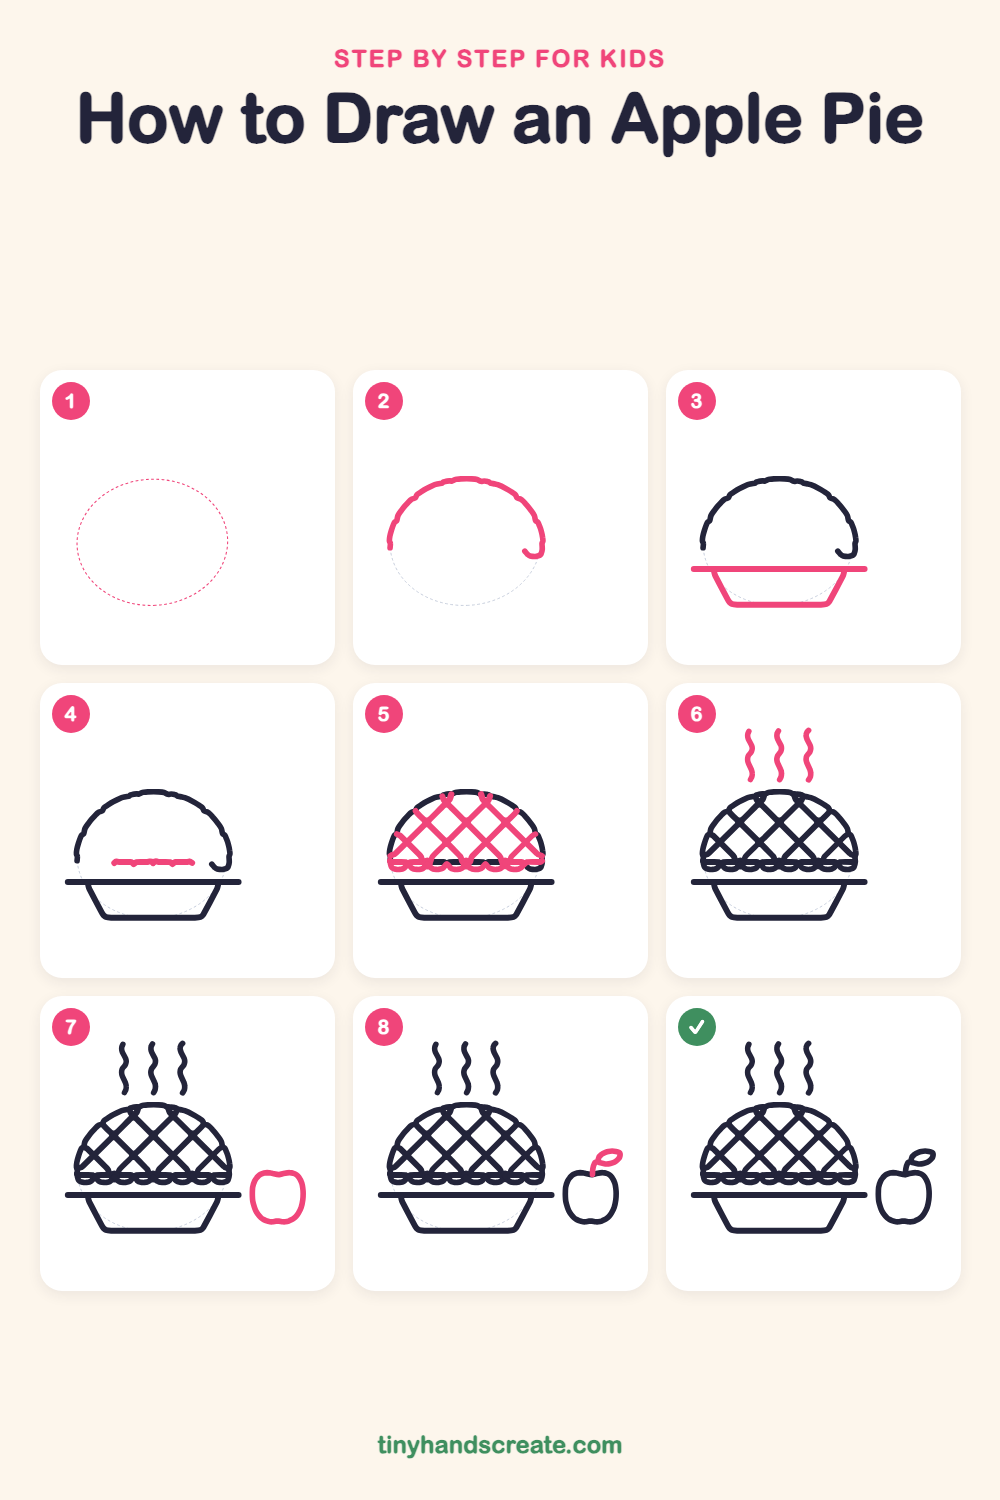
Step 1: Guide shapes
Lightly sketch this oval. It only shows where the big parts go, so press softly. You will erase it at the end.
Step 2: The pie dome
Draw a big curved arch, like a rainbow, for the top of the pie. Leave the bottom open and let the right end curl in a little.
Step 3: The pie pan
Under the dome, draw a long flat line that sticks out a little on both sides. Then draw a shallow bowl shape hanging from it, with slanted sides and a flat bottom.
Step 4: Short crust line
Inside the dome, a little above the flat line, draw a short wiggly line going sideways. It marks where the crust edge will go.
Step 5: Lattice and crust edge
Draw slanted lines across the dome going one way, then cross them with slanted lines going the other way to make diamonds. Finish with a row of small bumps along the bottom of the dome, just above the flat line.
Step 6: Wavy steam
Above the pie, draw three wavy lines that curl up like little snakes. They show the pie is warm and fresh from the oven.
Step 7: The apple
Next to the pie, draw a round shape that is a little wider at the top. Dip the top in the middle and add a small dent at the bottom.
Step 8: Stem and leaf
From the dip at the top of the apple, draw a short curved line for the stem. At the end, draw a small pointy oval for the leaf.
All done!
Erase the guide shapes, go over your lines, then color it in.
Finished your apple pie? Keep the pencils out and learn how to draw a roast turkey or how to draw a turkey in a pilgrim hat next.
Tips for drawing an apple pie
- Draw the crossing lattice lines with slow, steady strokes so the diamonds come out about the same size.
- Make the bumps along the bottom of the crust small and even. Try drawing a row of little smiles from left to right and keep each one about the same width.
- Draw the flat pan line wider than the dome so the pie looks like it is sitting on it. Slant the pan sides inward as they go down.
Free apple pie coloring page
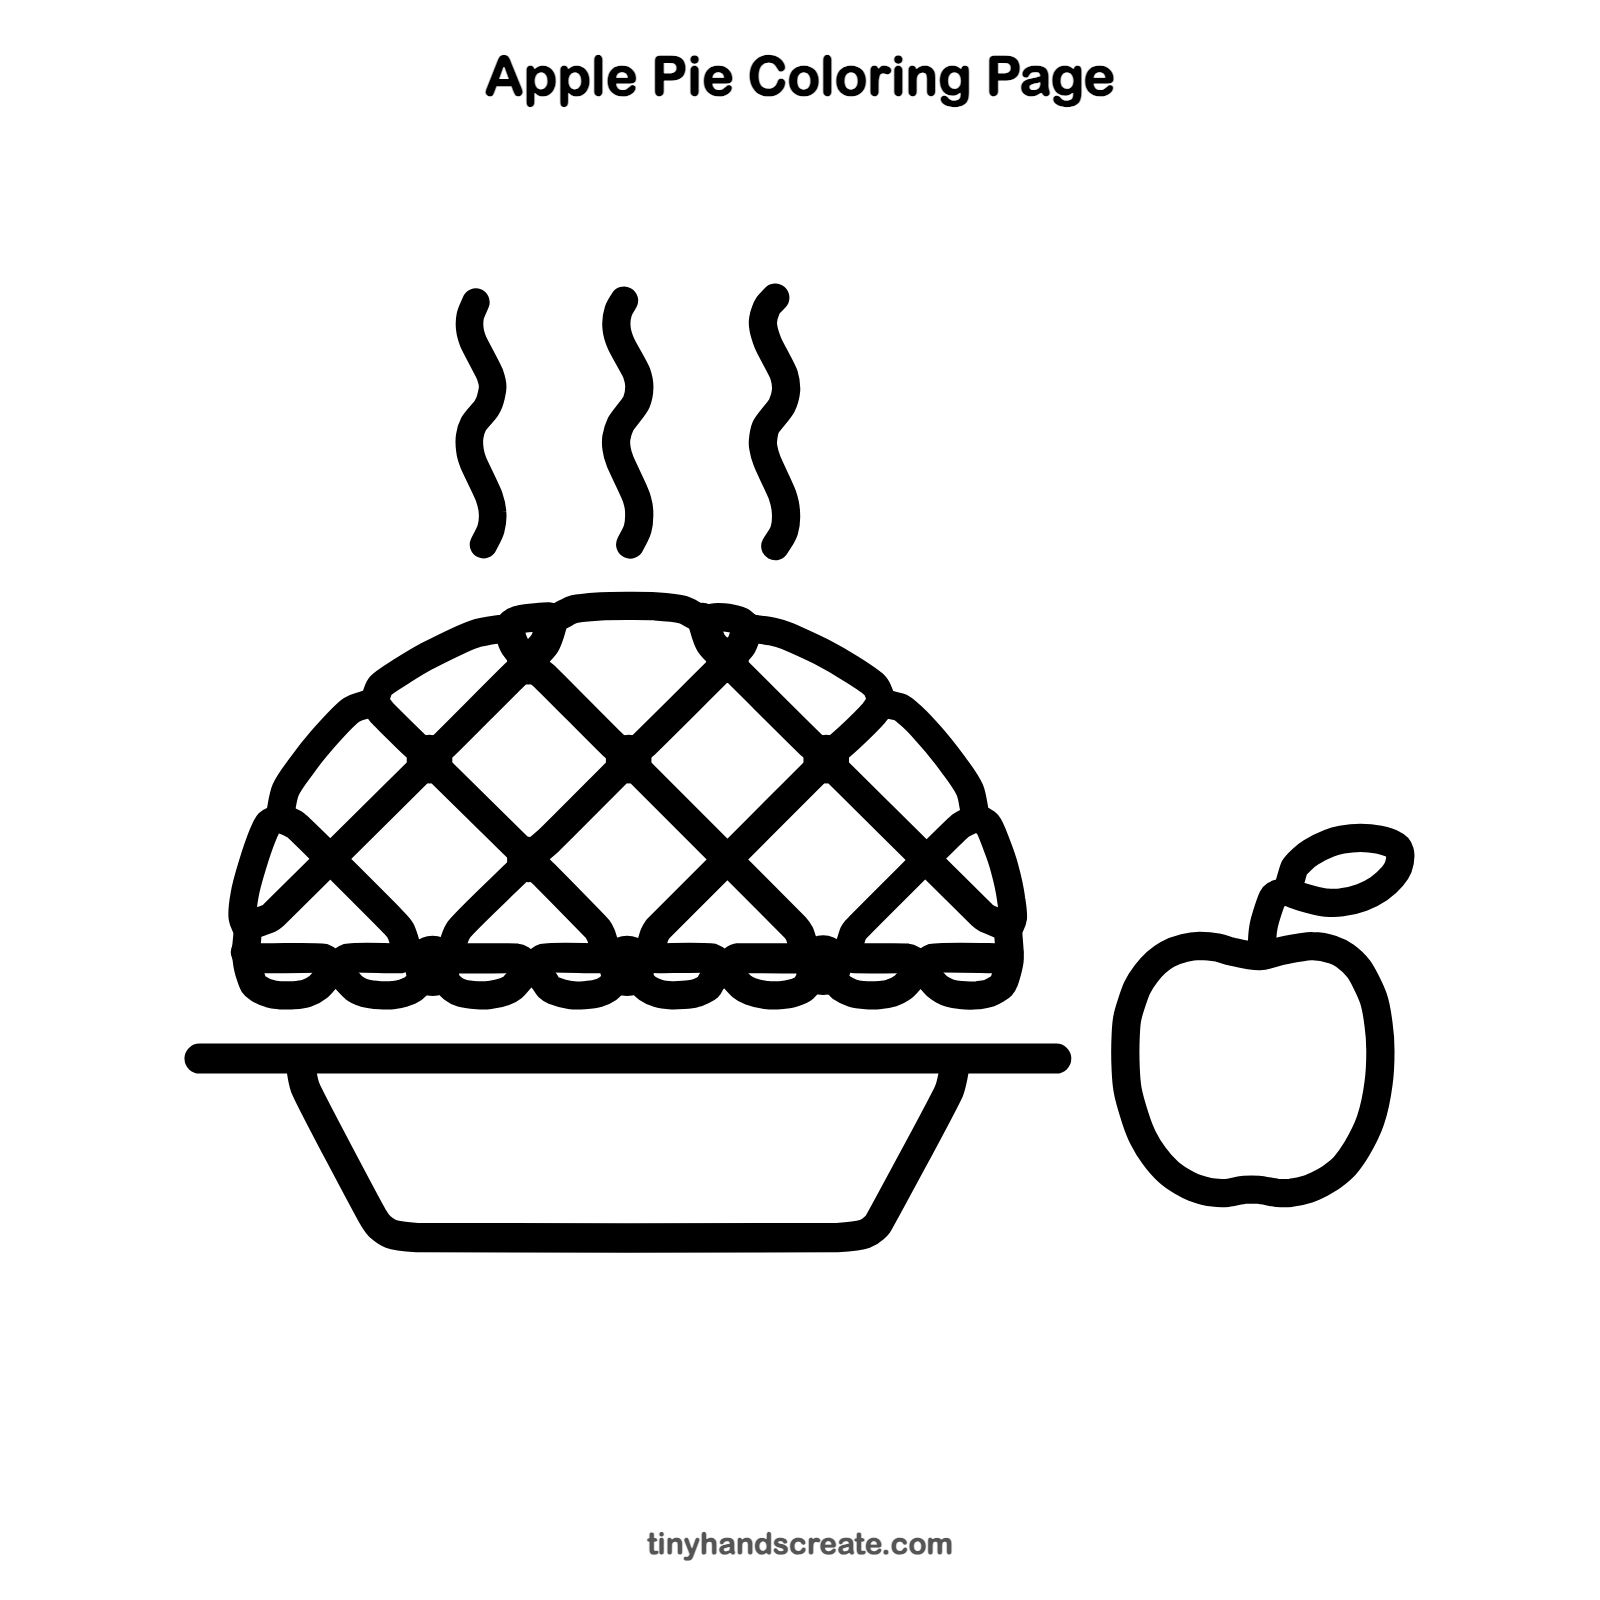
Want to go straight to coloring? Open this apple pie coloring page at full size and print it. It is the same drawing you just learned, with clean lines ready for crayons or markers.
How to color your apple pie drawing
Color the crust golden brown and the pan silver or blue, and make the apple a bright red or green. For a creative twist, color the steam in rainbow stripes.
Apple pie fun fact for kids
Apple trees first grew wild in Central Asia, in the mountains of what is now Kazakhstan.
Questions about drawing an apple pie
What shapes do I need to draw an apple pie?
You need an arch for the dome, a long flat line and a bowl shape for the pan, and a rounded shape for the apple. The lattice is just slanted lines that cross.
How do I make the lattice crust look neat?
Draw all the lines that slant one way first, then add the lines that slant the other way. Keep the gaps between lines about the same, and let the lines stop at the edge of the dome.
How do I make my apple pie look more delicious?
Add the wavy steam lines above it and an apple beside it. When you color, use warm browns and golden yellows for the crust.