How to Draw Rain Boots (Easy Step by Step)
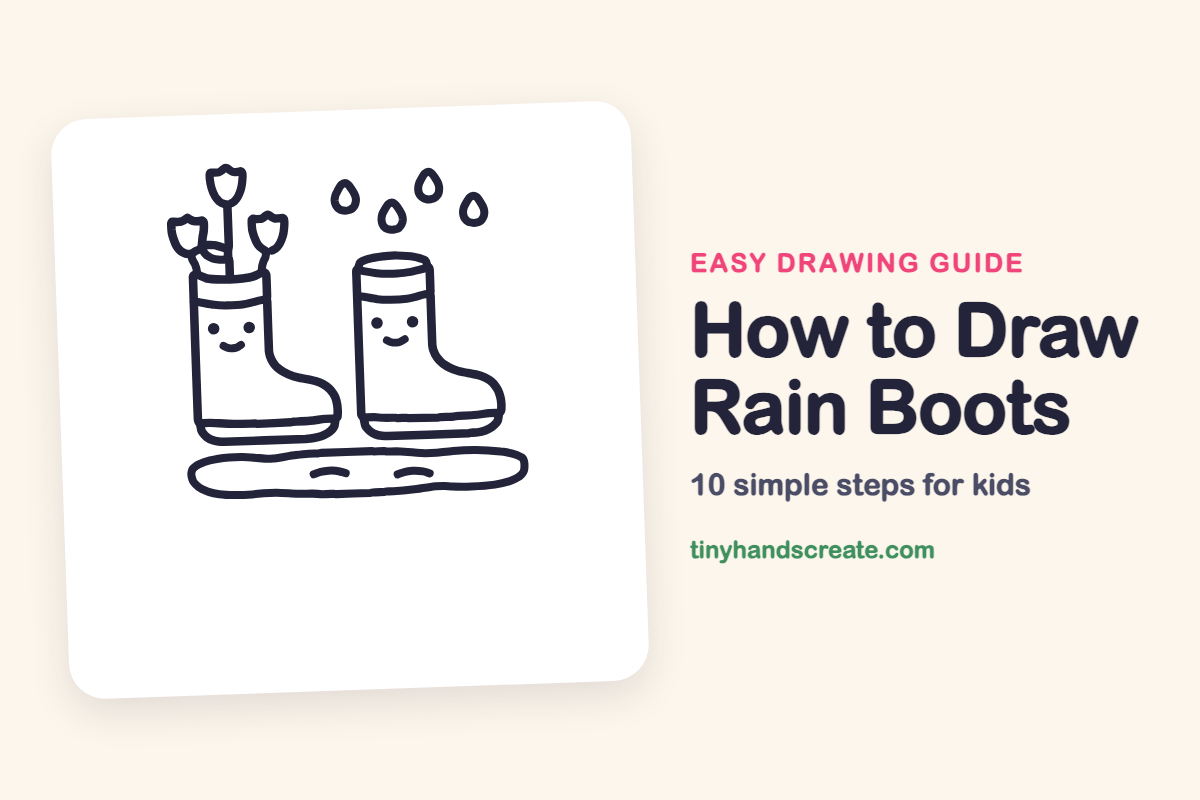
Two smiling rain boots standing in a puddle make a cheerful drawing, and they are easier than they look. Each boot is a tall shape with a rounded toe, and the rest is ovals, dots, and little curved lines. Tulips and raindrops finish the rainy day scene.
- Medium
- 20 minutes
- 10 steps
You need: paper, a pencil, an eraser, and crayons or markers for coloring.
Start drawingIn this article (7 sections)
How to draw rain boots step by step
How to Draw Rain Boots · tinyhandscreate.com
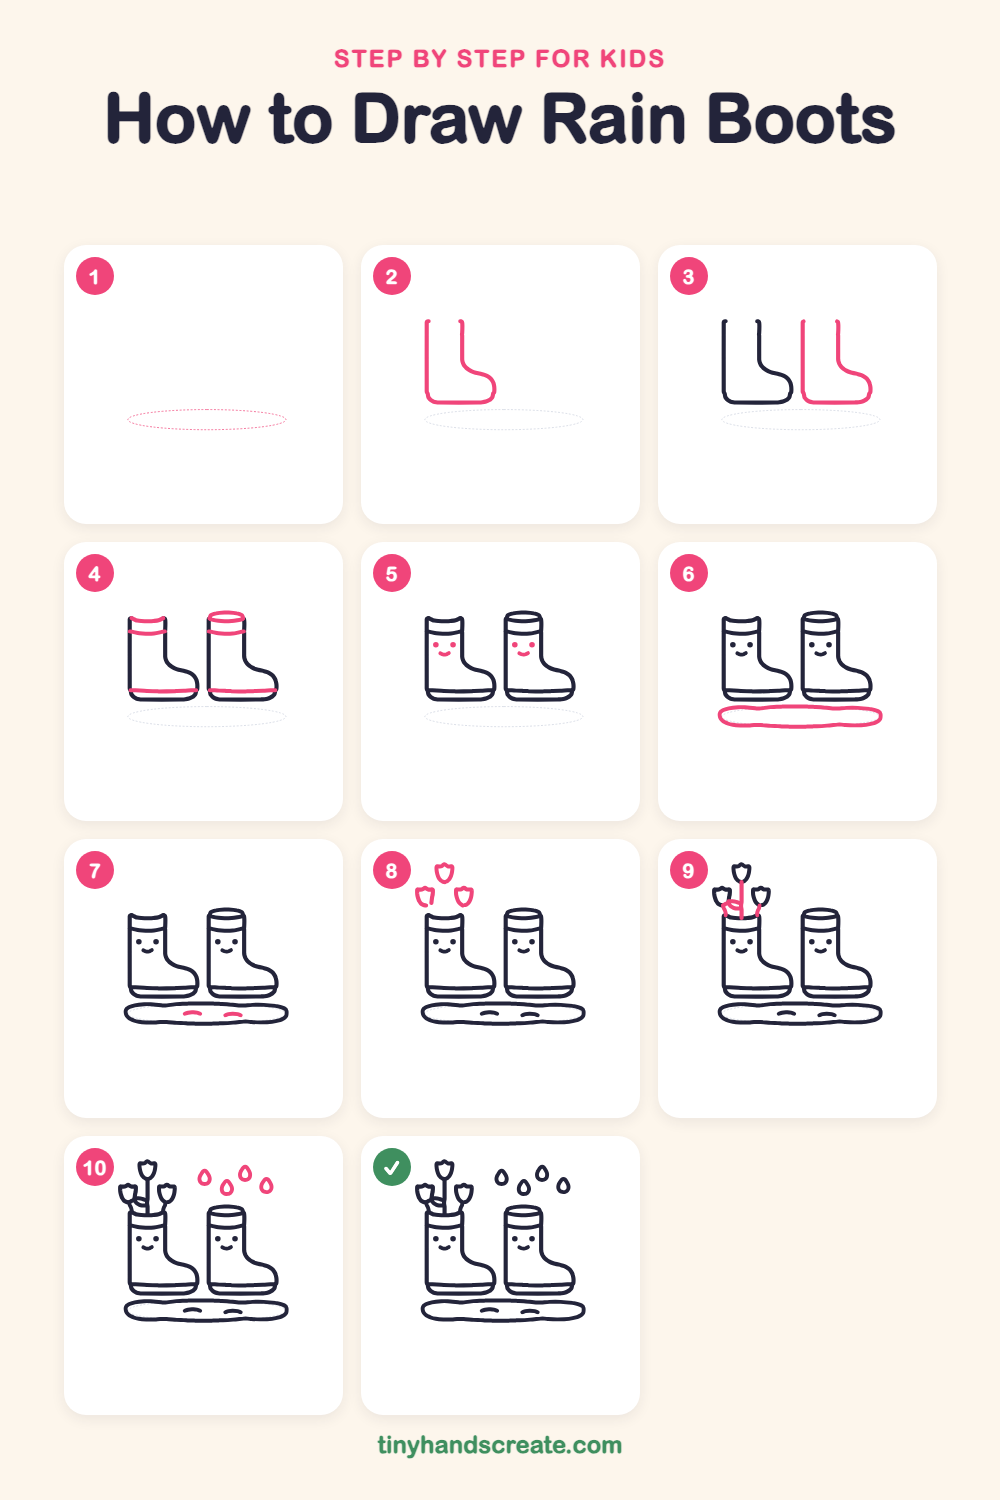
Step 1: Guide shapes
Lightly sketch this oval. It only shows where the big parts go, so press softly. You will erase it at the end.
Step 2: The left boot
Draw a tall boot shaft with two straight sides that stay open at the top. At the bottom, curve the line out to the right to make a rounded toe, like the letter L with soft corners.
Step 3: The right boot
Next to the first boot, draw a second boot just the same: a tall shaft that bends out into a rounded toe on the right.
Step 4: Rims and sole lines
Draw two short curved lines across the top of the left boot, one just under the other, to make its rim. On the right boot, draw a flat oval across the top for its opening, then one curved line just below it. Then draw a straight line near the bottom of each boot to make the sole.
Step 5: Happy faces
Put two small round dots for eyes on each boot, near the top. Under them, draw a little curved smile that looks like a tiny bowl.
Step 6: The puddle
Under the boots, draw a wide wobbly oval like a bean lying down. It should be long and flat so both boots can stand in it.
Step 7: Puddle ripples
Inside the puddle, draw two short curved lines, like sleepy smiles. They show the water moving.
Step 8: Tulip flowers
Above the left boot, draw three small cup shapes with a pointed top edge. Make the middle tulip a little higher, and put one tulip lower on each side.
Step 9: Stems and leaf
Draw a long straight line down from the middle tulip into the opening of the left boot. Add a short curved stem under each side tulip, and a small leaf shape near the middle stem.
Step 10: Falling raindrops
Above the right boot, draw four small raindrops. Each one has a pointy top and a round bottom, and you can put them at different heights.
All done!
Erase the guide shapes, go over your lines, then color it in.
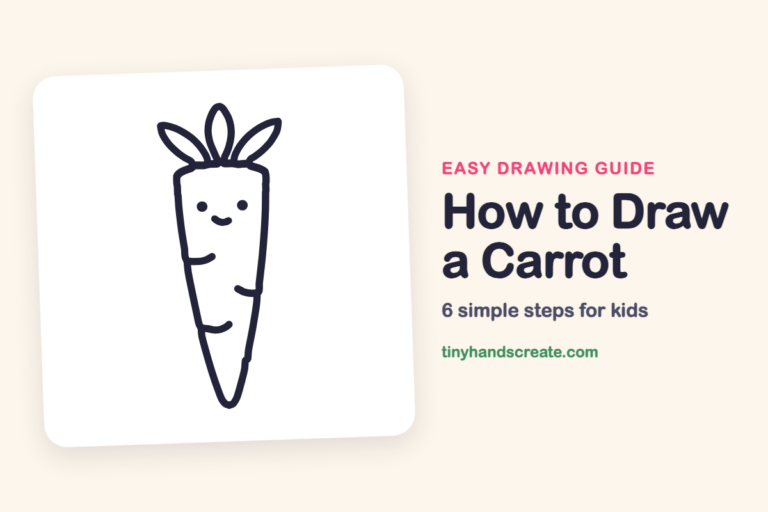
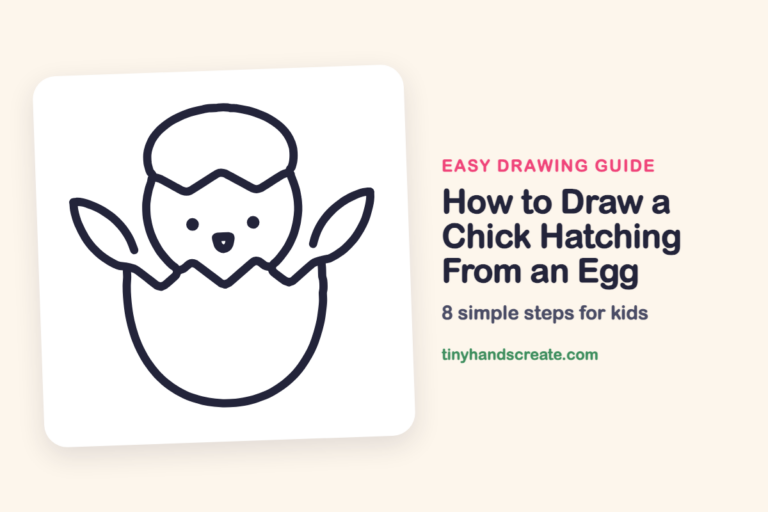
Finished your rain boots? Keep the pencils out and learn how to draw a carrot or how to draw a chick hatching from an egg next.
Tips for drawing rain boots
- Draw one boot first and look at it while you draw the second, so the toes curve the same way.
- The stems are the trickiest part. Start each stem under its flower and pull your line down slowly toward the boot.
- Make the puddle wide and wobbly. It does not need to be neat, because real puddles are not.
Free rain boots coloring page
Want to go straight to coloring? Open this rain boots coloring page at full size and print it. It is the same drawing you just learned, with clean lines ready for crayons or markers.
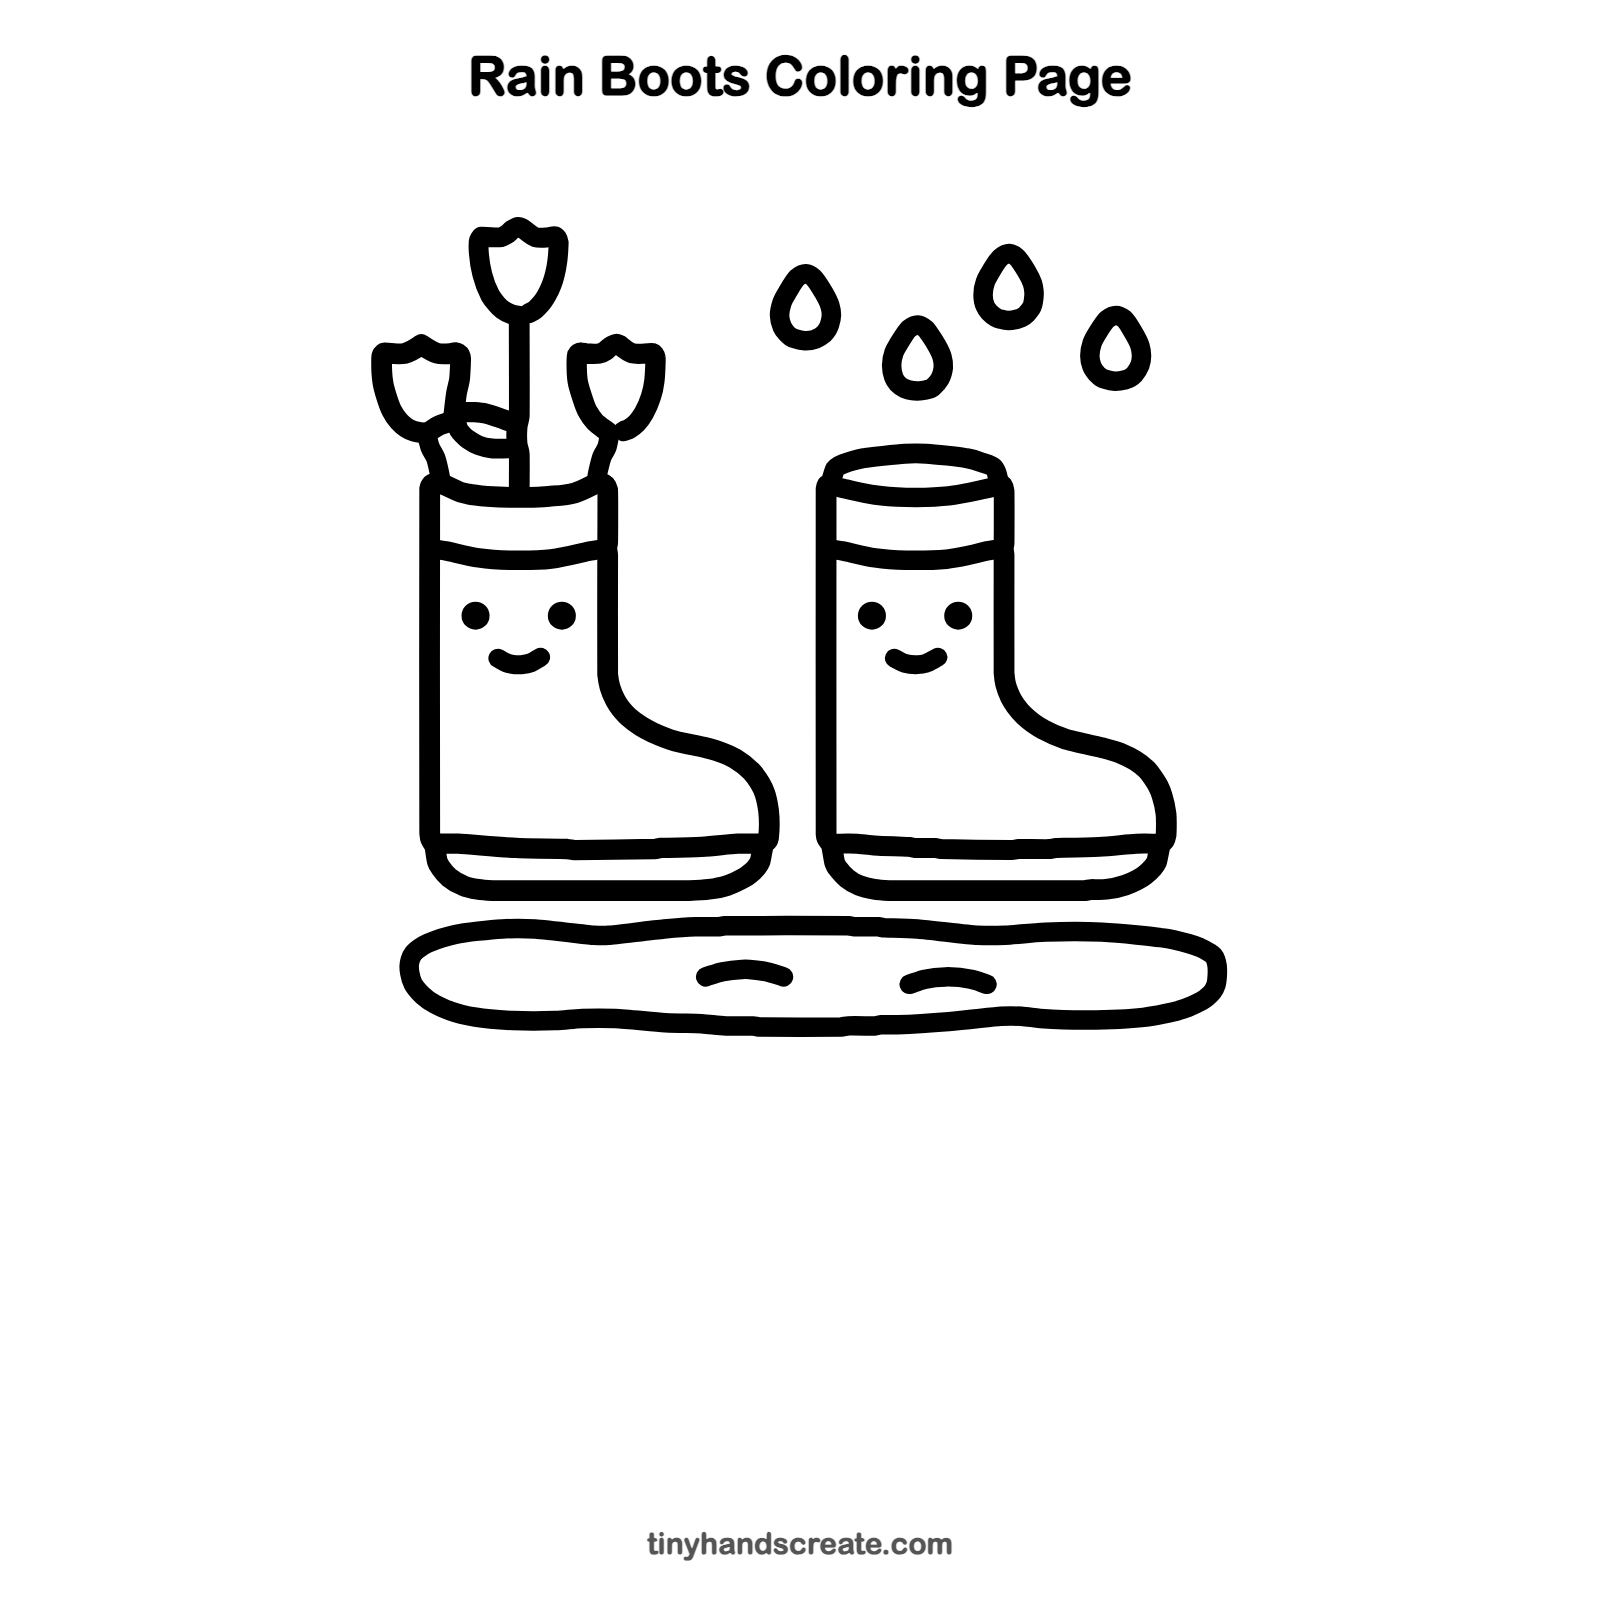
How to color your rain boots drawing
Try bright yellow and red boots with pink and orange tulips, and light blue for the raindrops and puddle. For a twist, give each boot a different pattern, like polka dots or stripes.
Rain boots fun fact for kids
Rain boots are often called wellies in the United Kingdom, named after the Duke of Wellington, who had a style of boot made for him in the early 1800s.
Questions about drawing rain boots
What shapes do I need to draw rain boots?
You need a tall shaft with two straight sides and a rounded bump at the bottom for the toe. Add a flat oval or curved lines at the top for the rim, and a straight line near the bottom for the sole.
How do I make my rain boots look cuter?
Add two round dot eyes and a small curved smile near the top of each boot. Tilting the smile a little makes the boots look extra happy.
How do I draw a tulip?
Draw a small cup shape that is round at the bottom and has a pointed top edge. Then add a stem going down from the bottom of the cup.