How to Draw the Easter Bunny (Easy Step by Step)
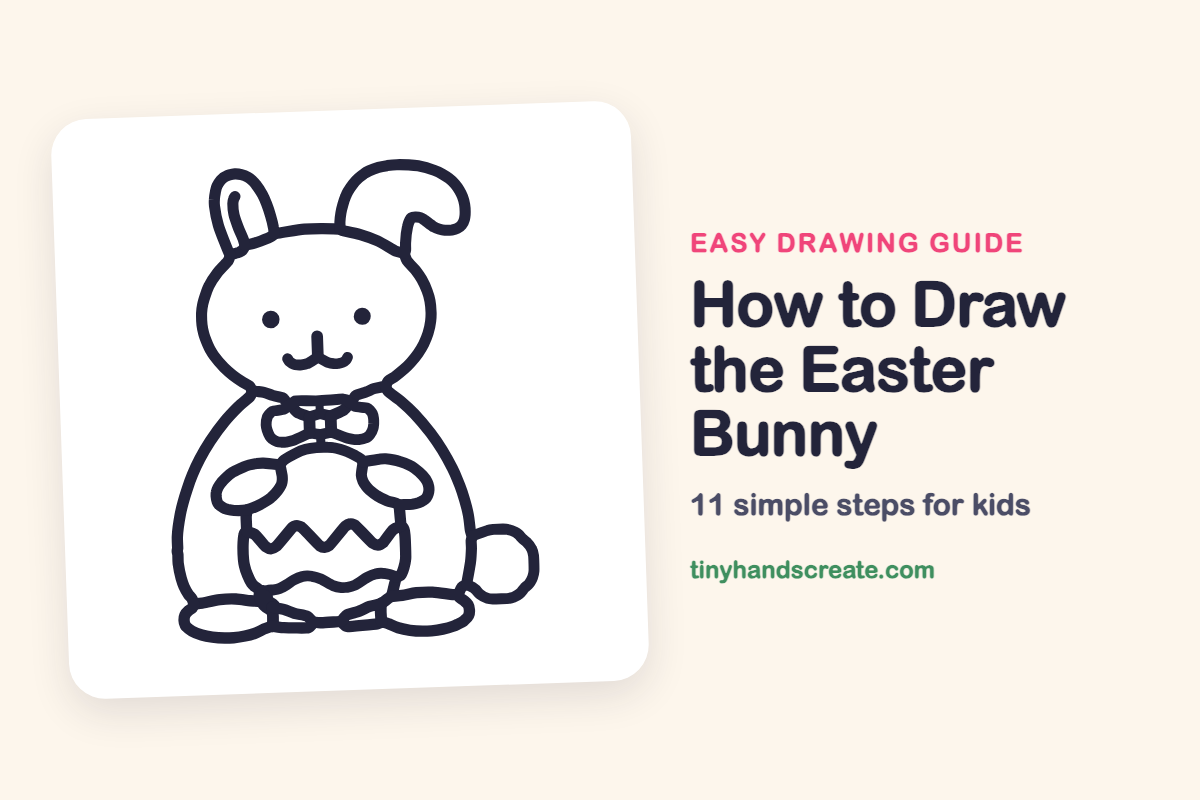
The Easter bunny is a happy picture to draw because it is made almost entirely of ovals and circles. You will build a round head, floppy ears, a big rounded body and an egg with zigzag and wavy stripes. Take it one shape at a time and it comes together quickly.
- Easy
- 15 minutes
- 11 steps
You need: paper, a pencil, an eraser, and crayons or markers for coloring.
Start drawingIn this article (7 sections)
How to draw the Easter bunny step by step
How to Draw the Easter Bunny · tinyhandscreate.com
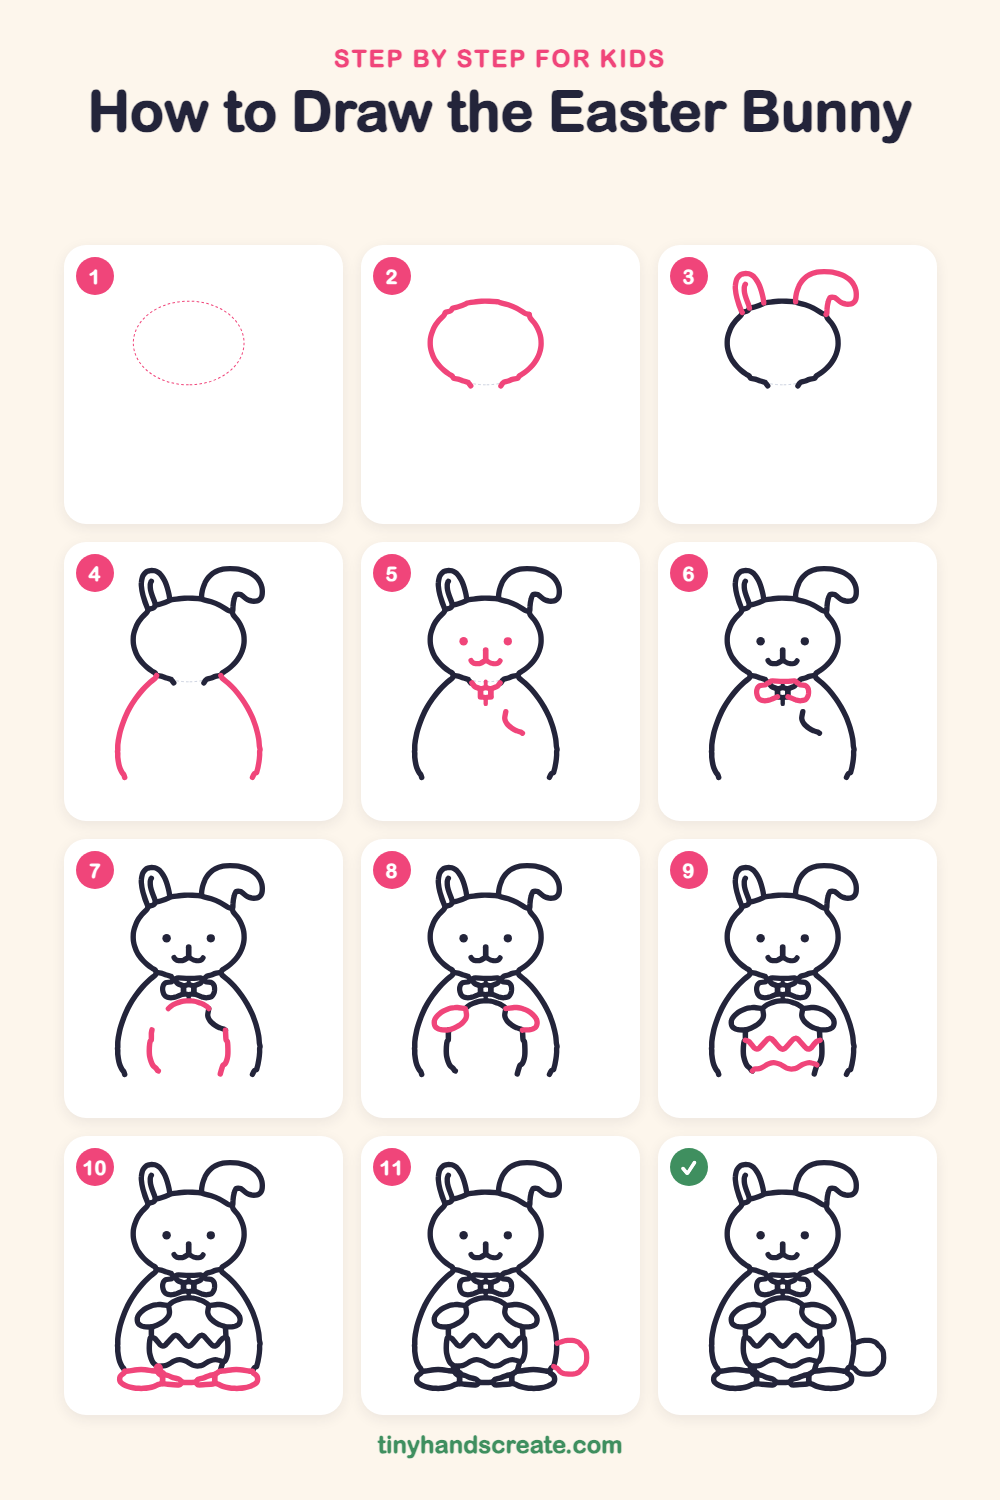
Step 1: Guide shapes
Lightly sketch this oval. It only shows where the big parts go, so press softly. You will erase it at the end.
Step 2: The head
Draw a big wide oval near the top of your page. Leave a tiny gap at the bottom where the neck will be.
Step 3: The floppy ears
Draw a tall, thin ear rising from the top left of the head, with a small curved line inside it. Then draw the other ear on the right: it goes up, then flops over and curls at the tip.
Step 4: The body sides
Under the head, draw two long curved lines, one on each side, starting just under the cheeks. Let them bow outward and then come down toward the bottom of the page, like an upside-down U that is open at the bottom.
Step 5: Face and button
Add two round dots for eyes and a small smile shaped like a wavy letter w, with a short line dropping from the middle for the nose. Then draw a tiny button with a little cross just below the chin, and a short curved line on the right side of the tummy.
Step 6: The bow tie
Draw two loops that look like a sideways bow around the button just under the chin. Make them meet in the middle where the button sits.
Step 7: The egg's top and sides
Under the bow, draw a curved line like a little hill for the top of the egg. Then draw two curved lines going down from its sides toward the bottom of the body.
Step 8: The paws
Draw one small tilted oval on each side of the egg, near the top, so the paws look like they are holding it.
Step 9: Egg patterns
Draw a zigzag line across the egg, like a row of mountains. Add a wavy line lower down, like gentle ocean waves.
Step 10: The big feet
At the bottom, draw two wide ovals for feet, one on each side. Add short curved lines between them to close the bottom of the egg.
Step 11: The round tail
On the right side of the body, near the bottom, draw a small circle for the cotton tail.
All done!
Erase the guide shapes, go over your lines, then color it in.
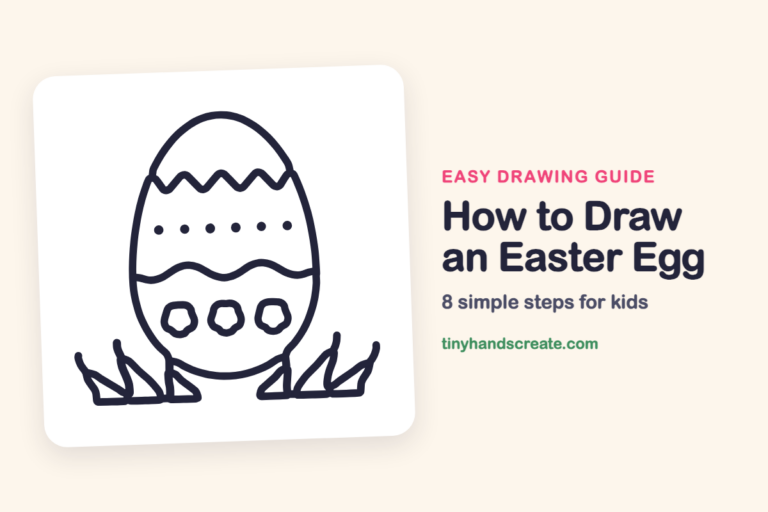
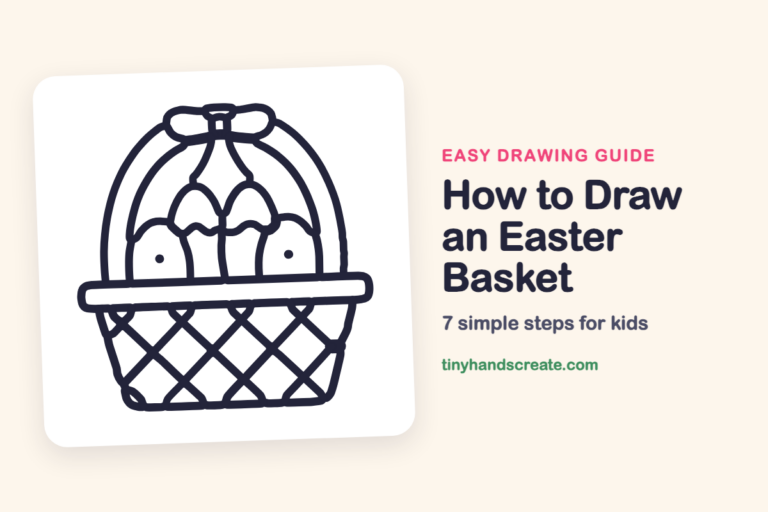
Finished your Easter bunny? Keep the pencils out and learn how to draw an Easter egg or how to draw an Easter basket next.
Tips for drawing the Easter bunny
- Draw the head as a light oval first, then trace over it. Both ears should start from the top of that oval so they look attached.
- The floppy ear on the right is the trickiest part. Draw it as an upward line, a rounded bend at the top, and a little curl at the end.
- Draw the egg's top and sides before the zigzag. Then make the zigzag points about the same height so the pattern looks neat.
Free Easter bunny coloring page
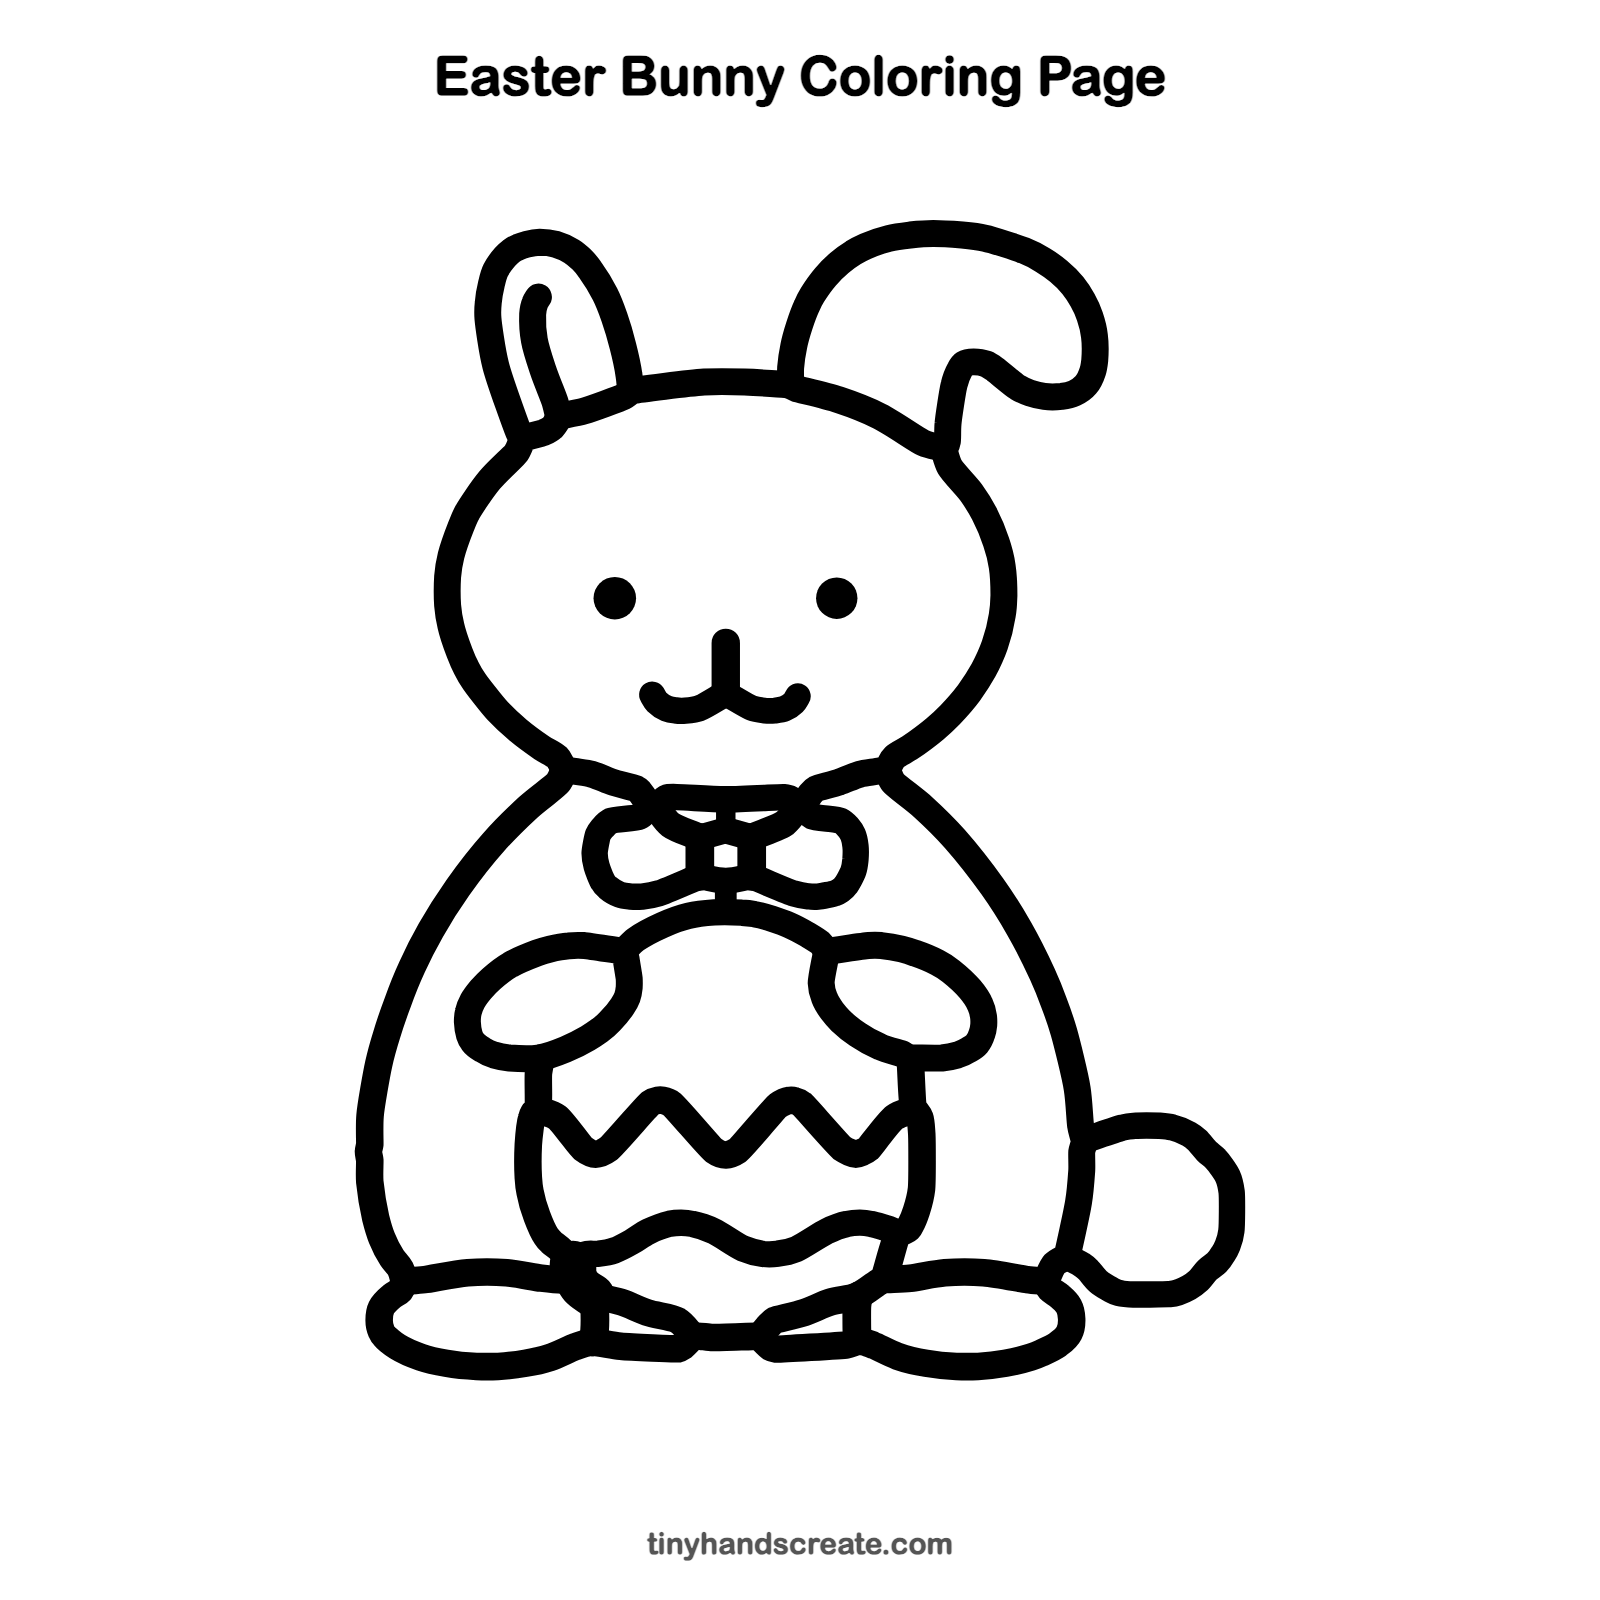
Want to go straight to coloring? Open this Easter bunny coloring page at full size and print it. It is the same drawing you just learned, with clean lines ready for crayons or markers.
How to color your Easter bunny drawing
Try soft gray or white for the bunny, a pink bow, and a pastel egg with each stripe a different color. For a twist, give the egg glitter stripes.
Easter bunny fun fact for kids
Rabbits can see almost all the way around their heads without turning, which helps them spot danger from many directions.
Questions about drawing the Easter bunny
What shapes do I need to draw the Easter bunny?
You need ovals for the head, paws and feet, two long curved lines for the body, a small circle for the tail and a rounded egg shape. The ears are tall loops, and the right one flops over.
How do I make my Easter bunny look cuter?
Place the eyes wide apart and keep the smile small. A bow tie and a round tail make the bunny look even sweeter.
How do I draw the egg pattern evenly?
Draw the egg first, then add the zigzag across it. Make the zigzag points the same size and keep the wavy line below it.