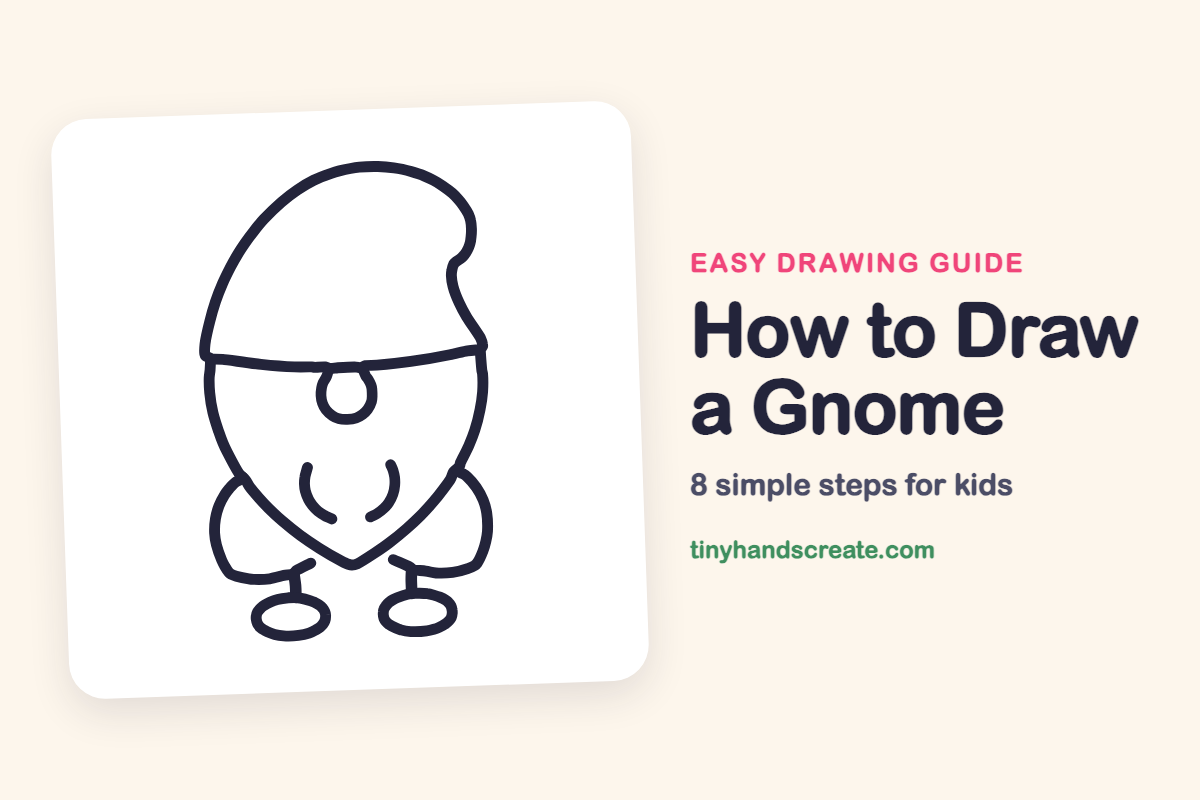
How to Draw a Gnome (Easy Step by Step)
A gnome is a cute little character that you can draw with just a few simple shapes. This one starts with one big egg-like shape with a floppy hat tip at the top, then adds a hat band, a small round nose, a mustache, two mitten-like arms, and two oval feet. It is a great first drawing because the face is mostly hidden under the hat, so there is nothing hard to get right.
- Easy
- 10 minutes
- 8 steps
You need: paper, a pencil, an eraser, and crayons or markers for coloring.
Start drawingIn this article (7 sections)
How to draw a gnome step by step
How to Draw a Gnome · tinyhandscreate.com
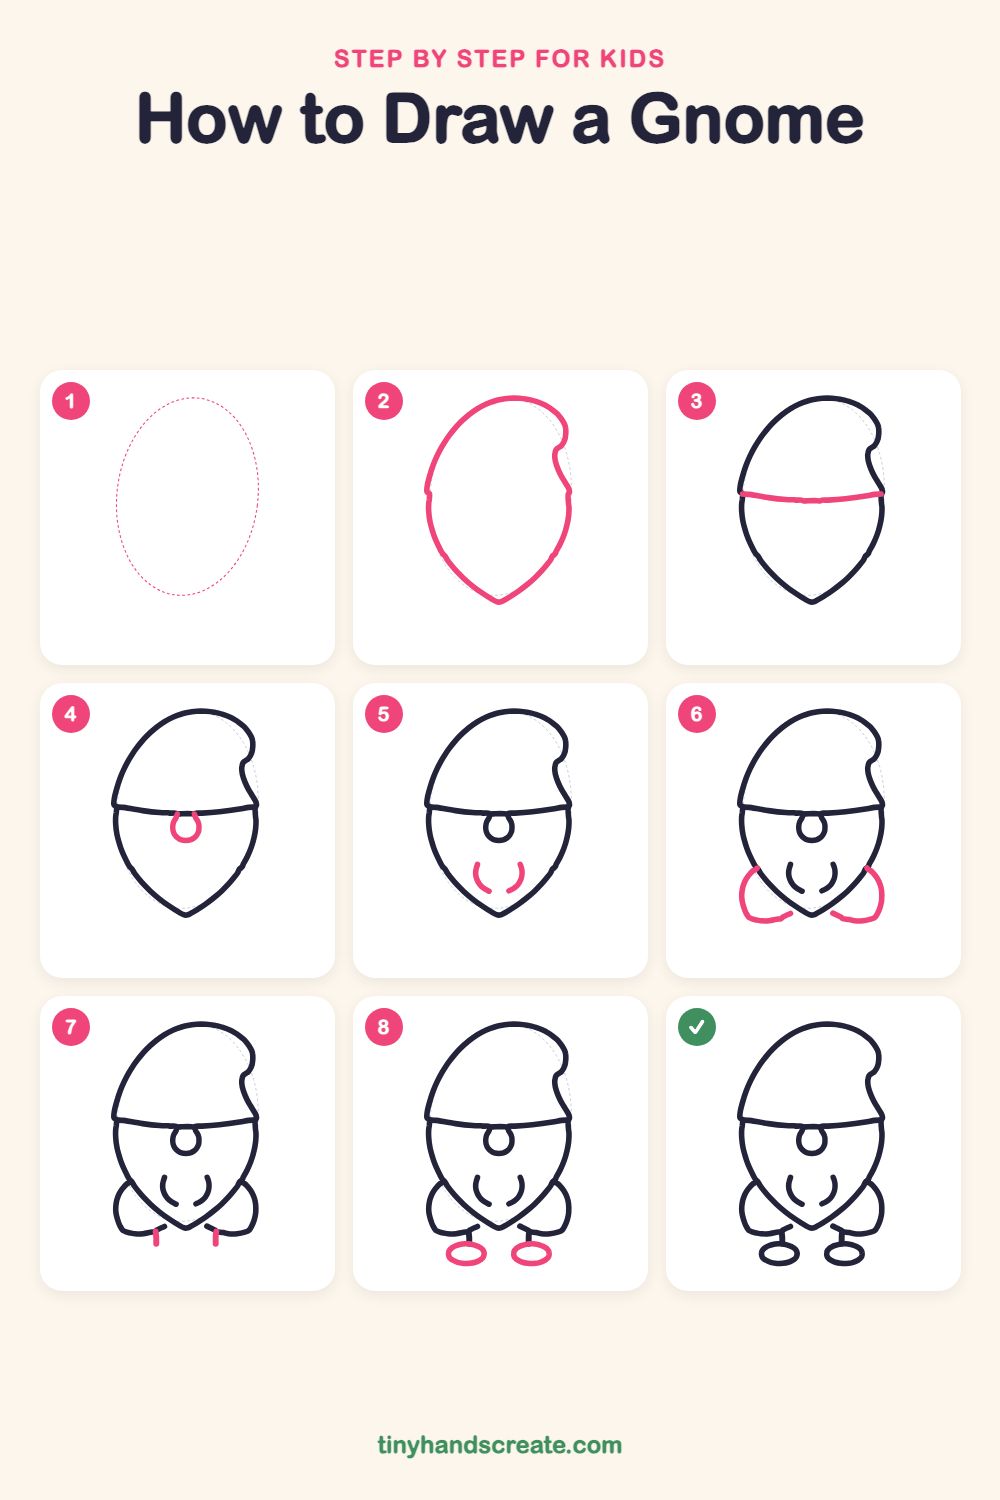
Step 1: Guide shapes
Lightly sketch this oval. It only shows where the big parts go, so press softly. You will erase it at the end.
Step 2: Hat and body outline
Draw one big egg-like shape that leans to the right at the top. Give the top right a floppy curl for the hat tip, then let the sides curve down to a point at the bottom, like an upside-down drop.
Step 3: The hat band
Draw a gently curved line straight across the shape, about one third of the way down. Let the ends touch the outside edges on both sides.
Step 4: The round nose
Under the middle of the hat band, draw a small round loop that hangs down from it. Leave the top open so the nose looks tucked under the hat.
Step 5: The mustache
Below the nose, draw two short curved lines that face each other, like a pair of parentheses. Let the bottom of each curve bend in toward the middle.
Step 6: Little arms
On each side of the body, draw a rounded bump that starts at the body, curves out and down, and then comes back in toward the bottom point, like a mitten or a small sack.
Step 7: Short legs
Under each arm, near the bottom point, draw a tiny straight line going down. These are the gnome's short legs.
Step 8: Oval feet
At the bottom of each leg, draw a flat oval for a foot. Make both ovals about the same size so the gnome can stand.
All done!
Erase the guide shapes, go over your lines, then color it in.
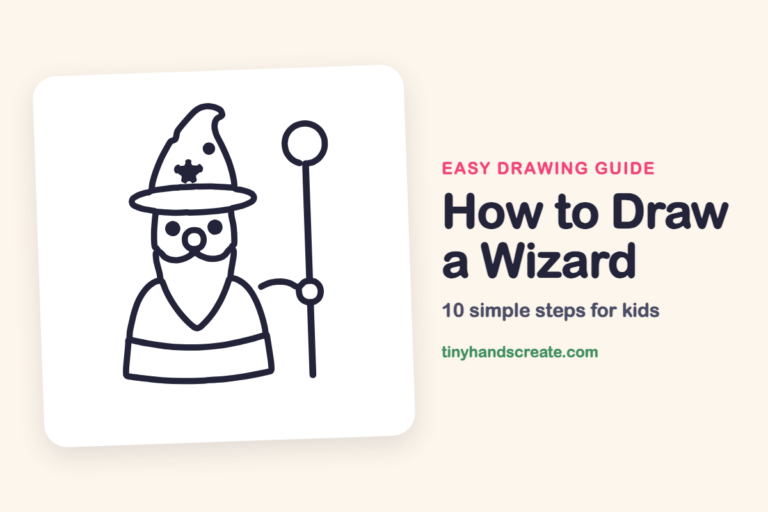
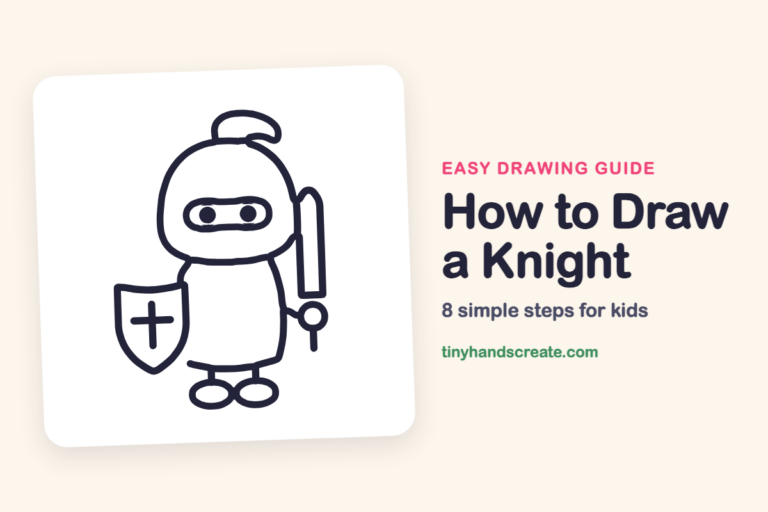
Finished your gnome? Keep the pencils out and learn how to draw a wizard or how to draw a knight next.
Tips for drawing a gnome
- Start with a light, leaning egg shape. If the tip at the top curls over a little, the hat will look floppy and fun instead of stiff.
- Draw the nose as a small loop that tucks under the hat band. Keep it round and neat.
- Make the two mustache curves match. Try drawing one, then copy its size and shape on the other side.
- Make both oval feet about the same size so your gnome looks balanced.
Free gnome coloring page
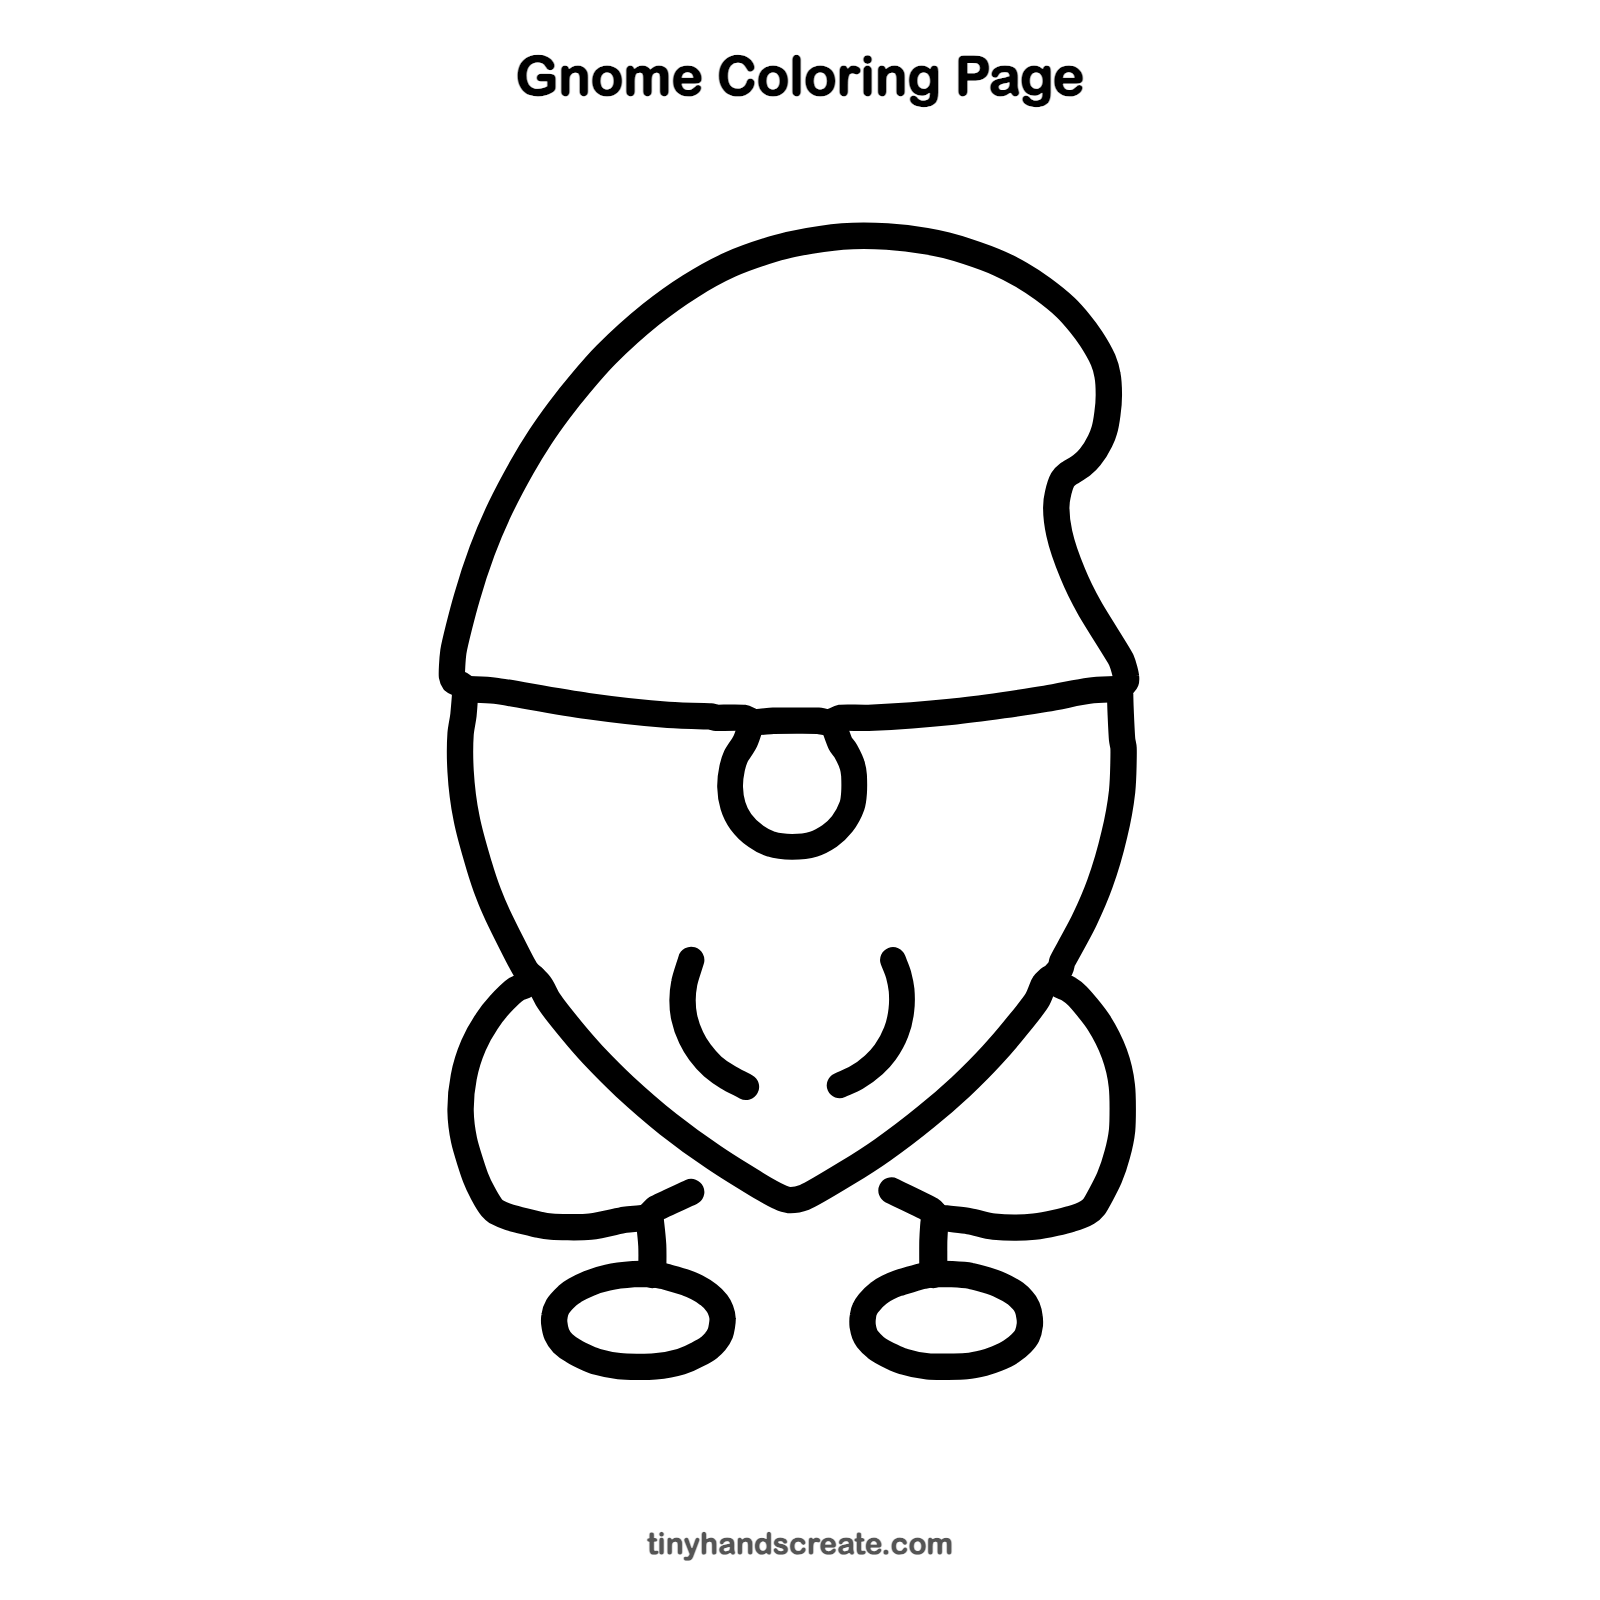
Want to go straight to coloring? Open this gnome coloring page at full size and print it. It is the same drawing you just learned, with clean lines ready for crayons or markers.
How to color your gnome drawing
Try a bright red or blue hat, a warm peach nose, and a white or gray mustache. For a creative twist, give your gnome a pattern on the hat, like polka dots or stars.
Gnome fun fact for kids
The first garden gnomes were made of clay (terracotta) in Germany in the 1800s. They were made in the town of Gräfenroda.
Questions about drawing a gnome
What shapes do I need to draw a gnome?
You need one big egg-like shape for the hat and body, a small loop for the nose, and two ovals for the feet. Curved lines make the hat band, mustache and arms.
How do I make my gnome look cuter?
Make the hat extra tall and floppy, and keep the body round and chubby. Tiny legs and little oval feet make it even cuter.
How do I draw a gnome hat that flops over?
Lean the top of the big shape to one side and give the tip a small curl. Then add a curved line across the shape to make the hat band.