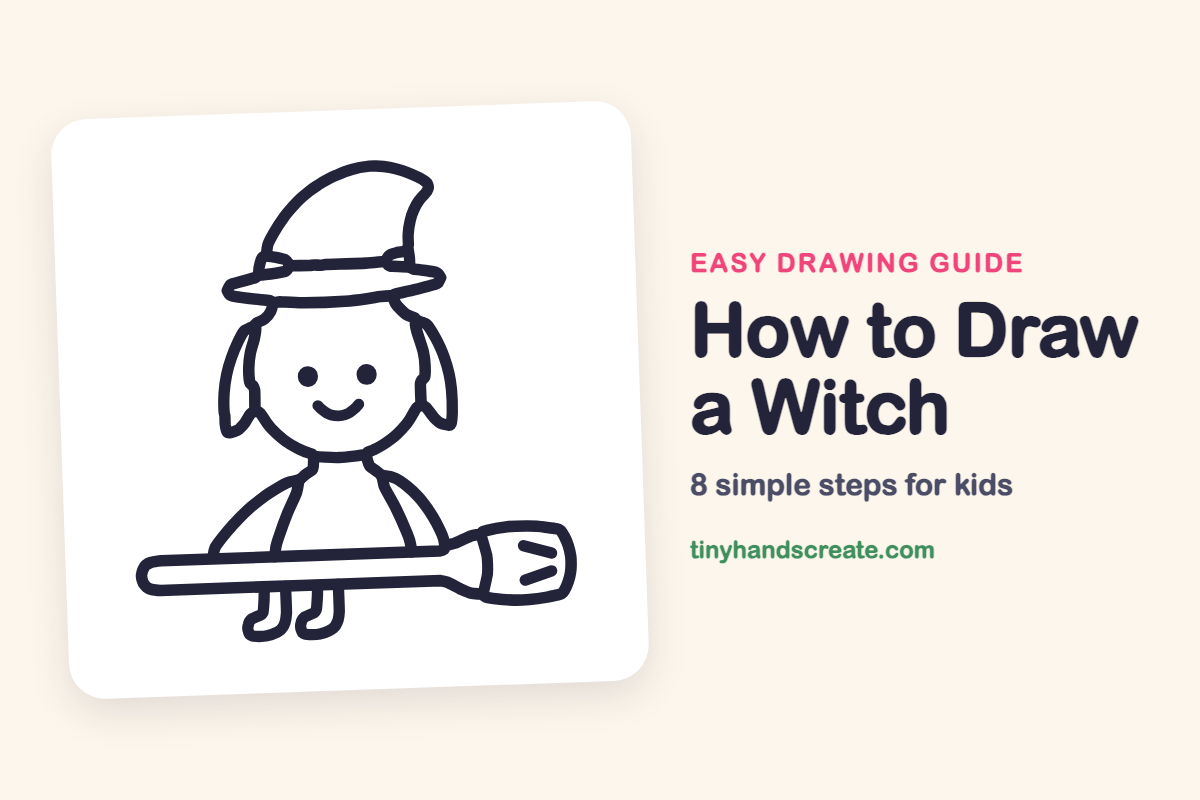
How to Draw a Witch (Easy Step by Step)
This little witch is cute and not scary, and she is built from shapes you already know: a circle for the head, a cone for the hat, and a long rectangle for the broom. It is a fun one to draw around Halloween, and each part is simple enough to build one step at a time.
- Medium
- 15 minutes
- 8 steps
You need: paper, a pencil, an eraser, and crayons or markers for coloring.
Start drawingIn this article (7 sections)
How to draw a witch step by step
How to Draw a Witch · tinyhandscreate.com
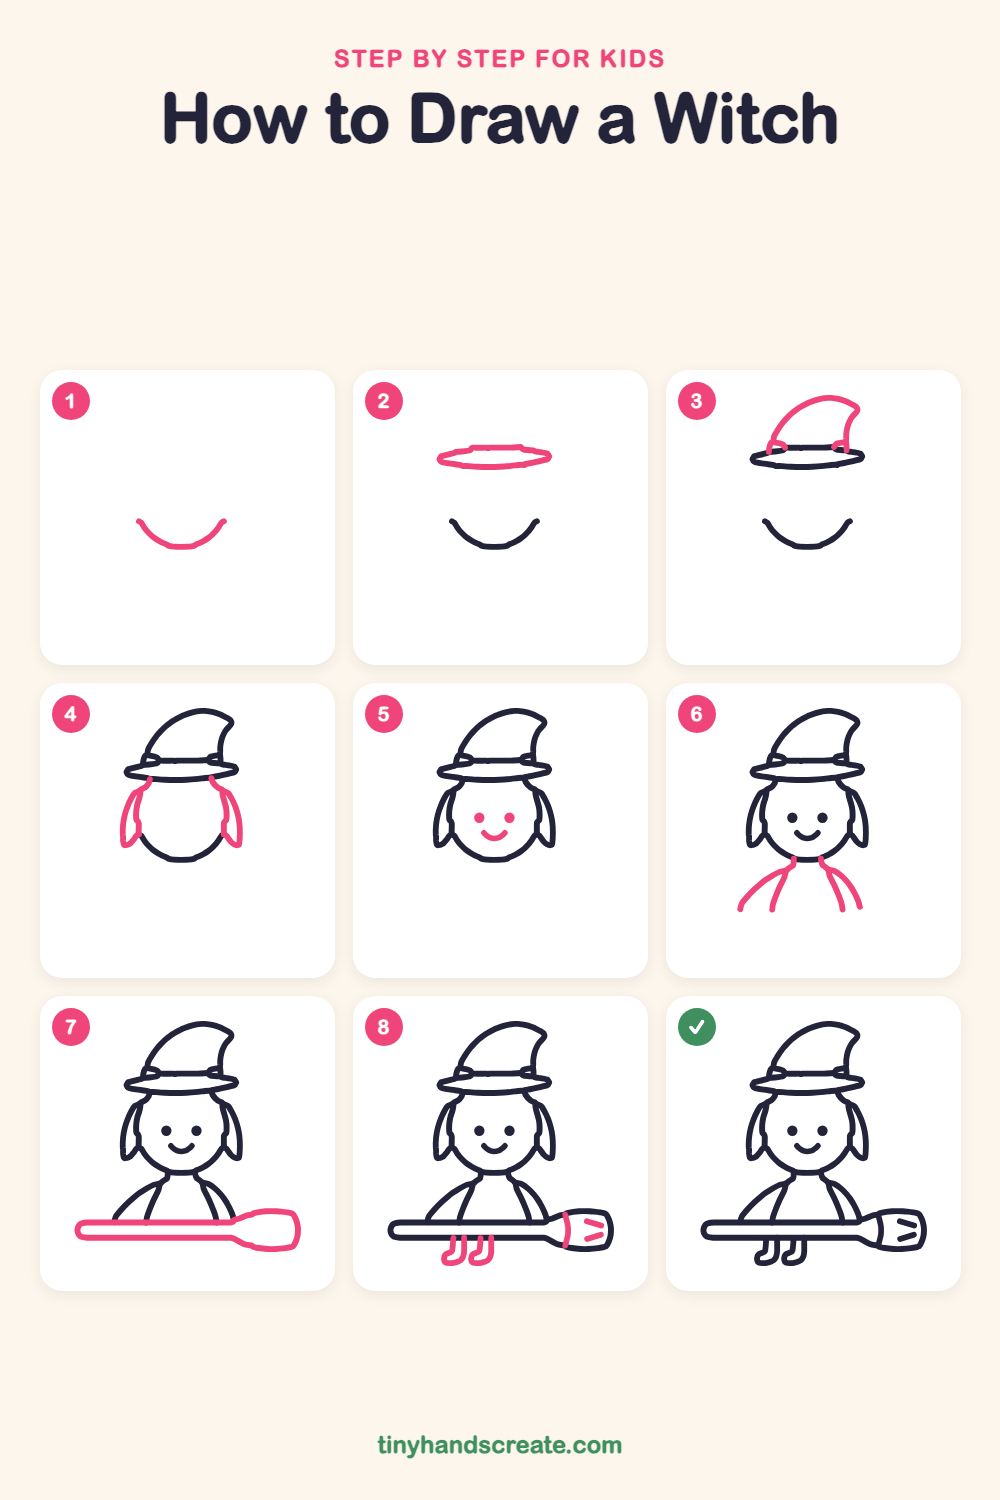
Step 1: The chin curve
Draw a curve like a smile shape, a wide U, low on the page. This is the bottom of the witch's round face.
Step 2: The hat brim
Draw a wide, flat oval above the U, like a squashed football with pointy ends. It will be the brim of the hat.
Step 3: The pointy hat
Start at the left of the brim and draw a tall curve up and over to a point that bends to the right. Bring it back down to the right side of the brim, then add a tiny curved line at each end where the hat meets the brim.
Step 4: Hair on both sides
Draw a long leaf shape on each side of the face, starting under the brim and ending in a point near the cheek. Add a short curved line from each leaf up to the brim, which finishes the round face.
Step 5: The happy face
Add two round dots for eyes, side by side in the middle of the face. Then draw a little smile below them.
Step 6: Neck and arms
Under the chin, draw two short lines on each side that curve down and outward. They make the shoulders and arms reaching toward the broom.
Step 7: The broom
Draw a long, skinny rectangle with rounded ends across the bottom of the arms. Then add a fan-shaped brush at the right end, wider than the handle.
Step 8: Brush lines and boots
Draw a curved line across the brush where it meets the handle, and a small pointed arrow shape inside the brush for the bristles. Then add two little boots hanging down below the handle, each shaped like the letter J.
All done!
Go over your lines with a marker, then color it in.
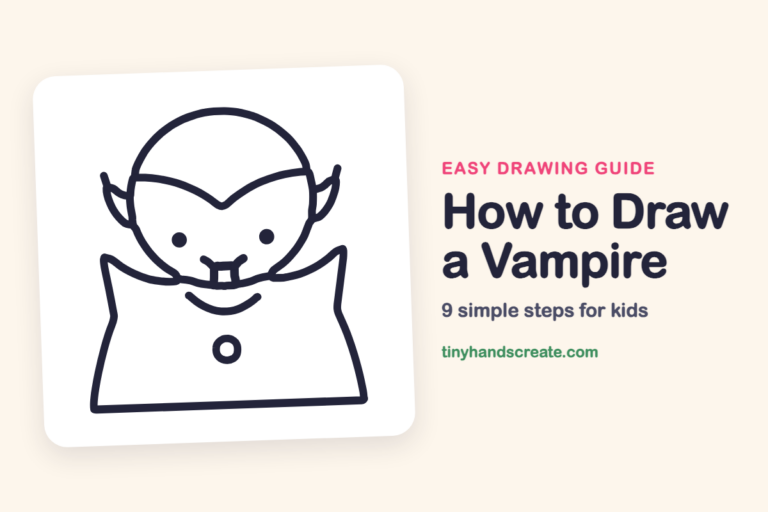
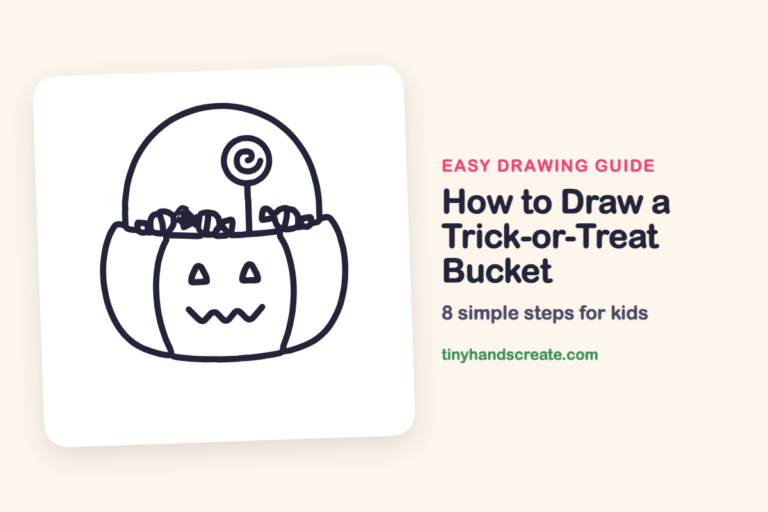
Finished your witch? Keep the pencils out and learn how to draw a vampire or how to draw a trick-or-treat bucket next.
Tips for drawing a witch
- Draw the hat brim as a wide, flat oval before the cone, so the tall part has a base to sit on.
- The hair is the trickiest part. Think of two leaf shapes, one on each side of the face, and try to make them match in size.
- Make the broom handle long, so it reaches well past both sides of the body.
Free witch coloring page
Want to go straight to coloring? Open this witch coloring page at full size and print it. It is the same drawing you just learned, with clean lines ready for crayons or markers.
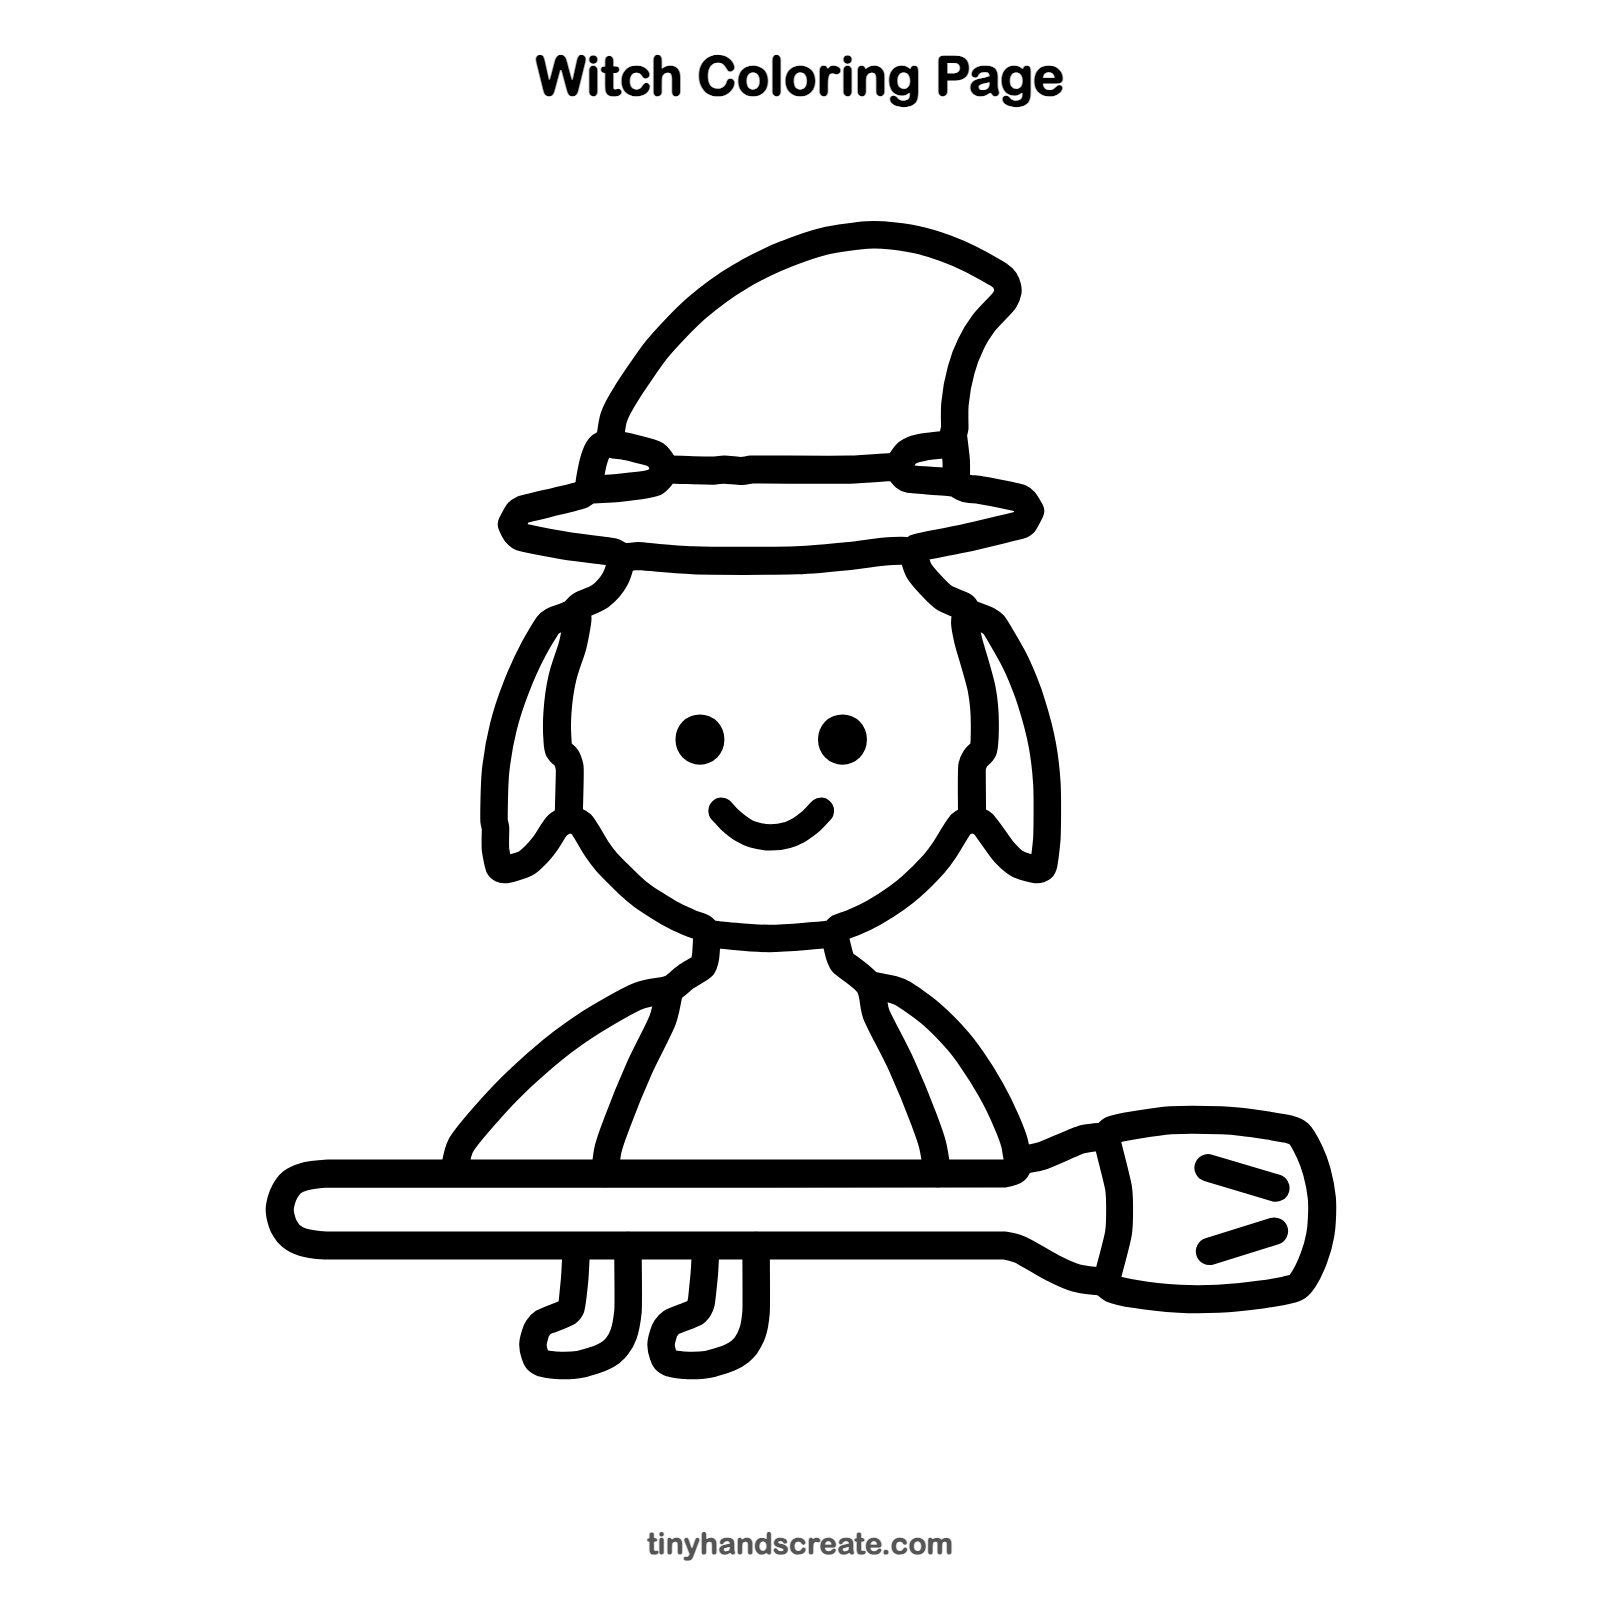
How to color your witch drawing
Try a purple hat, brown for the broom handle, and yellow bristles. For a creative twist, color the hair in rainbow stripes or make the boots bright red.
Witch fun fact for kids
The word witch comes from the Old English word wicce, which was used more than a thousand years ago.
Questions about drawing a witch
What shapes do I need to draw a witch?
You need a round face, a flat oval and a cone for the hat, two leaf shapes for the hair, and a long rectangle for the broom.
How do I make my witch look friendly instead of scary?
Use two round dot eyes and a little curved smile. Keep the hat and hair soft and rounded rather than sharp.
How do I draw a witch's hat that looks right?
Draw a wide flat oval first, then a tall curved cone on top that bends over at the tip. Add a tiny curved line at each end of the brim where the cone meets it.