How to Draw a Spider (Easy Step by Step)
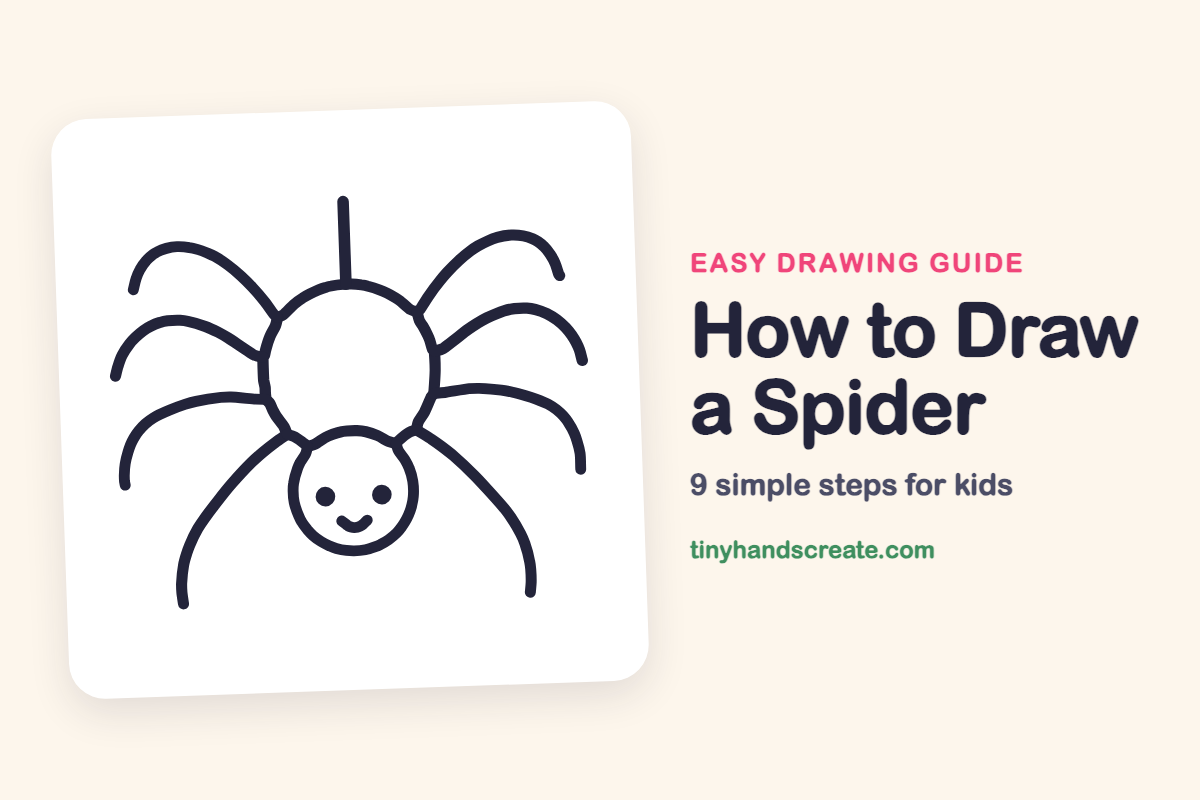
A spider is a friendly drawing to try because it is made almost entirely of circles and curved lines. You will draw a big round body, a smaller round head, and eight bendy legs. Add a smile and a hanging thread and your spider is ready to dangle.
- Easy
- 10 minutes
- 9 steps
You need: paper, a pencil, an eraser, and crayons or markers for coloring.
Start drawingIn this article (7 sections)
How to draw a spider step by step
How to Draw a Spider · tinyhandscreate.com
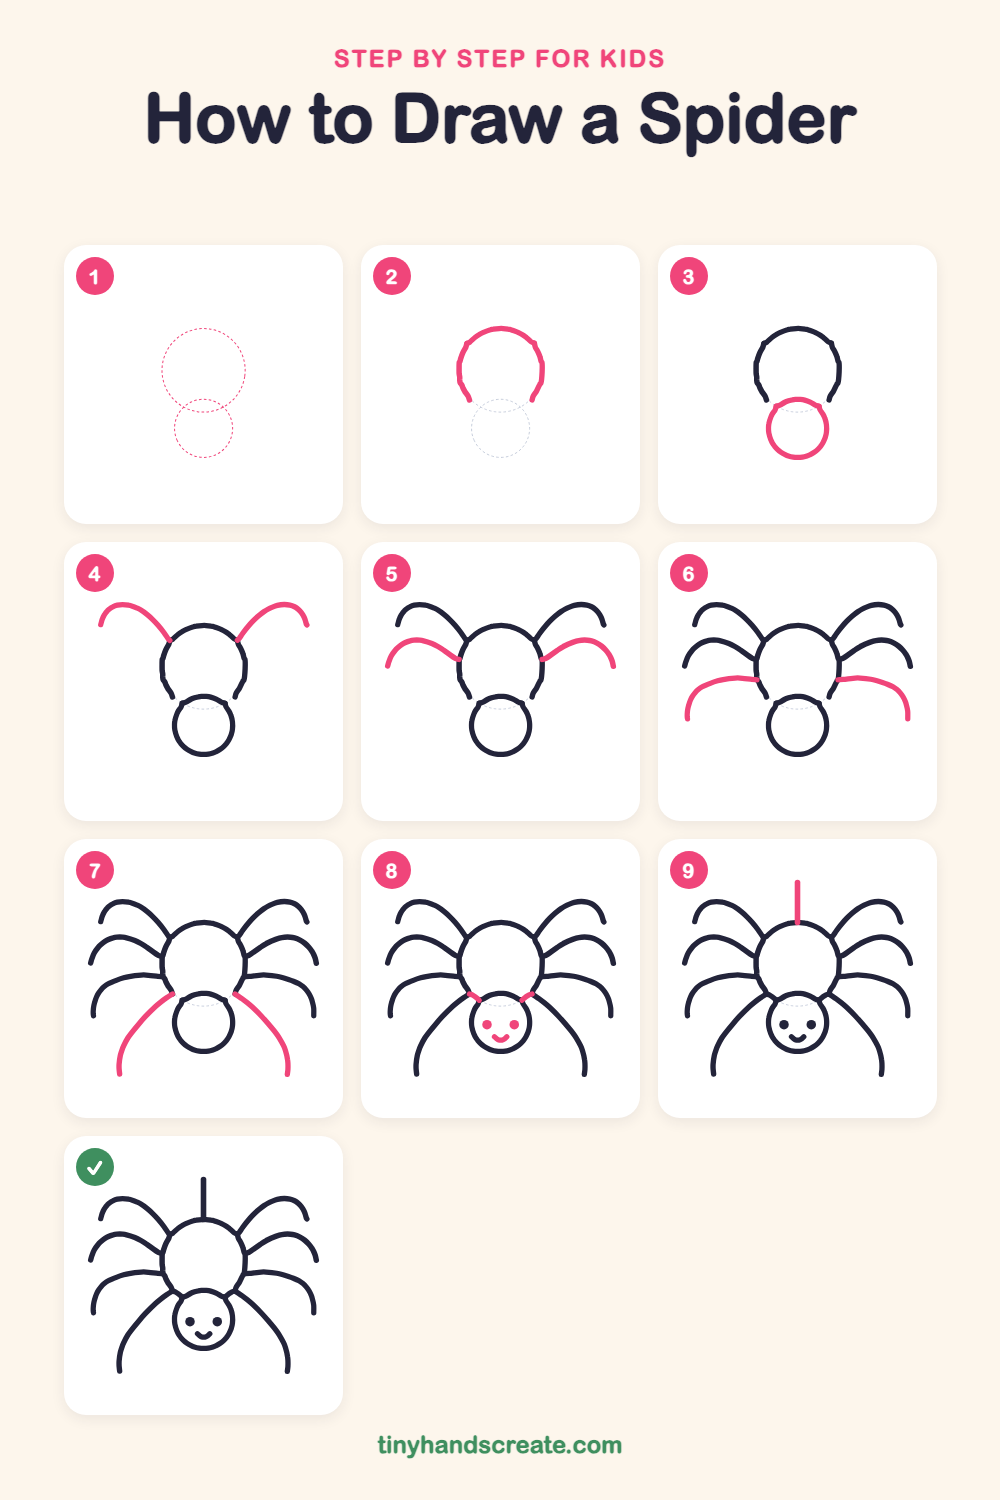
Step 1: Guide shapes
Lightly sketch these 2 ovals. They only show where the big parts go, so press softly. You will erase them at the end.
Step 2: The big body
Draw a big round shape in the middle of your paper, like a circle that is left open at the bottom. Leave plenty of room around it for the legs.
Step 3: The small head
Draw a smaller circle right under the body, so the top of the head tucks into the open gap at the bottom of the body.
Step 4: The top legs
Start at the upper left of the body and draw a long curved line that arches up and then bends down at the end, like a rainbow. Do the same on the upper right so both sides match.
Step 5: The second legs
Below each top leg, start on the side of the body and draw a curved line that bends up and then swoops out and down. Make them about the same size as the legs above.
Step 6: The side legs
Lower on the body, draw a curved line that stretches out sideways and bends down at the end. Do one on the left and one on the right.
Step 7: The front legs
Start where the body meets the head and draw two long legs that sweep down and out, like the sides of a tent. They are the longest legs, so let them reach toward the bottom corners.
Step 8: A happy face
Draw two tiny curved lines joining the head to the body. Then put two small round dots inside the head for eyes and draw a little curved smile below them.
Step 9: The silk thread
Draw one short straight line going up from the top of the body. That is the thread your spider hangs from.
All done!
Erase the guide shapes, go over your lines, then color it in.
Finished your spider? Keep the pencils out and learn how to draw candy corn or how to draw a haunted house next.
Tips for drawing a spider
- Draw the legs in matching pairs, left and right, so your spider stays balanced. Do the top pair first and then work down.
- The long front legs are the trickiest. Start them where the body and head meet and draw slowly in one smooth curve instead of many short lines.
- Draw the head circle smaller than the body and tuck it into the gap at the bottom of the body. Then the front legs have an easy spot to start.
Free spider coloring page
Want to go straight to coloring? Open this spider coloring page at full size and print it. It is the same drawing you just learned, with clean lines ready for crayons or markers.
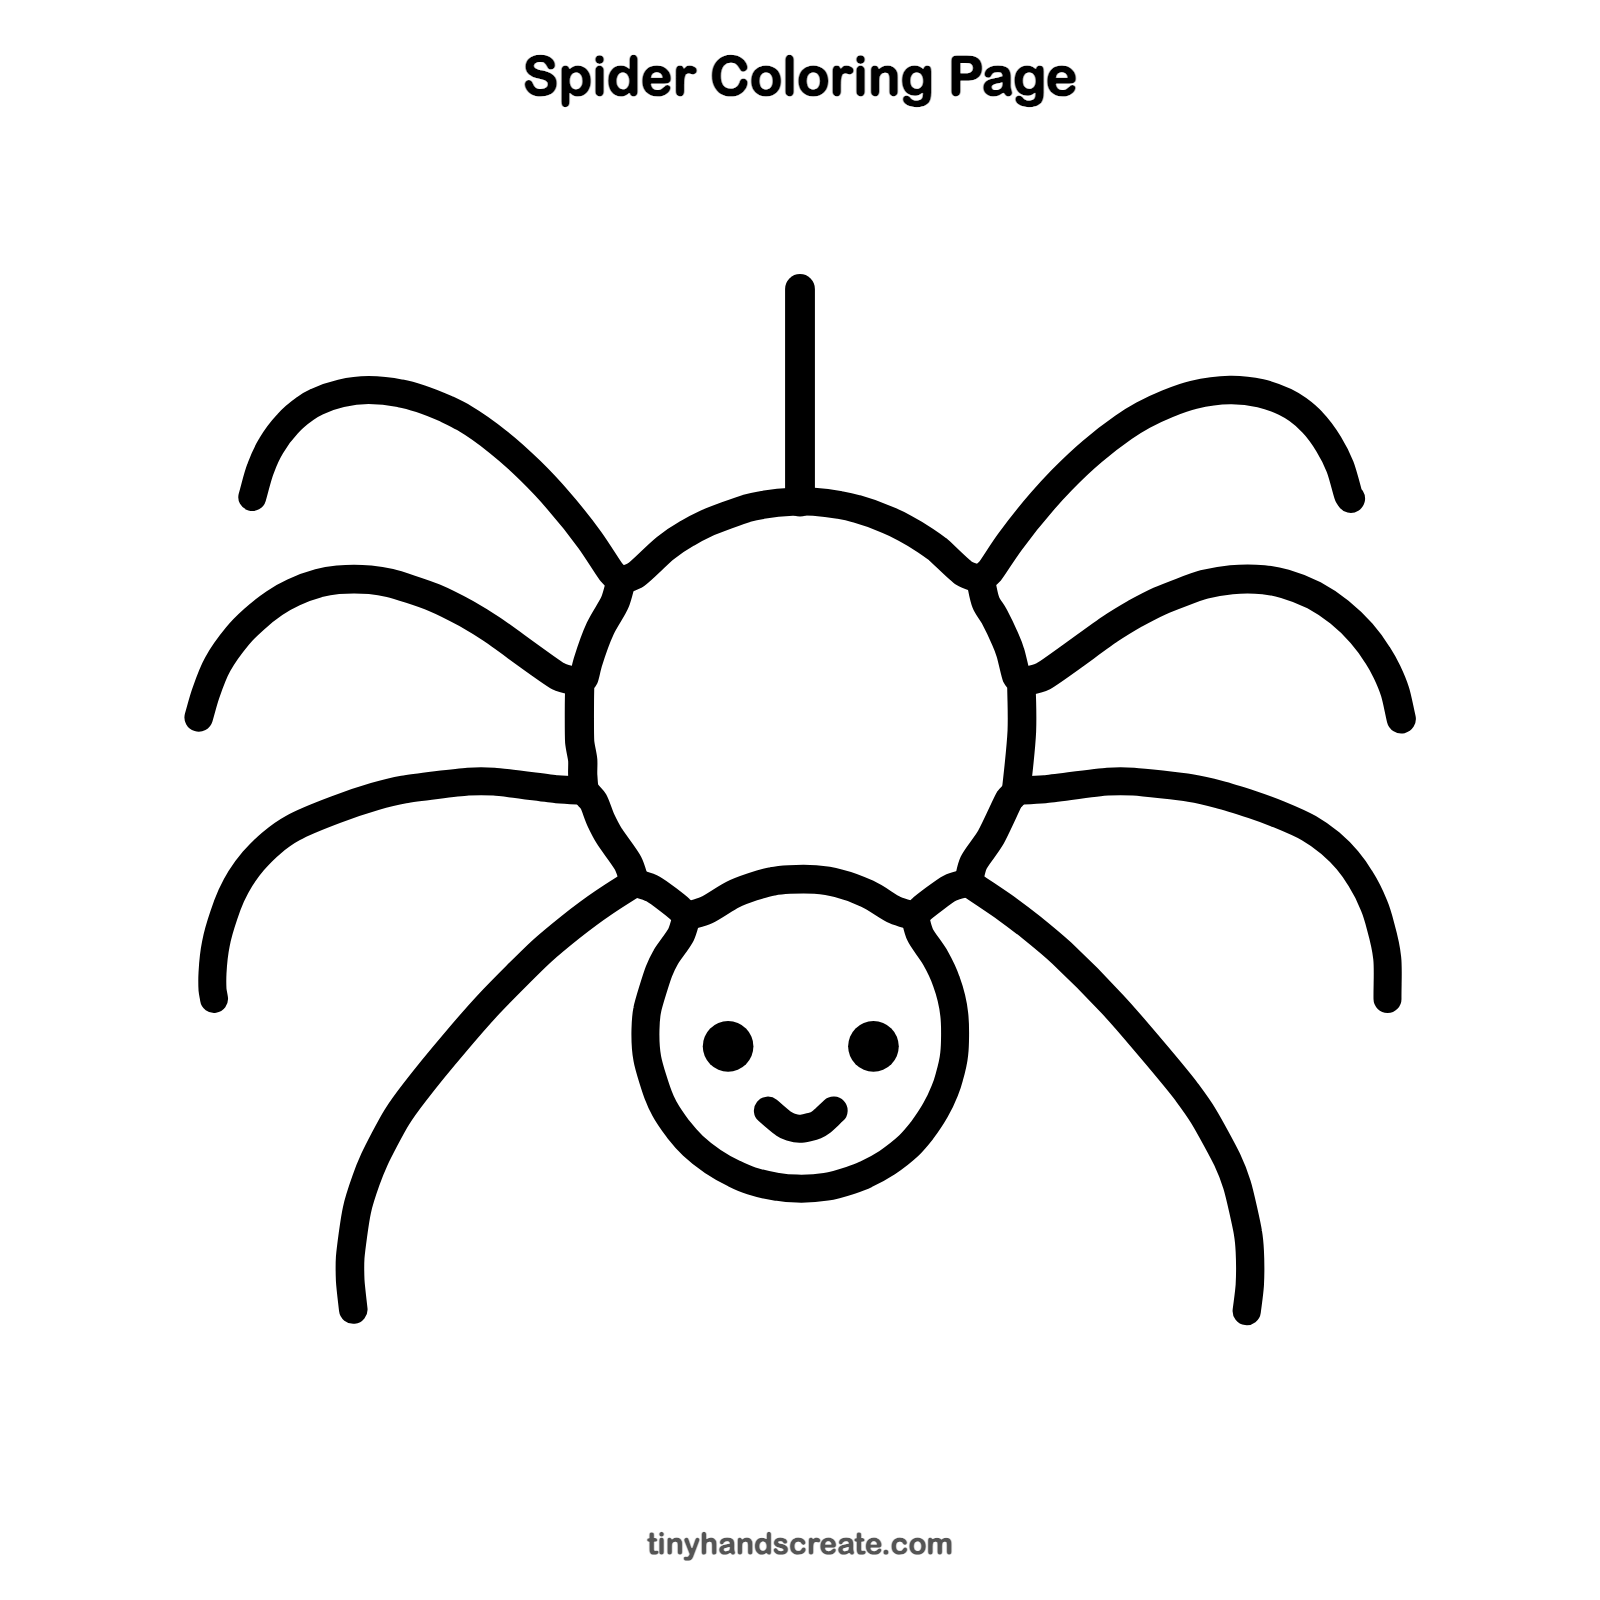
How to color your spider drawing
Try black or deep purple for a classic spider, with bright green eyes. For a creative twist, give each leg a different color for a rainbow spider.
Spider fun fact for kids
Spiders have eight legs, and they are not insects. Insects have six legs, so spiders belong to a different group called arachnids.
Questions about drawing a spider
What shapes do I need to draw a spider?
You need two round shapes, one big and one small, and eight long curved lines for the legs. A short straight line makes the hanging thread.
How do I make my spider look cute?
Keep the head round and give it two small dot eyes with a little smile underneath. Curvy legs and a big round body also make it look friendly instead of scary.
How many legs does a spider have?
A spider has eight legs, four on each side. Count them as you draw so you end up with two matching sets.