How to Draw an Owl (Easy Step by Step)
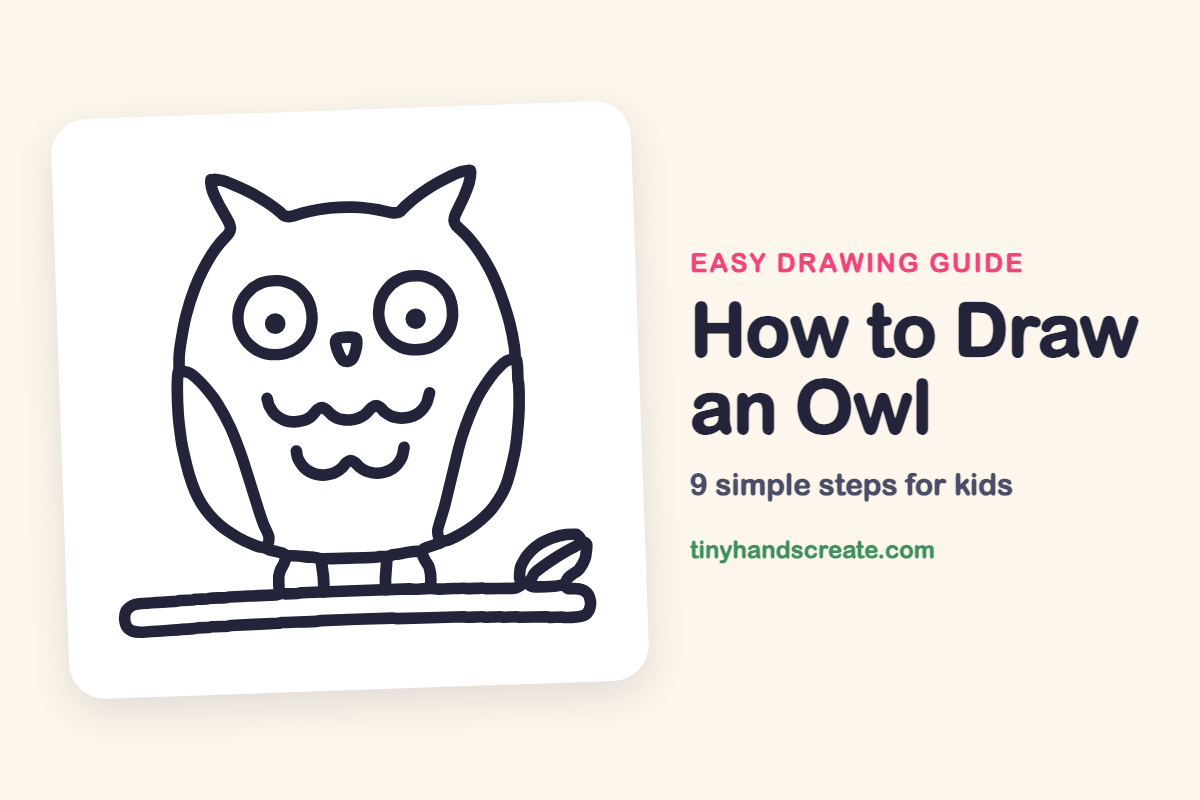
This owl is fun because it is mostly big, friendly shapes with a sleepy-wise face. You will use an egg shape for the body, two circles for the eyes, a small triangle for the beak, and a few wavy lines for the feathers.
- Easy
- 15 minutes
- 9 steps
You need: paper, a pencil, an eraser, and crayons or markers for coloring.
Start drawingIn this article (7 sections)
How to draw an owl step by step
How to Draw an Owl · tinyhandscreate.com
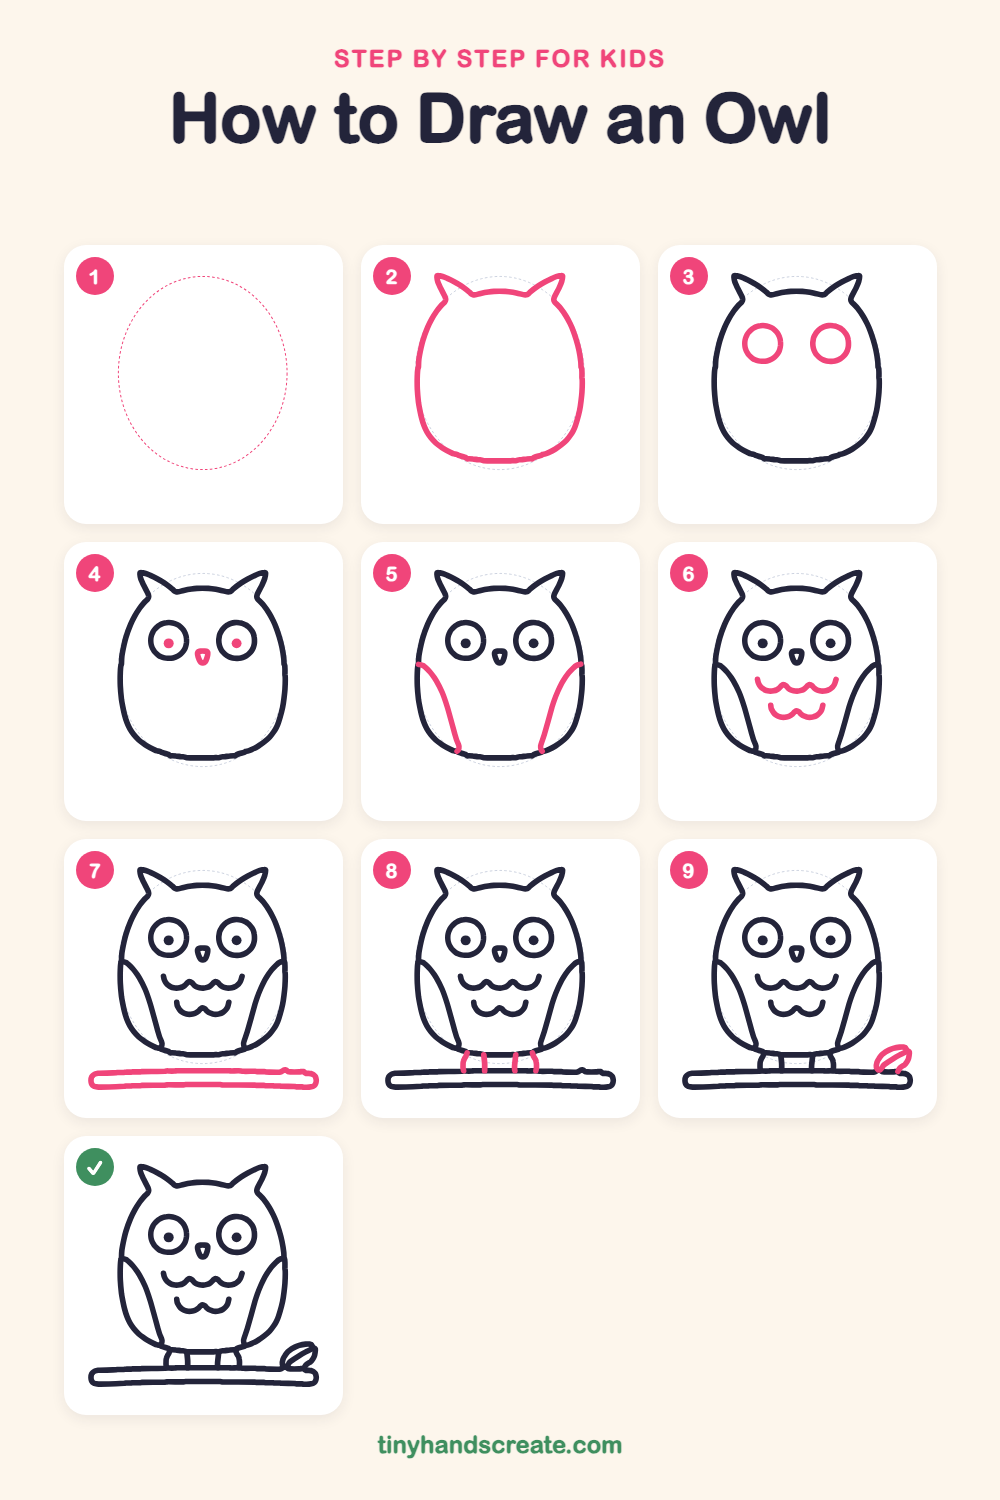
Step 1: Guide shapes
Lightly sketch this oval. It only shows where the big parts go, so press softly. You will erase it at the end.
Step 2: Head and body
Draw one big, tall egg shape for the whole owl. At the top, add two pointy ear tufts, like little triangles, with a gentle bump of head between them.
Step 3: The big eyes
Draw two large circles side by side in the upper middle of the face. Keep them the same size and leave a small gap between them.
Step 4: Beak and pupils
Between the eyes, draw a small rounded triangle pointing down for the beak. Then fill in a round dot in the middle of each eye for the pupils.
Step 5: Two wings
On each side of the belly, draw a long curved line that starts at the edge of the body and sweeps down toward the bottom. The two wings should mirror each other.
Step 6: Tummy feathers
Under the beak, draw a row of scallops, like a wavy smile with little bumps on top. Add a shorter wavy row below it.
Step 7: The branch
Draw a long, flat, rounded rectangle across the bottom, like a log. Make it wider than the owl so there is room to perch.
Step 8: Little feet
Under the body, draw two feet that stand on the branch. For each foot, draw two short straight lines going down from the bottom of the body to the branch.
Step 9: Leaf on the branch
On the right end of the branch, draw a small leaf shape like a pointed oval. Add one slanted line inside for the middle vein.
All done!
Erase the guide shapes, go over your lines, then color it in.
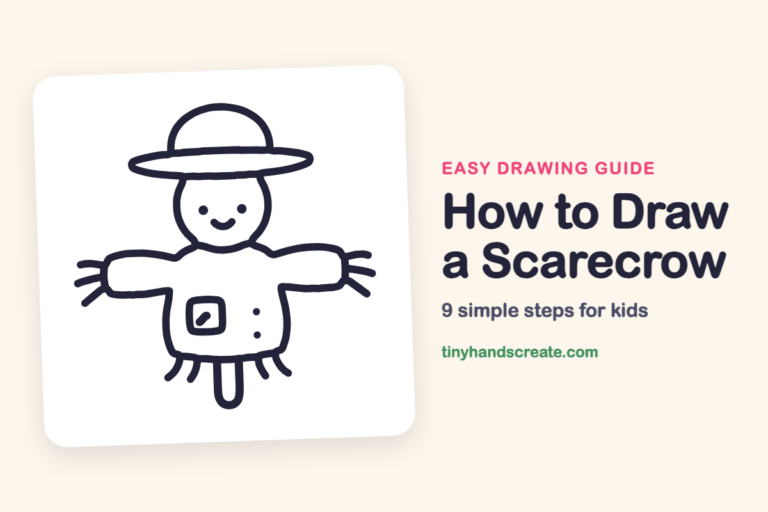
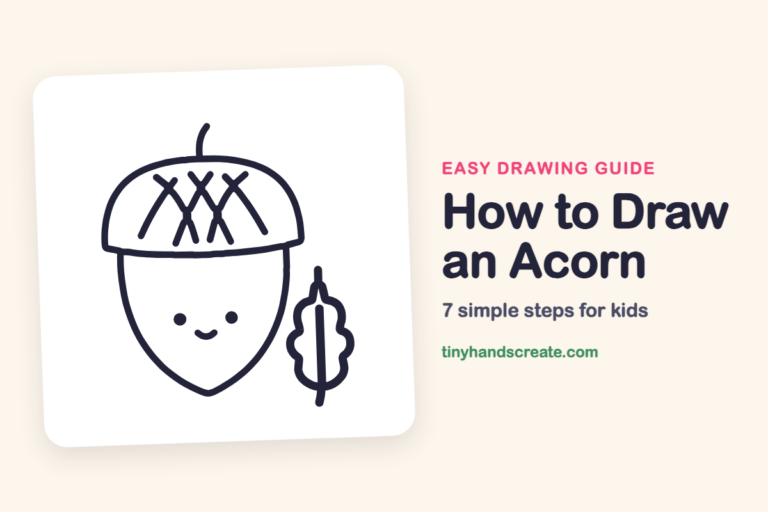
Finished your owl? Keep the pencils out and learn how to draw a scarecrow or how to draw an acorn next.
Tips for drawing an owl
- Sketch the egg shape lightly first, so the ear tufts and wings have a guide to follow.
- The eyes are the trickiest part. Draw one circle, then match the second to it, and keep both level with each other.
- For the tummy feathers, think of a row of tiny rainbows turned upside down. Draw the bumps one at a time and keep them about the same size.
Free owl coloring page
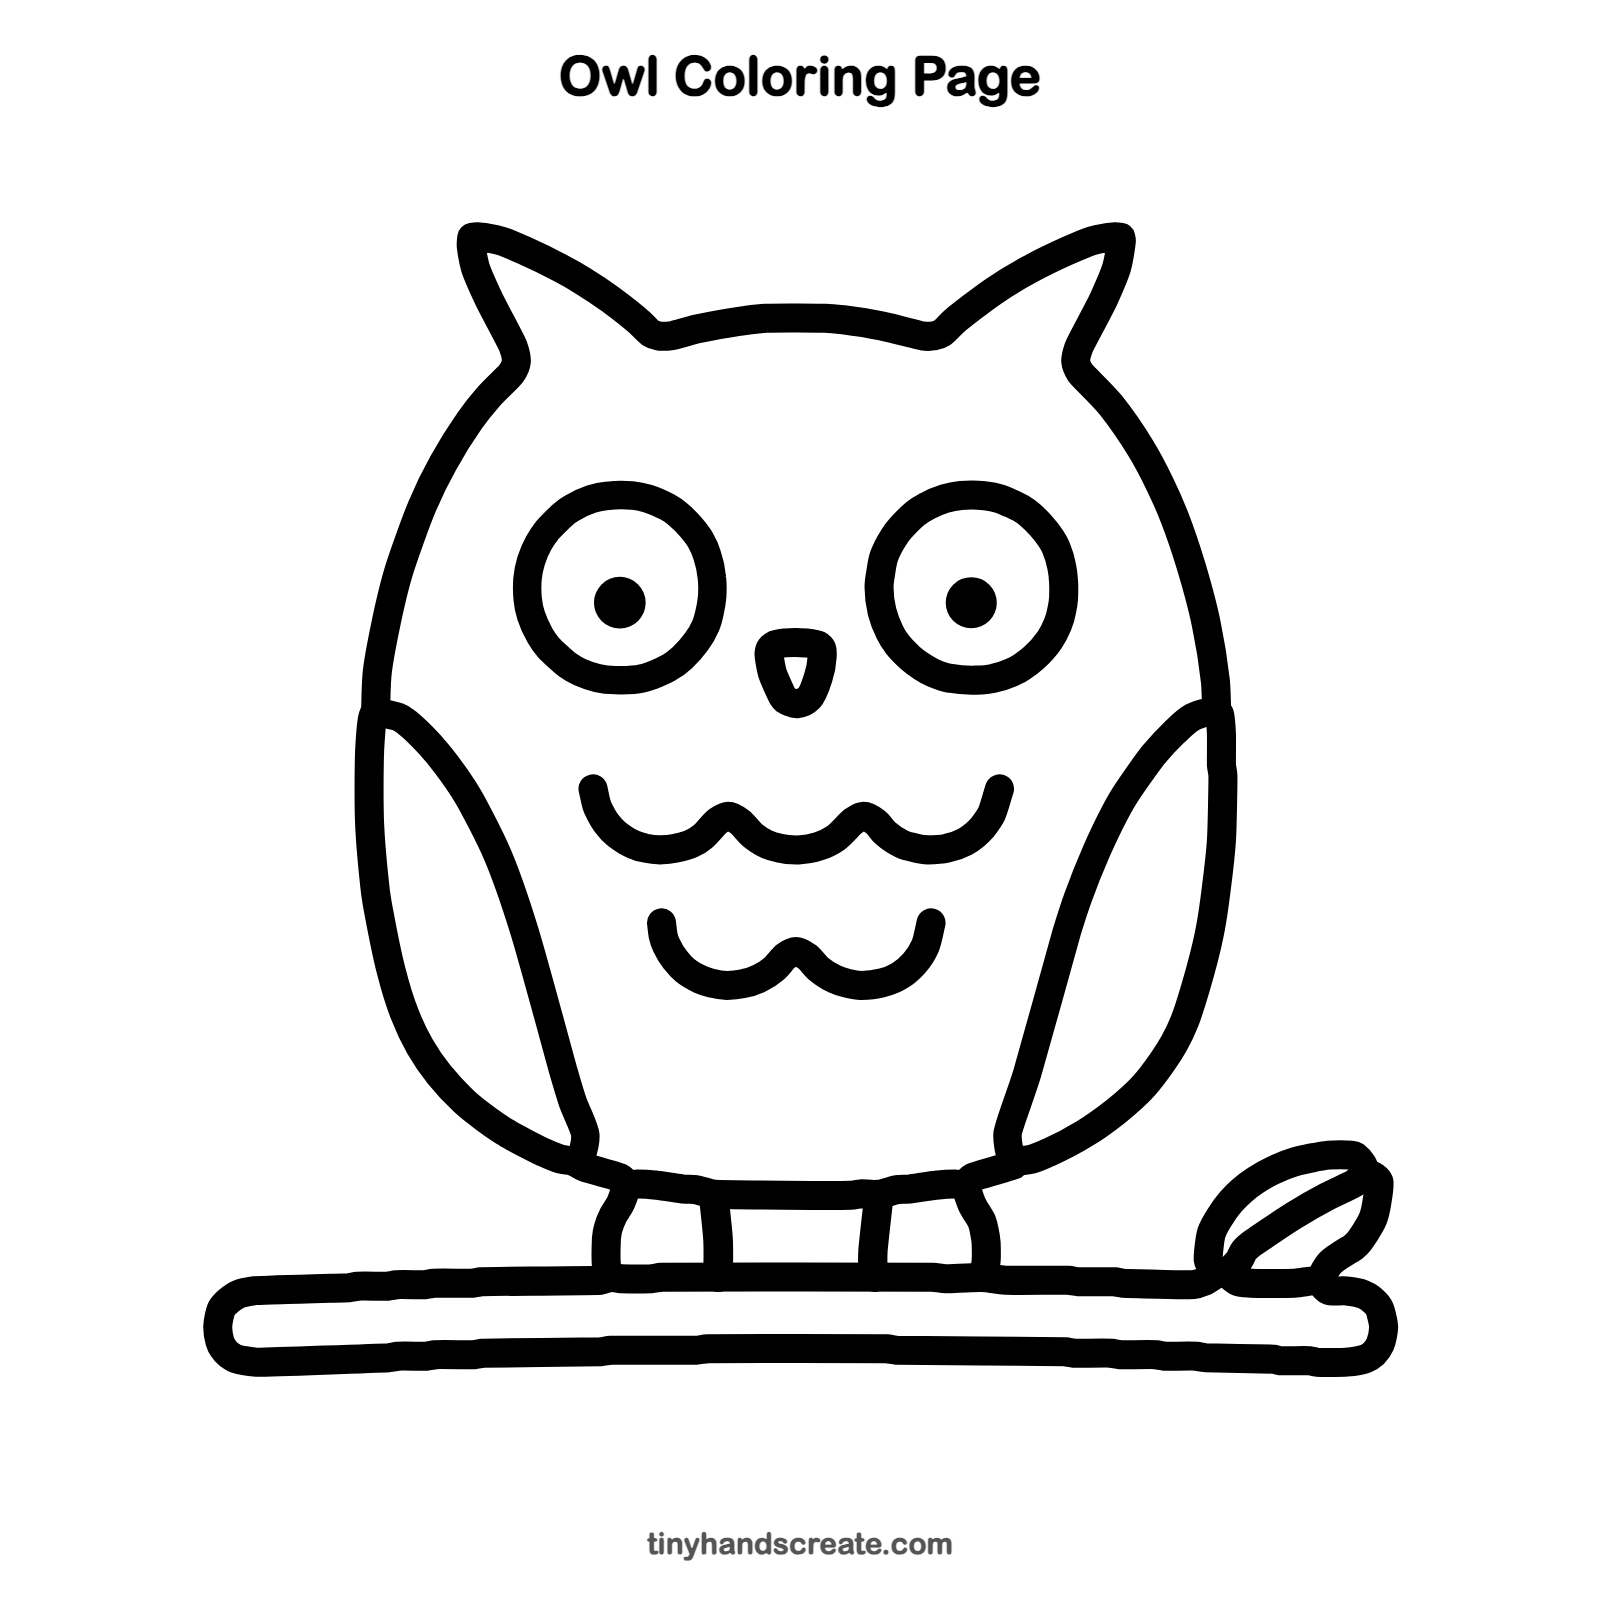
Want to go straight to coloring? Open this owl coloring page at full size and print it. It is the same drawing you just learned, with clean lines ready for crayons or markers.
How to color your owl drawing
Try warm brown for the body, golden yellow for the eyes and beak, and a lighter tan for the tummy. For a twist, color the owl in night-sky blues and purples and add a yellow moon behind it.
Owl fun fact for kids
Owls cannot move their eyes in their sockets, so they turn their heads instead. Many owls can turn their heads about three quarters of the way around.
Questions about drawing an owl
What shapes do I need to draw an owl?
You need a big egg shape for the body, two circles for the eyes, and a small triangle for the beak. Curved lines and scallops finish the wings and feathers.
How do I make my owl look cuter?
Make the eyes extra big and keep the little pupils right in the middle of each circle. A small, round beak and a chubby body also help.
How do I draw owl feathers easily?
Draw a row of small scallops, which are little curved bumps side by side. Add a second shorter row underneath, and it will look like fluffy feathers.