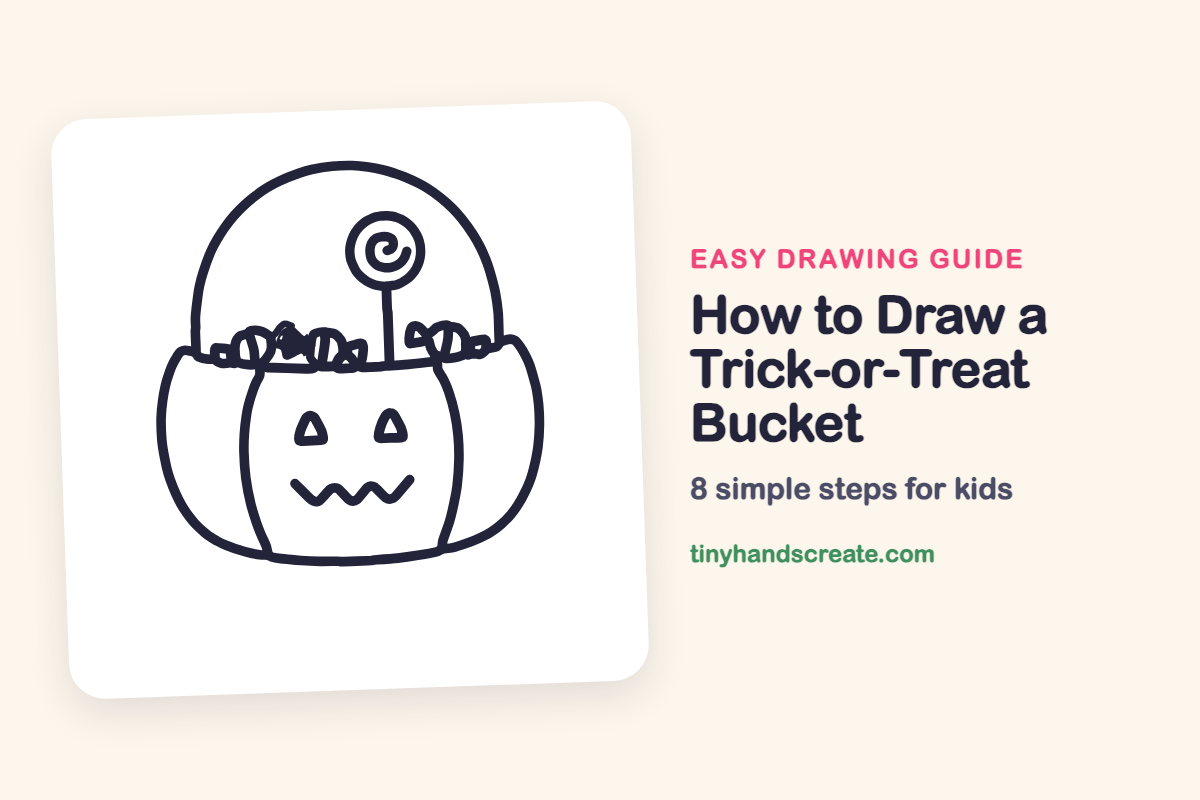
How to Draw a Trick-or-Treat Bucket (Easy Step by Step)
This trick-or-treat bucket is a pumpkin-shaped pail with a big handle, a swirly lollipop and a few wrapped candies peeking out the top. It is built from simple shapes: a wide rounded bowl for the bucket, a big arch for the handle, triangles and a zigzag for the face, a circle and a stick for the lollipop, and little ovals for the candy. It is a fun drawing to make before Halloween.
- Medium
- 15 minutes
- 8 steps
You need: paper, a pencil, an eraser, and crayons or markers for coloring.
Start drawingIn this article (7 sections)
How to draw a trick-or-treat bucket step by step
How to Draw a Trick-or-Treat Bucket · tinyhandscreate.com
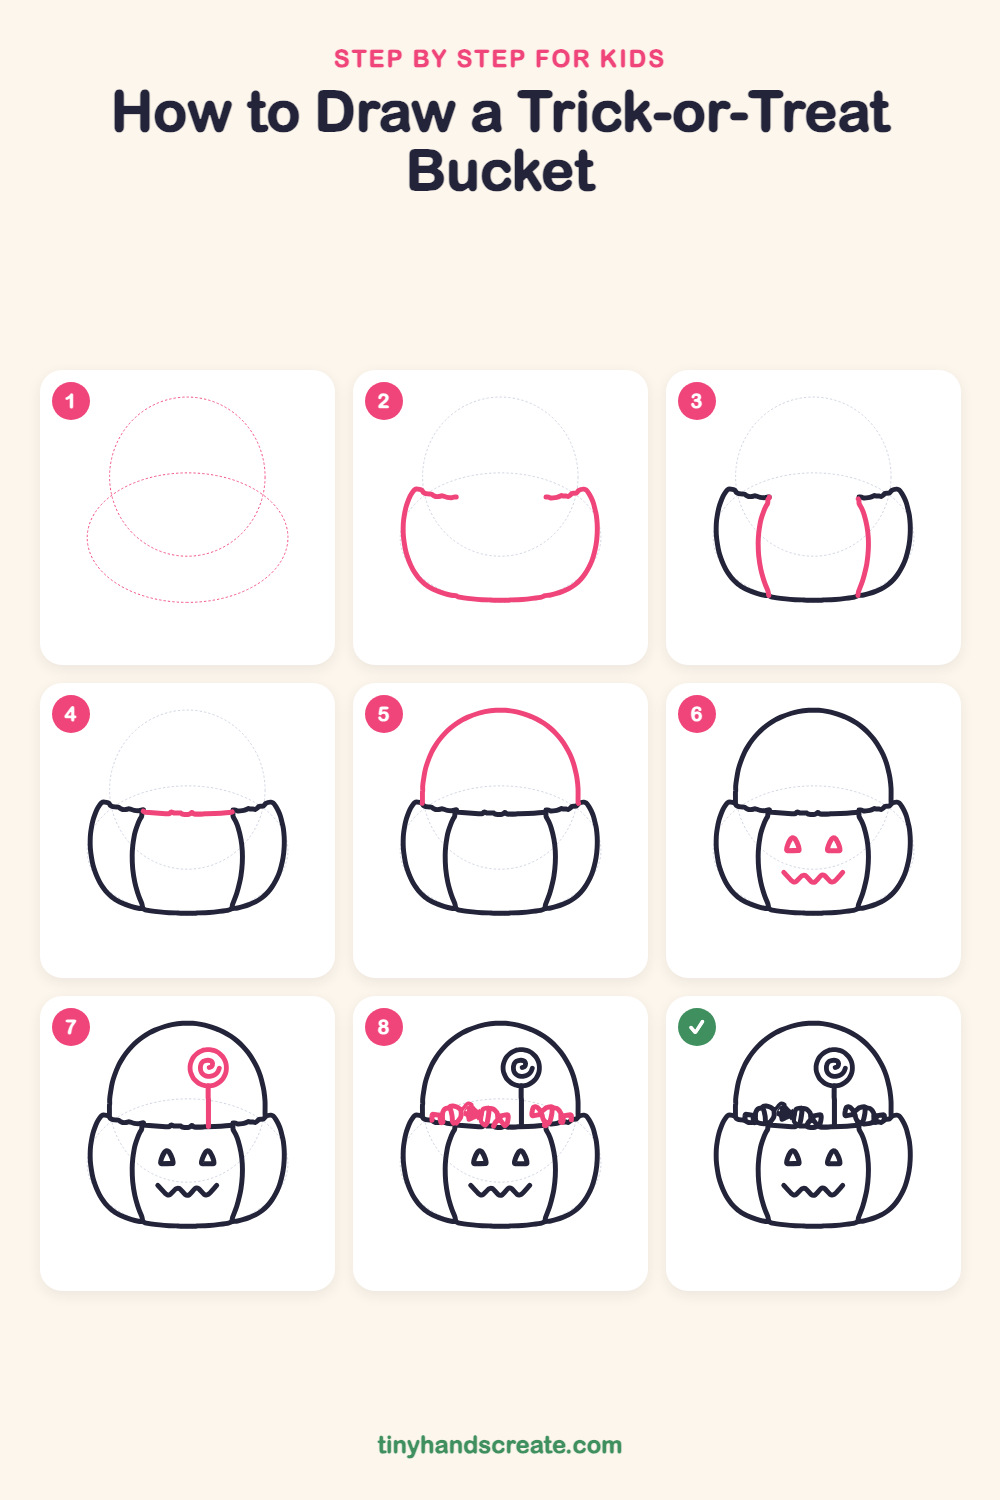
Step 1: Guide shapes
Lightly sketch these 2 ovals. They only show where the big parts go, so press softly. You will erase them at the end.
Step 2: Bucket bowl
Draw a wide, rounded bowl shape with a curved bottom and sides that bulge out a little. At the top of each side, add a short wavy line curling toward the middle, and leave a gap between them.
Step 3: Two ridge lines
Inside the bowl, draw two gently curved lines, one on the left and one on the right. Each starts near the top edge and curves down to the bottom, leaving a wide section in the middle.
Step 4: Front rim line
Draw a short, slightly wavy line straight across the top of the middle section. It joins the two ridge lines and closes the top of the front.
Step 5: The big handle
Start at the left side of the rim and draw a tall, rounded arch up and over, coming back down to the right side of the rim. It looks like a big dome.
Step 6: The spooky face
Draw two small triangles for the eyes, side by side on the middle section. Then draw a zigzag line below them for a wiggly mouth.
Step 7: The lollipop
Draw a small circle high inside the handle and fill it with a curly swirl, starting in the middle and spiraling out. Then draw a straight stick from the bottom of the circle down to the rim.
Step 8: Wrapped candies
Along the rim, on both sides of the stick, draw a few small candies. Make each one a little oval with a bow-tie twist at each end.
All done!
Erase the guide shapes, go over your lines, then color it in.
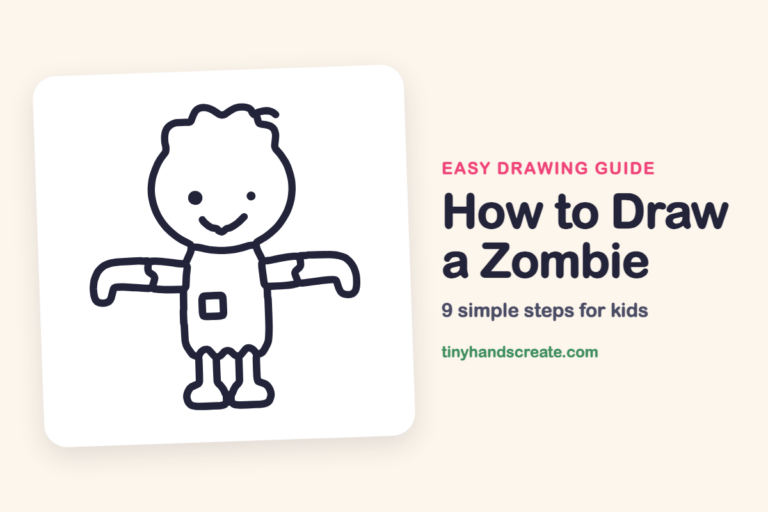
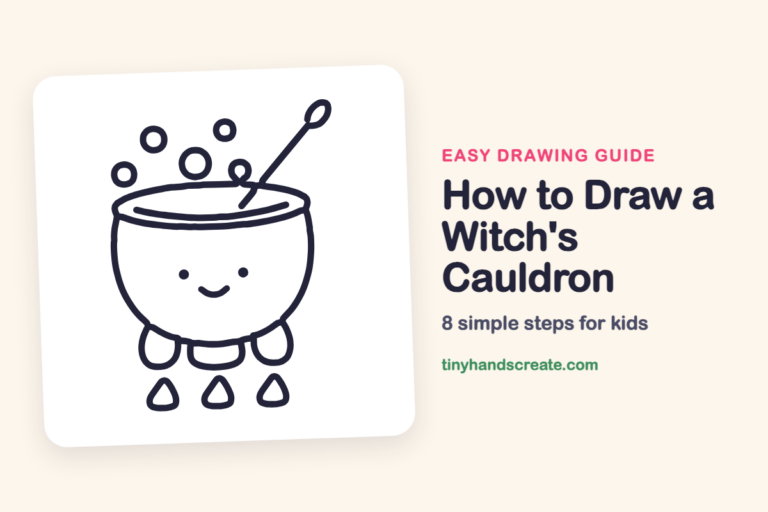
Finished your trick-or-treat bucket? Keep the pencils out and learn how to draw a zombie or how to draw a witch's cauldron next.
Tips for drawing a trick-or-treat bucket
- Draw each candy as a small oval first, then add the two little bow-tie twists on the ends. Make them slightly different sizes so they look like a real pile.
- Start the handle arch at the rim on one side and aim for the other side. Go slowly and let your hand curve smoothly. It is fine if it is not perfectly even.
- Draw the lollipop circle first, then the stick straight down from it. Stop the stick at the rim line so it looks tucked into the bucket.
Free trick-or-treat bucket coloring page
Want to go straight to coloring? Open this trick-or-treat bucket coloring page at full size and print it. It is the same drawing you just learned, with clean lines ready for crayons or markers.
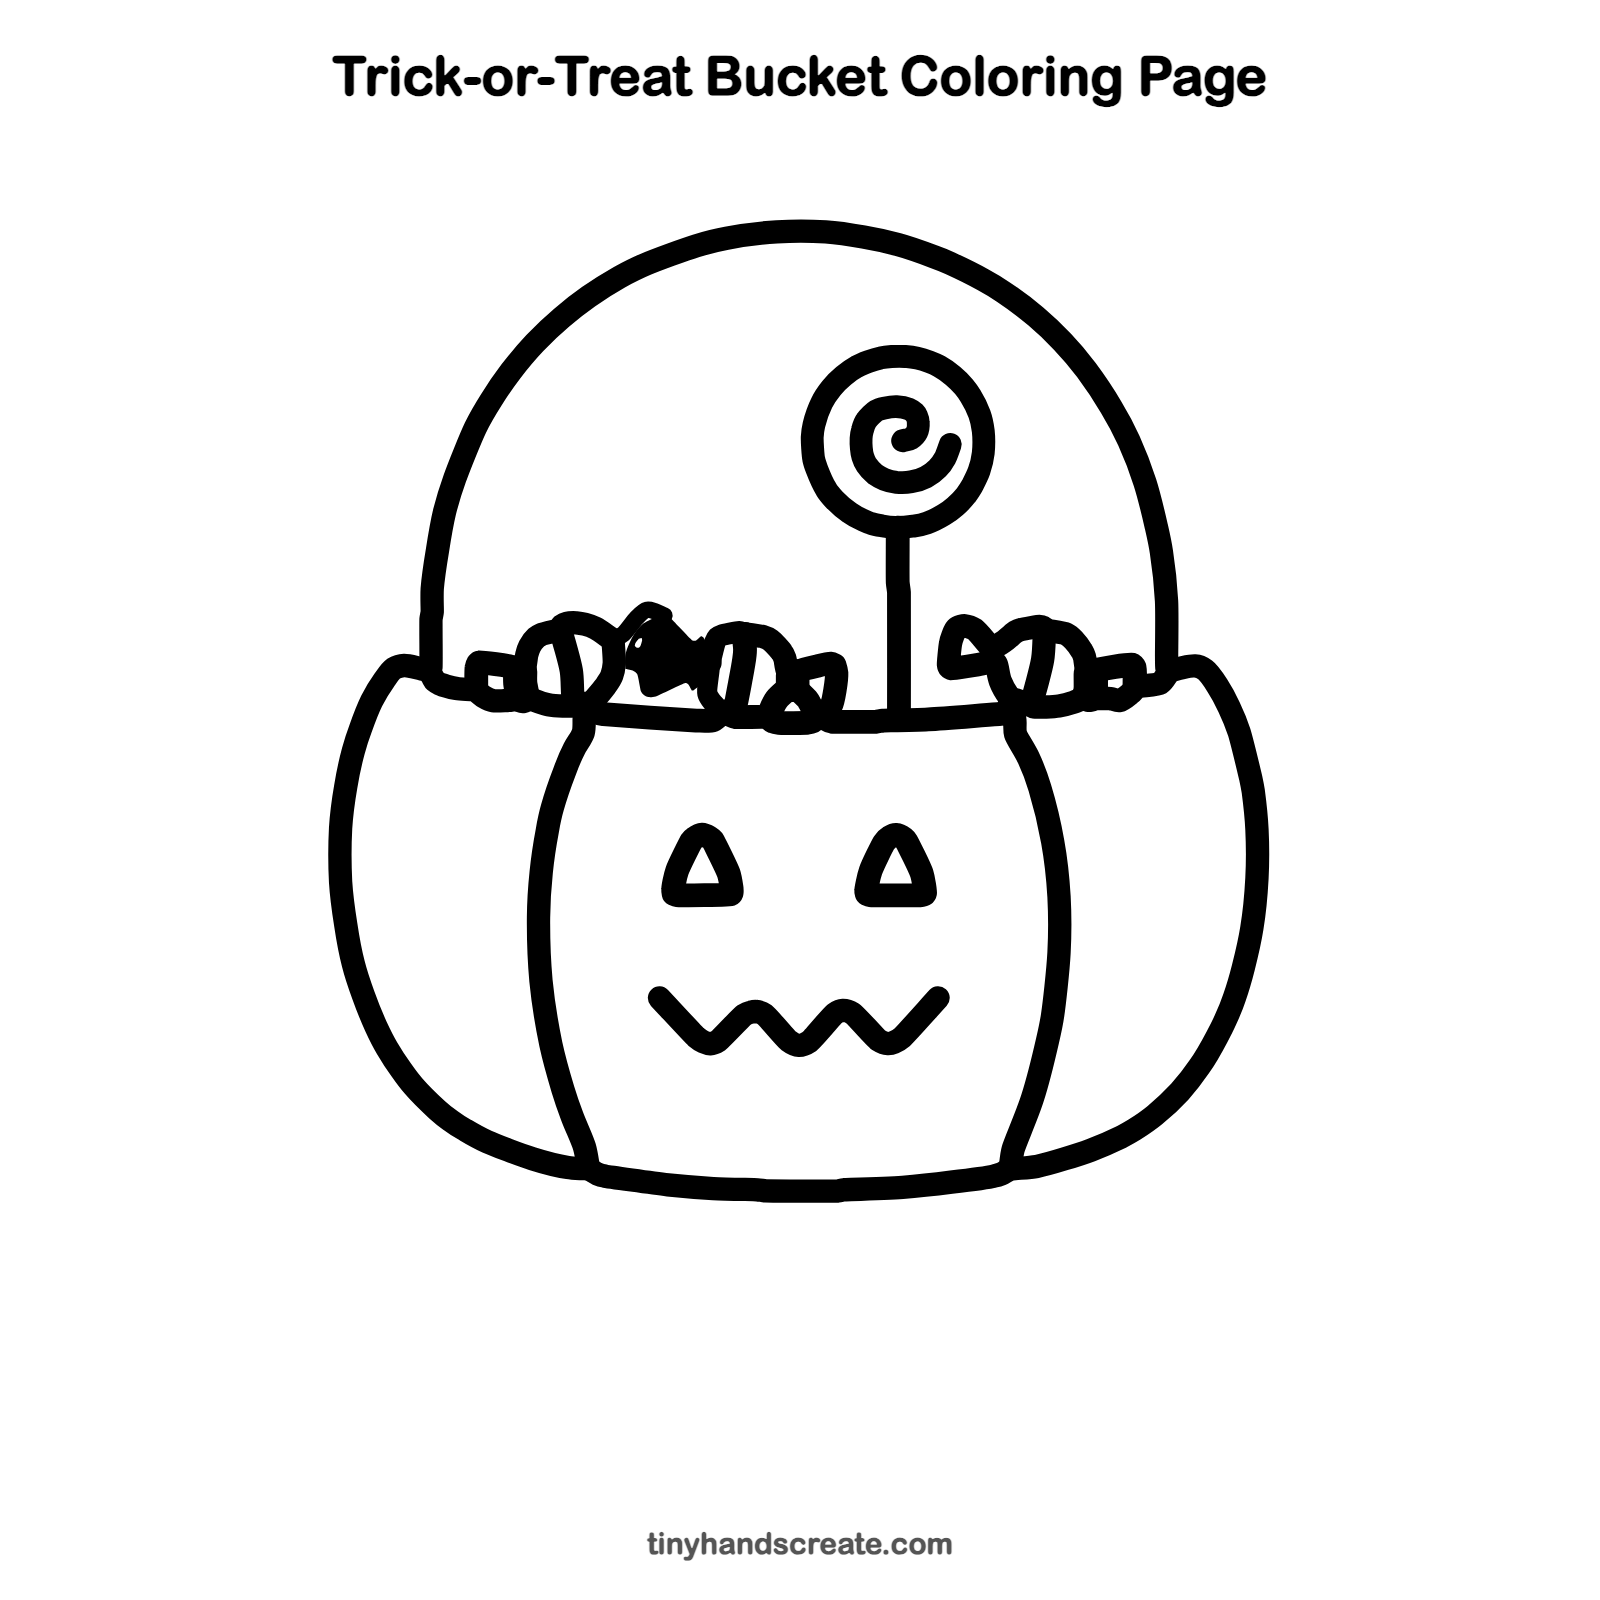
How to color your trick-or-treat bucket drawing
Try orange for the bucket with a black or purple face, and bright colors for the candies. For a fun twist, color the lollipop swirl in rainbow colors.
Trick-or-treat bucket fun fact for kids
The first jack-o'-lanterns were carved from turnips in Ireland and Scotland. People later switched to pumpkins in America because they were bigger and easier to carve.
Questions about drawing a trick-or-treat bucket
What shapes do I need to draw a trick-or-treat bucket?
You need a wide rounded bowl shape for the bucket, a big arch for the handle, a circle and a line for the lollipop, small ovals for the candies, and two triangles and a zigzag for the face.
How do I make my candy look more real?
Add a bow-tie twist on each end of an oval. Make a few candies different sizes so the pile looks full.
How do I make my bucket look cuter?
Make the eyes a little bigger and the zigzag mouth wide and wobbly. You can also draw the handle extra tall and round.