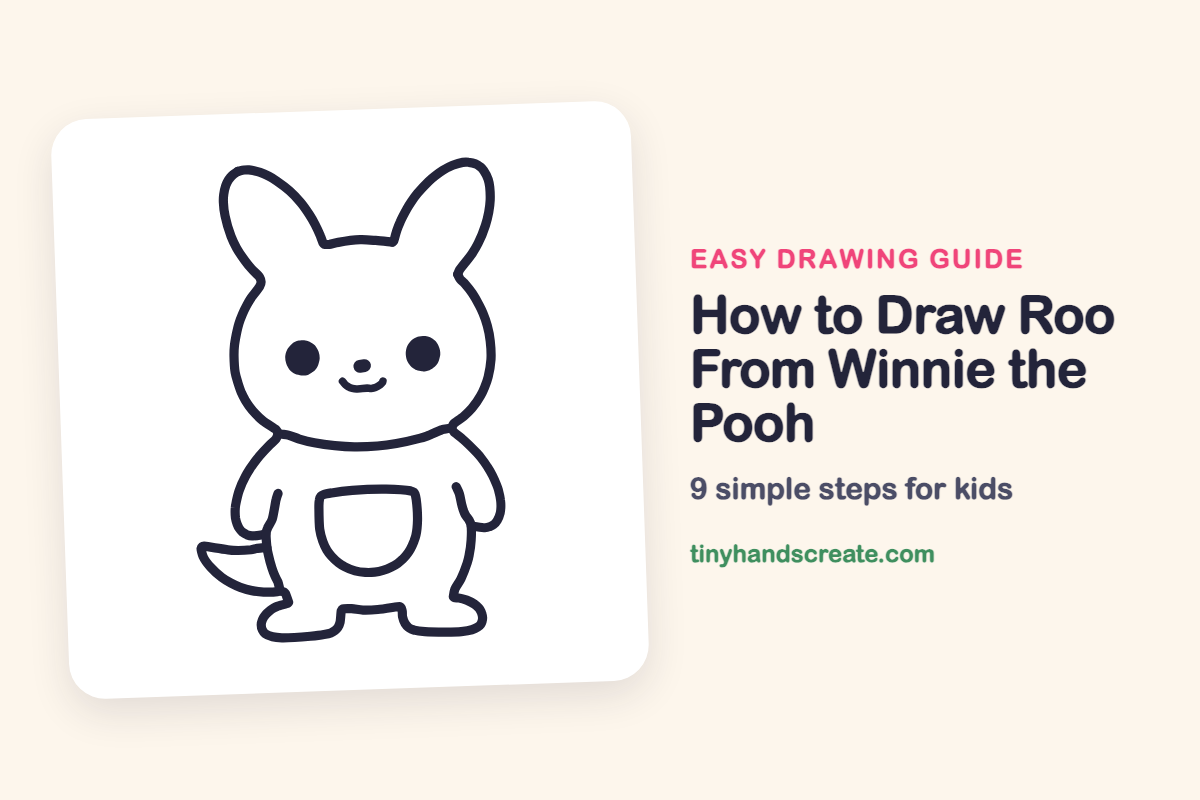
How to Draw Roo From Winnie the Pooh (Easy Step by Step)
Roo is a happy little kangaroo, and this version is built from very simple shapes: a big round head, two tall ears, a rounded body and a pocket on the tummy. Because the face is just two dots, a tiny nose and a small smile, it is a great first character for young artists. Once the shapes are in place, the cute details almost draw themselves.
- Easy
- 12 minutes
- 9 steps
You need: paper, a pencil, an eraser, and crayons or markers for coloring.
Start drawingIn this article (7 sections)
- How to draw Roo from Winnie the Pooh step by step
- Tips for drawing Roo from Winnie the Pooh
- Free Roo from Winnie the Pooh coloring page
- How to color your Roo from Winnie the Pooh drawing
- Roo from Winnie the Pooh fun fact for kids
- Questions about drawing Roo from Winnie the Pooh
- More easy character drawings
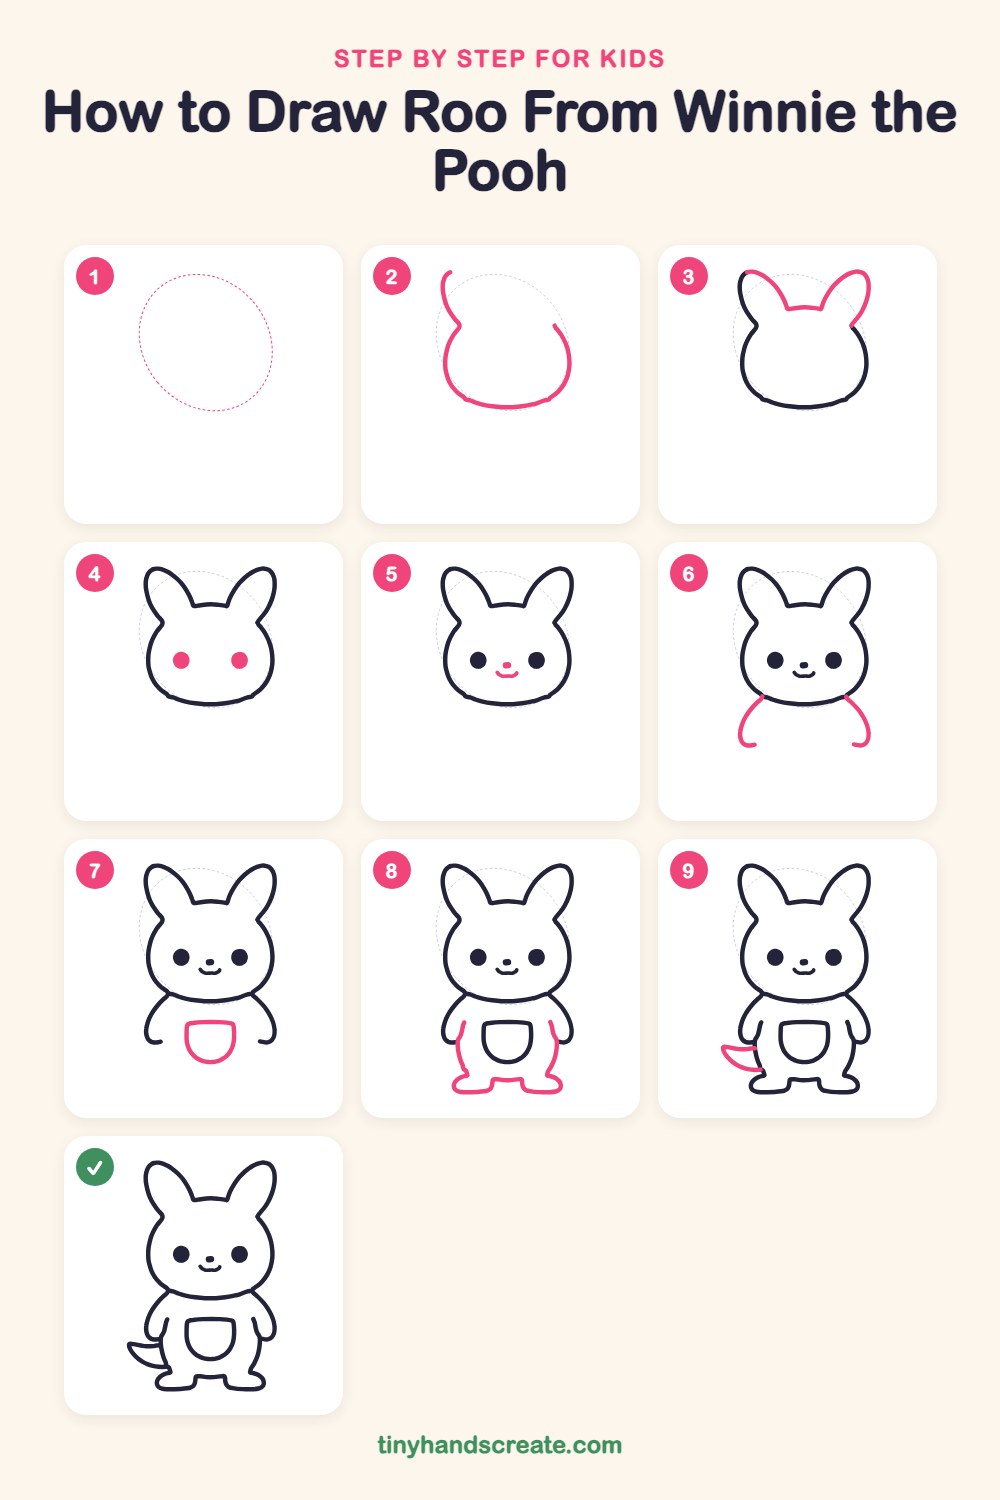
How to draw Roo from Winnie the Pooh step by step
How to Draw Roo From Winnie the Pooh · tinyhandscreate.com
Step 1: Guide shapes
Lightly sketch this oval. It only shows where the big parts go, so press softly. You will erase it at the end.
Step 2: Lower head outline
Draw the bottom of a big rounded head: start with a small notch on the left near the top, curve down and around the chin, and come back up to a notch on the right. Leave the top open for now, because the ears will fill it in.
Step 3: The long ears
On top of the head, draw two tall ears shaped like long leaves. Start each ear at a notch on the side of the head, curve it up to a rounded tip, then back down to the dip between the ears.
Step 4: The eyes
Draw two round dots for the eyes, the same size, with space between them in the middle of the face. Fill them in so they are nice and dark.
Step 5: Nose and smile
Between and a little below the eyes, draw a tiny oval nose. Under it, draw a small curved smile with a tiny bump in the middle.
Step 6: The arms
Just under the chin, start a curved line on each side of the head. Bend each one out and down, and finish with a little curl turning inward, to make two short arms.
Step 7: The tummy pocket
In the middle, below the chin, draw a pocket that is flat on top with rounded corners and a curved bottom, like a small bowl.
Step 8: Legs and big feet
Starting under each arm, draw a line going down for the outside of each leg. End each line with a wide, rounded foot, and join the two feet with a small bump in the middle.
Step 9: The tail
On the left side, near the bottom of the body, draw a pointed tail that sweeps out like a long leaf. Start and end the tail on the body line.
All done!
Erase the guide shapes, go over your lines, then color it in.
Finished your Roo from Winnie the Pooh? Keep the pencils out and learn how to draw SpongeBob SquarePants or how to draw Cinderella next.
Tips for drawing Roo from Winnie the Pooh
- Start with the lower part of the head, wider than tall. It is the biggest shape, so everything else depends on it.
- Draw the two ears the same height by aiming at the same spot above the head before you draw each one. Ears that match make Roo look friendly.
- Make the pocket flat on top and round on the bottom, and keep it centered on the tummy. If it drifts to one side, Roo will look lopsided.
Free Roo from Winnie the Pooh coloring page
Want to go straight to coloring? Open this Roo from Winnie the Pooh coloring page at full size and print it. It is the same drawing you just learned, with clean lines ready for crayons or markers.
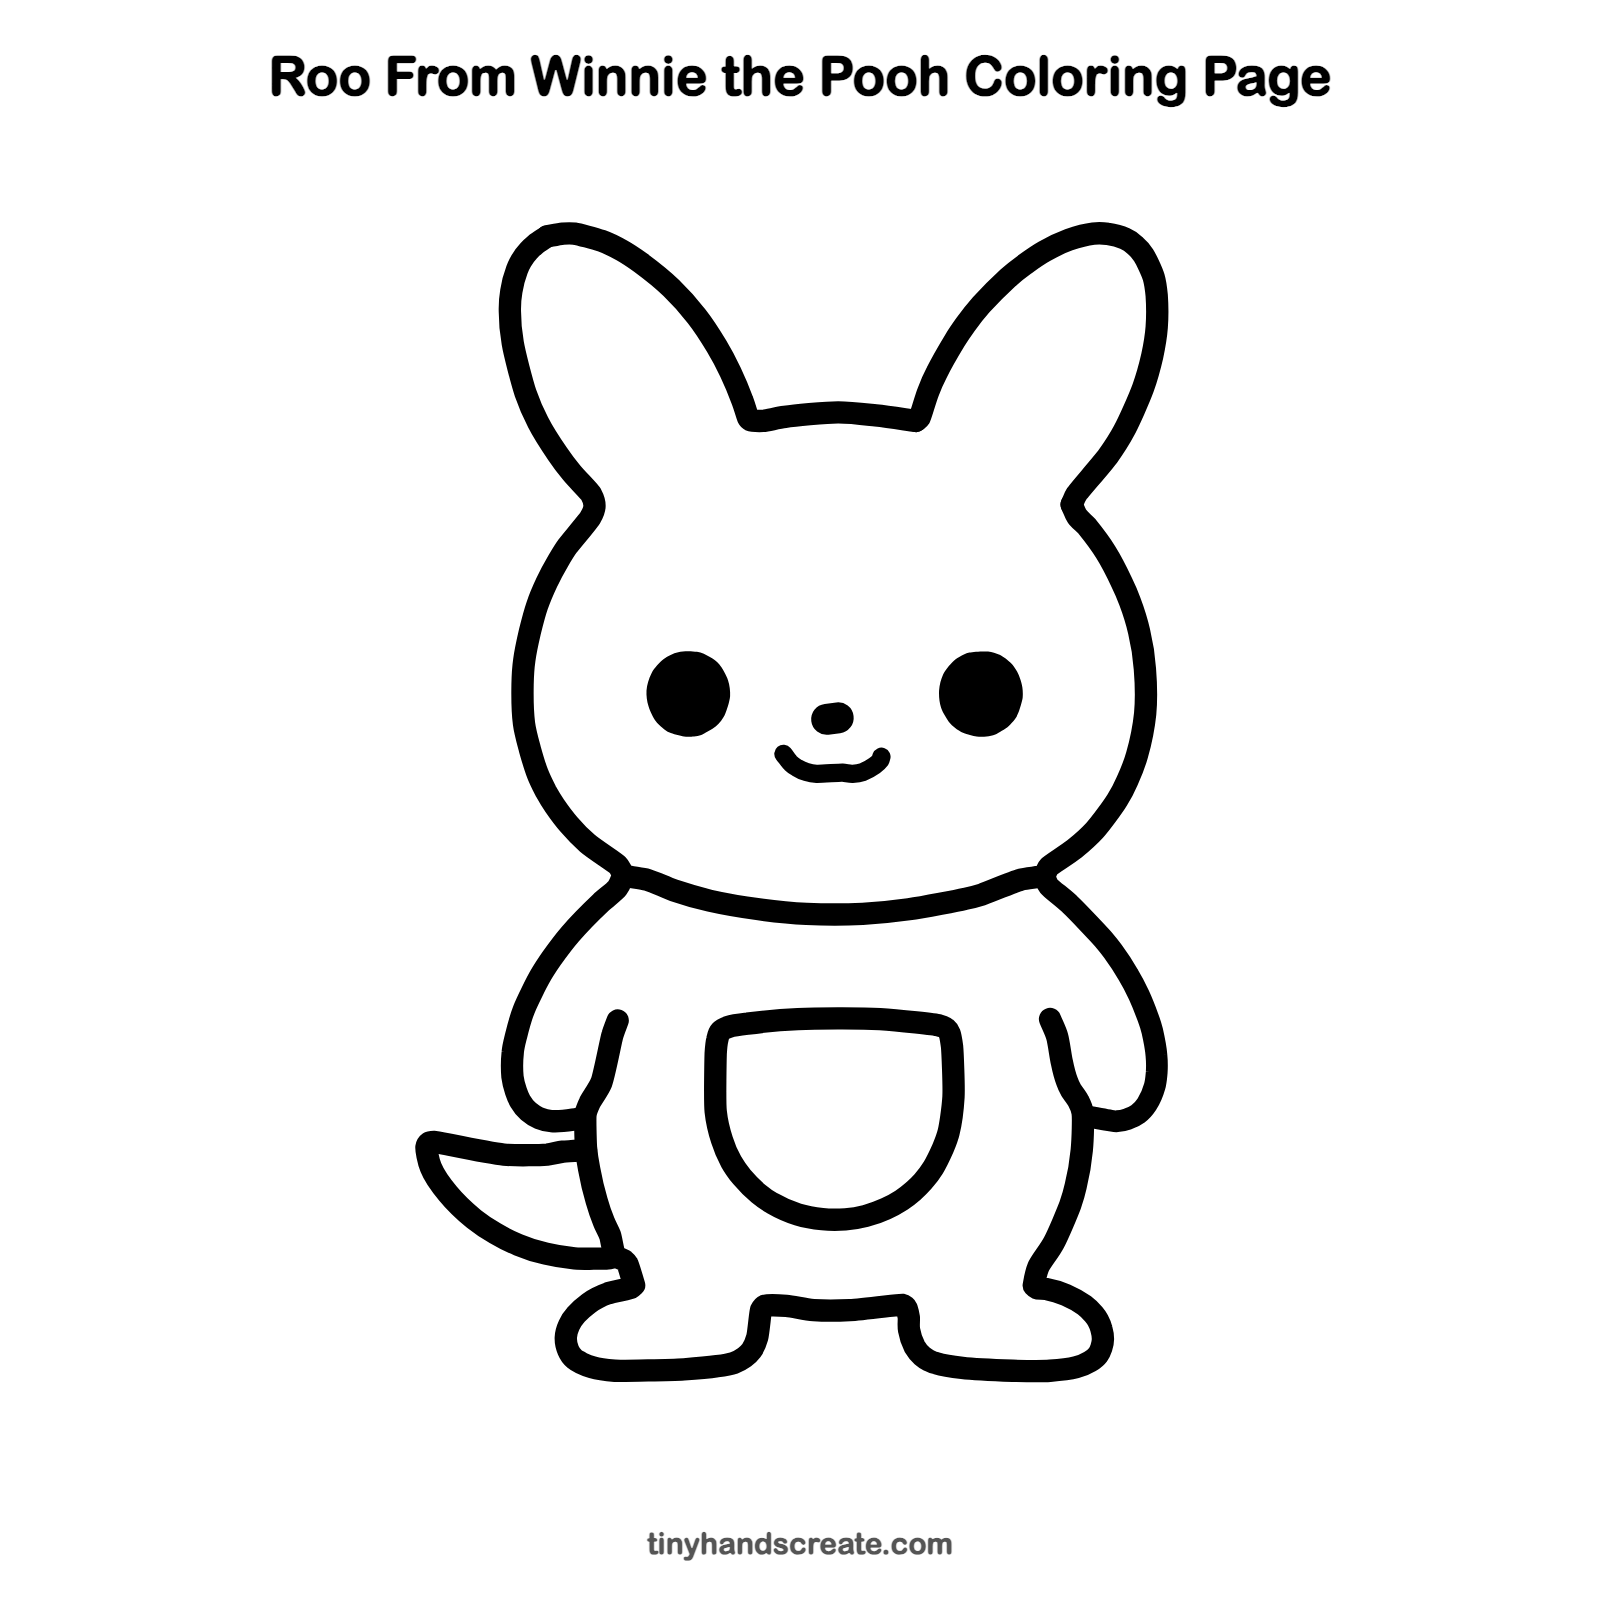
How to color your Roo from Winnie the Pooh drawing
Try warm tan and light brown for Roo, with a softer cream color inside the pocket and ears. For a creative twist, draw a tiny toy or a Pooh-style honey pot peeking out of the pocket.
Roo from Winnie the Pooh fun fact for kids
Baby kangaroos are called joeys, and a newborn joey is only about the size of a jellybean. It climbs into its mother's pouch and stays there for months while it grows.
Questions about drawing Roo from Winnie the Pooh
What shapes do I need to draw Roo?
You need a large rounded shape for the head, two long leaf shapes for the ears, curved lines for the arms and legs, a pocket that is flat on top and round on the bottom, and two wide ovals for the feet. Two dots, a tiny nose and a small curve finish the face.
How do I make my Roo look cuter?
Place the eyes low and far apart on the head, and keep the nose tiny. A small, curved smile makes Roo look cheerful right away.
Why is the tail pointy?
Kangaroos have long, strong tails that help them balance. Drawing it as a pointed leaf shape that sweeps out from the body shows that.
More easy character drawings
 How to Draw SpongeBob SquarePants
 How to Draw Cinderella
 How to Draw Harry Potter
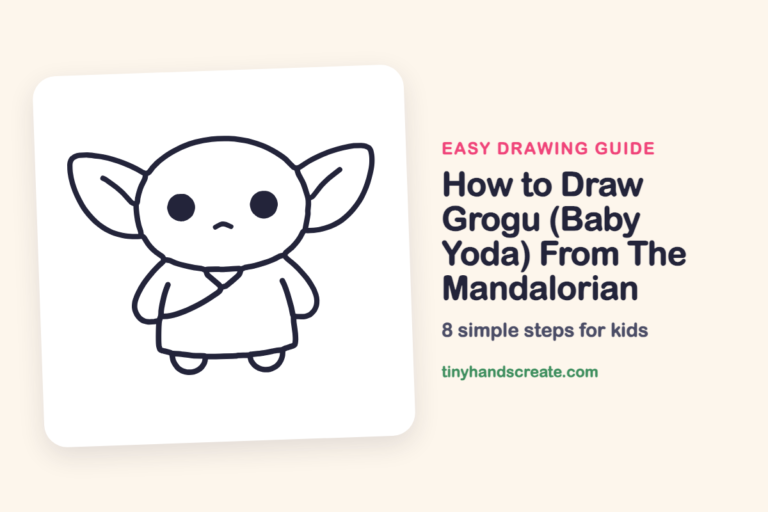 How to Draw Grogu (Baby Yoda) From The Mandalorian
 How to Draw a Capybara
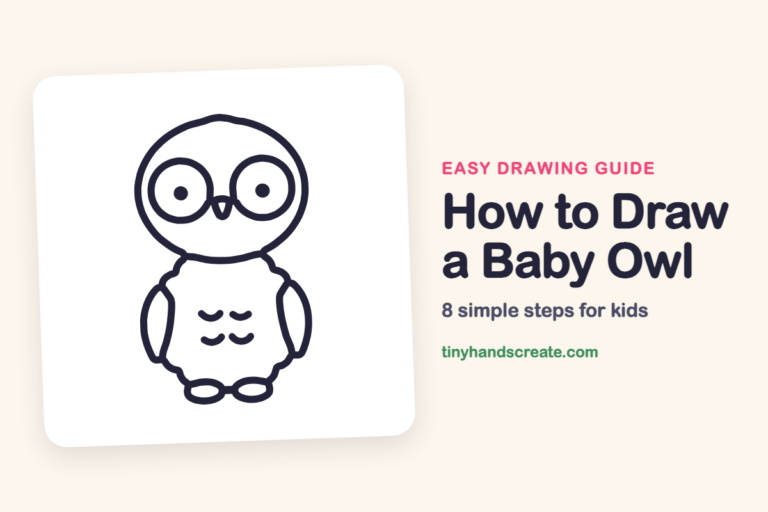 How to Draw a Baby Owl
See all easy character drawings or browse every easy drawing guide for kids.
This is an unofficial fan-art drawing guide. Roo from Winnie the Pooh and related names are trademarks of Disney. Tiny Hands Create is not affiliated with or endorsed by Disney.